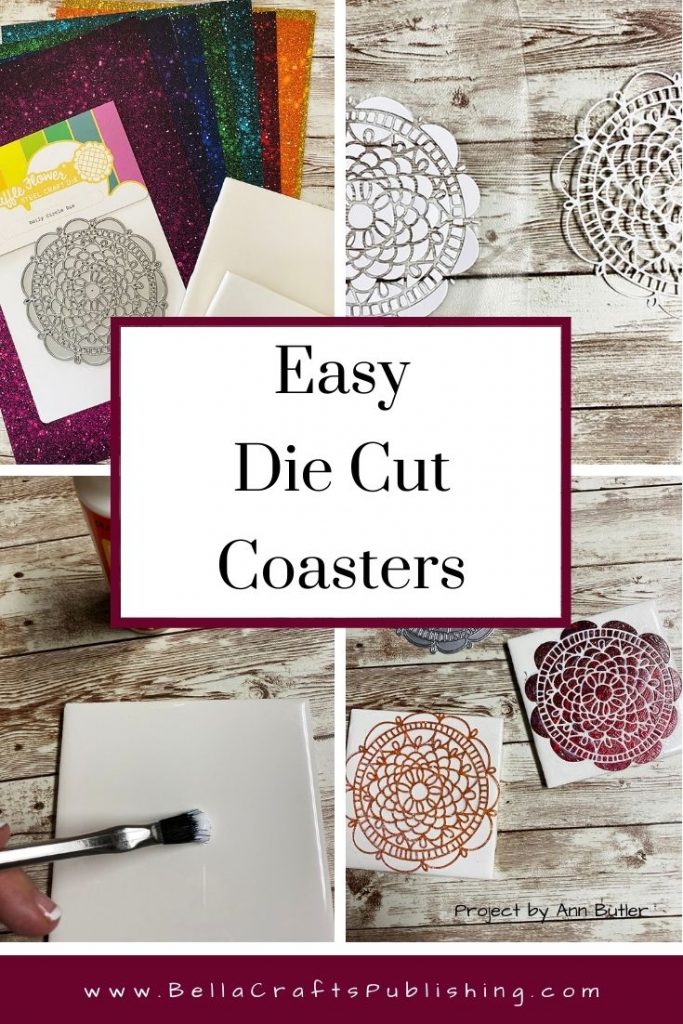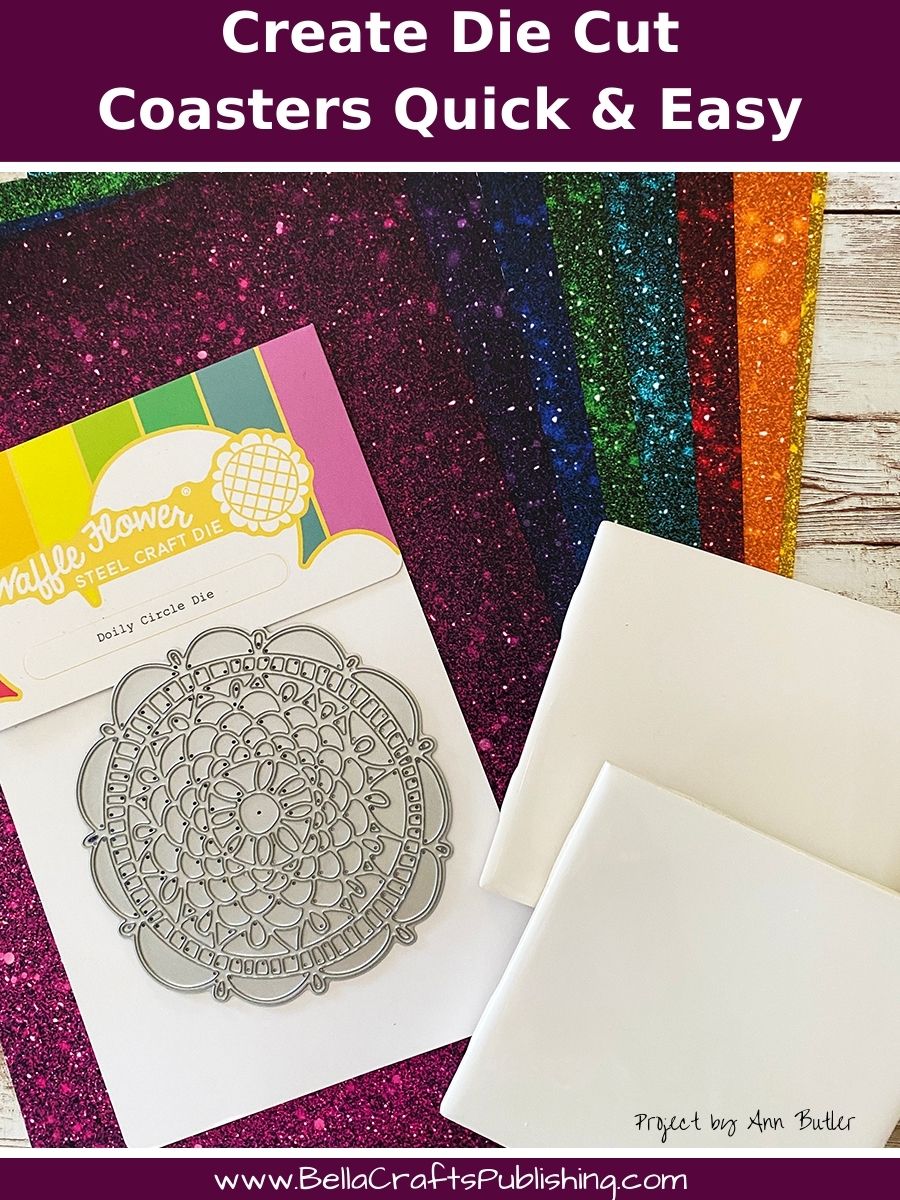
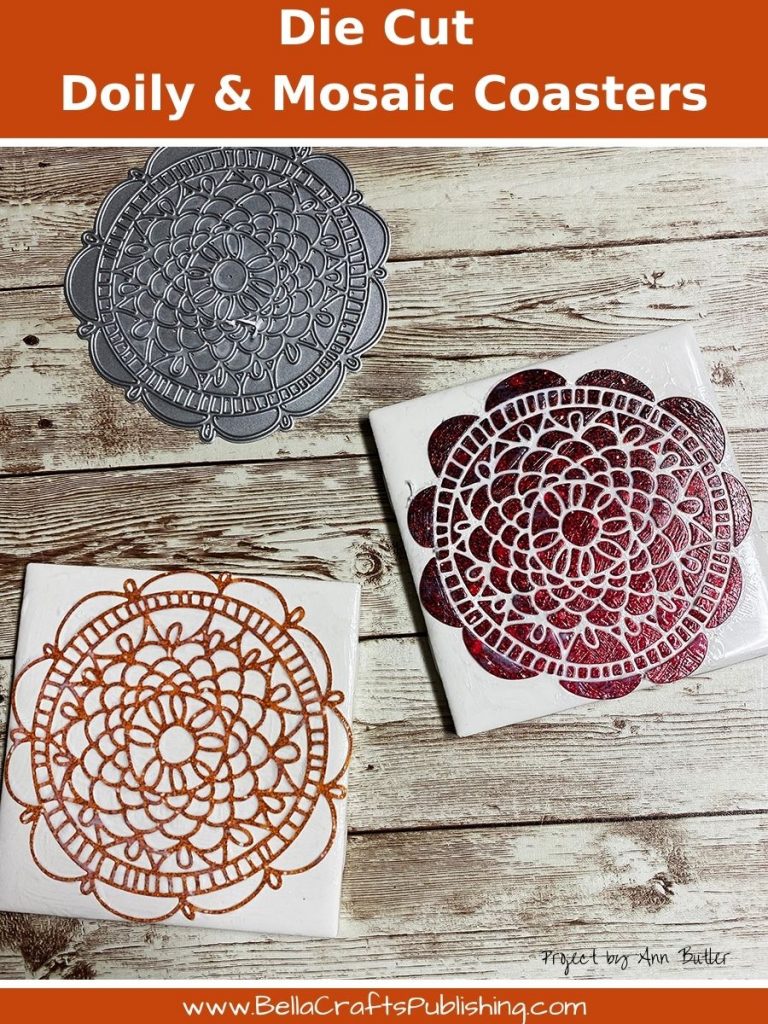
When I saw the Doily Circle Die from Waffle Flower I knew right away that it was perfect for a tutorial: DIY Easy Die Cut Coasters!
Please note: This post contains affiliate links. If you use these links and make a purchase, we earn a commission at no extra cost to you…

My NEW Festive Nights Cardstock was the perfect addition to create these diy easy die cut coasters!
Here’s how to make your own:
Step 1:
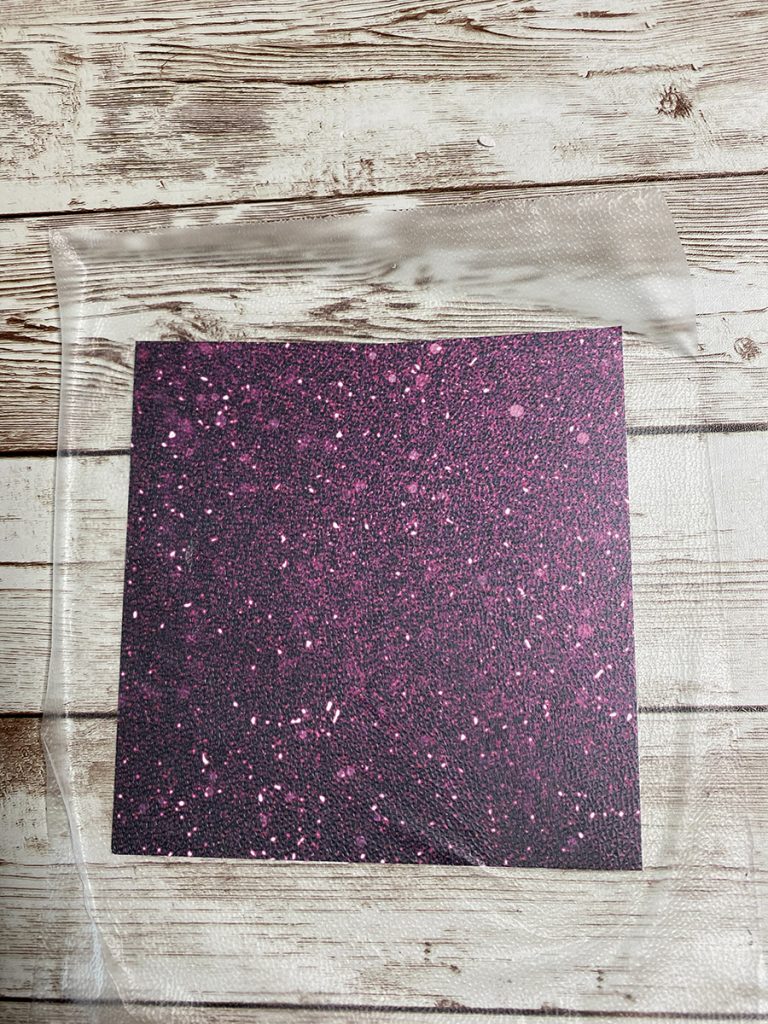
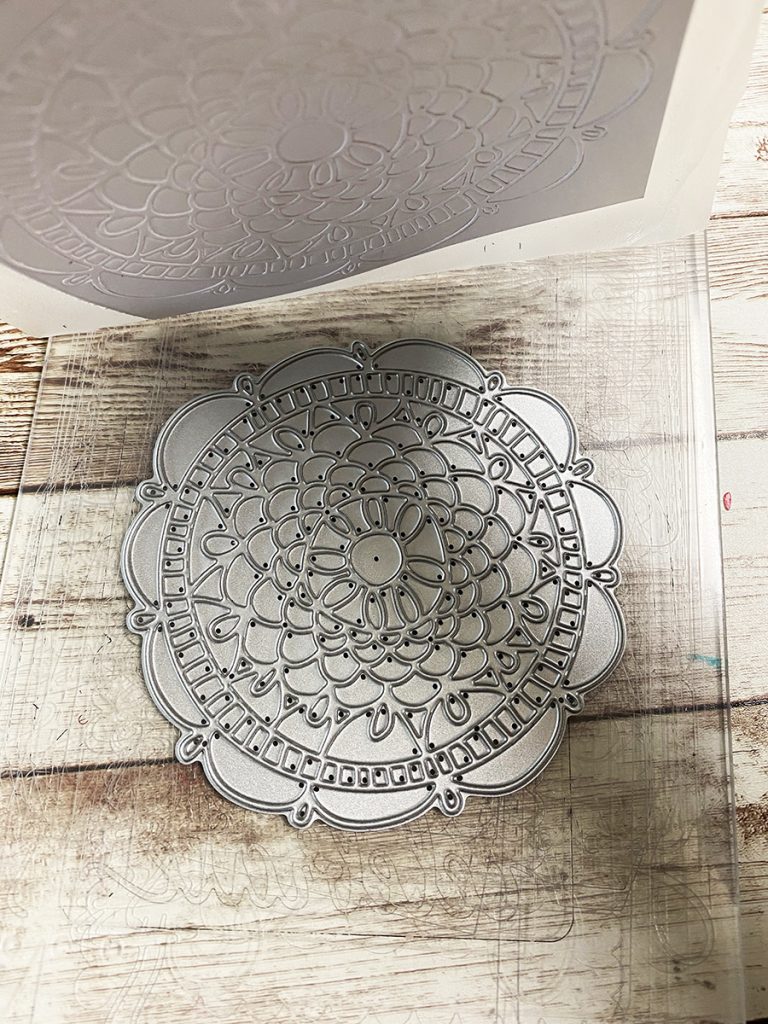
Place Press n Seal over cardstock, that has been cut down to fit the Doily die.
Step 2:
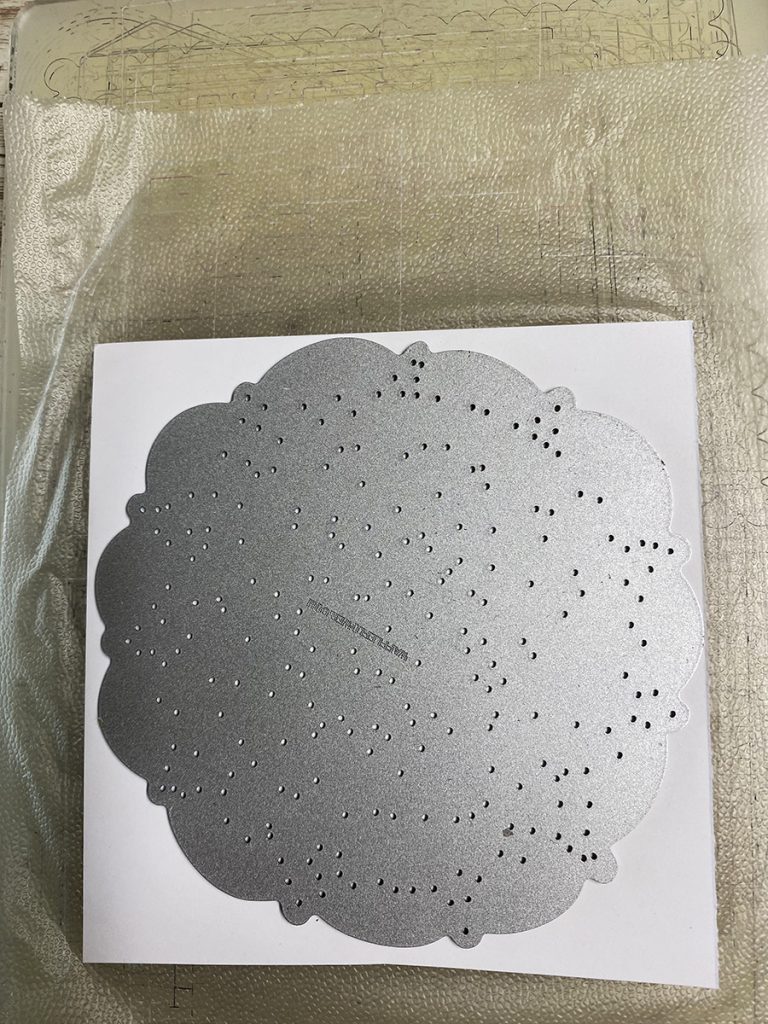
Place the Doily die onto the cardstock and and plates, then, run through a die cutting machine.
Step 3:
Remove the cardstock and Press n Seal from the die.
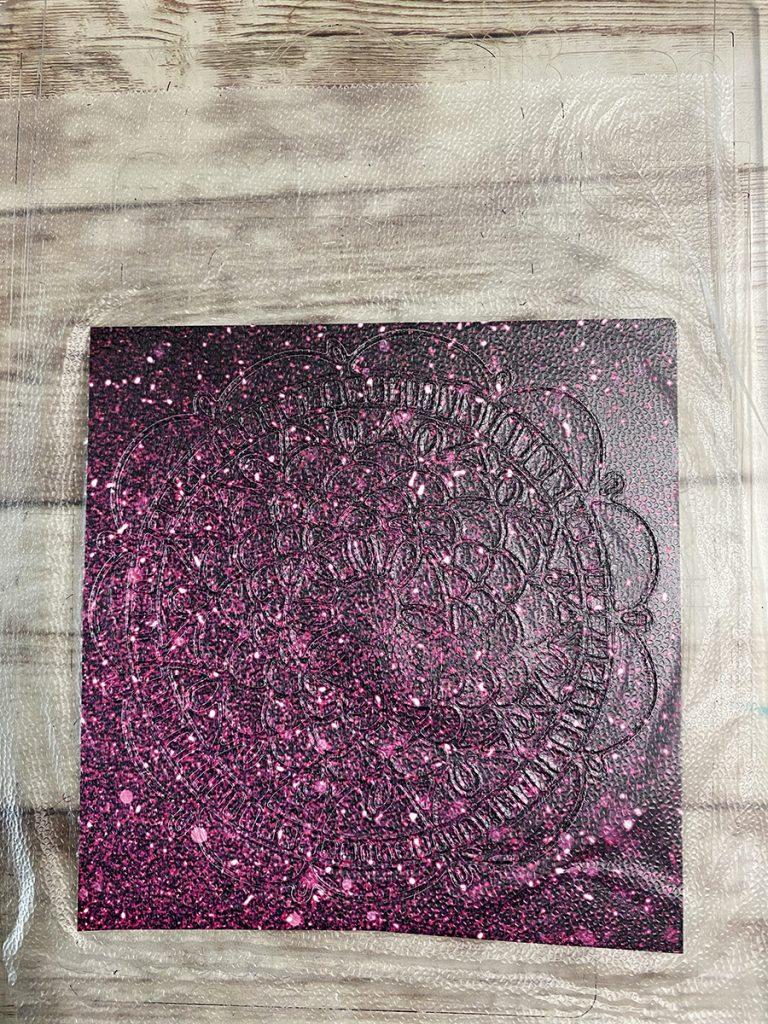
This is what the die cut looks like from the right side with the Press n Seal in tack.
Step 4:
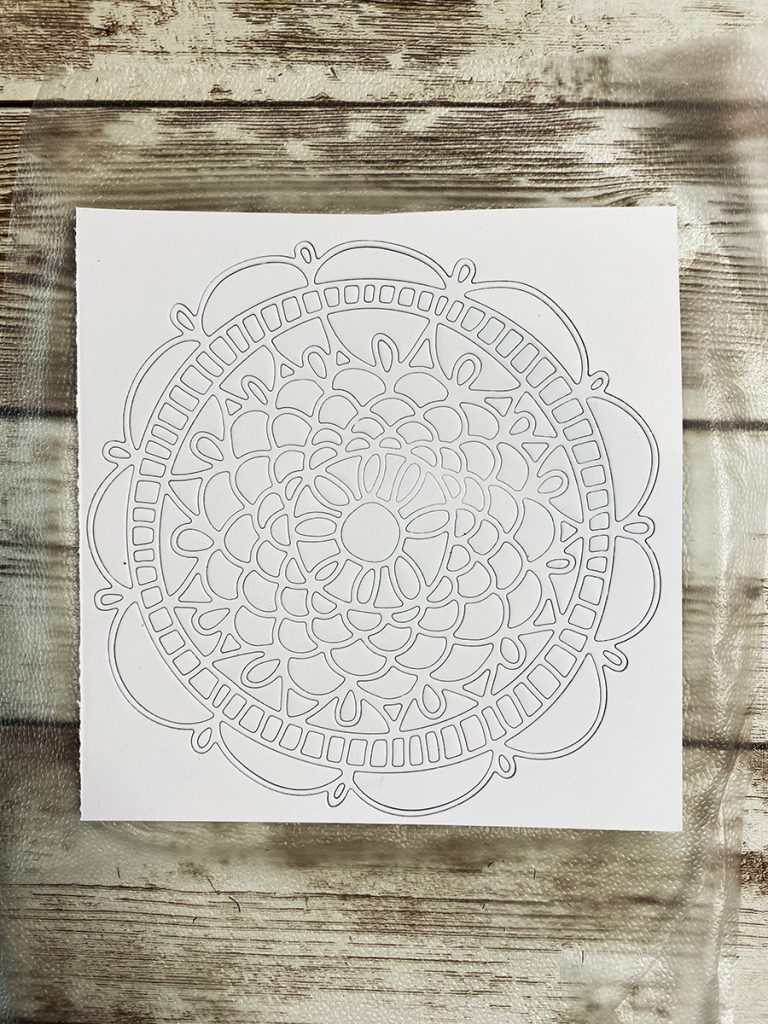
Turn Press n Seal onto your work surface…
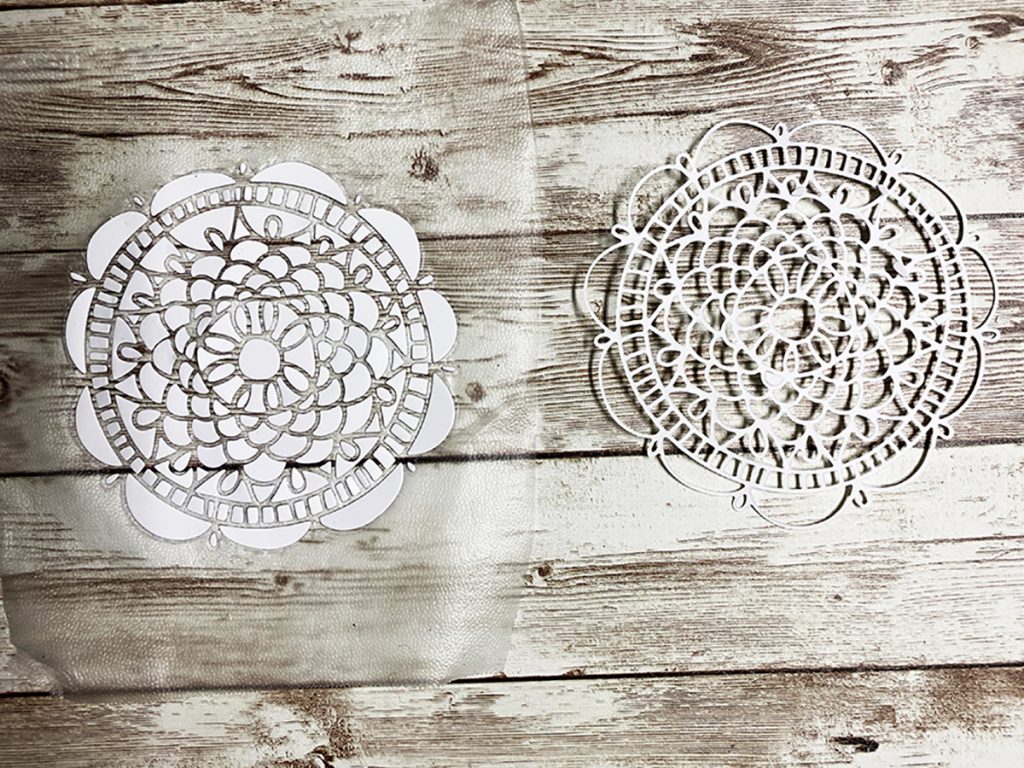
Then, remove the thin Doily Circle from the die, leaving the the Mosaic part in tack on the Press n Seal.
Step 5:
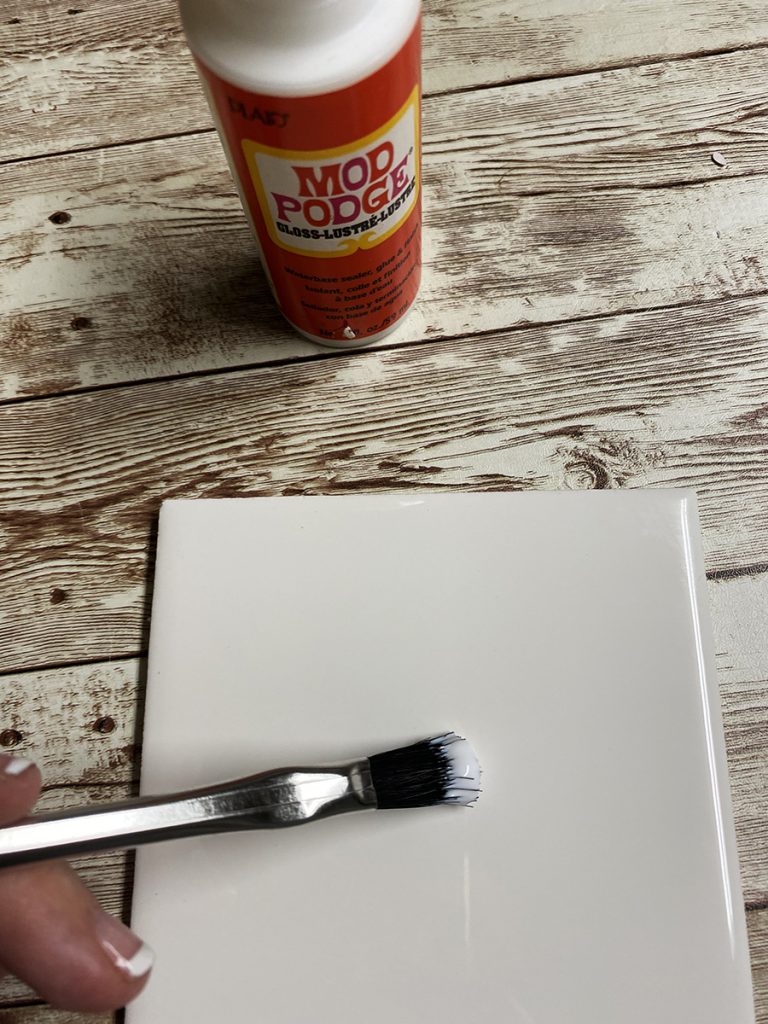
Apply a line layer of Mod Podge to the tile.
Step 6:
Place the lacey part of the Doily onto the tile, press firmly in place. Then, add a coat of Mod Podge over the top. Let dry.
Step 7:
Then, turn the Mosaic pieces that are on the Press n Seal onto another tile that has a think layer of Mod Podge. Gently remove the Press n Seal and add a coat of Mod Podge over the top of the tile. Let Dry.
You get two Die Cut Coasters from one cut!
Die Cut Coasters PIN for you to share!

Supplies:
- Waffle Flower Doily Circle Die
- Ann Butler’s Festive Lights Cardstock
- Mod Podge by Plaid
- Press n Seal
- Die Cutting Machine
- Tiles
- Disposable Brush
Another PIN to share!