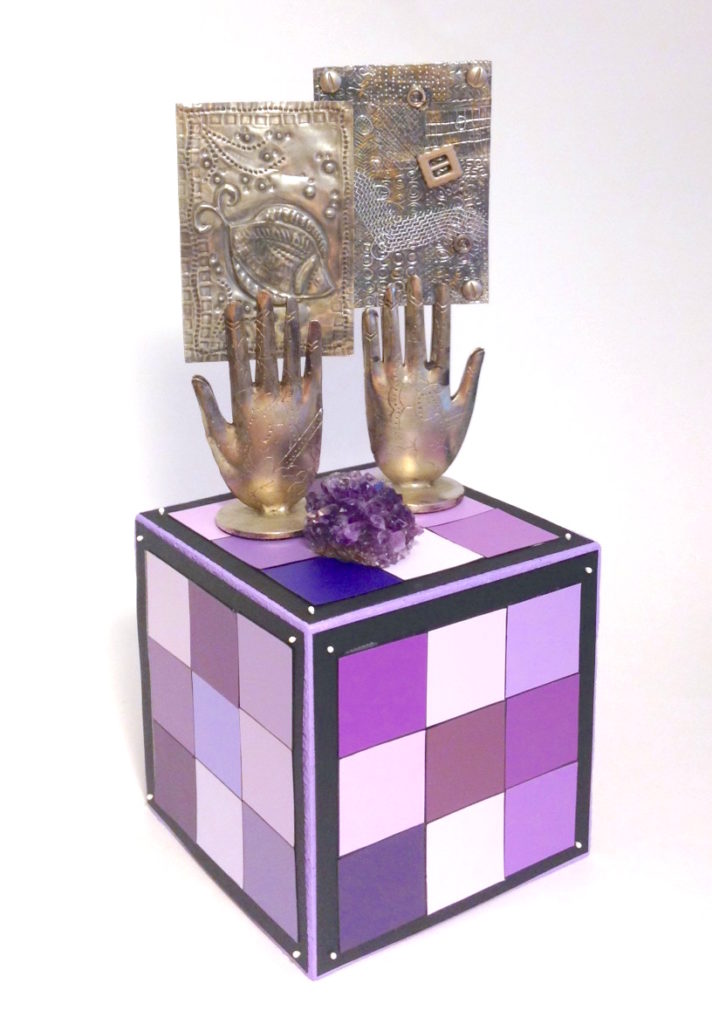
A display riser can be any shape or size – I like to decorate 4″ – 6″ cubes to hold small treasures like artist trading cards, photos, crystals or shells. A display riser is great for your desk, coffee table or book shelf. It’s fun to assemble several items together on top – or make a group of display risers in different sizes to create a centerpiece. Add stickers or stamped sentiments, or use the great background papers you’ve created while experimenting with new mixed media techniques and tools.
Recently I picked up a huge binder of paint chips from the salvage store – a paint store had donated a ton of paint chips of discontinued colors. Inside this binder was a gorgeous array of different shades of purple 5″ x 7″ sheets. With the sad news about Prince this week, the color purple seems to be on everyone’s mind.

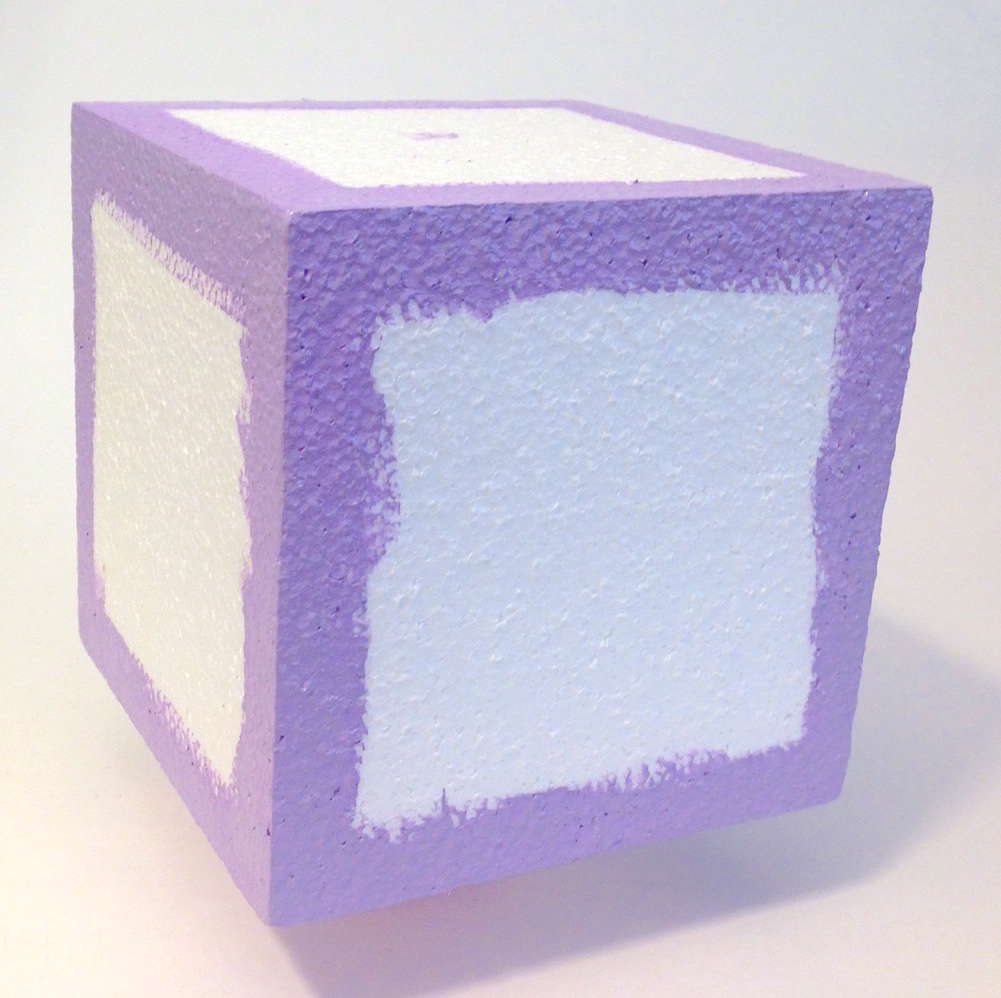
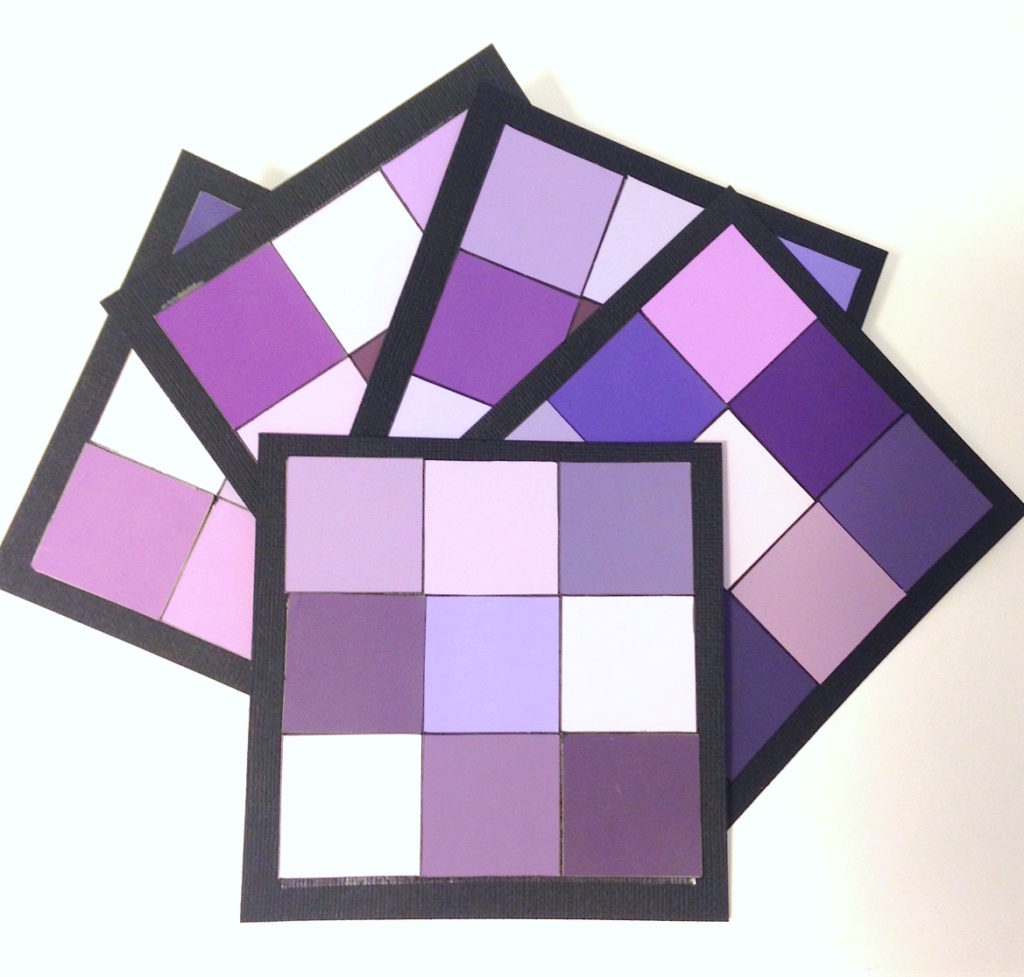
After painting the edges of a 5″ Smoothfoam cube with purple craft paint, I punched 1.5″ squares out of the paint chips – 45 squares total to make 5 mosaics of 9 squares each. I’m a bit of a paper mosaic geek – I use them for cards all the time.
First I edged each square with a black paint marker, then I adhered them in random order with double-stick tape on the center of black cardstock panels.

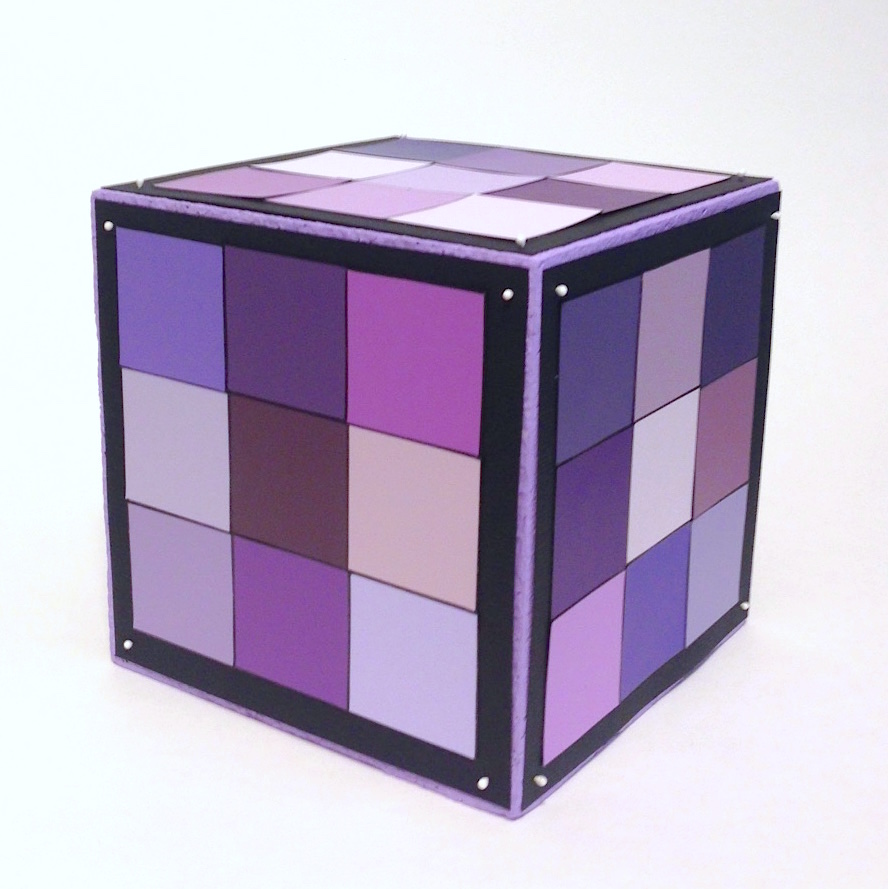
Paint chips are printed on such nice matte-coated paper – the colors are so rich and smooth and yummy! What’s great about using a foam cube (instead of wood or paper maché), is that you can quickly and easily attach things with straight pins instead of tape or glue.

This is a super quick and easy DIY décor project – and with straight pins, you can make lots of different panels using your favorite scrapbook papers, paint chip mosaics, or colored cardstock. Switch the panels out whenever you like to make your display riser work for different occasions, holidays or color schemes.
