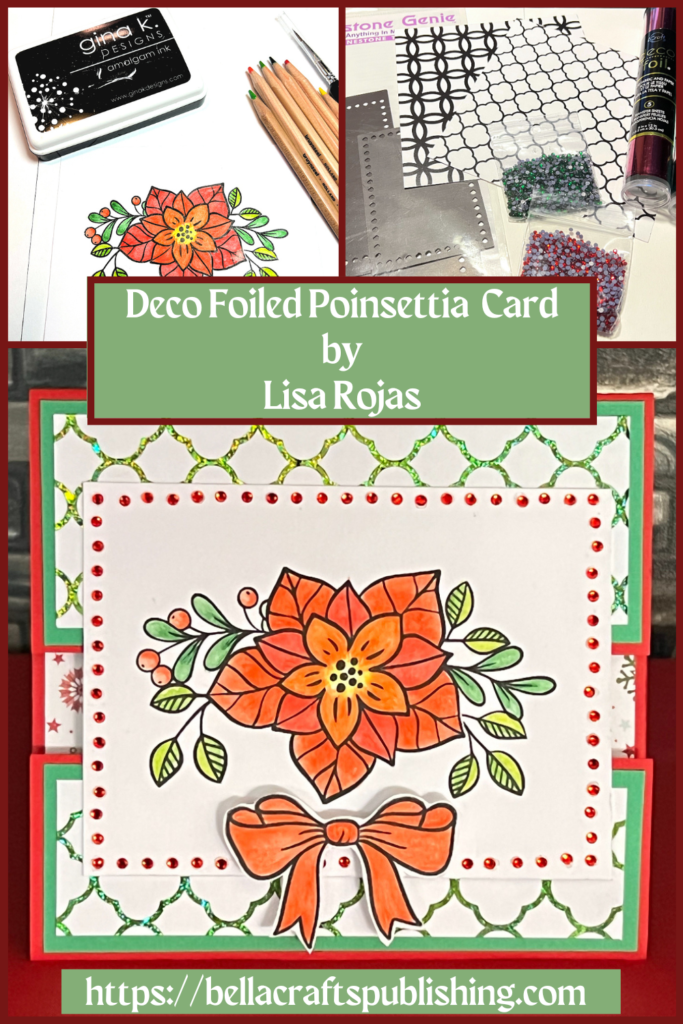
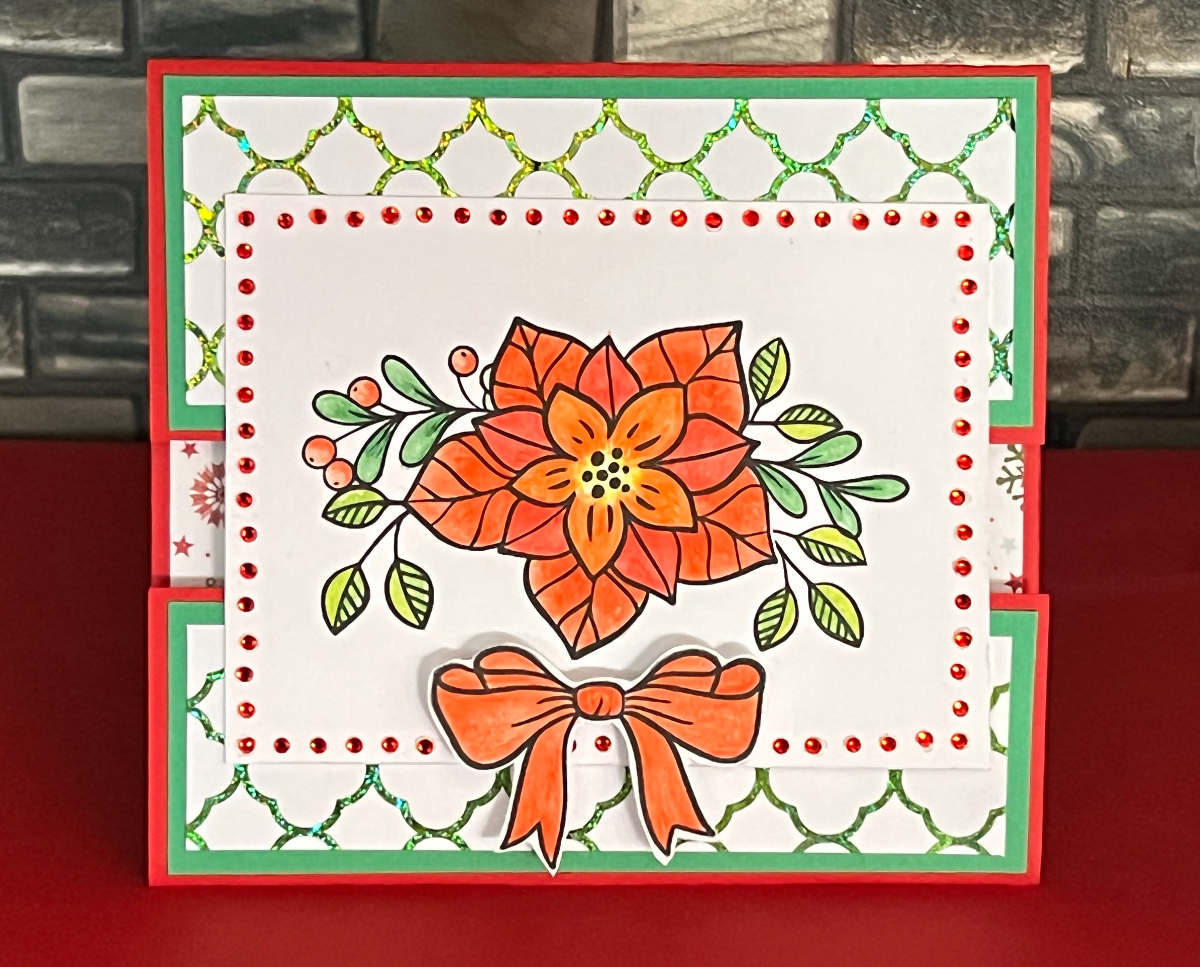
You don’t have to spend a lot of time on your holiday cards with this Deco Foiled Poinsettia Card! It’s pretty and easy to make.
Please note: This post contains affiliate links. If you use these links and make a purchase, we earn a commission at no extra cost to you…
I wanted to create a fairly easy to make holiday card for those of you that don’t want to spends days working on your cards. But, just because it’s easy, it doesn’t have to look easy and this Deco Foiled Poinsettia card gives you both, pretty and easy to make. I hope you give it a try. Have fun! Lisa~
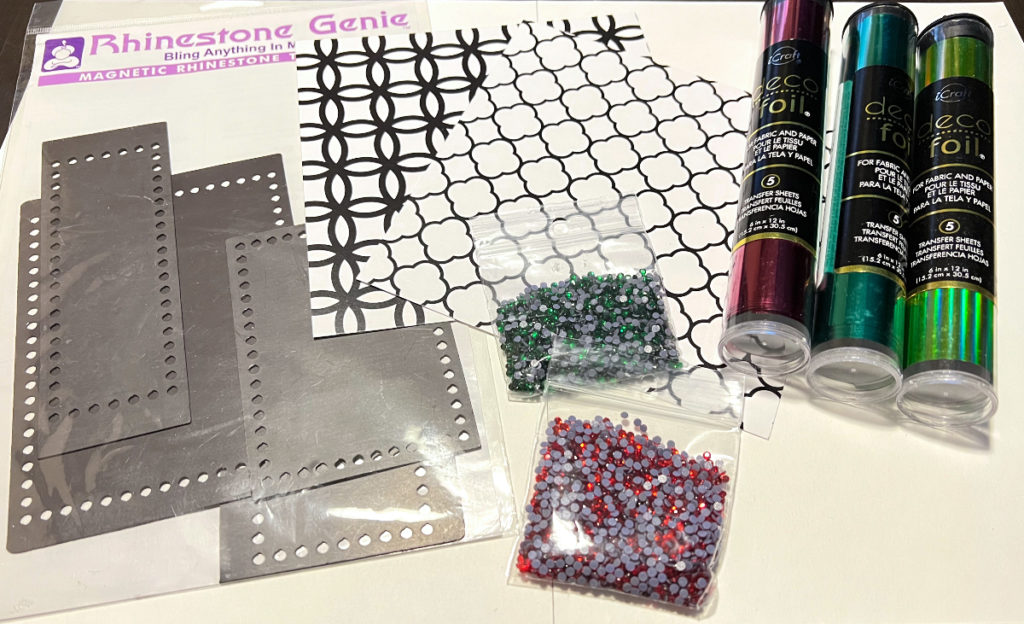
Supplies for Deco Foil Poinsettia Card
Check out the full list of supplies at the end of this post.
Step One:
Using a hot laminator, cover the toner paper with a green piece of deco foil. Place both pieces into some parchment paper and feed it through the laminator with the fold first. Once it’s through the laminator, peel the deco foil off to reveal the gorgeous toner paper design.
Next, cut all of the papers as follows: Red cardstock (base card) 6″W x 10″H. Score one end (this will be the top of the card) at 2 1/2″ and the other end 2″. Cut green cardstock 5 3/4″W x 2 1/4″H and toner paper 5 1/2″W x 2″H for top portion of the card. For the bottom piece, cut green cardstock 5 3/4″W x 1 3/4″H and toner paper 5 1/2″W x 1 1/2″H. For the inside, cut the patterned paper 5 3/4″W x 5 1/4″H and white cardstock 5″W x 4 1/2″H.
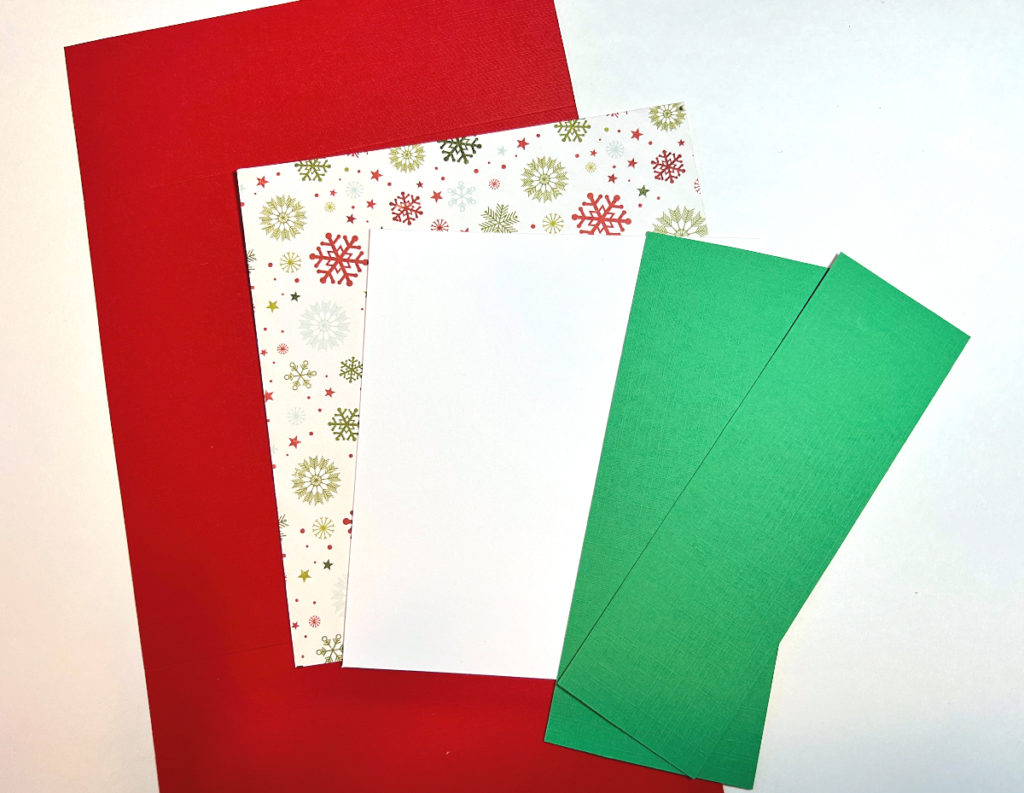
Step Two:
Cut another piece of white cardstock, 5 1/4″W x 3 3/4″H. Stamp and watercolor the poinsettia image and set aside. Adhere the patterned paper and white cardstock to the inside of the card. Next, stamp the white cardstock with a holly stamp in the four corners and watercolor the images. Lastly, stamp a sentiment in the center.
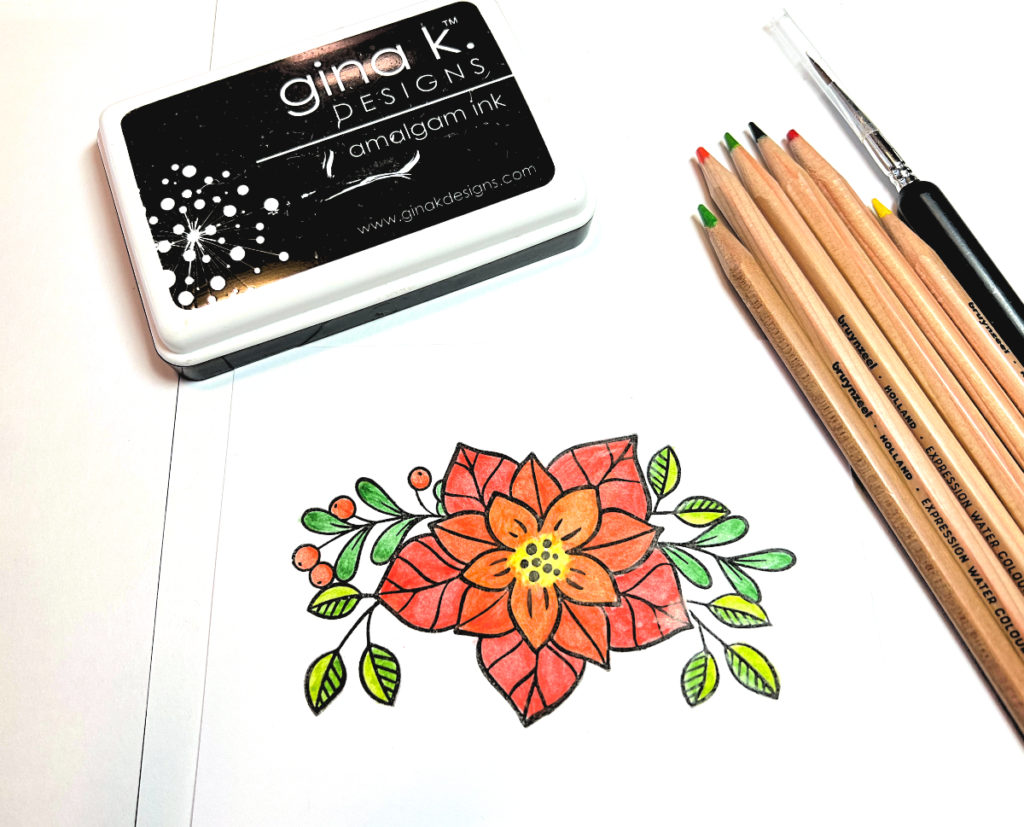
Step Three:
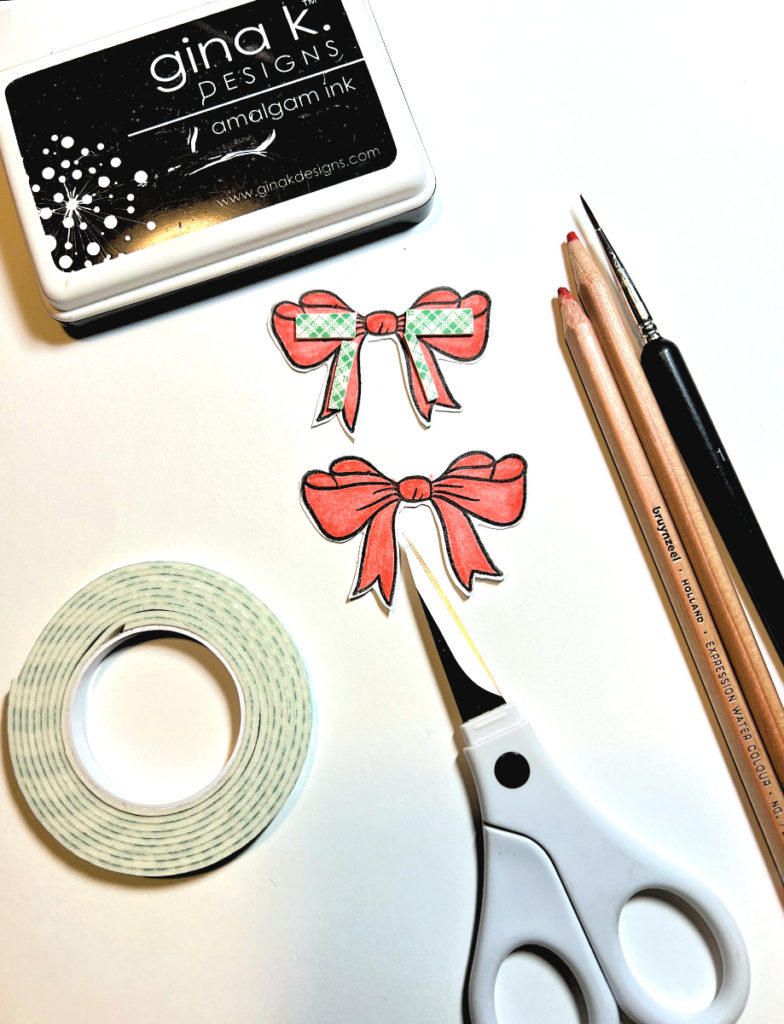
Stamp and watercolor the bow image twice and cut them out. Apply some foam tape to one of the bow images and adhere both of them together.
Step Four:
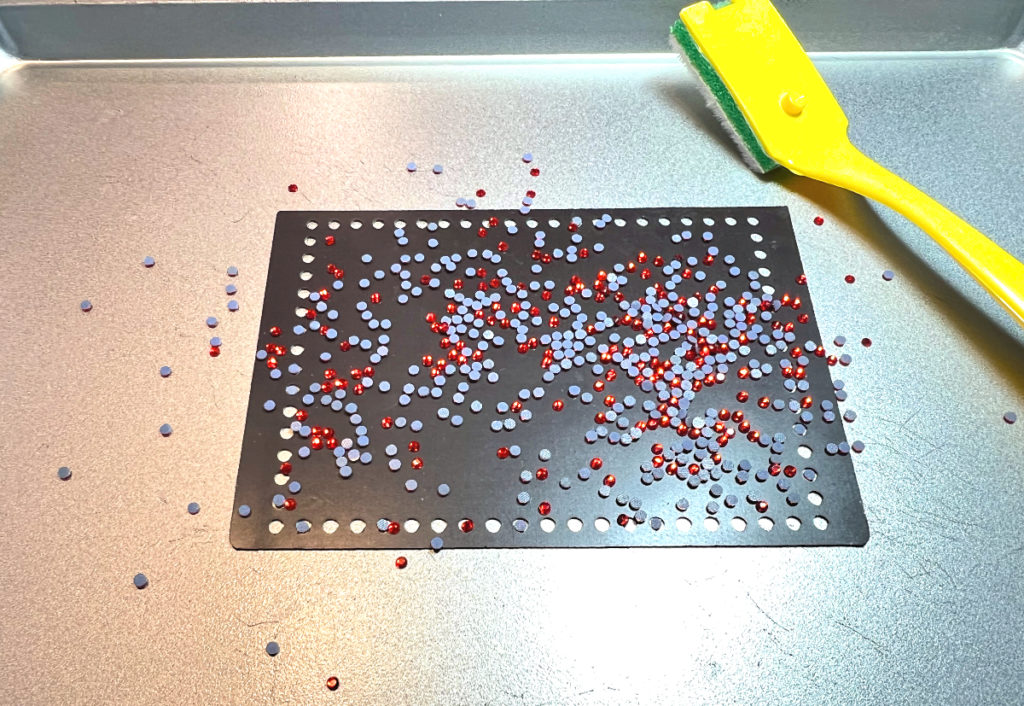
Apply the rhinestones to the cardstock with the stamped image according to the manufacturer’s directions. Once the rhinestones are in place trim around the edges with scissors. To finish the front of the card, layer and adhere the top and bottom with green cardstock and toner papers. Adhere the stamped cardstock to the top piece of the card base, making sure you only add glue to the top part of both pieces so you’re still able to open the card. Apply another piece of foam tape to the back of the bow and attach it to the card front. Use the finished photo for placement if needed.
Note: For a quick video on how to use the rhinestone template click Here
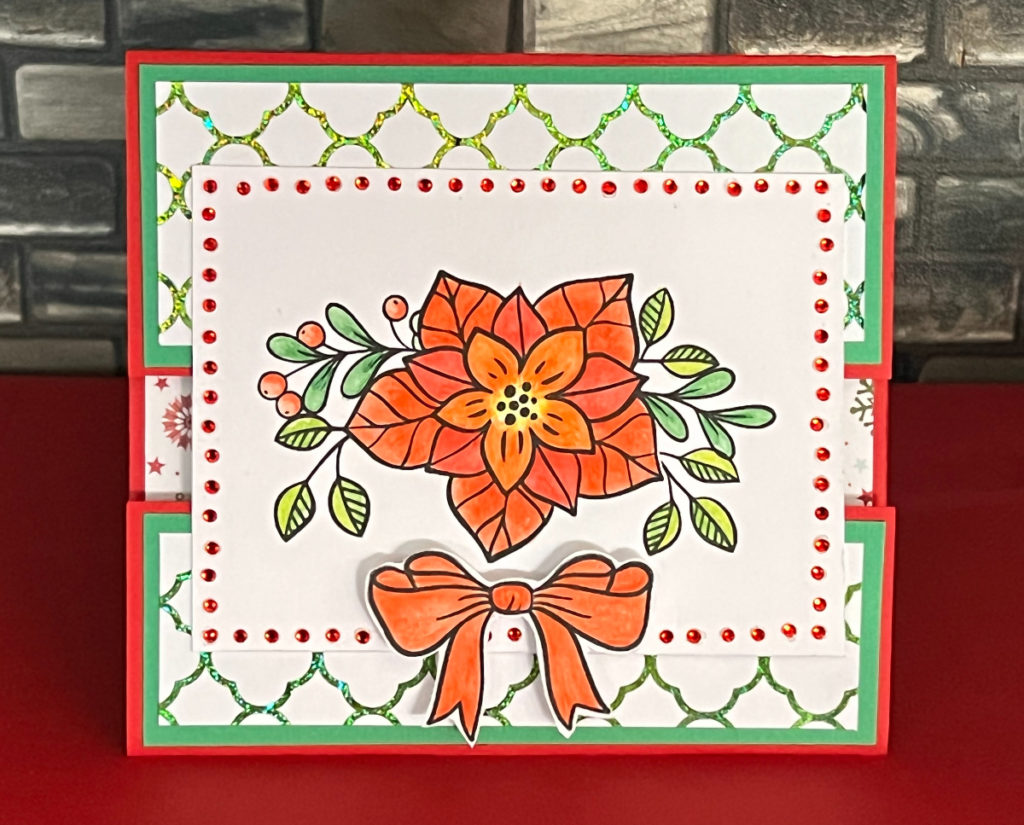
Deco Foiled Poinsettia Card
Here’s Another PIN For You To Share!
Supplies for Deco Foiled Poinsettia Card
- Cardstock: Red, Green, White
- Patterned Paper
- Black and White Florals Toner Paper by Ann Butler Designs
- Deco Foil, Lily Pad by Therm O Web
- Rubber Stamps, Holiday Themed
- Watercolor Pencils
- Zip Dry Paper Glue
- Foam Tape
- Red Rhinestones
- Rectangle Set 1 Template by Ann Butler Designs
- Paintbrush
- Hot Laminator
- Iron
- Scissors
- Paper Trimmer

Trackbacks/Pingbacks