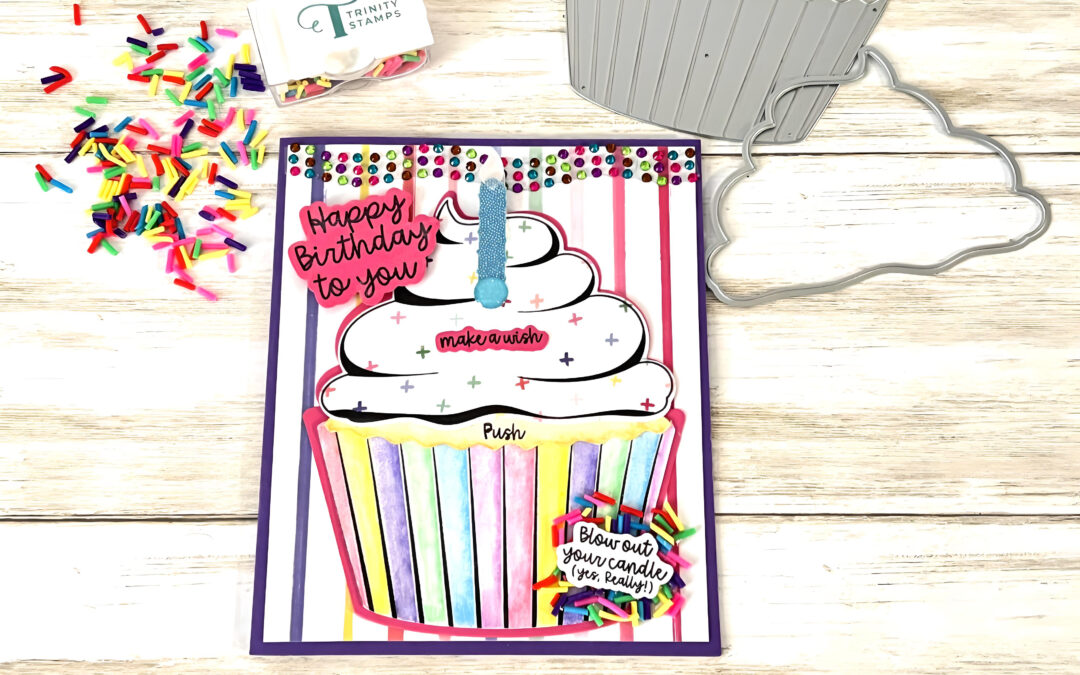
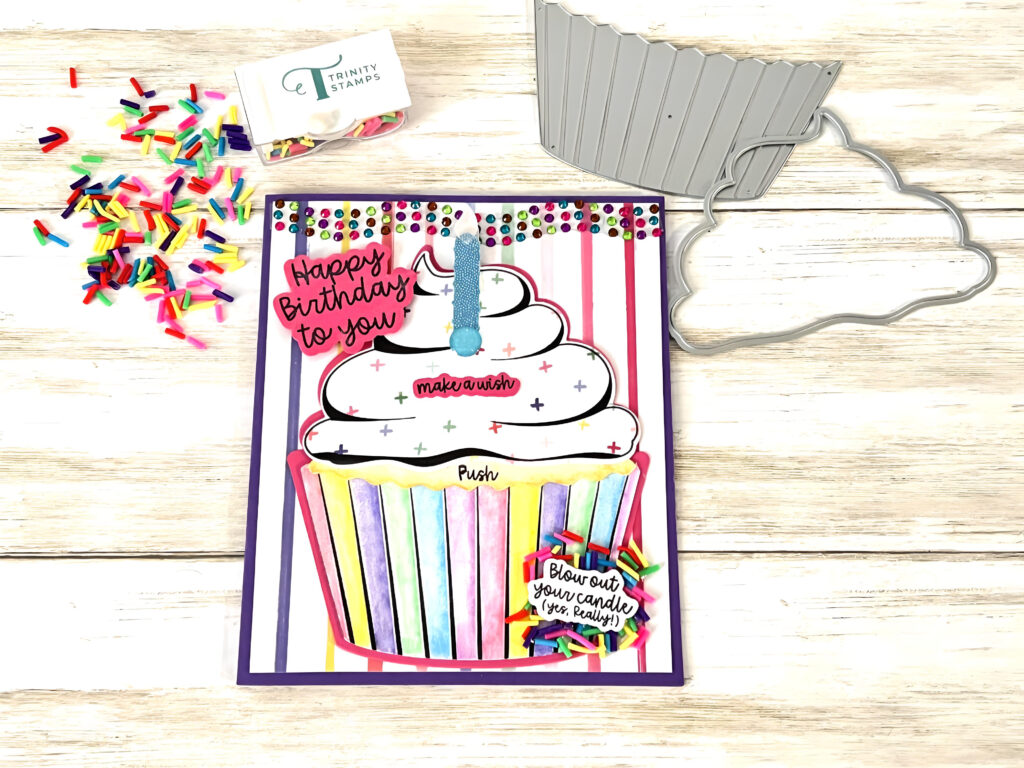
Our “Cupcake Kisses & Candlelight Wishes” card is a sweet and whimsical way to celebrate life’s little joys. With its warm, heartwarming message, this card is sure to make anyone feel special on their birthday.
Please note: This post contains affiliate links. If you use these links and make a purchase, we earn a commission at no extra cost to you…
This was such a fun card to create! With the adorable stamps and dies from Trinity Stamps, the Candle Light device that allows the candle to light up from Pear Blossom Press, this interactive card was not only fun, it was also easy to make. I really hope you make this card for someone you love. I promise they will love it!!! Crafty hugs, Lisa~
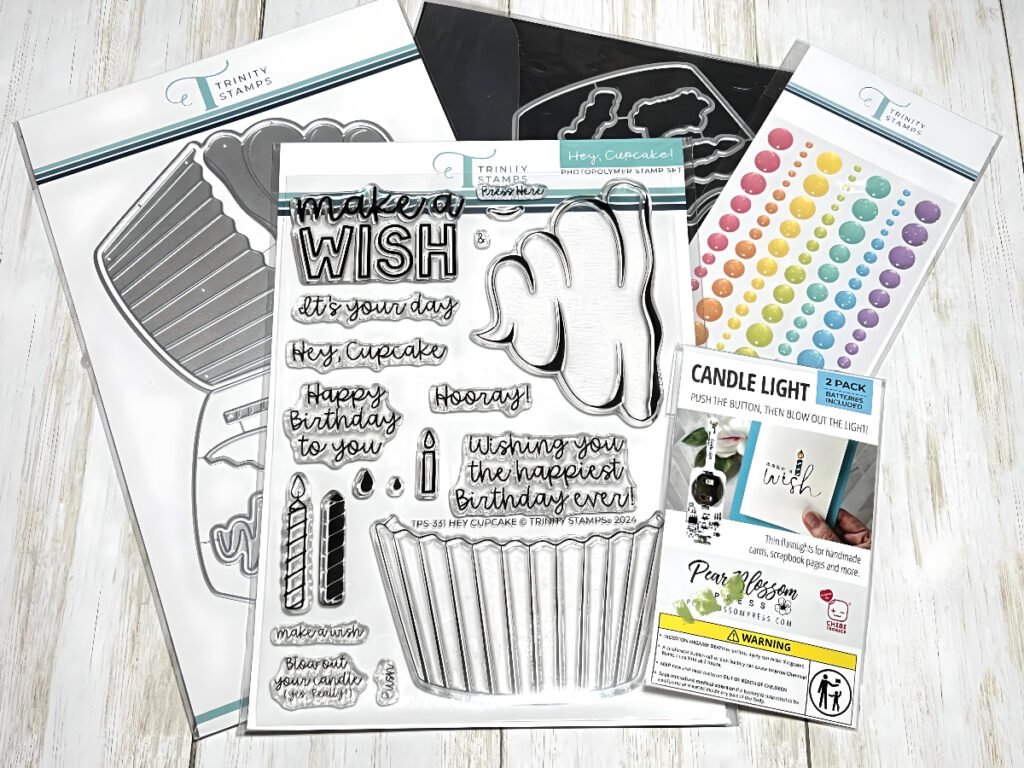
Supplies for Cupcake Kisses & Candlelight Wishes
Check out the full list of supplies at the end of this post.
Step One:
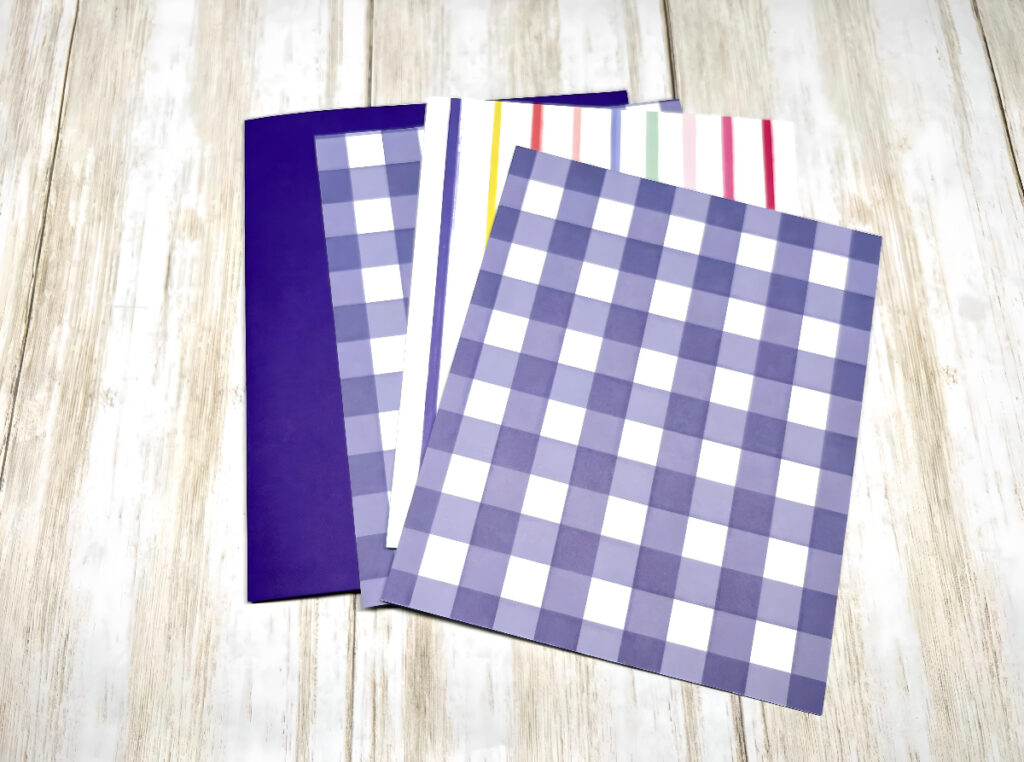
Cut the papers as follows~ Purple cardstock 10″W x 6″H folded in half to create the card base 5″W x 6″H. Next, cut three patterned papers 4 3/4″W x 5 3/4″H. Adhere the striped paper to the front of the base card and the checkered papers on the inside of the card.
Step Two:
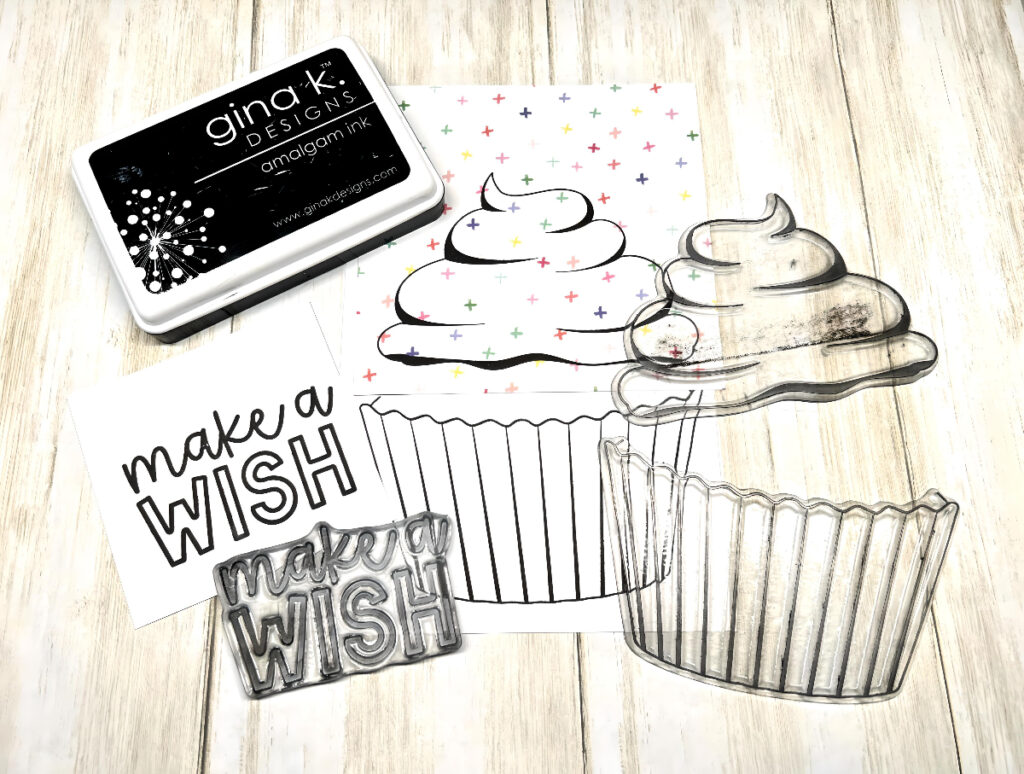
Using the black inkpad, stamp the top part of the cupcake onto a piece of patterned paper and the bottom of the cupcake and the sentiment onto pieces of white cardstock.
Step Three:
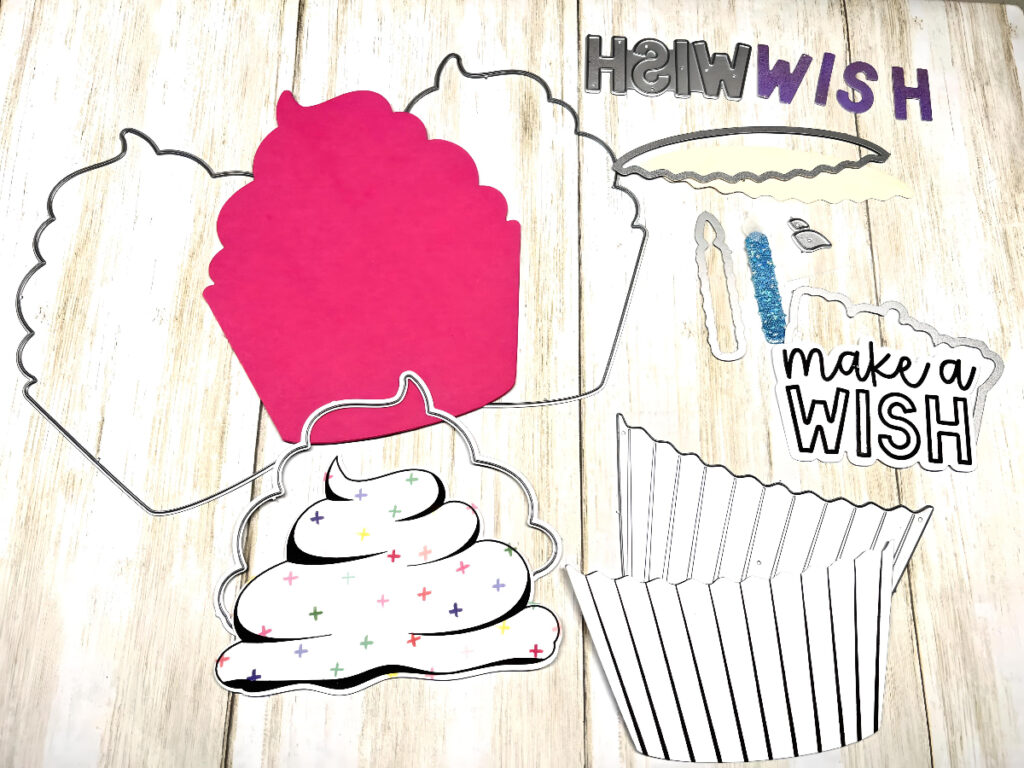
Die cut each piece as shown in the photo. From pink cardstock, die cut one side of the double cupcake die. Next, die cut the stamped images from step 2, and then die cut the candle and “WISH” from blue and purple glittered papers. Lastly, die cut the center of the cupcake from tan cardstock and the flame of the candle from vellum. Use watercolor pencils to color the three cupcake pieces and adhere the pieces together. Cut off the flame from the candle and adhere the vellum flame piece in it’s place. Adhere the candle to the cupcake and the “WISH” letters to the sentiment.
Step Four:
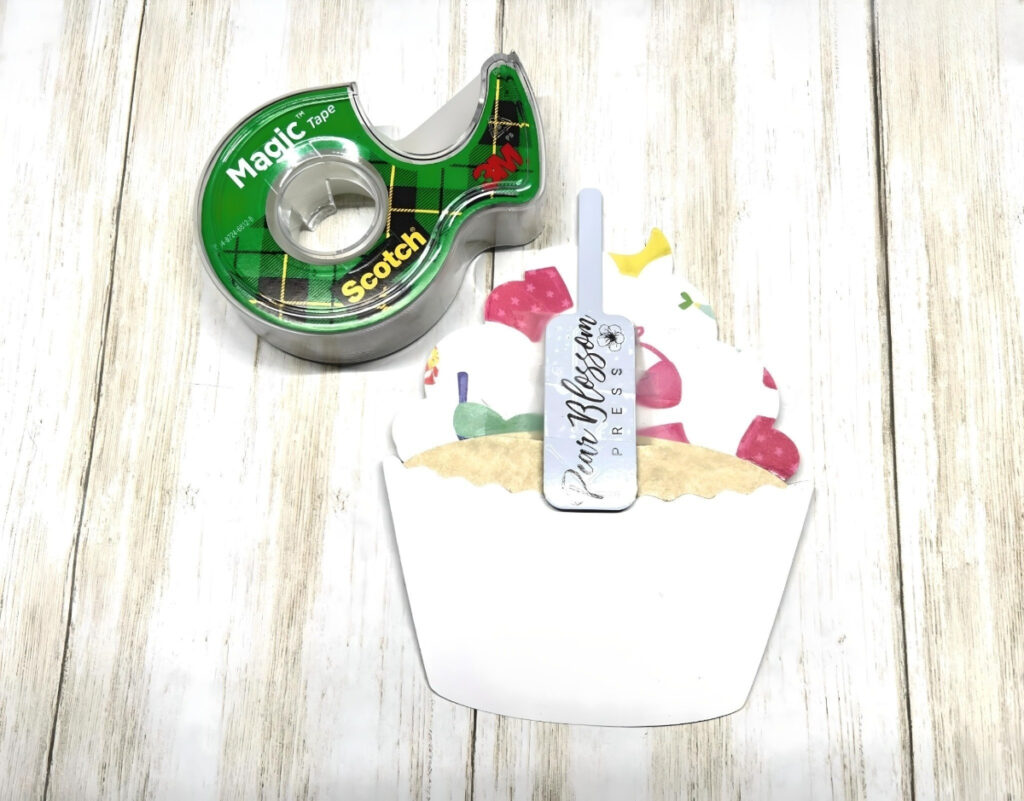
On the back of the cupcake, line up the top of the candle light with the vellum on the candle and tape the unit down to secure it in place. Use a pencil to mark the spot on the front of the cupcake where the on/off switch is located.
Step Five:
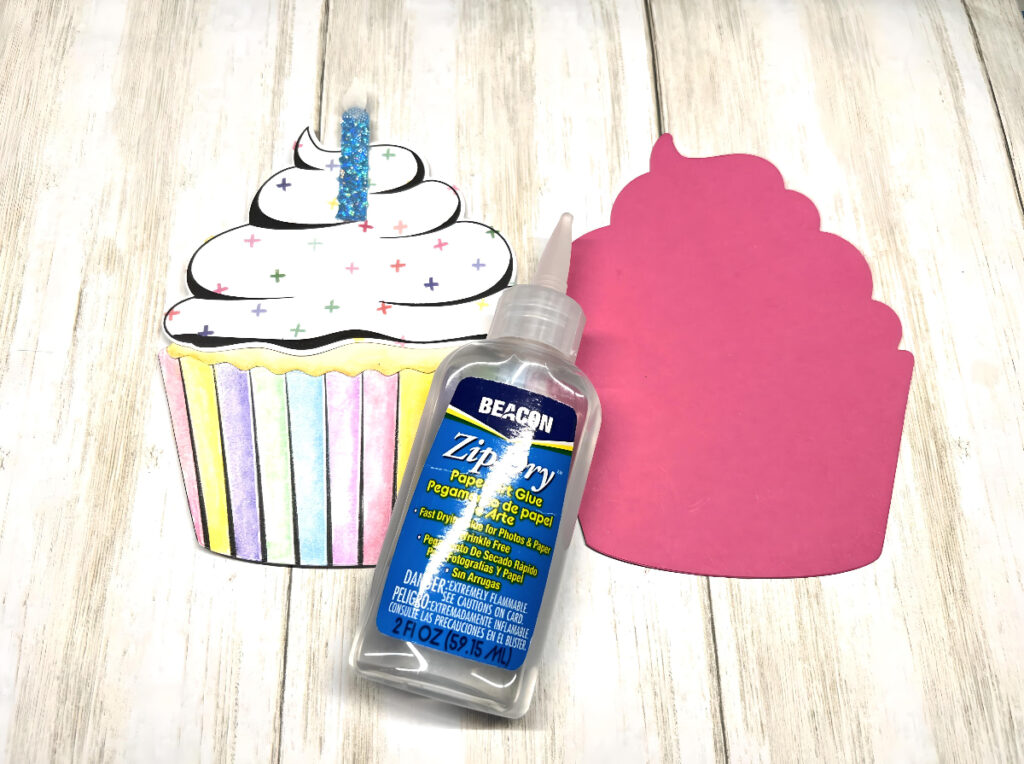
To finish the card, adhere the cupcake to the pink paper and adhere it to the card base. Using the black inkpad, stamp “Push” over the pencil mark on the cupcake. Stamp two sentiments on pink cardstock and one sentiment on white cardstock, and then die cut them out. Apply a dab of glue to the card and add the confetti. Adhere the sentiments and the rhinestone sticker to the front and the “Make a Wish” sentiment inside the card. See the finished photo for placement if needed.
Cupcake Kisses & Candlelight Wishes
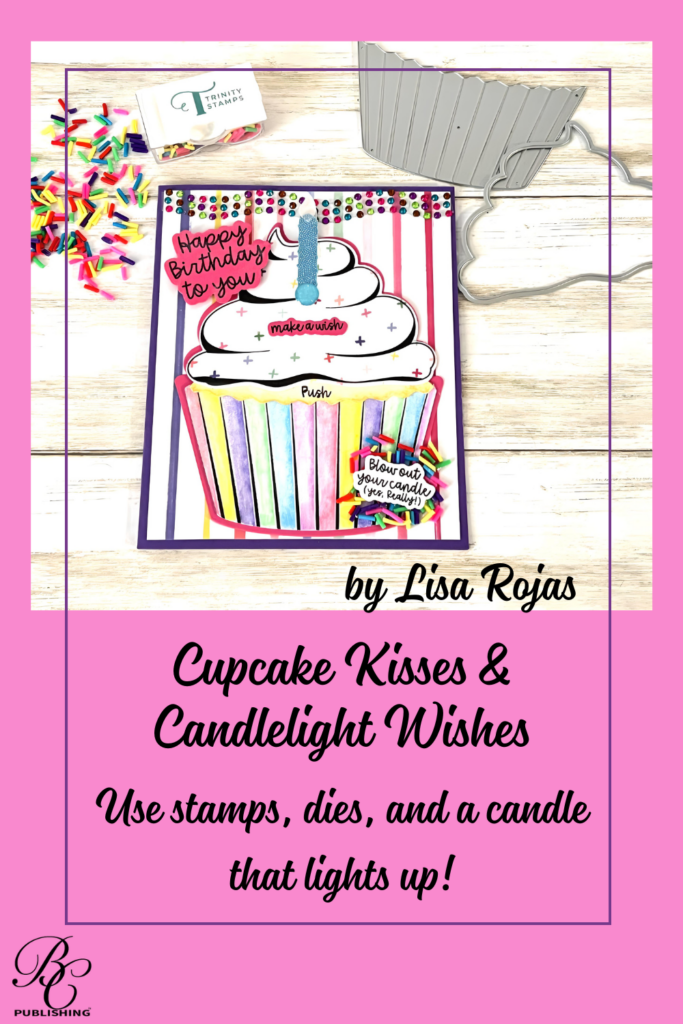
Here’s Another PIN For You To Share!
Complete Supply List
- Cardstock: White, Pink, Purple
- Glitter Papers: Purple, Blue
- Vellum
- Patterned Papers
- Amalgam Inkpad, Obsidian by Gina K Designs
- Watercolor Pencils
- Rhinestone Sticker Trim
- Zip Dry Paper Glue by Beacon Adhesives
- Carousel Cupcake Sprinkles Mix by Trinity Stamps
- Candle Light by Pear Blossom Press
- Hey Cupcake Stamp Set by Trinity Stamps
- Hey Cupcake Coordinating Die Set by Trinity Stamps
- Cupcake Card Die Set by Trinity Stamps
- Scissors
- Big Shot Die Cutting Machine by Sizzix

