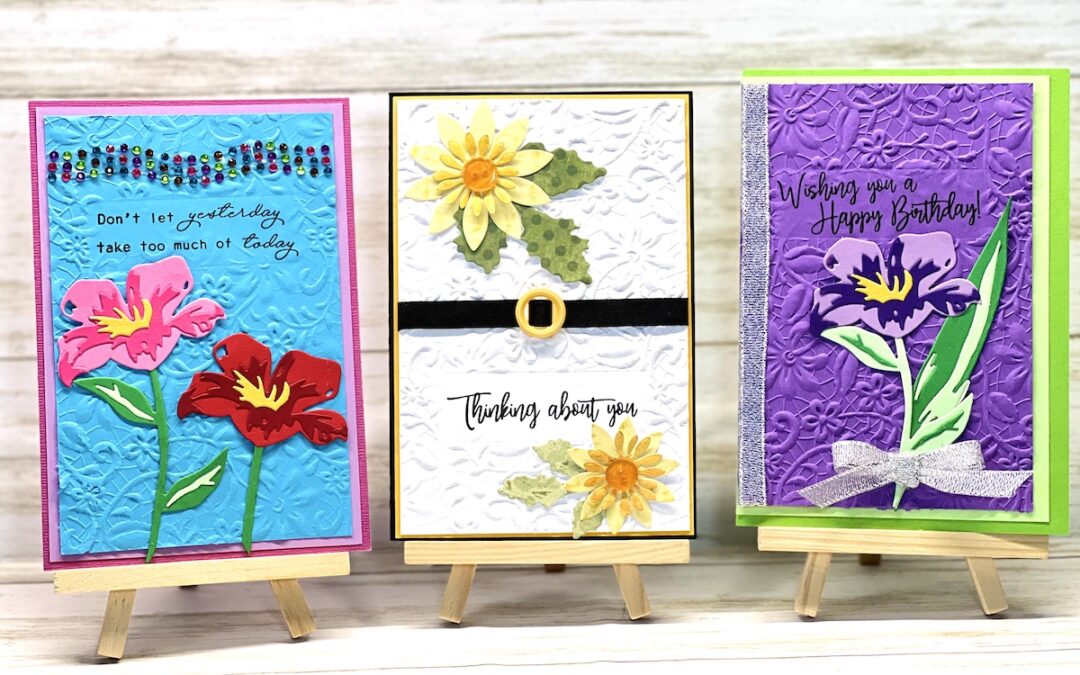
Learn how creating cards with Sizzix Dimensional Diffuser is a game changer! This simple tool lets you add texture while leaving a select area smooth for stamping or embellishing. Perfect for adding a unique touch to your handmade cards!
Please note: This post contains affiliate links. If you use these links and make a purchase, we earn a commission at no extra cost to you…
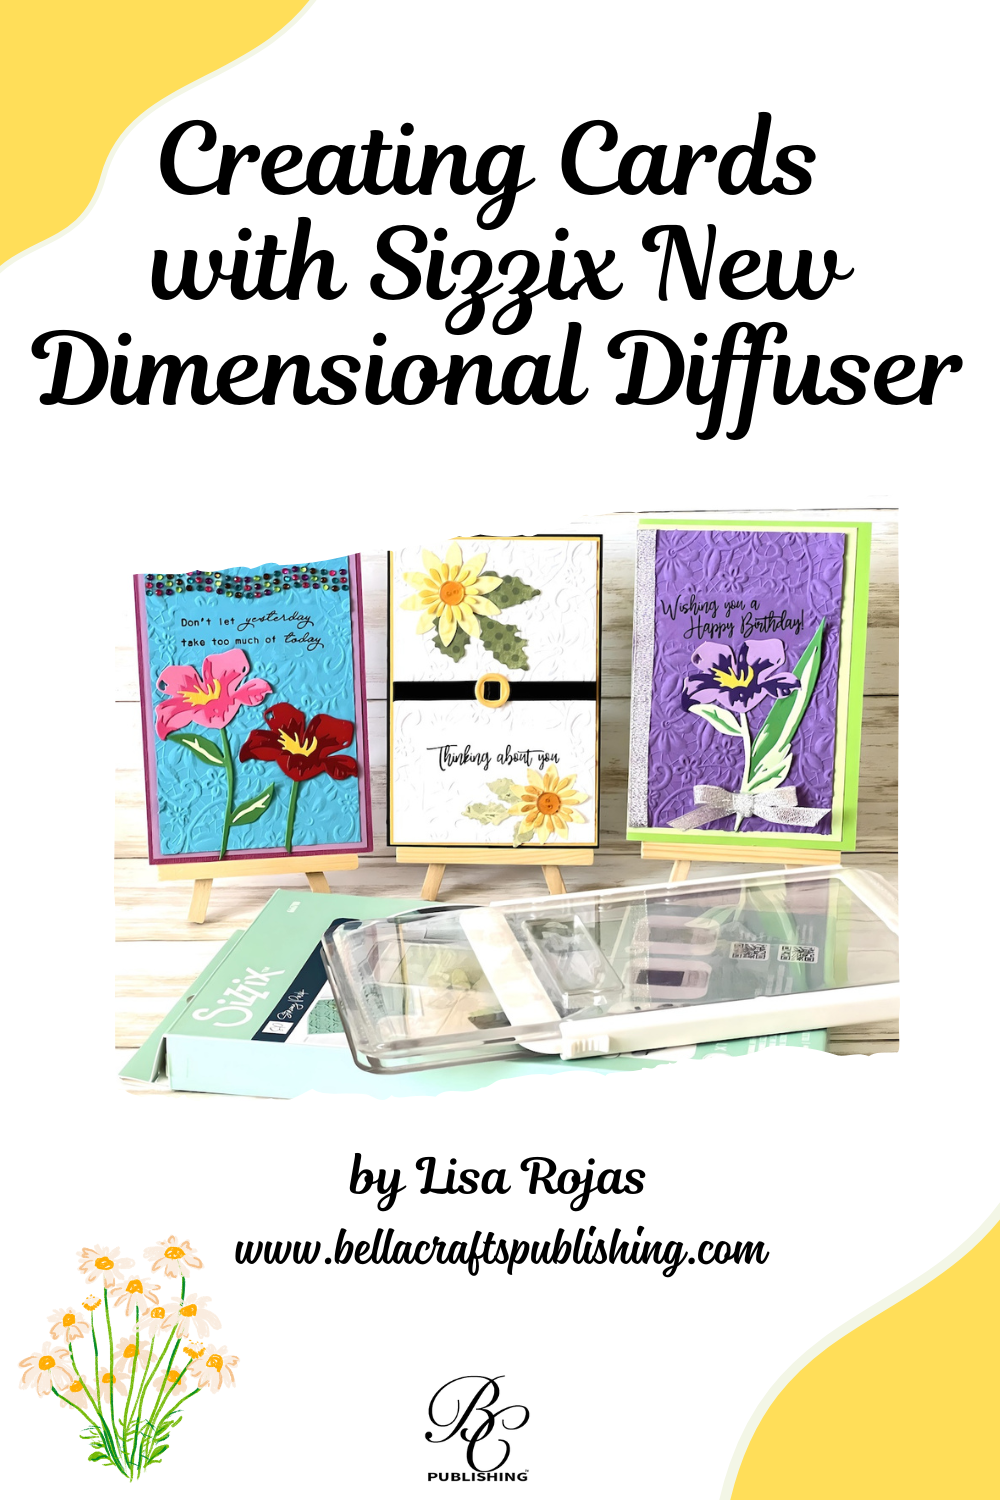
I have to admit…I love paper crafting tools and when I saw the new Dimensional Diffuser by Sizzix, I lost my mind!!! Used with embossing folders you can smooth an area on your cardstock to add sentiments and other fun stuff. This is a must-have tool for your studio! Crafty hugs, Lisa~
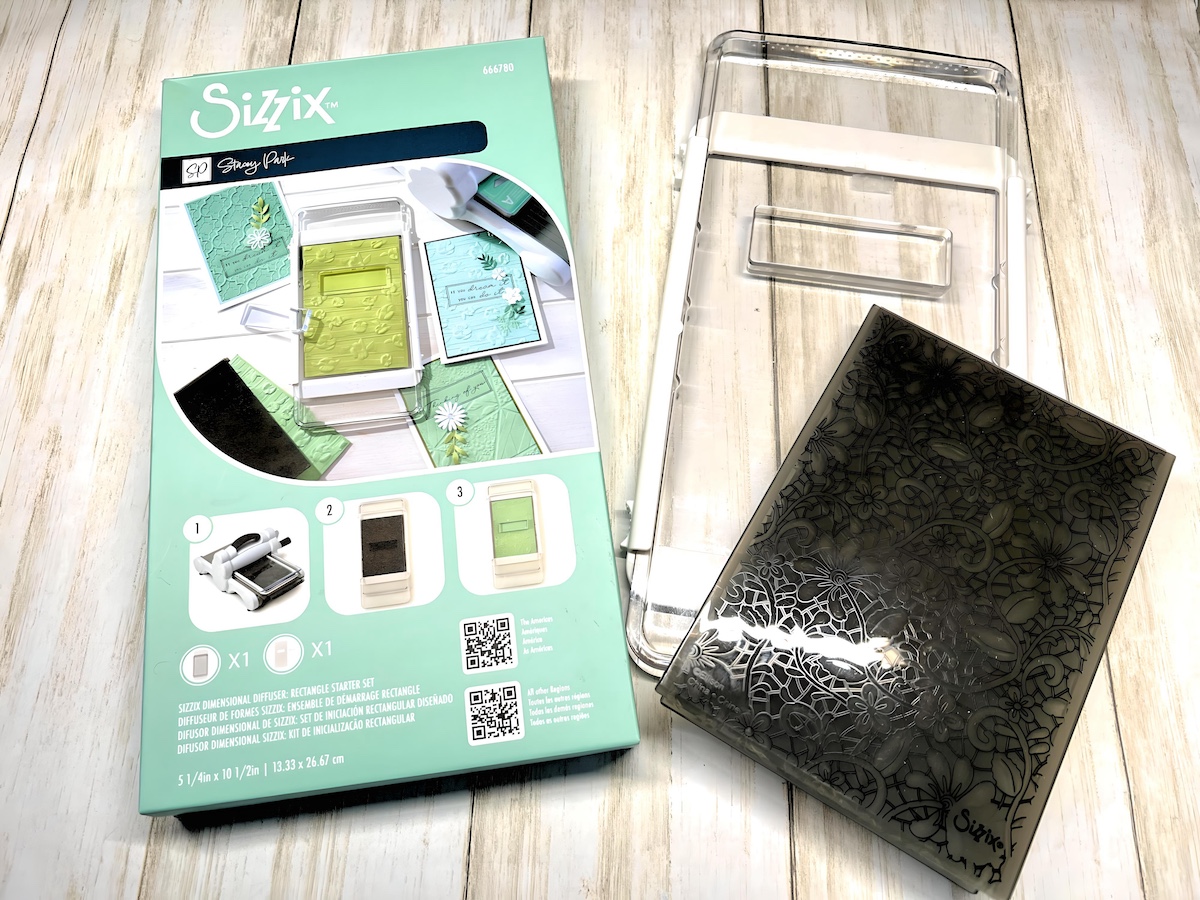
Supplies for Creating Cards with Sizzix
See complete supply list at the end of this post
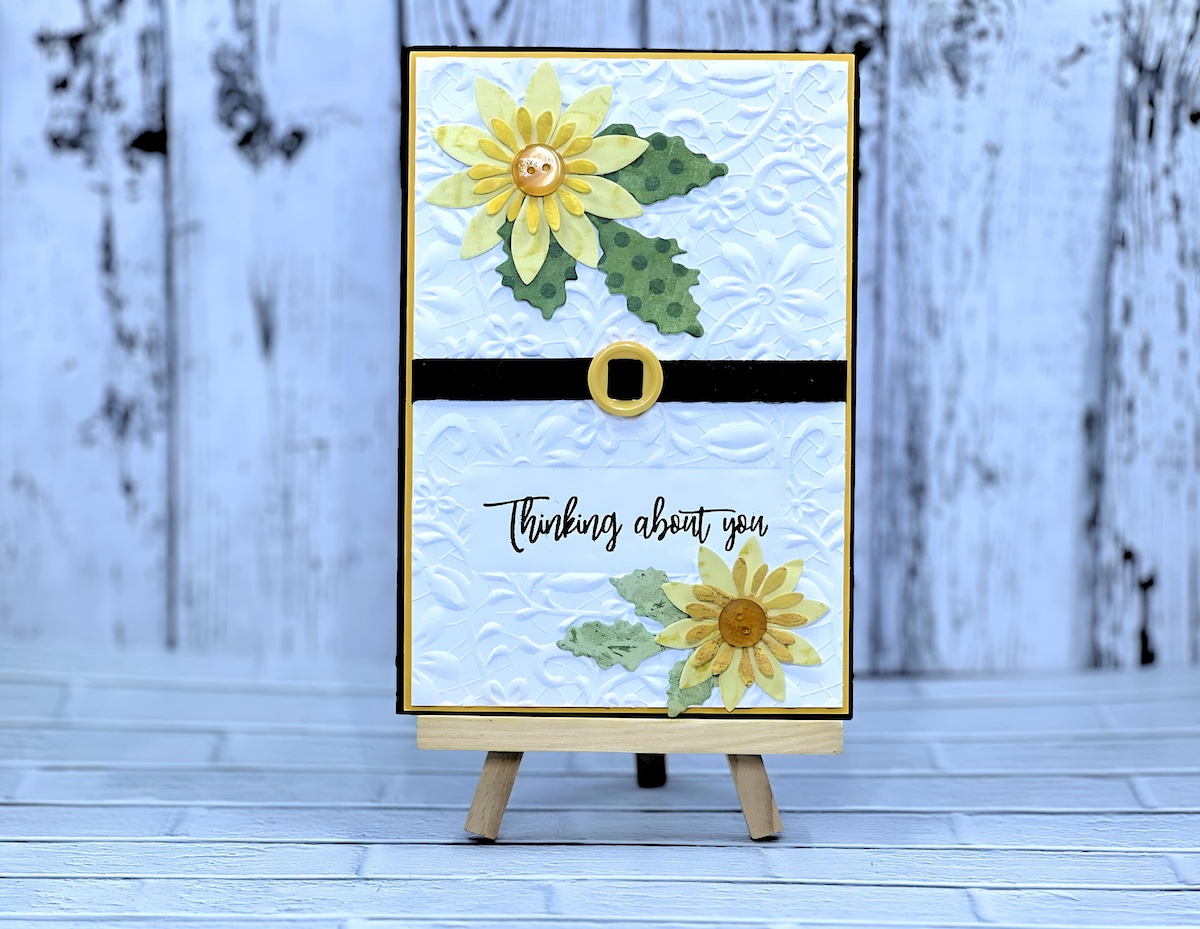
Card #1
Steps One & Two:
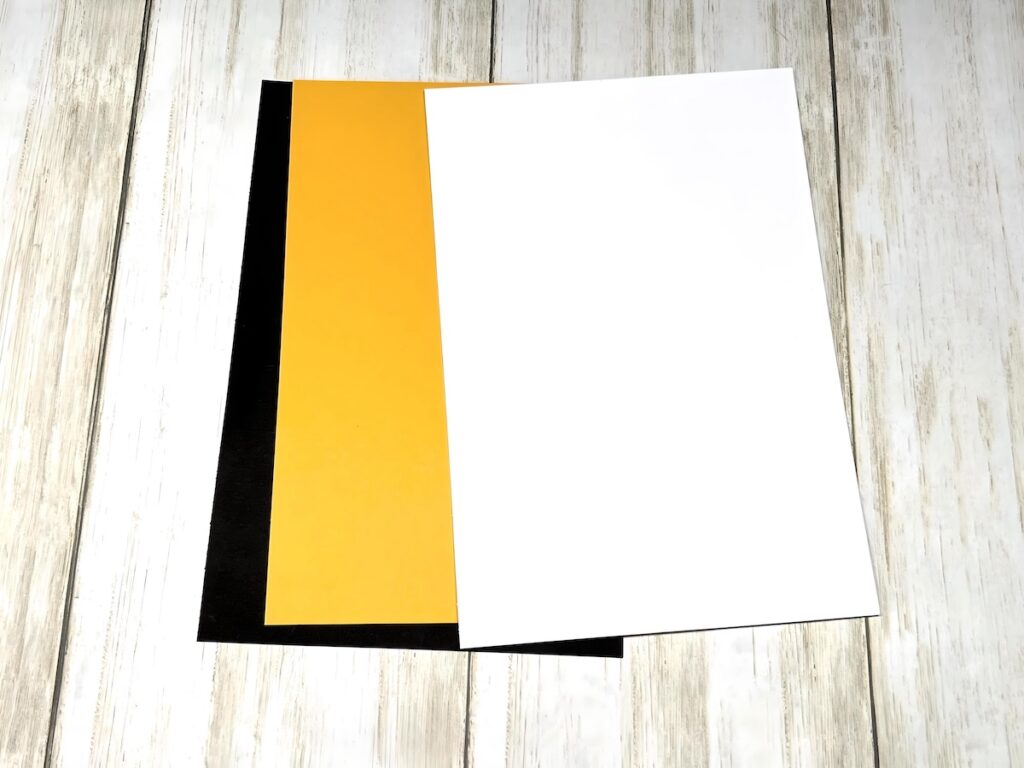
Cut the cardstock as follows: Black (card base) 4 1/4″W x 6 1/4″H, Orange 4 1/8″W x 6 1/8″H, and White 4″W x 6″H.
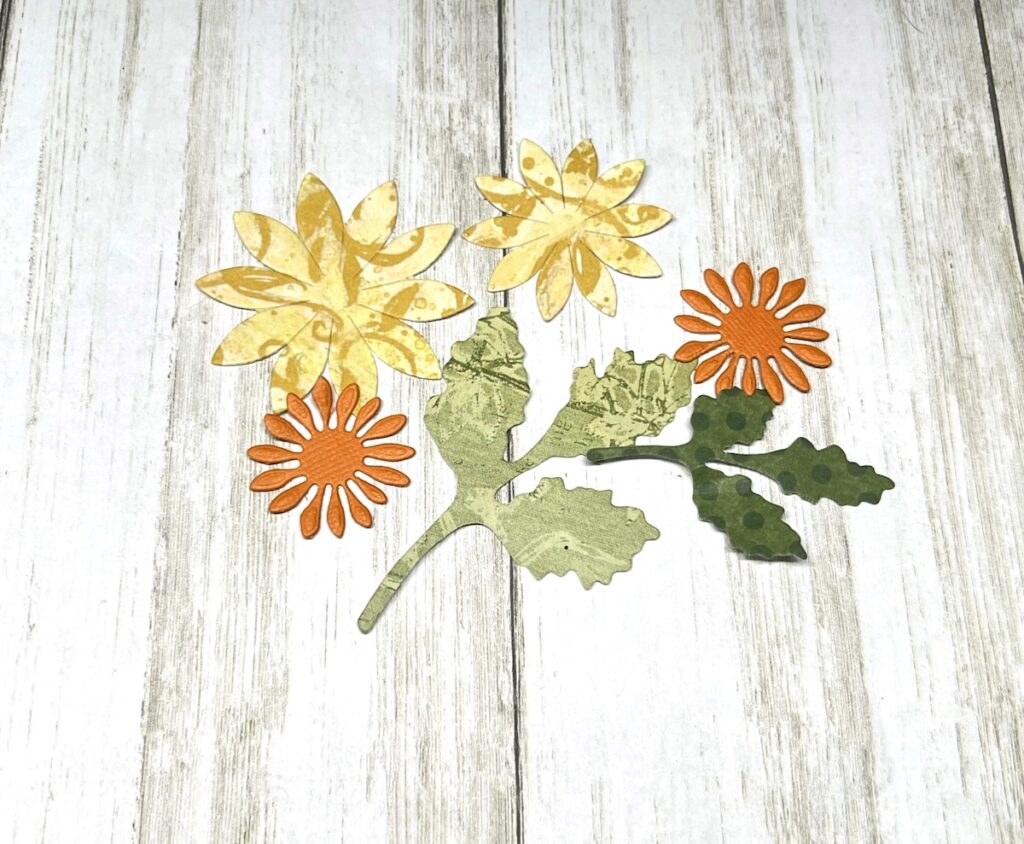
Using dies, cut out the leaves and flowers from various patterned papers as shown.
Steps Three & Four:
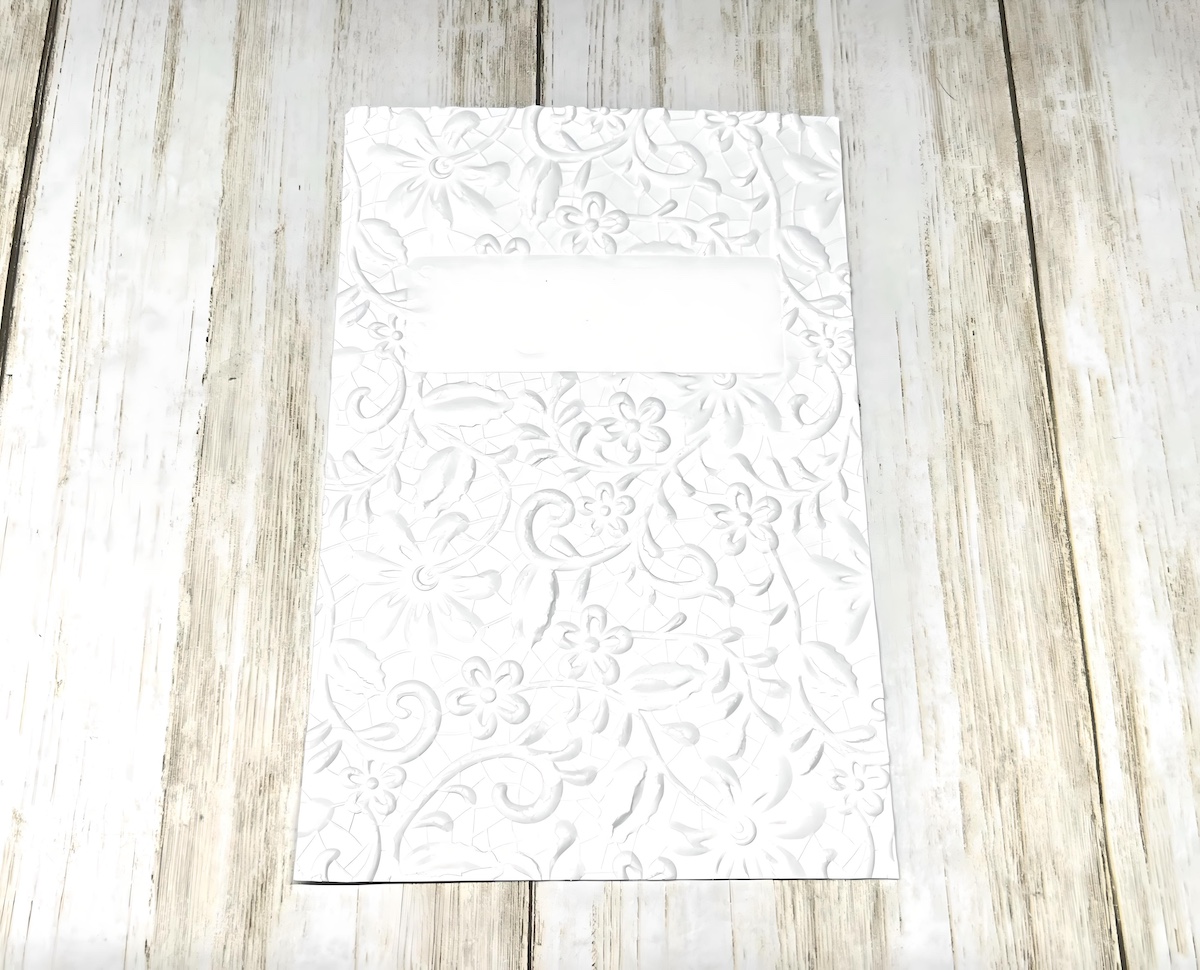
Place the White cardstock into the embossing folder and then place the embossing folder into the Sizzix Dimensional Diffuser following the manufacturer’s instructions.
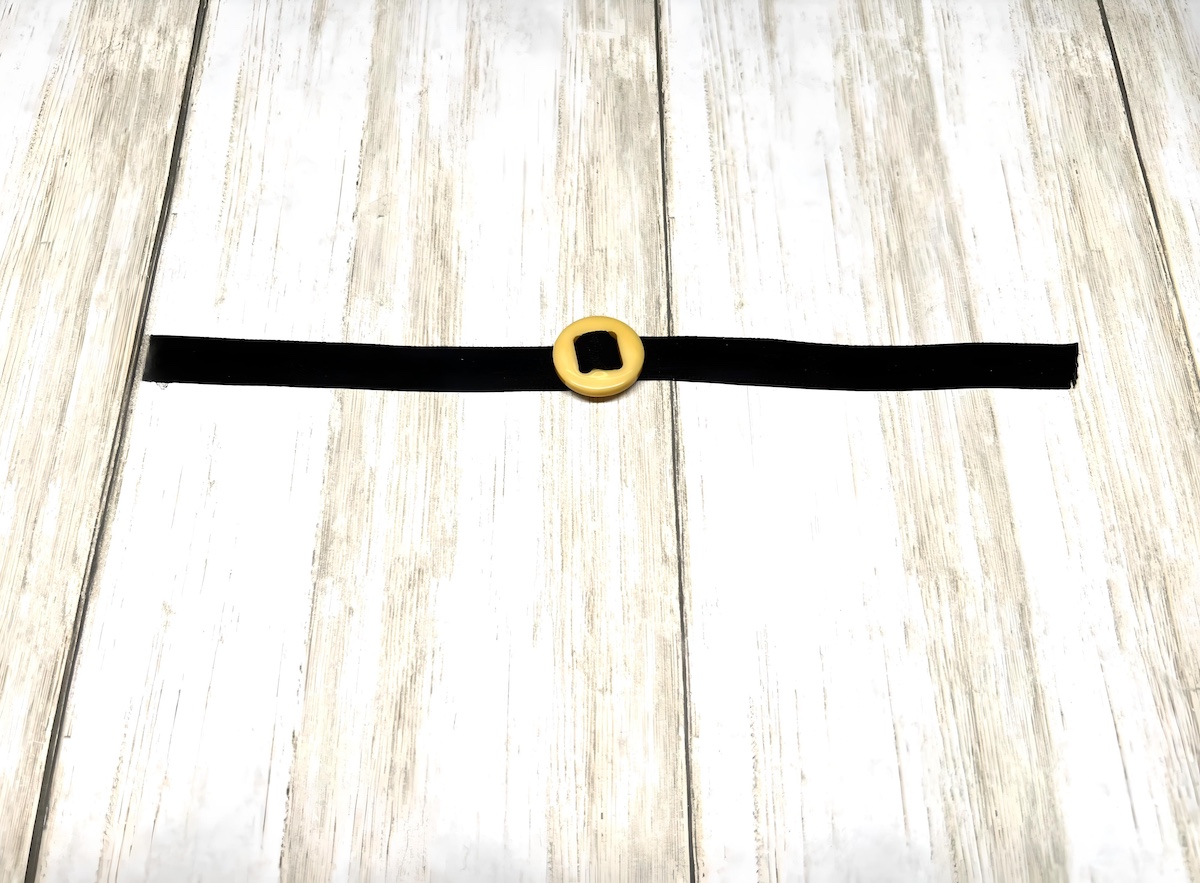
To finish Card #1, cut a piece of Black ribbon 6″ long. Slide the button on the ribbon as shown. Stamp the sentiment on the cardstock with a Black inkpad. Adhere the ribbon to the White cardstock, wrapping it around the back. Layer and adhere the Orange cardstock to the Black base card and then the White cardstock. Adhere the die cut flowers to the card and attach the buttons to the centers of the flowers.
NOTE: You can watch my video on using the Dimensional Diffuser by clicking on this link to our YouTube Channel~ https://youtube.com/live/z-CsfsNXhTM?feature=share
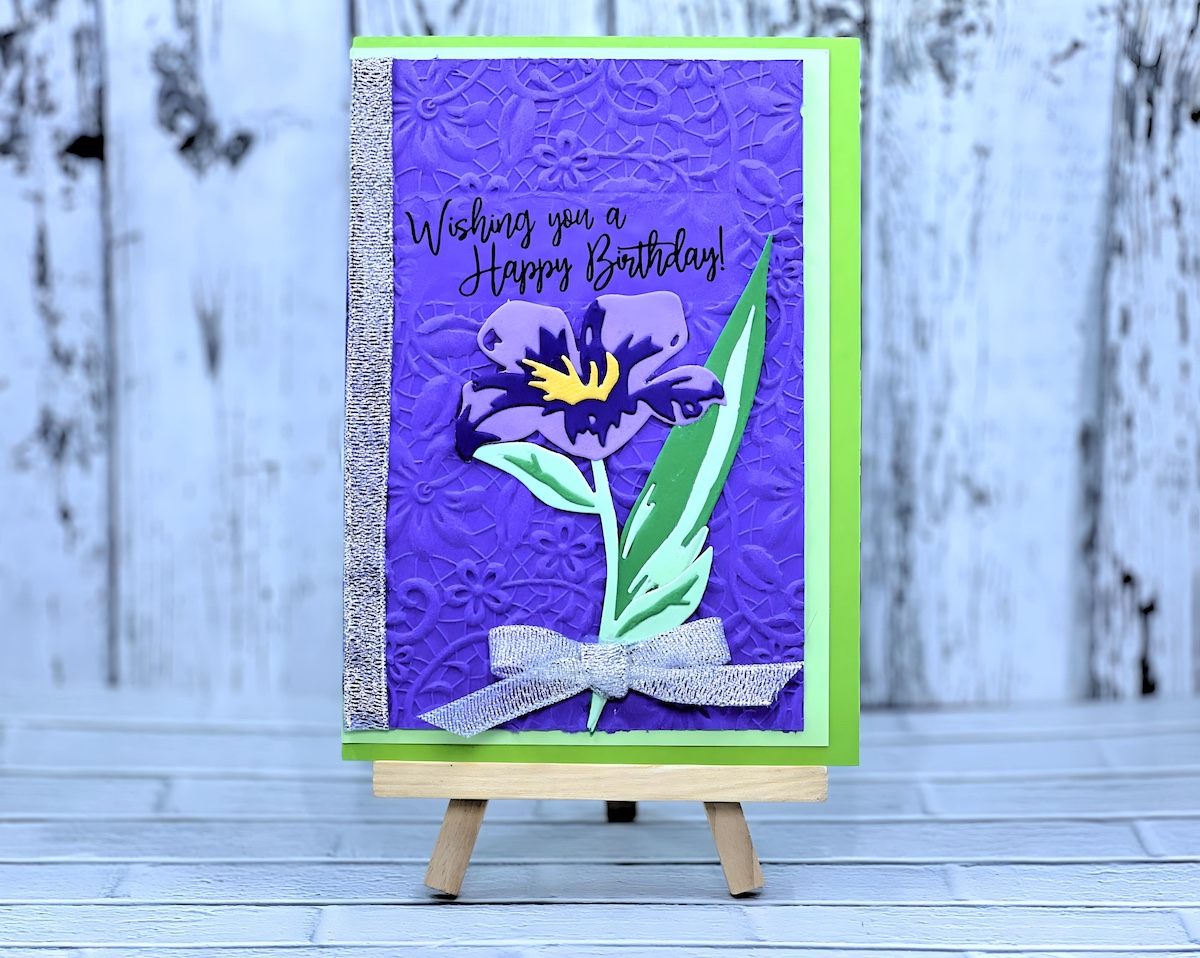
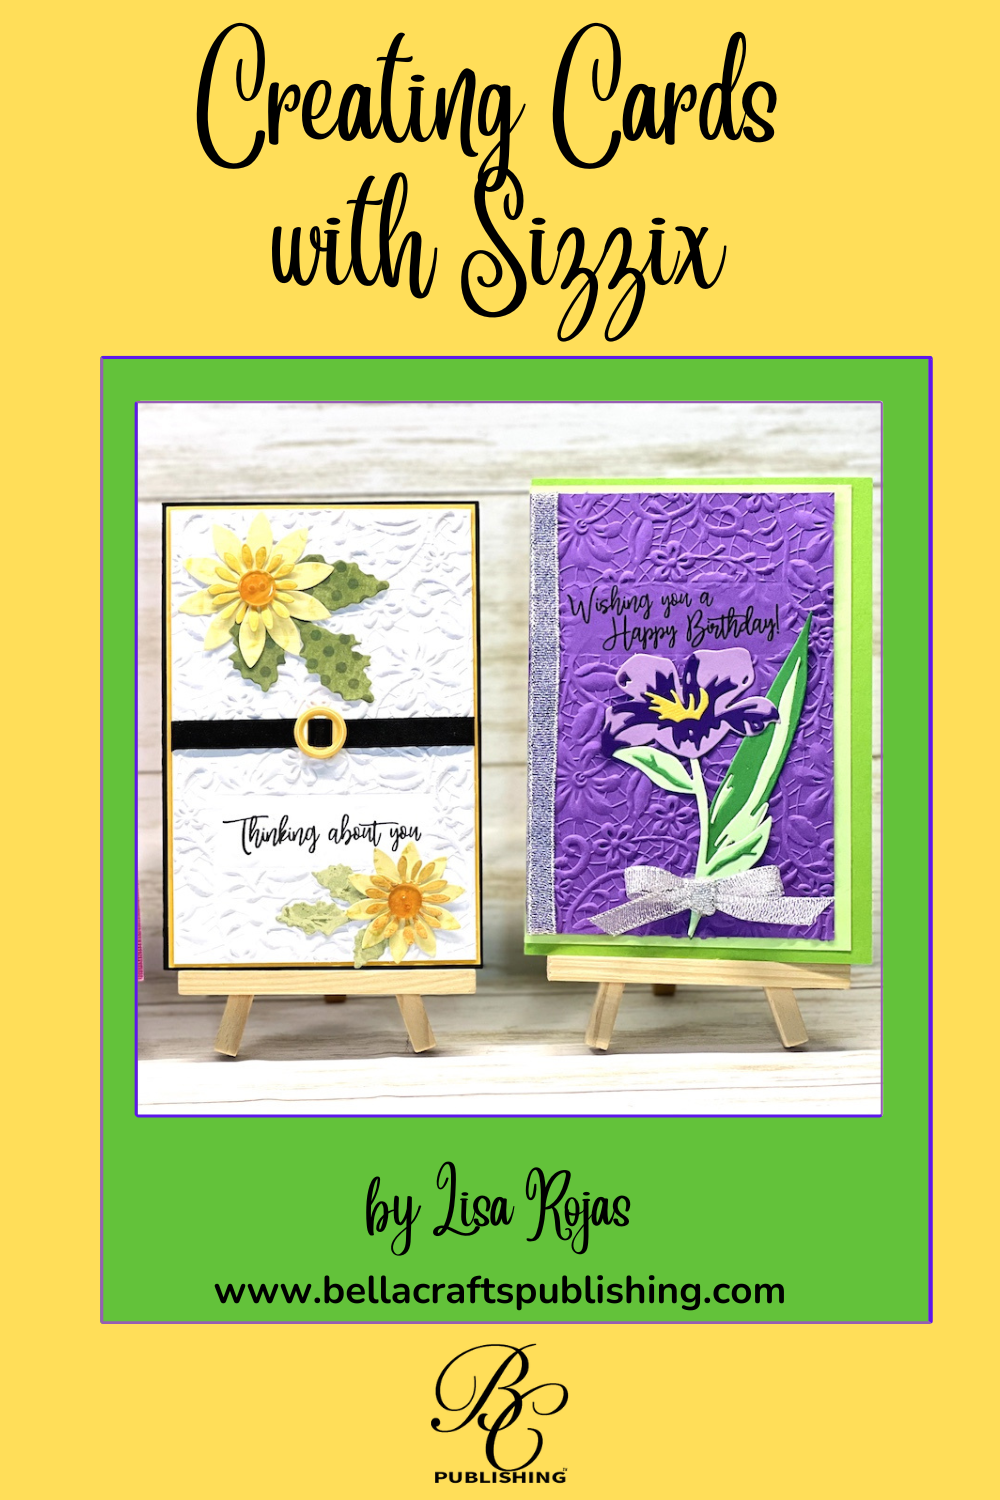
Card #2
Steps One, Two, Three:
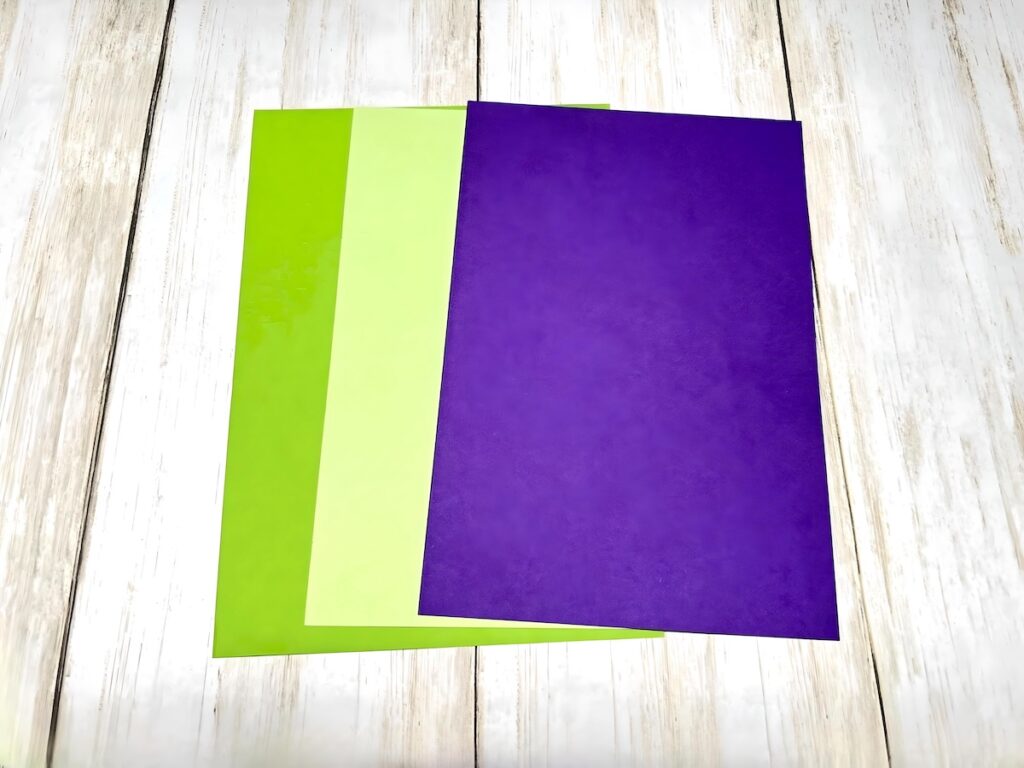
Cut the cardstock as follows: Green (card base) 4 1/2″W x 6 1/2″H, Light Green 4 1/4″W x 6 1/4″H, Purple 4″W x 6″H.
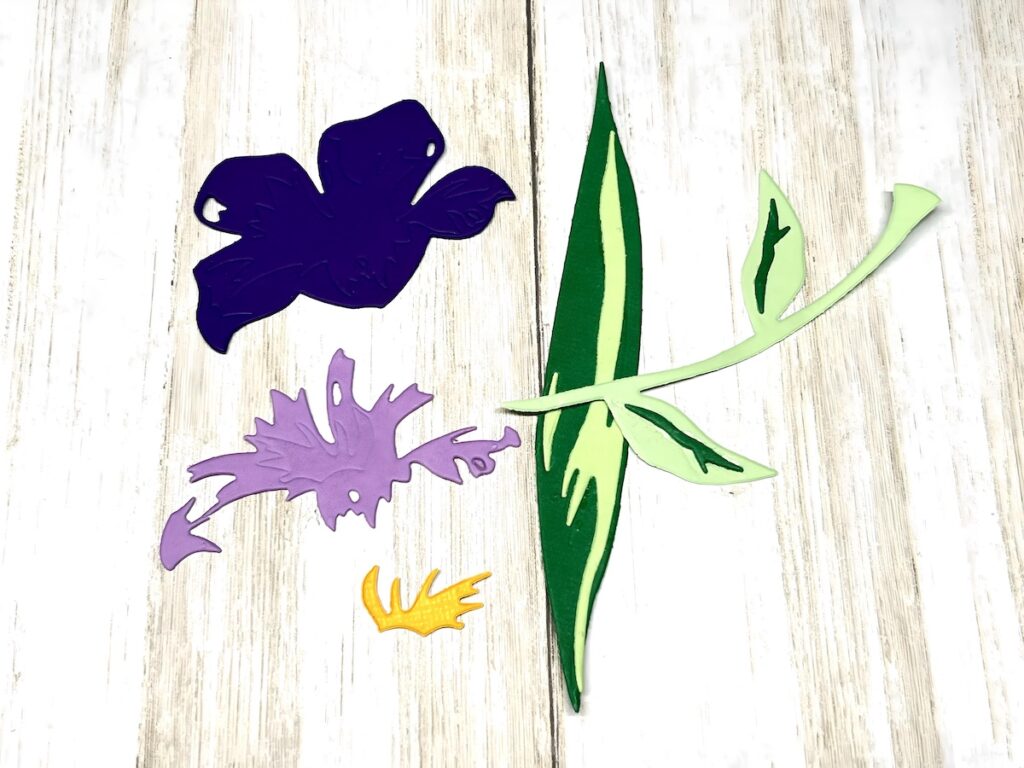
Die cut the layers of the flowers and adhere them together.
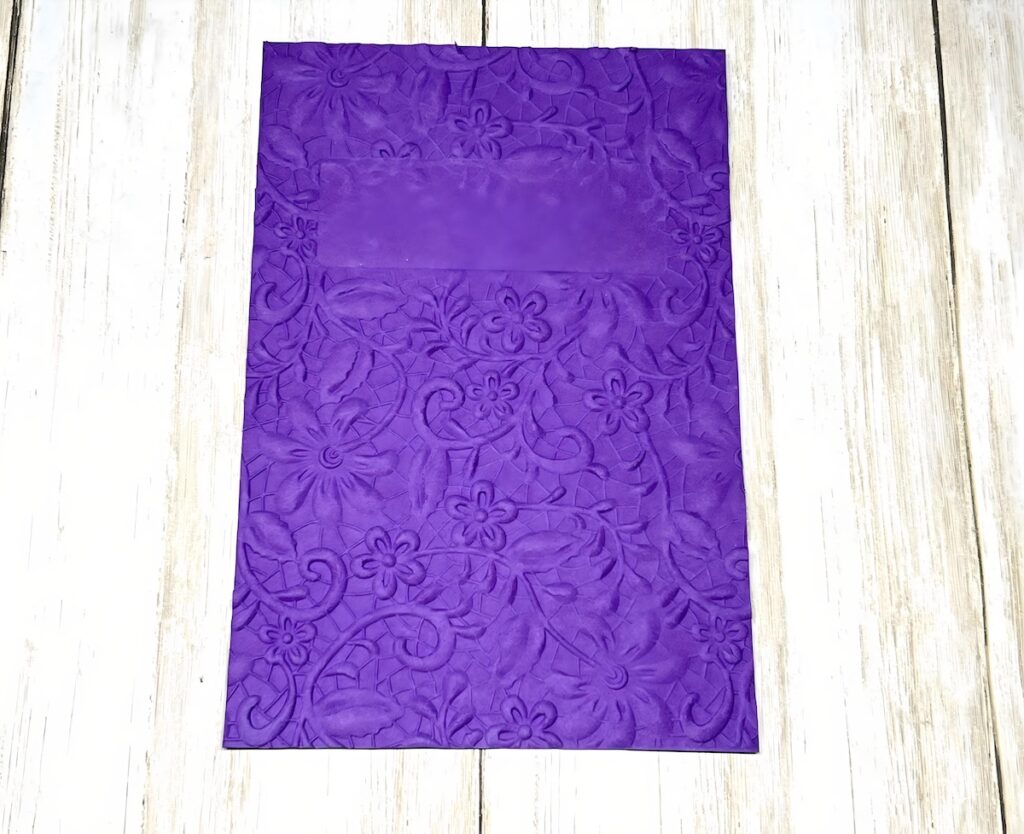
Place the Purple cardstock into the embossing folder and then place the embossing folder into the Sizzix Dimensional Diffuser following the manufacturer’s instructions. NOTE: You can watch my video on using the Dimensional Diffuser by clicking on this link to our YouTube Channel~ https://youtube.com/live/z-CsfsNXhTM?feature=share
To finish Card #2, stamp the sentiment on the cardstock with a Black inkpad. Adhere the Silver ribbon to the Purple cardstock, wrapping it around the back and adhere the die cut flowers to the card. Layer and adhere the Light Green cardstock to the Green card base and then the Purple cardstock. Create a bow with the Silver ribbon and adhere it to the card.
NOTE: I created a third card similar to card #2. I changed the cardstock colors and flowers, and added a rhinestone trim to the top of the card.
One more PIN of the Creating Cards with Sizzix Dimensional Diffuser to share
Supply List for Card #1
- Cardstock: White, Orange, Black
- Patterned Papers, Various
- Gwen Studios Ribbon, Black
- Gwen Studios Buttons
- Gina K. Designs Amalgam Inkpad, Obsidian
- Sentiment Stamp
- Floral Dies
- Double-sided Tape
- Beacon Adhesives Zip Dry Paper Glue
- Sizzix 3-D Textured Impressions # 665324
- Sizzix Dimensional Diffuser Tool
- Sizzix Big Shot
- Paper Trimmer
Supply List for Card #2
- Cardstock: Purple, Green, Light Green, Lavender, Orange
- Gwen Studios Ribbon, Silver Metallic
- Gina K. Designs Amalgam Inkpad, Obsidian
- Sentiment Stamp
- Double-Sided Tape
- Beacon Adhesives Zip Dry Paper Glue
- Sizzix Thinlits Die Set #665812
- Sizzix 3-D Textured Impressions # 665324
- Sizzix Dimensional Diffuser Tool
- Sizzix Big Shot
- Paper Trimmer