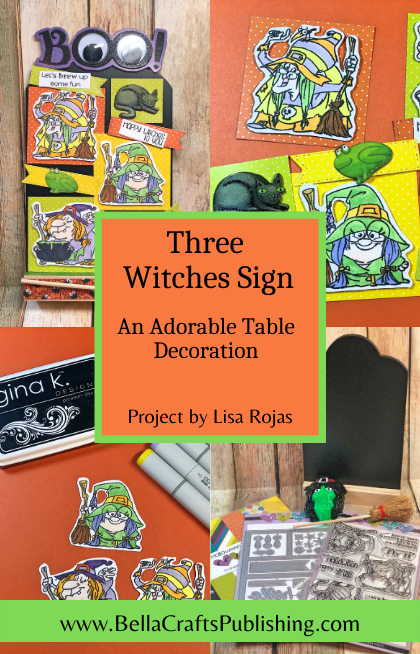
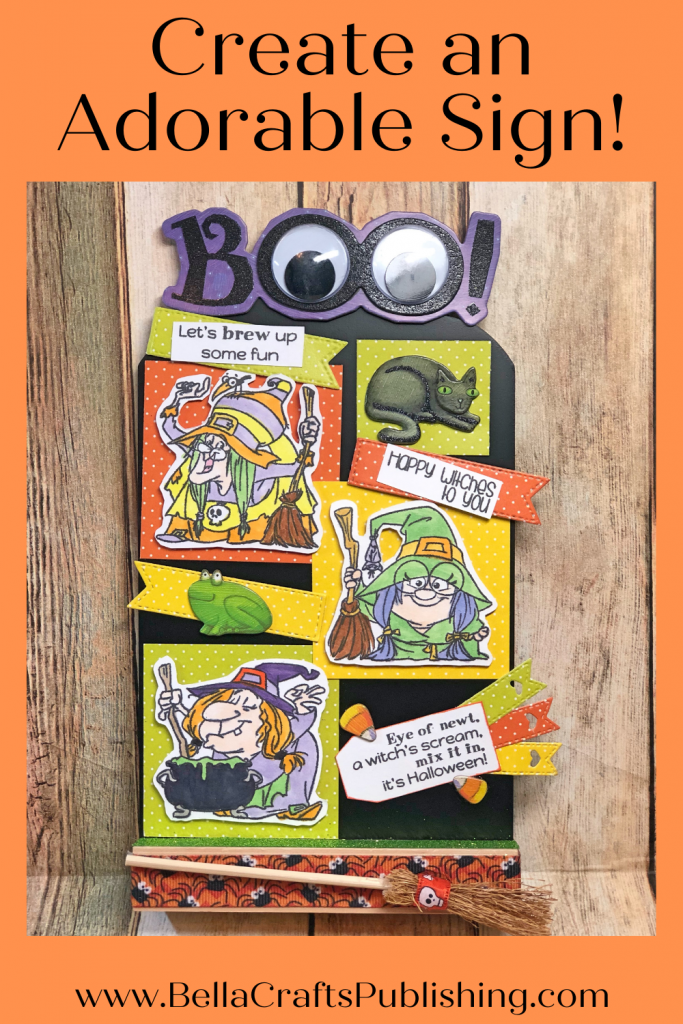
Create this adorable sign for Halloween! It’s fun, easy and the kids will love to help too~
Please note: This post contains affiliate links. If you use these links and make a purchase, we earn a commission at no extra cost to you…
You’re going to give the kids a giggle or two when you create this adorable sign for Halloween! And, it’s easy on your wallet too. You can buy a pre-made sign for super cheap at your craft store or dollar store. Add a few stamped images from CC Designs Rubber Stamps and some stickers and you’re ready to go! Give it a try~
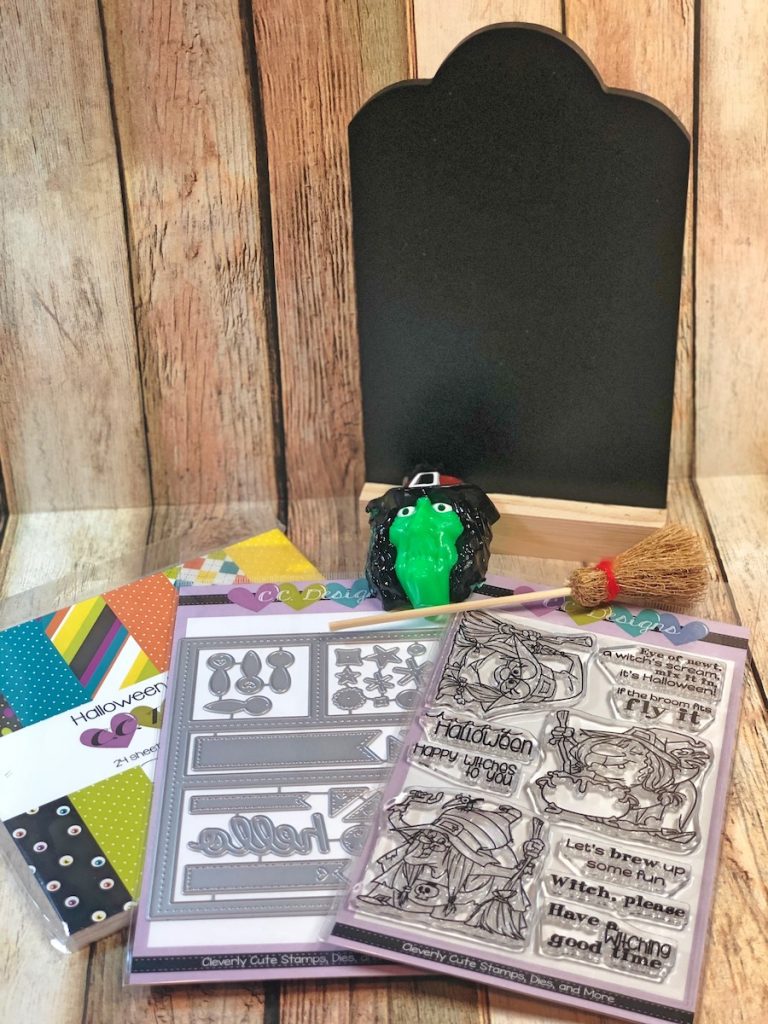
Supplies for Three Witches Sign
Check out the full list of supplies at the end of this post.
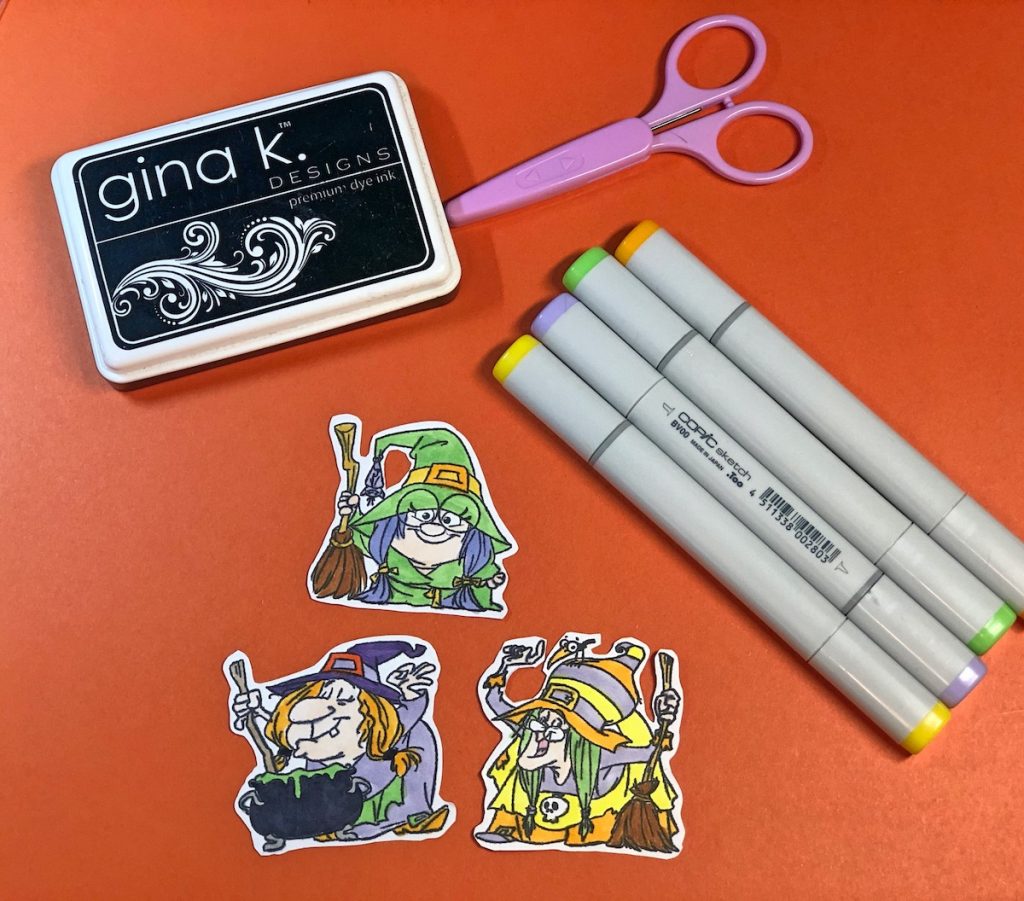
Step One:
Stamp images with black inkpad, color with markers and cut them out.
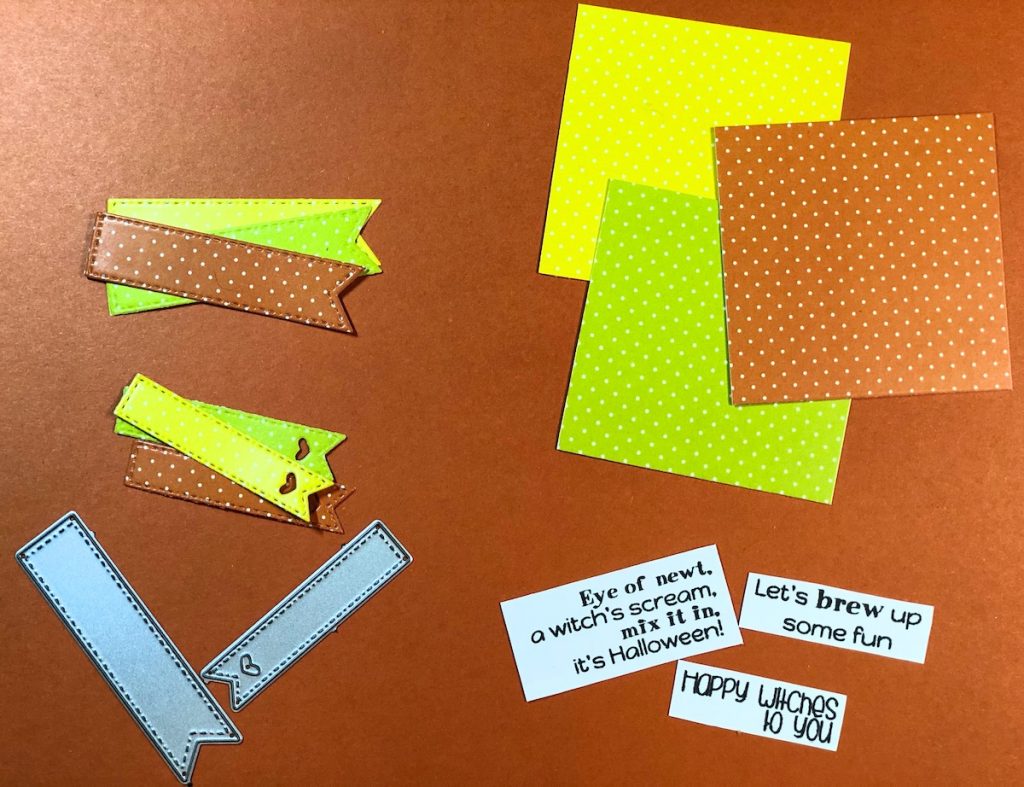
Step Two:
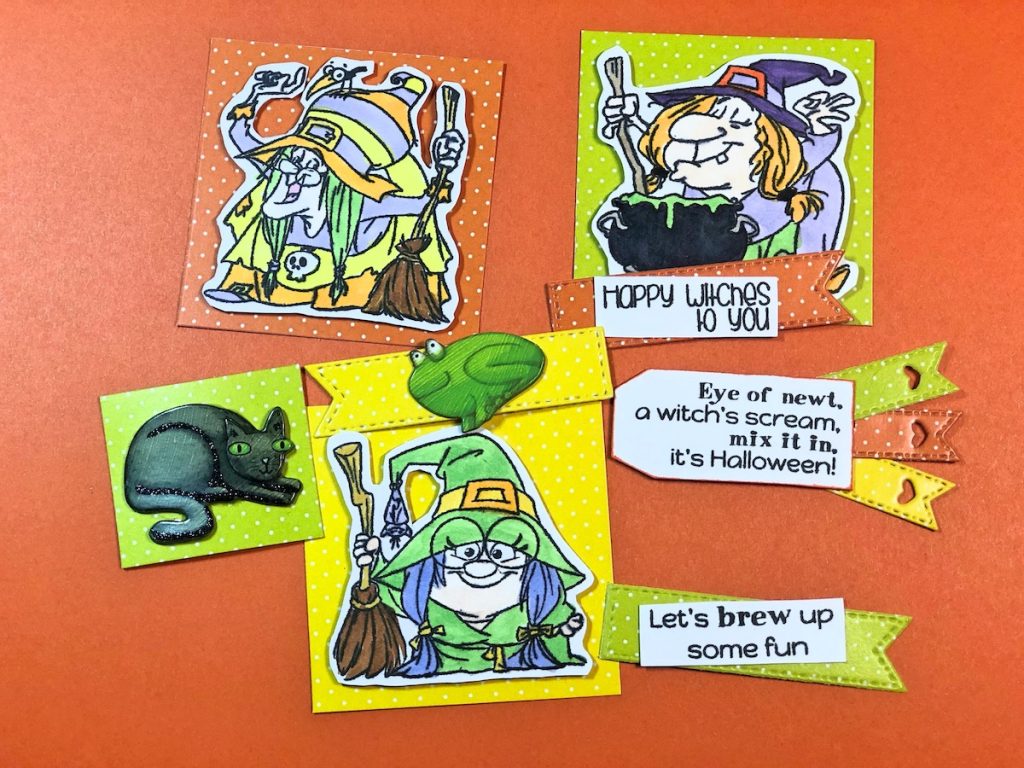
Cut three pieces of patterned paper 2 1/2″ x 2 1/2″ and one piece 1 3/4″ x 1 1/2″. Cut out banners with die cutting machine. Stamp word images with black inkpad on white cardstock.
Step Three:
Adhere images, stickers and word images to patterned papers and banners as shown.
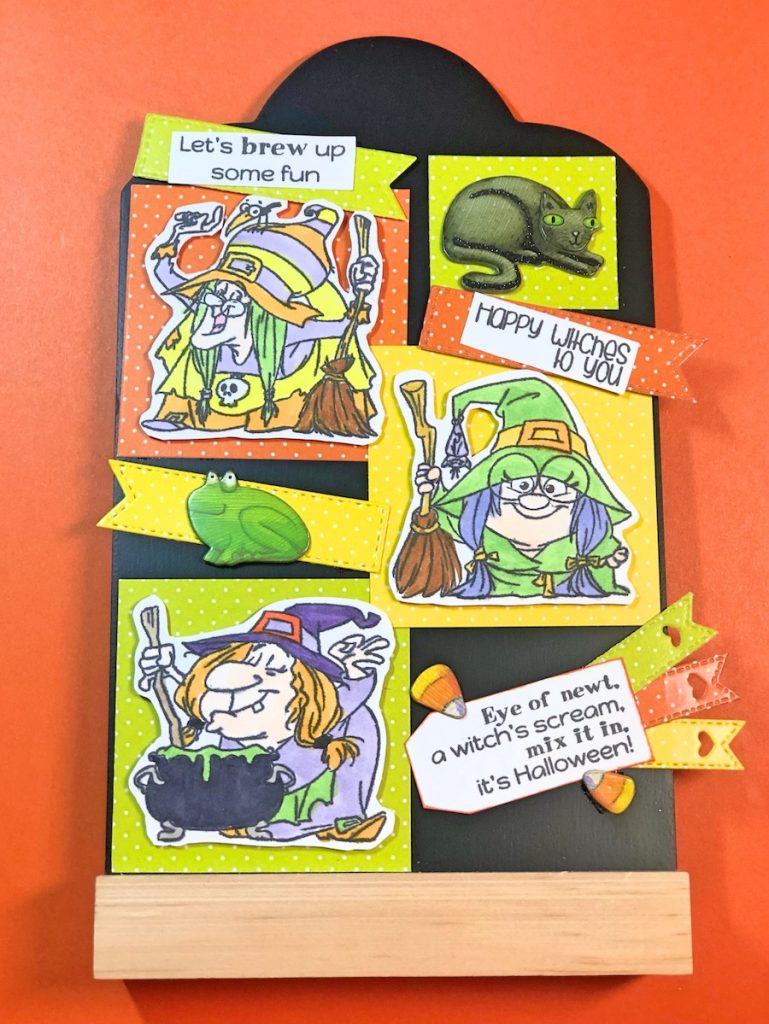
Step Four:
Adhere the pieces to the sign with Zip Dry Paper Glue as shown. Finish the sign by adhering ribbons to the base of the sign and “BOO” sticker to the top. Cut up a small portion an old broom and wrap some wire around the top to hold together. Adhere a wood dowel to the center and add a piece of ribbon around the wire.
Three Witches Sign
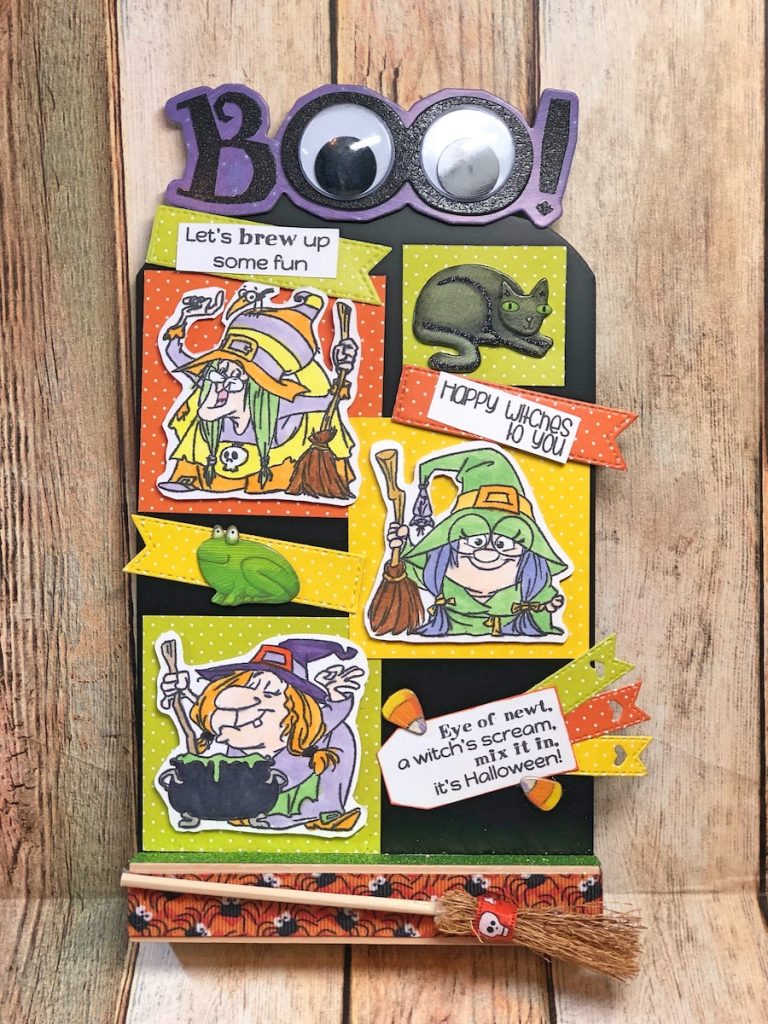
Supplies for Three Witches Sign
- Sign
- White Cardstock
- Patterned Papers by CC Design Rubber Stamps
- Witchy Way Stamp Set by CC Designs Rubber Stamps
- Quad Collage Die Set by CC Designs Rubber Stamps
- Black Inkpad by Gina K. Designs
- Copic Markers
- Stickers
- Ribbons
- Dowel, wire, old broom
- Zip Dry Paper Glue by Beacon Adhesives
- Paper Trimmer
- Die Cutting Machine
