If you’re looking for something to do, create some fun with Stampendous!
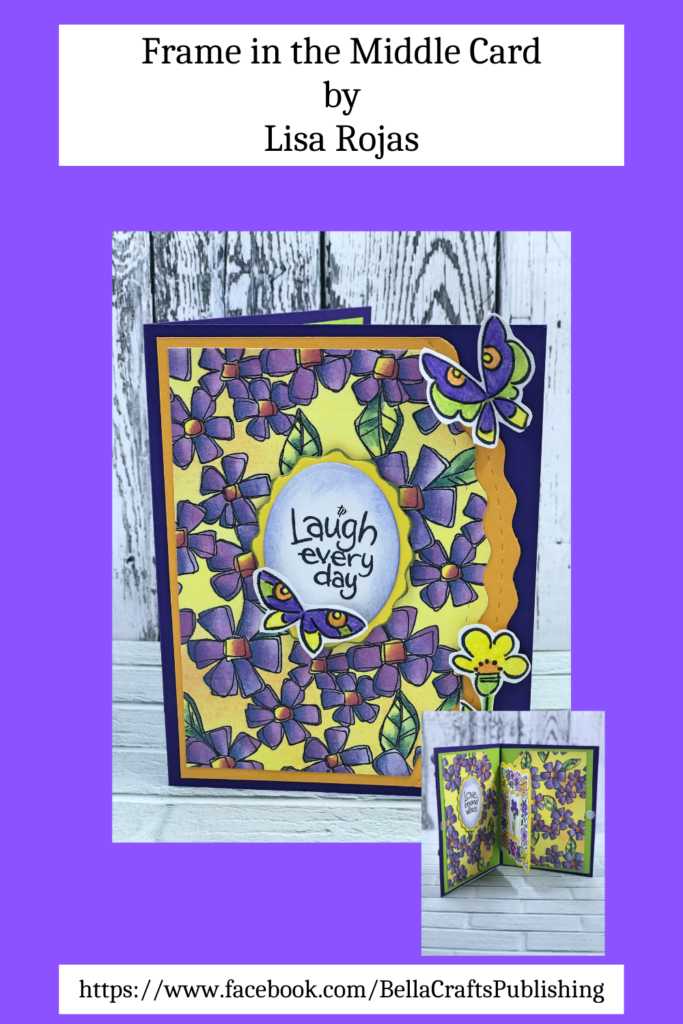
It’s no secret that I’m totally in love with Stampendous! They are one of the first companies I used when I began my love affair with rubber stamping. Their rubber stamps always put a smile on my face. A couple weeks ago I was having a rough day, but that changed when I received the mail. I was excited to see the brand new products they sent me that I sat right down and began creating this fabulous card. So, if you’re having a bad day or if you’re just looking for something to do, create some fun with Stampendous.
Please note: This post contains affiliate links. If you use these links and make a purchase, we earn a commission at no extra cost to you…
Supplies for Frame in the Middle Card
Check out the full list of supplies at the end of this post.
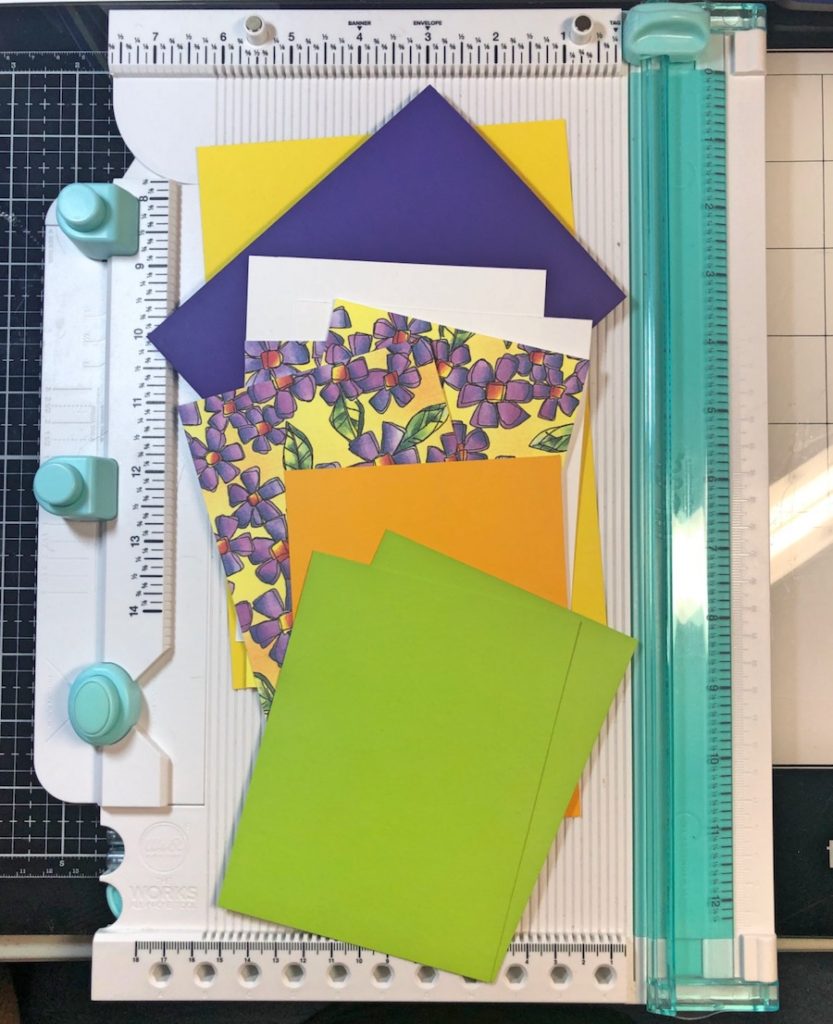
Step One:
Cut all of the cardstock as follows- Purple 5 1/2″ x 8 1/2″ (folded in half to create 4 1/4″ x 5 1/2″) Green 4″ x 5 1/4″ (2), Orange 4″ x 5 1/4″, Yellow 5 1/2″ x 8″, White 3 1/2″ x 4″ (2) and Patterned papers 4″ x 5″ (3). You will also need scarps of white and yellow cardstock for the ovals.
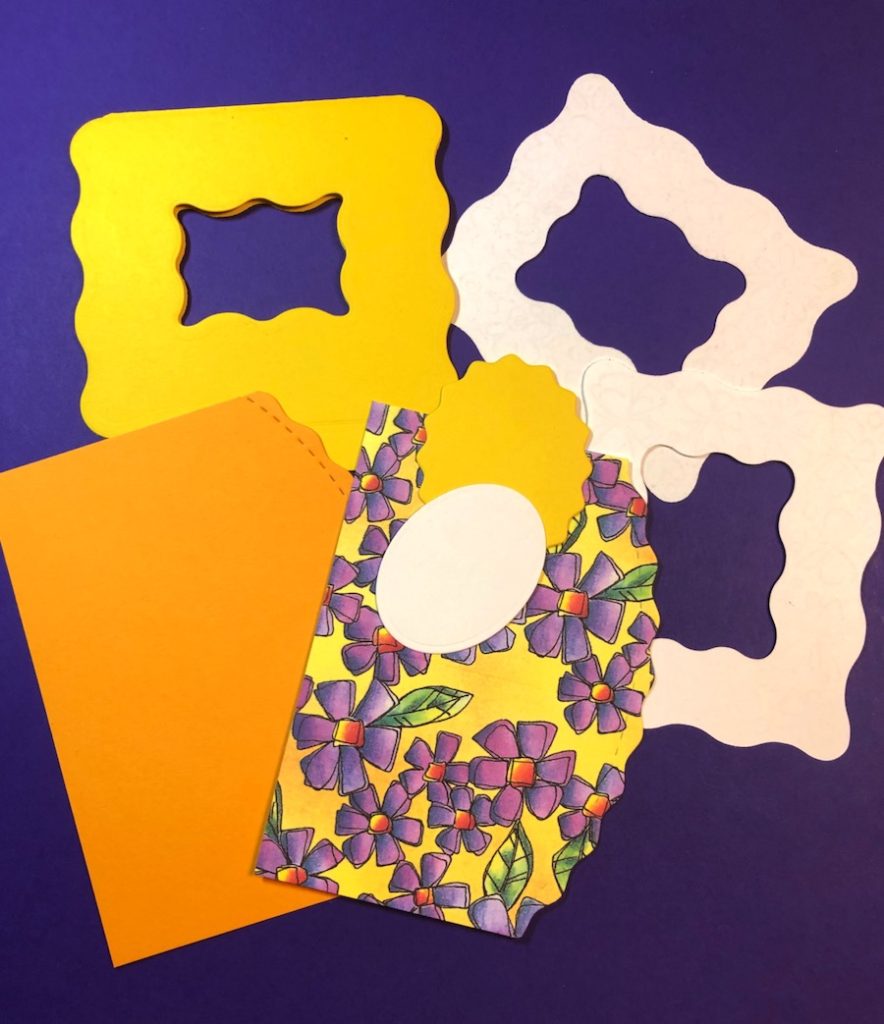
Step Two:
Using a die cutting machine and the die cut set from Stampendous, cut out all of the papers following the instructions on the die cut package.
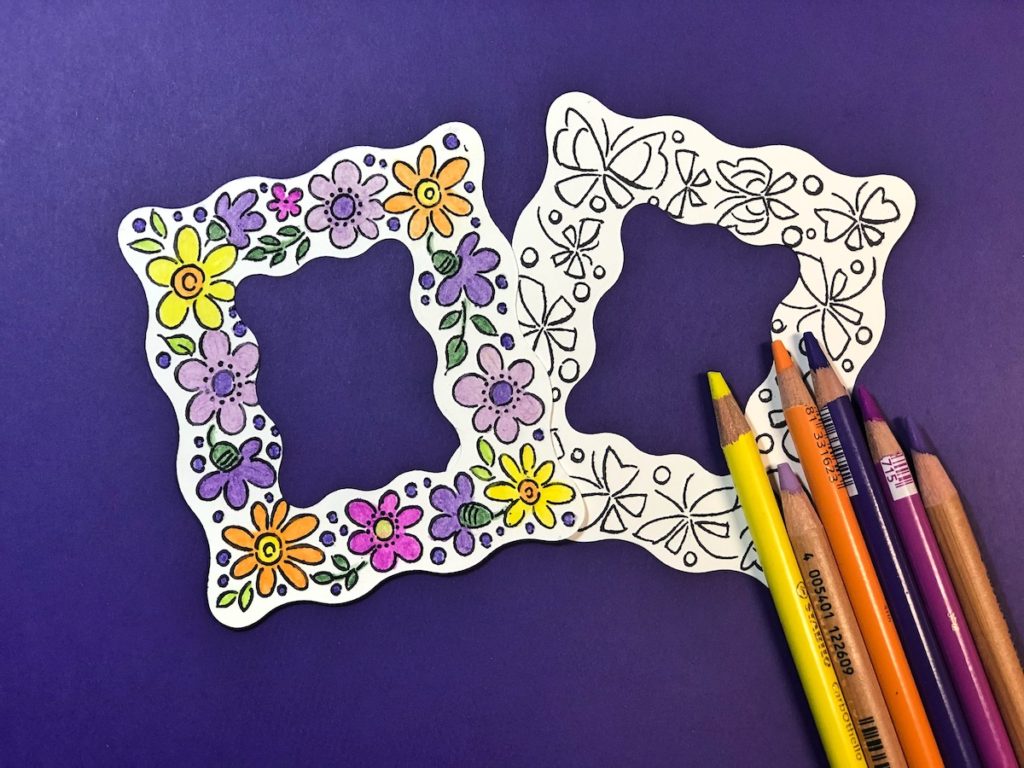
Step Three:
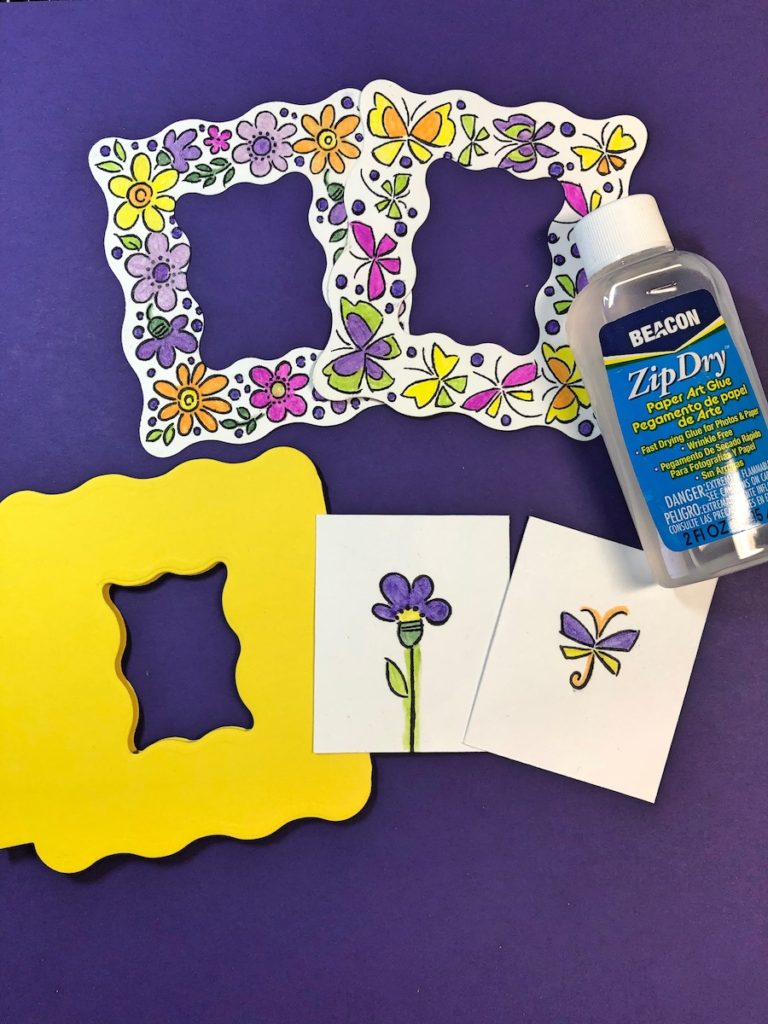
Stamp the white frames with black inkpad and color with chalk pencils.
Step Four:
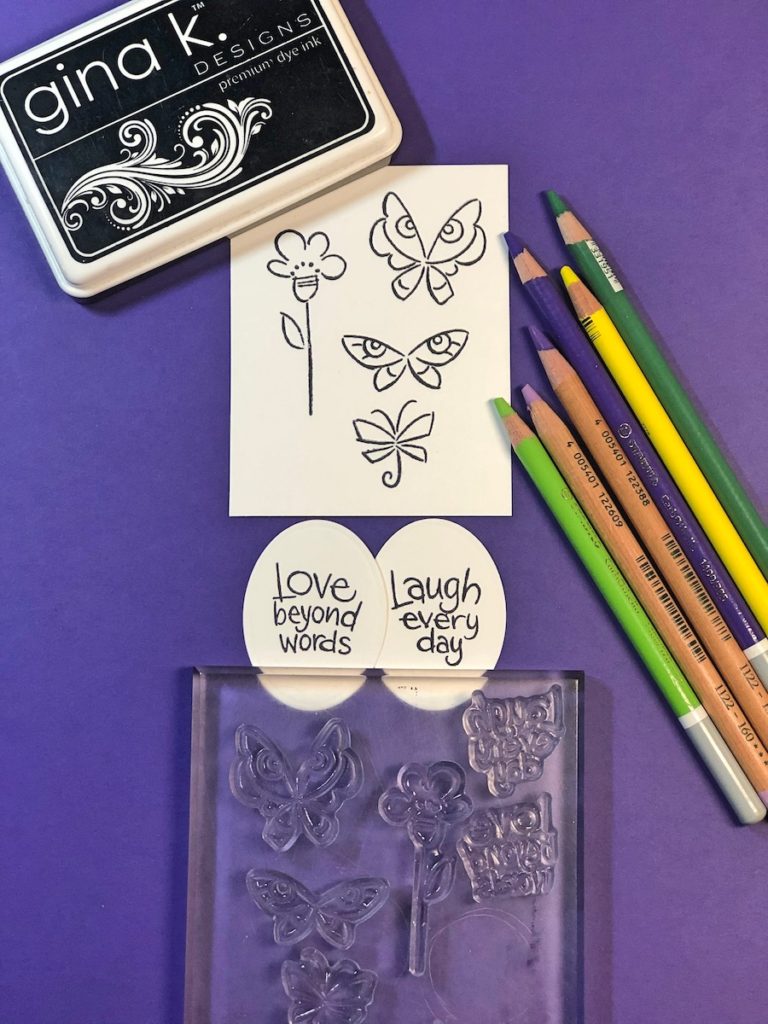
Stamp a scrap piece of white cardstock with black inkpad, color with chalk pencils and cut the images out. Note: I did not end up using the smallest butterfly in my project. Stamp the word images on the white ovals. Add some color on the ovals using a blending brush and a purple inkpad.
Step Five:
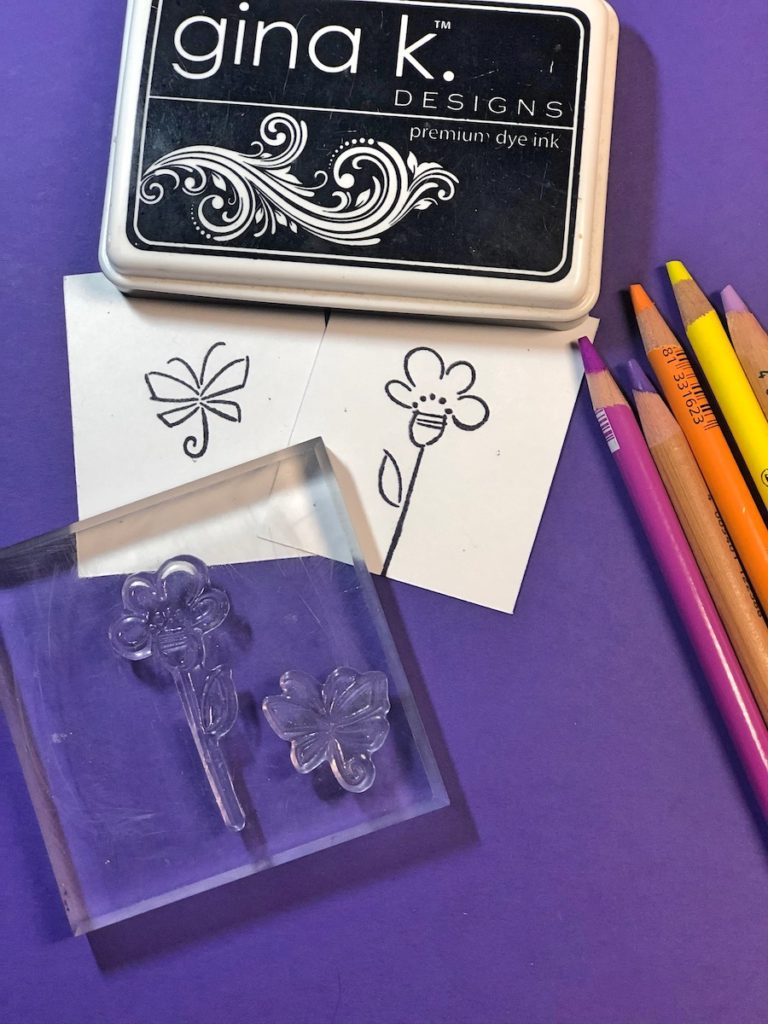
Cut two pieces of white cardstock 2″ x 2 1/2″. Stamp images with black inkpad and color with chalk pencils.
Step Six:
Adhere the small white cardstock pieces together, and then adhere them to the inside of the yellow frame. Adhere the stamped frames to the front and back of the yellow frame.
Step Seven:
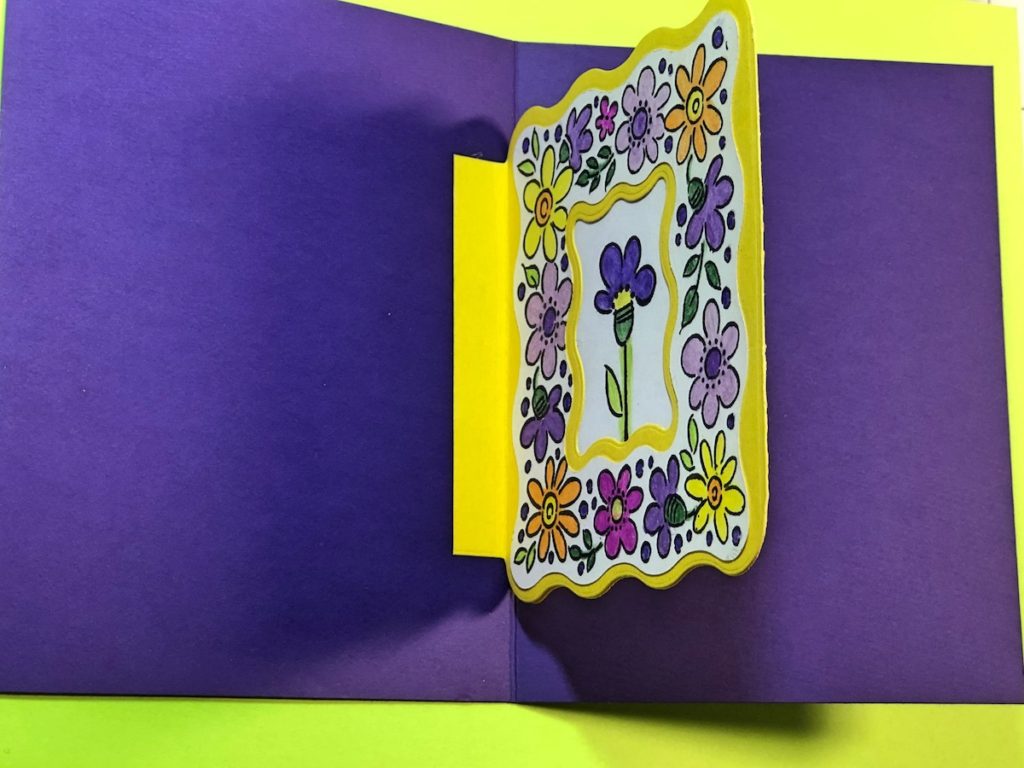
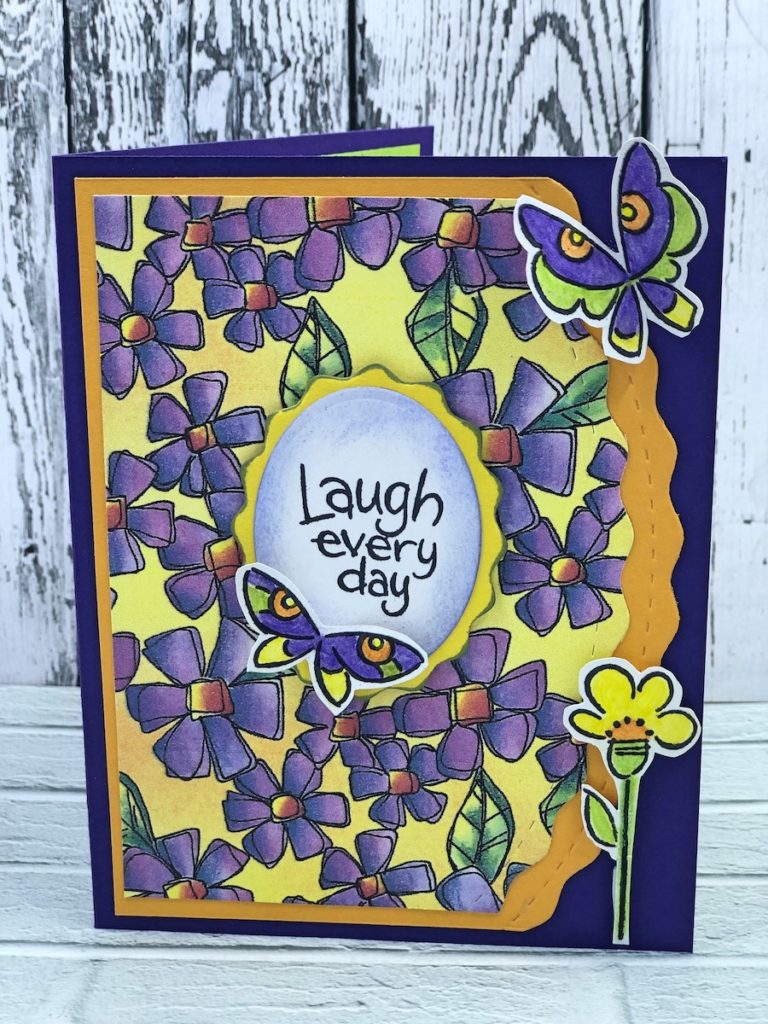
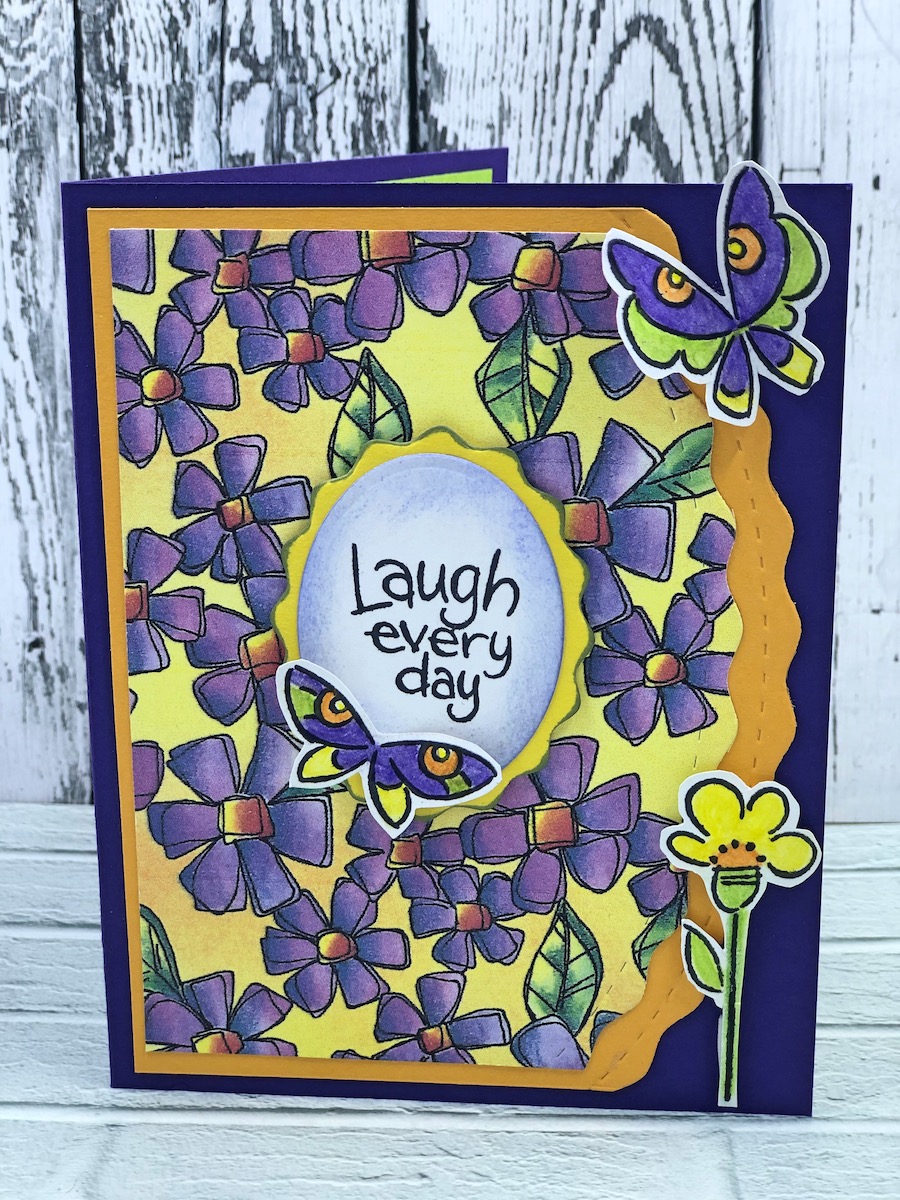
To finish the card, adhere the yellow frame inside the purple card base along the fold. Layer the green cardstock and patterned papers to the inside of the card base. Layer the white and yellow ovals and adhere to the inside of the card. For the front of the card, layer the orange cardstock and the patterned paper and adhere to the card front. Layer the white and yellow ovals and adhere them to the front with foam tape. Use foam tape to attach the small flower and glue to attach the butterflies.
Here is another Pin to share of the Frame in the Middle Card
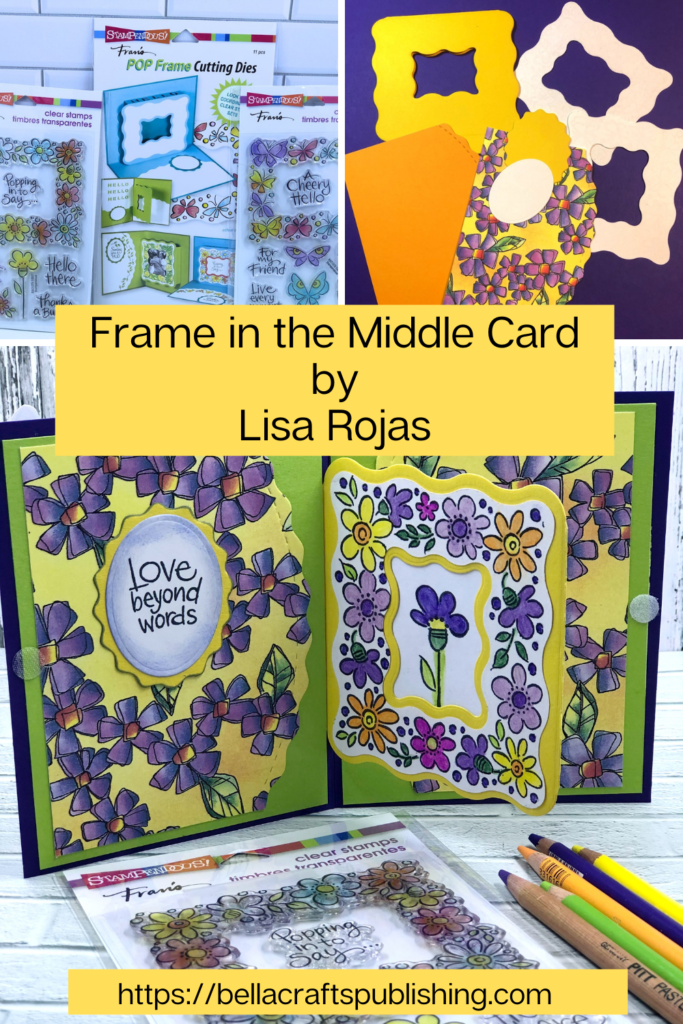
Frame in the Middle Card
Supplies for Frame in the Middle Card
- Flower Frame Stamp Set by Stampendous
- Winged Frame Stamp Set by Stampendous
- POP Frame Die Cut Set by Stampendous
- Cardstock- Purple, Green, Yellow, Orange & White
- Patterned Paper
- Chalk Pencils by Stabilo
- Black Onyx & Wild Wisteria Inkpad by Gina K. Designs
- Blending Brush by Pink and Main
- Zip Dry Paper Glue by Beacon Adhesives
- Foam Tape
- Scissors
- Die Cut Machine

Trackbacks/Pingbacks