Can you believe that Halloween is only a week away? Well, it’s true and that means that Christmas is right around the corner! For most people, they still have lots of time to start their shopping, but for crafters we have to start thinking about the holidays now. So, for our first pre-holiday post our guest blogger Alessandra Arcangeli, shares her Christmas cards in a box project. What projects are you starting for this holiday season?
***************************************************************
Take an A4 sheet, the color you prefer, and score at 7 cm, 14 cm, 21 cm, 28 cm horizontally and leave 2 cm at the end, then score at 8 cm and 15 cm vertically.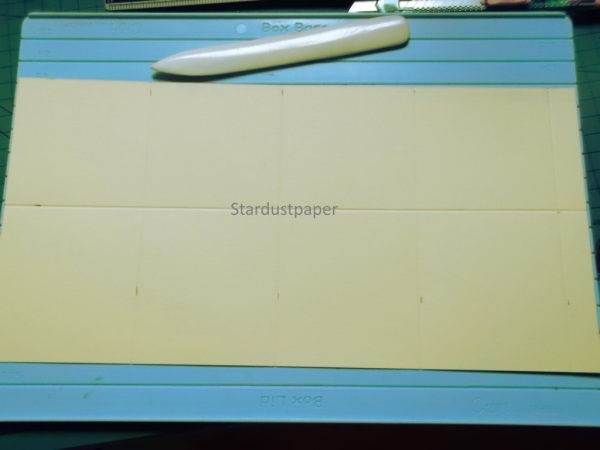
Fold the paper along the lines, so you will have as follow in the picture. Cut the upper part of the 2 cm of the paper.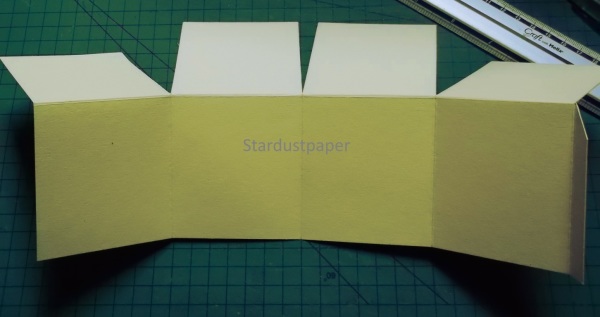
Take the paper you have chosen to cover the card, cutting 3 rectangles for the lower part of the card and 4 squares for the upper part. Leave blank the 2 cm end part of the paper, we will use it to close the card and to create the box. When you have finished of gluing the pieces of paper, glue the 2 cm to the end of the card. Now you have the box!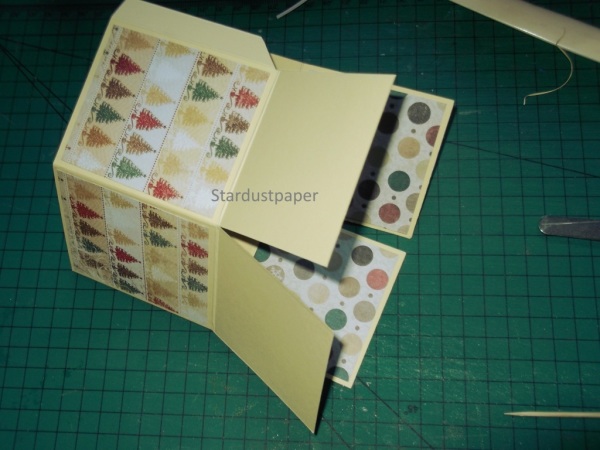
Using some background paper, cut 2 rectangles of 9 cm length and 2 cm height. Score and fold at 1 cm at the beginning and at the end of every rectangle.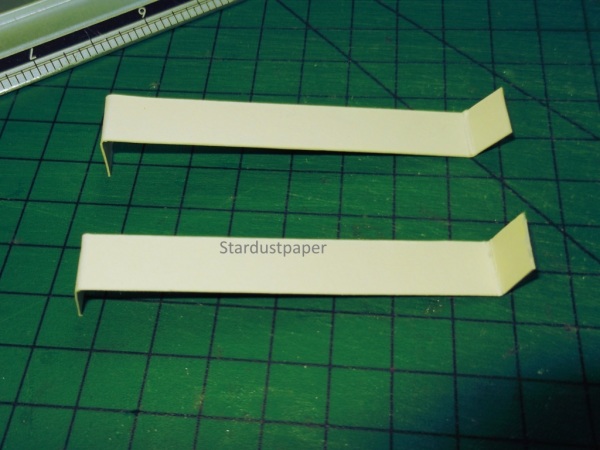
We will glue these 2 rectangles on the inside of the box card.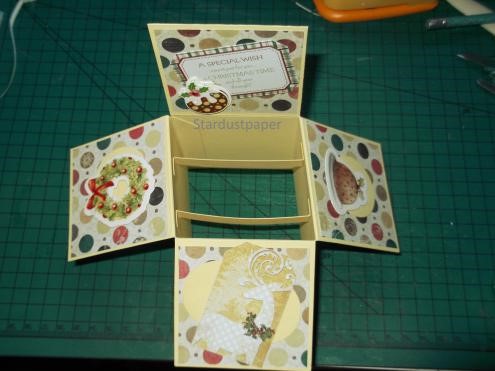
On the back of the card glue a rectangle of white paper, you will use it to write a personal message.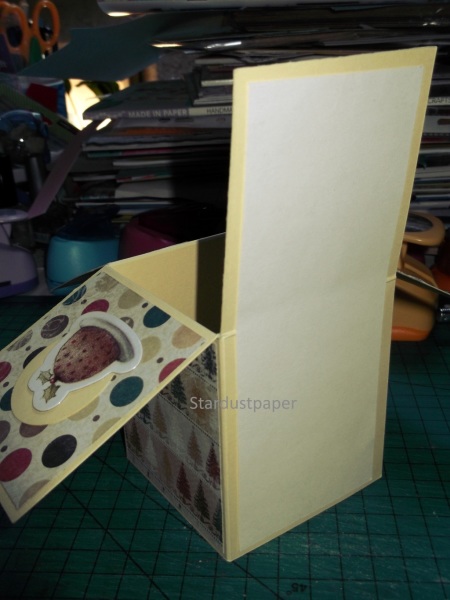
Then glue to the 2 rectangles you have put on the inside of the box card some embellishment, put other embellishment around of the card and you are done, your card is ready!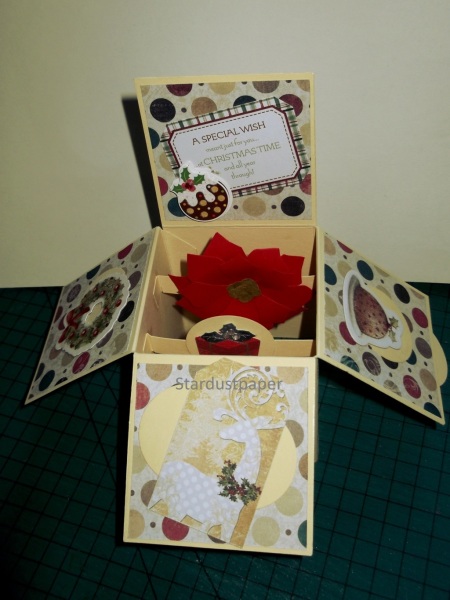
The fantastic thing about this card is that it becomes flat and you can insert it in an envelope and
send it to your relatives and friends.

