Having a place for all the pictures we take can be a dilemma but I think I have found a solution that will work for many with this Changeable Stenciled Display Frame.
Please note: This post contains affiliate links. If you use these links and make a purchase, we earn a commission at no extra cost to you…
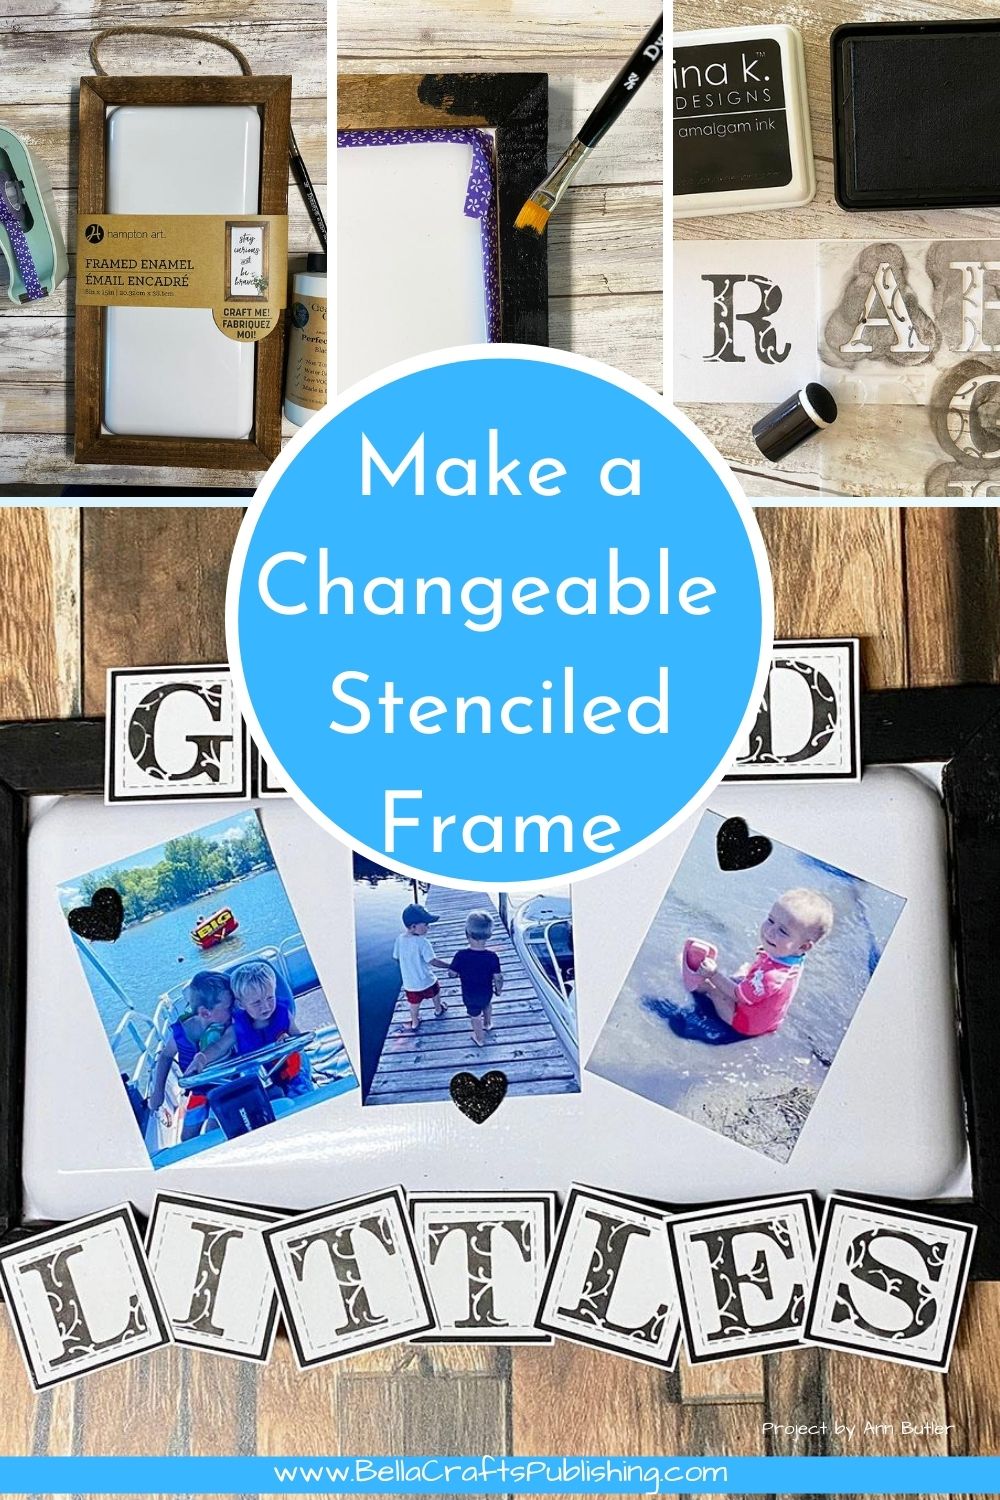
I love these Enamel Frames from Hampton Art and knew that it would make a perfect way to display some of the pictures I have a of the grandlittles! I also wanted to be able to make it a Changeable Display Frame, so that I would be able to change out the theme of the pictures quickly and easily, and this was the perfect solution…check it out!
Step One:
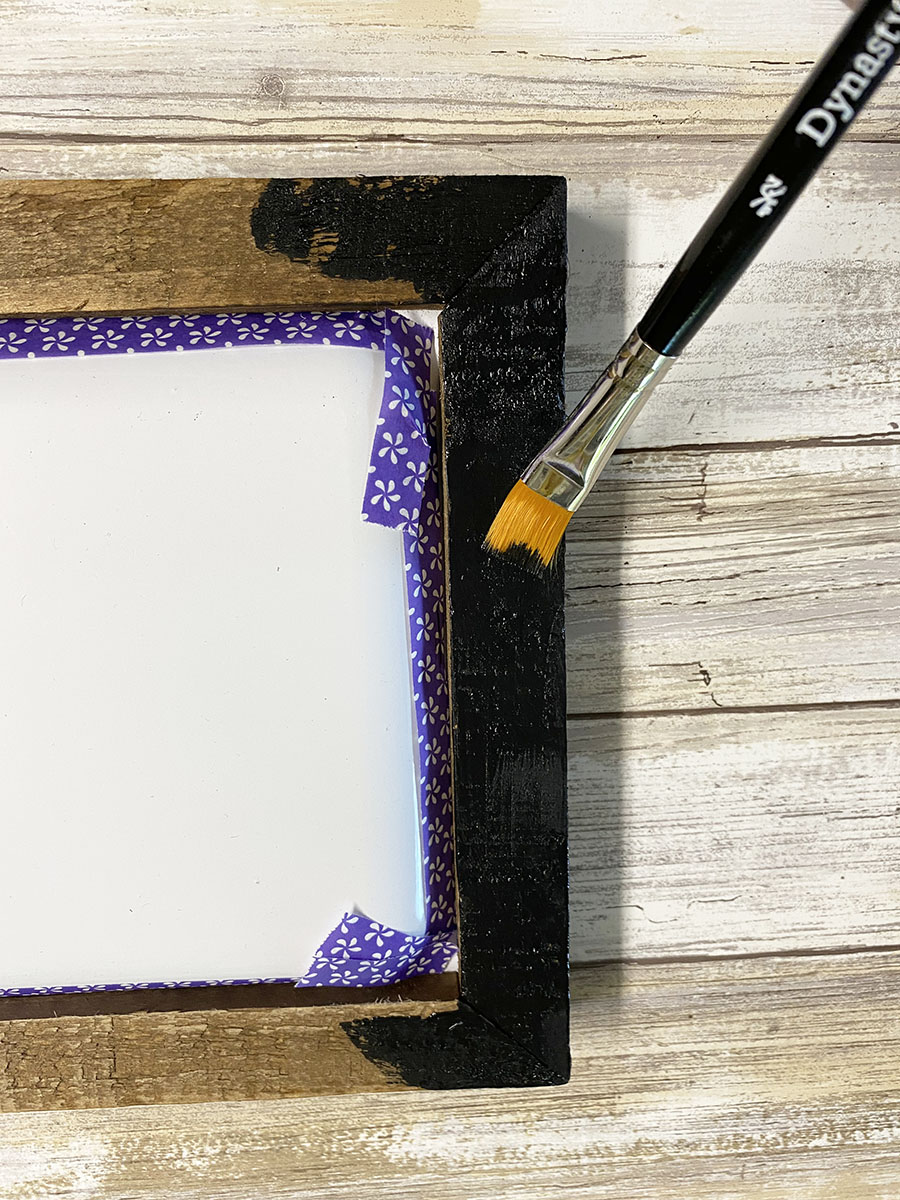
Tape off the enamel and paint the frame black. Remove the tape and let dry.
Step Two:
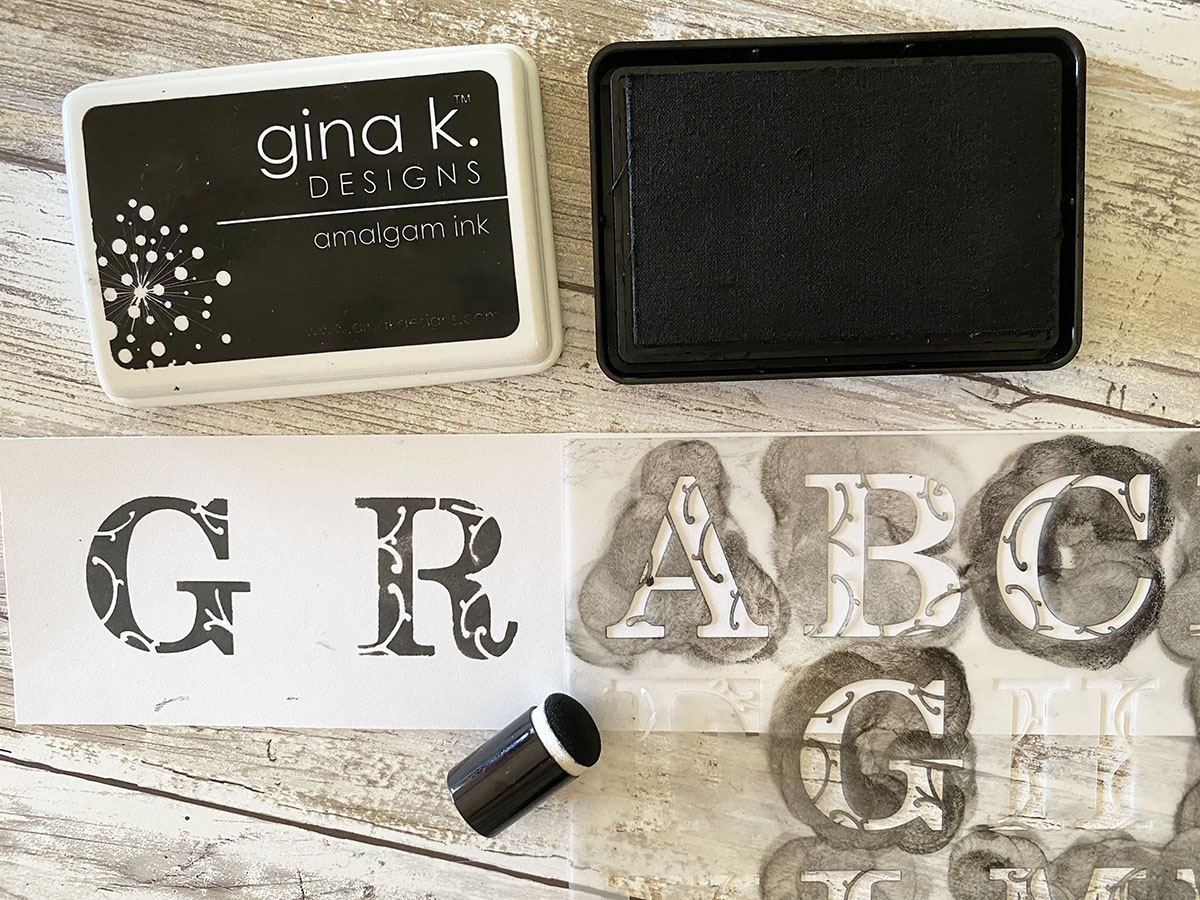
Stencil letters for the words on white cardstock with black ink, being sure to leave space between each letter.

Step Three:
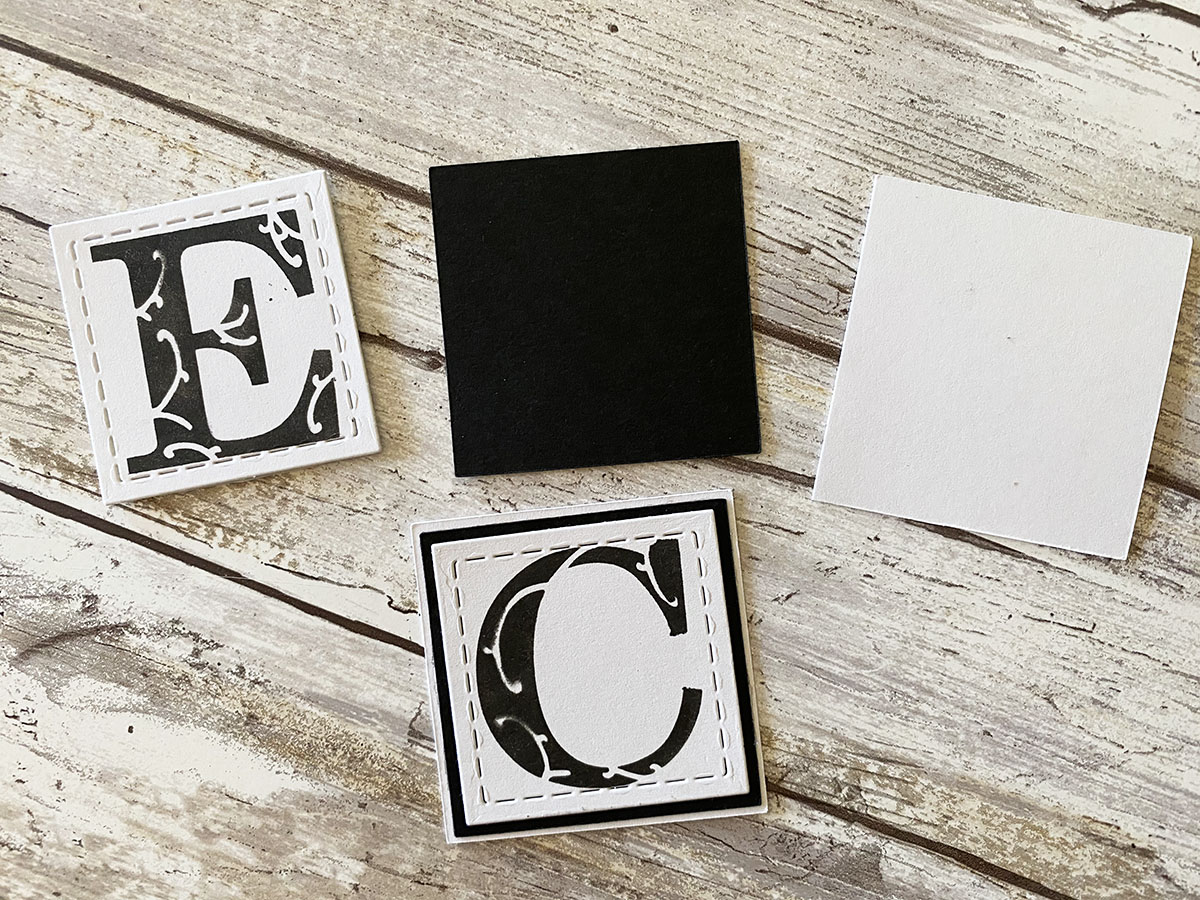
Cut out each letter into an approximate 1 3/4″ square with either a die or paper trimmer.
Step Four:
Layer stenciled letters onto the black and then the white cardstock squares.
Step Five:
Arrange the letters as desired and attach onto the chip board.
Step Six:
Then, apply the loop side of the Velcro® to the back of the chip board and the hook side to the frame, lining the up to fit.
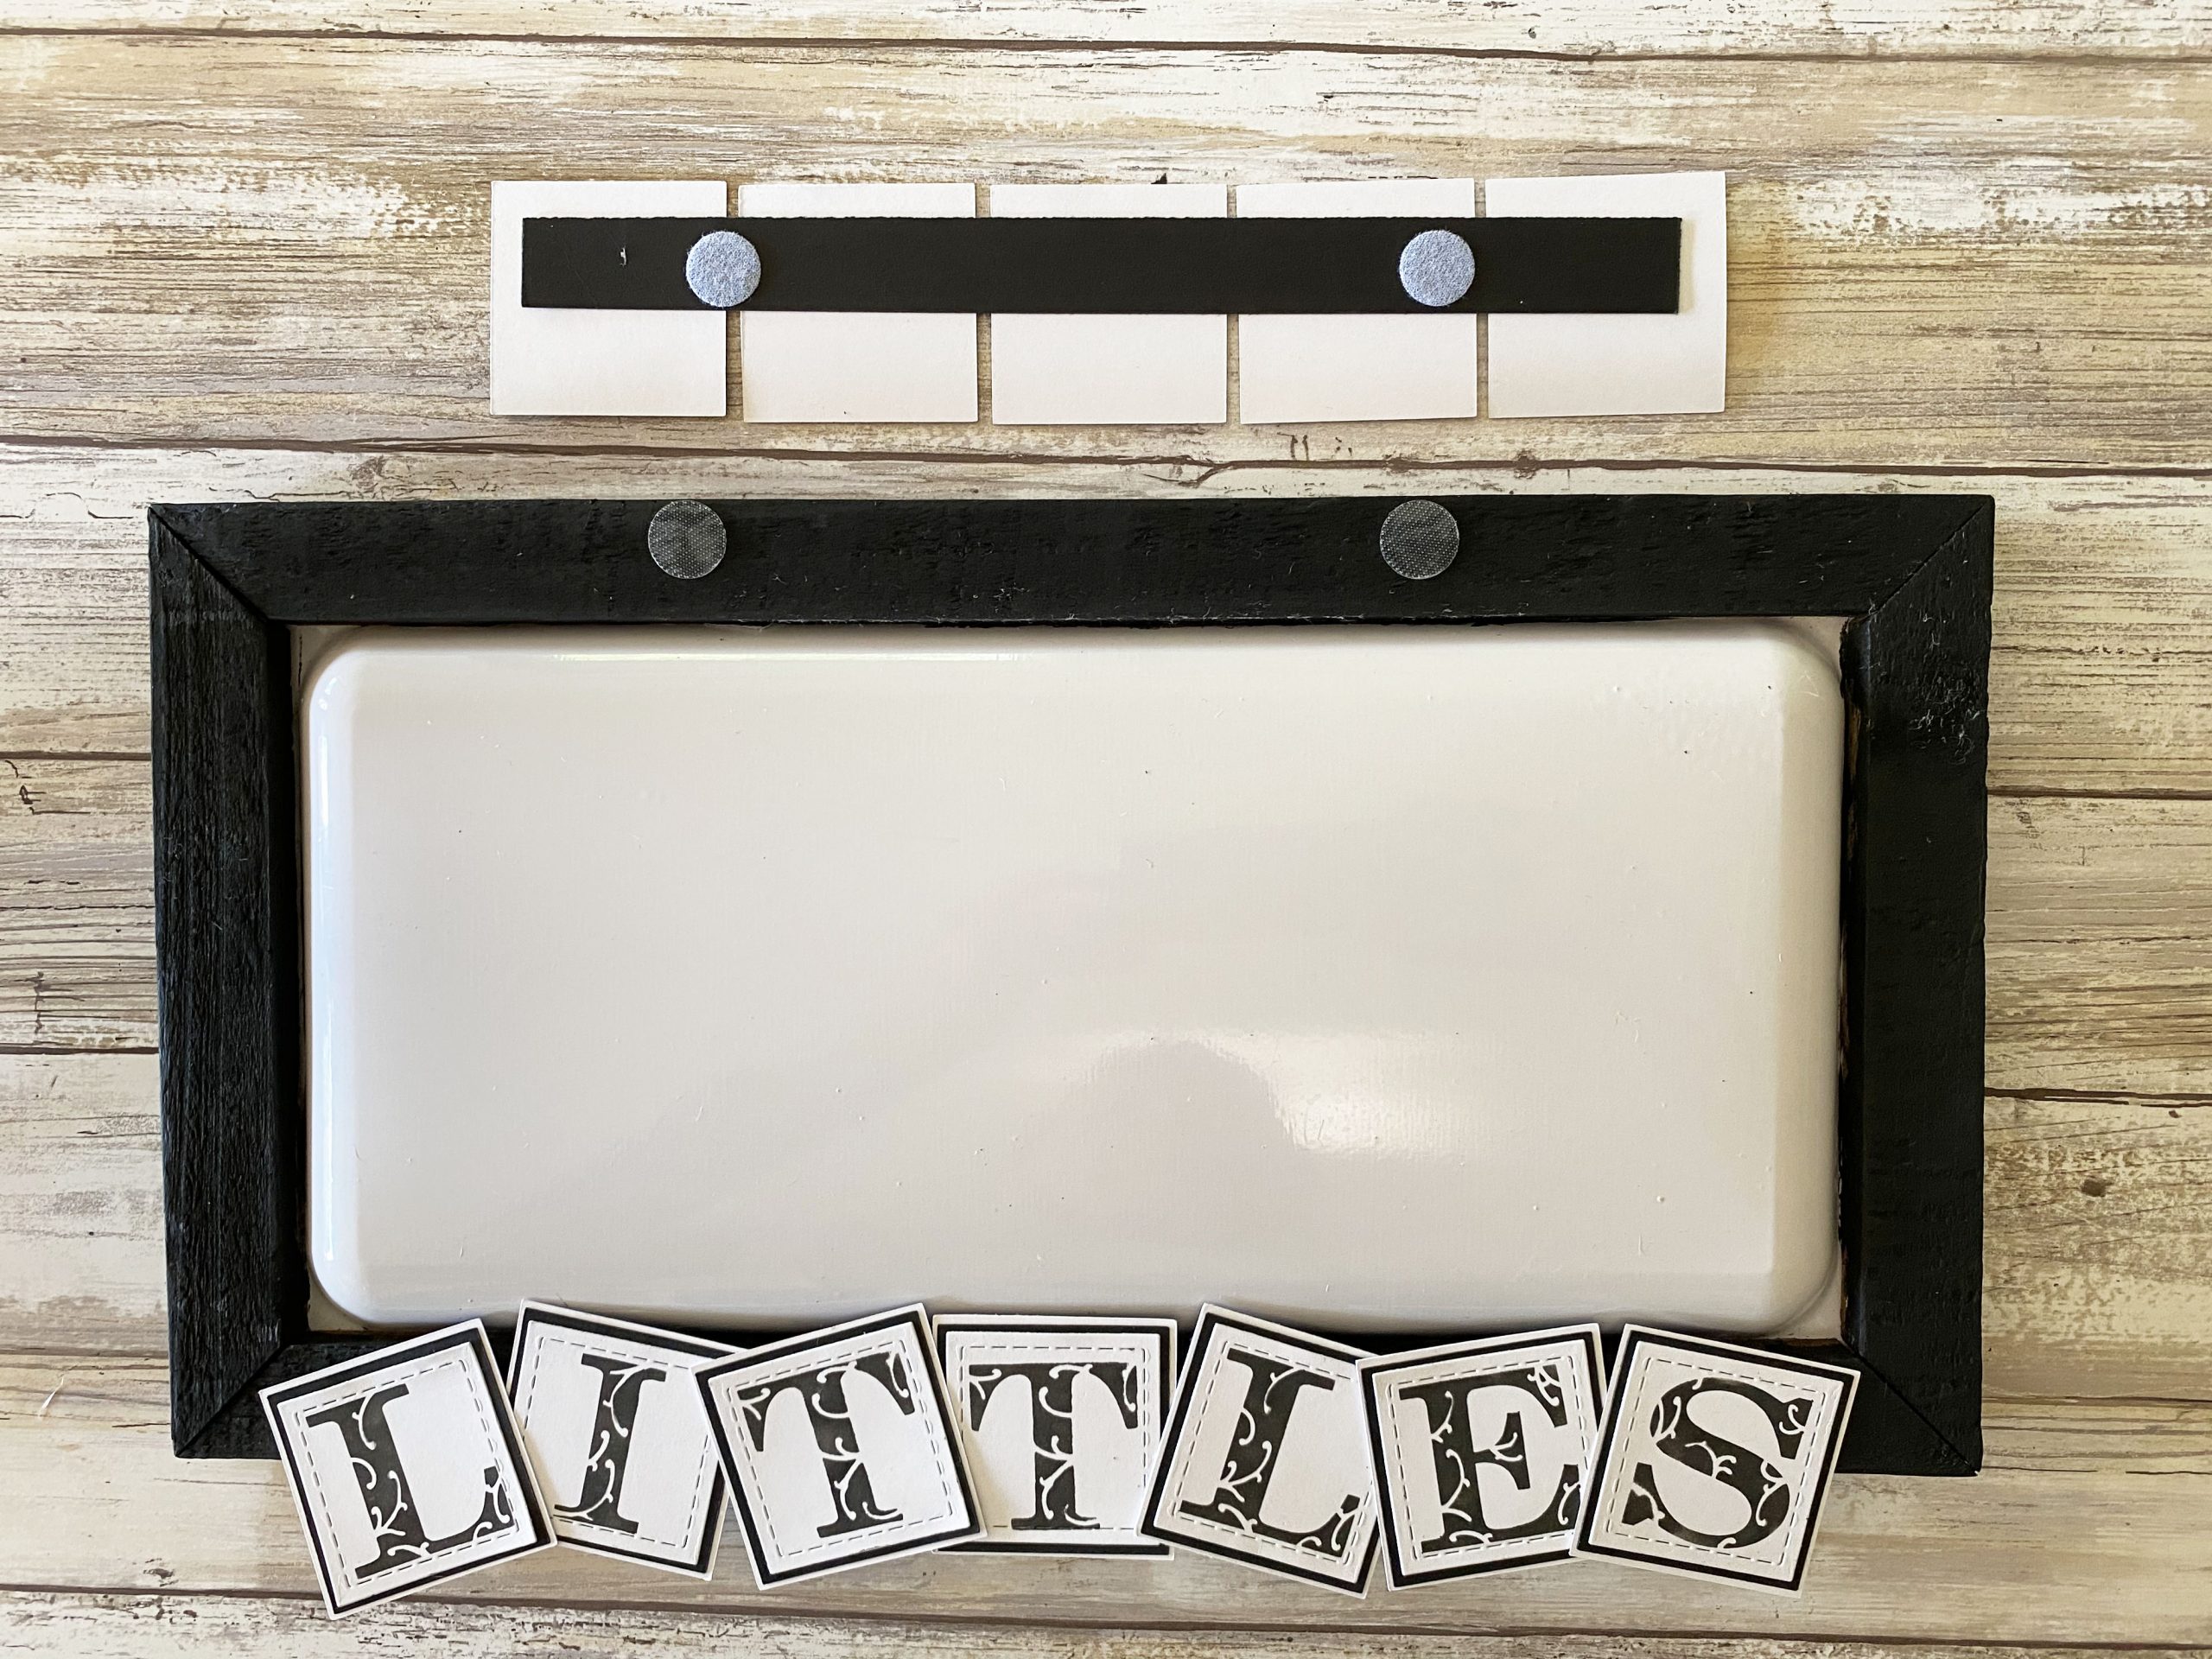
Step Seven:
Create other stenciled words as desired to make them changeable on the frame.
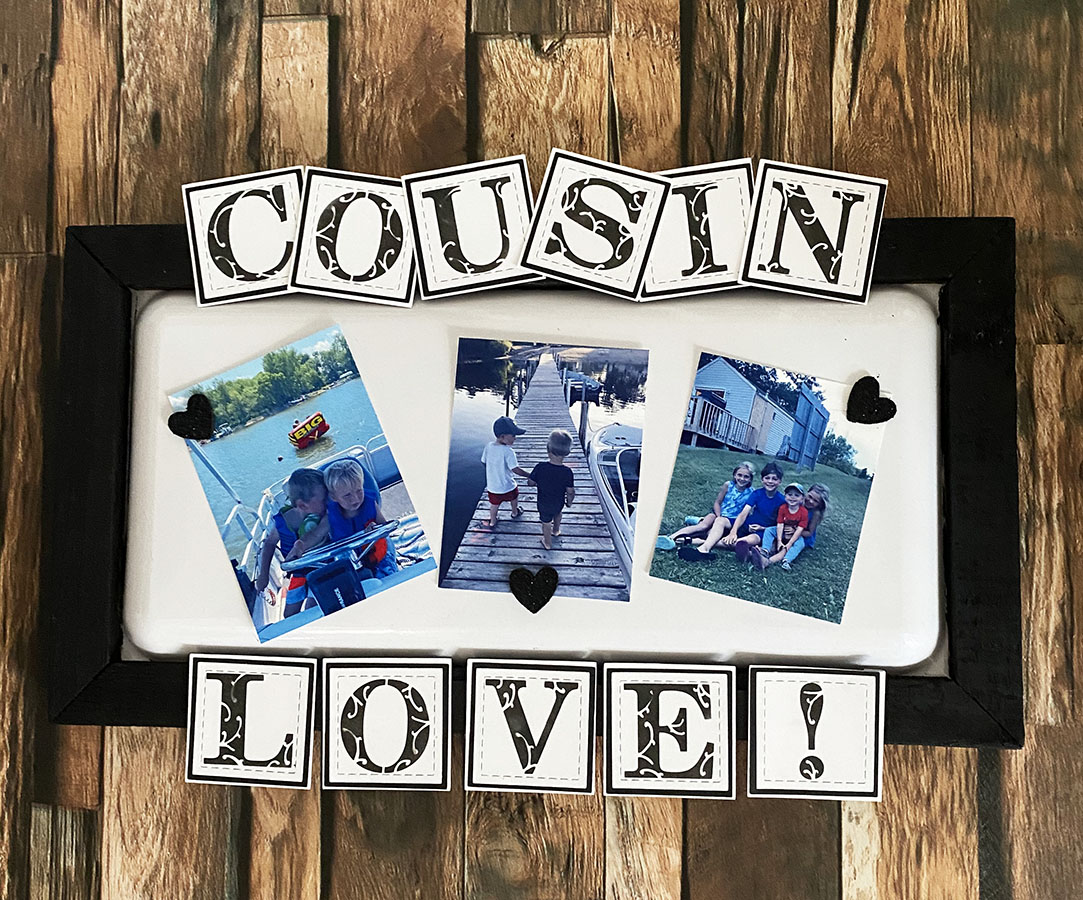
Step Eight:
Make some decorative magnets by die cutting heart or other shapes from glitter fun foam and gluing to magnets, let dry.
Place photos onto the Changeable Stenciled Display Frame and change them out when desired.
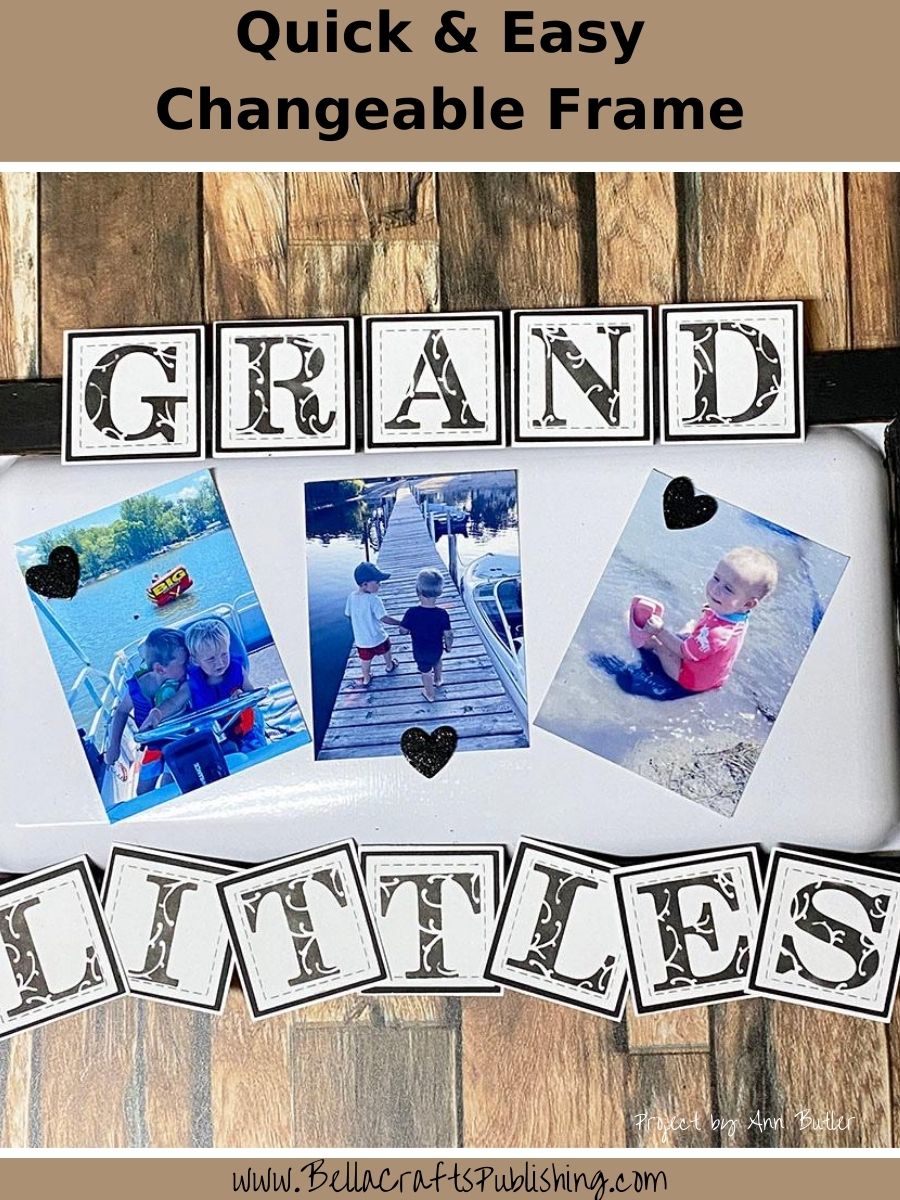
Check out the FB Live Video of this project.
Supplies for the Stenciled Changeable Display Frame:
- Hampton Art Enamel Frame
- Ann Butler Designs Alphabet Stencil from StencilGirl®
- Glitter Fun Foam
- GinaK Amalgam Ink, Obsidian
- Xyron Create a Sticker, optional
- Cardstock: White, Black
- Adhesive
- Scissor
- Magnets
- Die Cutting Machine, optional
- Paper Trimmer, optional
- Photos

Trackbacks/Pingbacks