Most everyone enjoys receiving a handmade card, including myself. When I am the recipient, it always makes me feel special. It takes extra effort and time on the part of the person that is sending the card and even though I want to give a personalized card, sometimes I just don’t have the extra time it takes to create a card from start to finish.
This is why I love my Silhouette Cameo and the variety of files found in the Silhouette Store. The design process is already completed by an array of talented designers; all I have to do is choose the colors and patterns for my card; load card stock into my machine, and add the finishing touches.
Let me show you how easy it to create a beautiful handmade card.
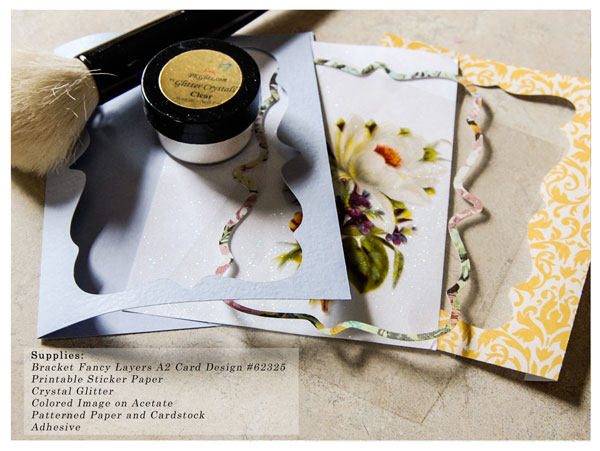
Supplies:
- Bracket Fancy Layers A2 Card (Jamie Cripps)
- Banner (Samantha Walker)
- Printable Sticker Paper (Silhouette Online Store)
- Glitter, crystal (P K Glitz)
- Colored Image on Acetate (P K Glitz)
- Patterned Paper and Cardstock
- Adhesive
Using my Silhouette Cameo, I cut the base of the card from Periwinkle card stock; the interior panel from a yellow patterned card stock; and the frame outline from a floral paper. I cut a piece of Printable Sticker Paper just slightly smaller than the card base and covered it with Crystal glitter and adhered the colored acetate to the Sticker Paper using a liquid adhesive.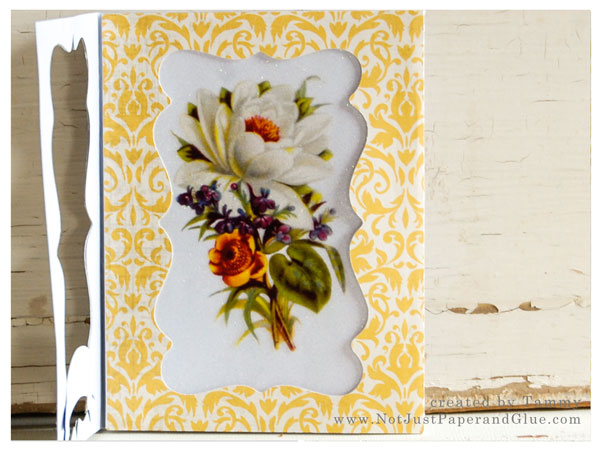
Next, I assembled the card following the card file designer’s instructions.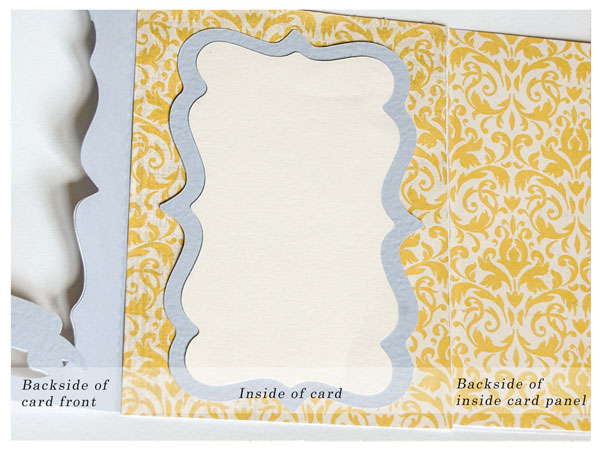
Once the card was assembled I adhered the glittered acetate to the backside of the yellow pattern window. I cut an additional piece of the patterned paper (4.25 x 5.5 inches) and then adhered it to the back of the glittered acetate to add a finished look to the card. I also added a layered bracket panel to the inside center where I could write a personal note to the recipient.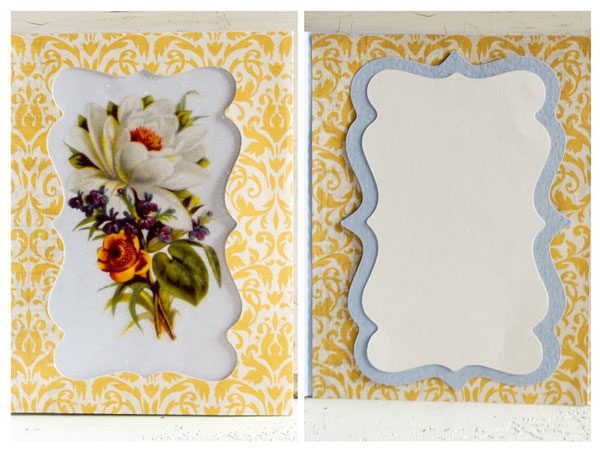
Using my sketch pen attachment for my Silhouette Cameo I created the Thank You banner. I cut a mat for the banner from a piece of the floral paper that I used for the thin frame border. I then attached the banner to the front panel of the card.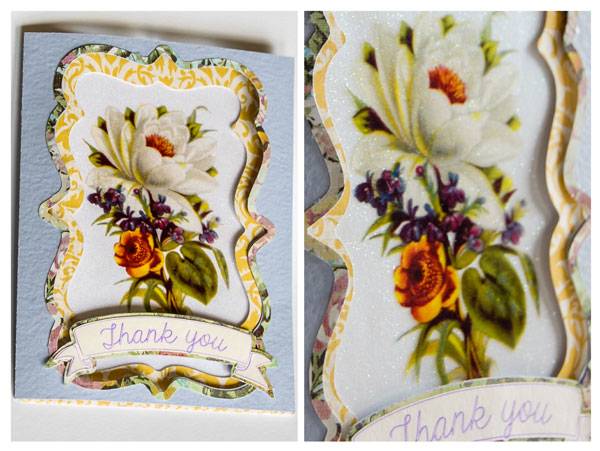
Whether you have a Silhouette Cutting Machine or another brand, take advantage of the card files that are available. These files can cut your time in half and still produce beautiful handmade cards that you can send to your friends and relatives.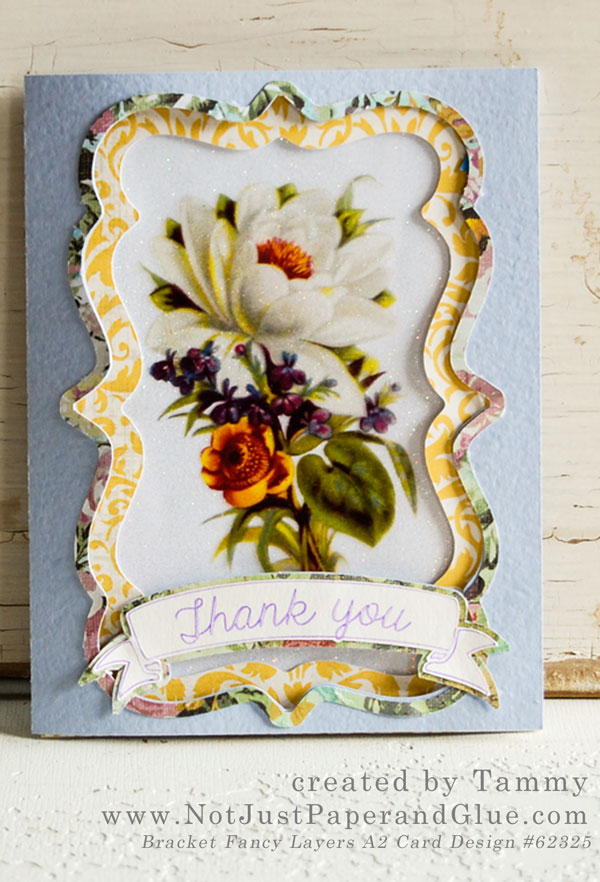
Tammy Malone

This is stunning Tammy!
Thank you so much for featuring my card :)