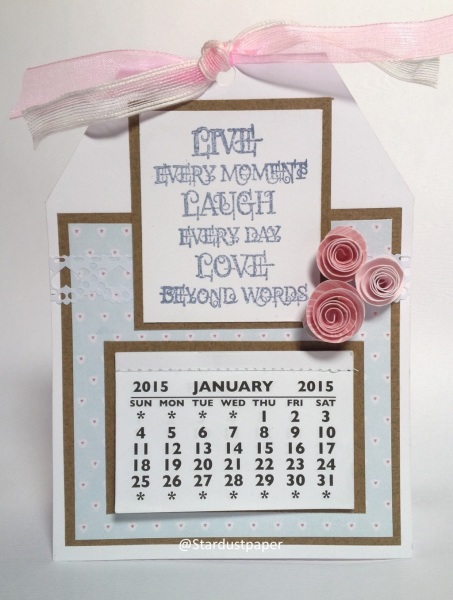
The calendar card project today from our guest blogger, Alessandra Arcangeli, is one that we think everyone would enjoy creating. We could all use a calendar to keep our lives manageable and this one is also pretty to look at!
***********************************************************************
In this post I will show you how to create a “calendar card/tag”.
It is an easy project that you can create for yourself as a real calendar and put on your table or for your friends or to send around.
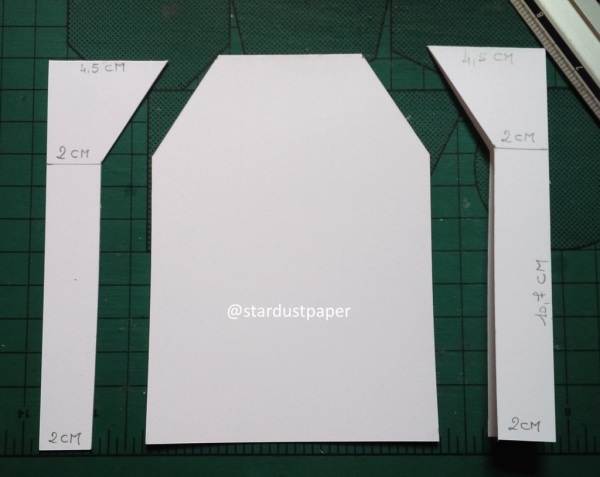
First of all take a square card of 14,7 cm x 14,7 cm.
I used this kind of card because you can cut a tag with ease. But you can use a square card bigger or smaller than this.
If you use a card of 14,7 cm x 14,7 cm please refer to the photo because I traced with a pencil the exact measures where to cut the card so to create the tag. When you have created the tag, you can proceed to embellish the front of it.
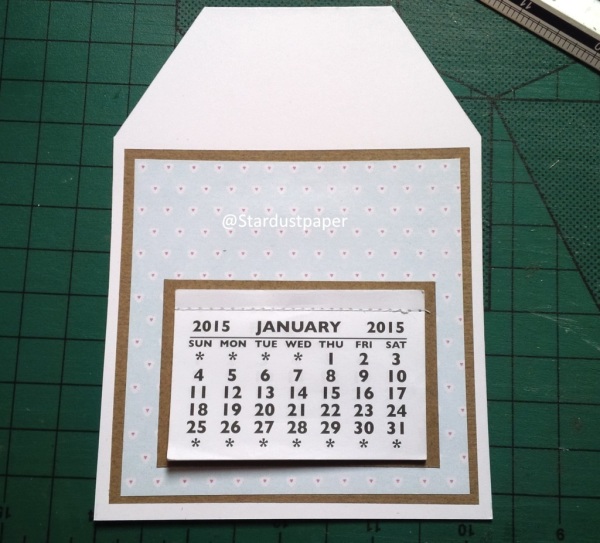
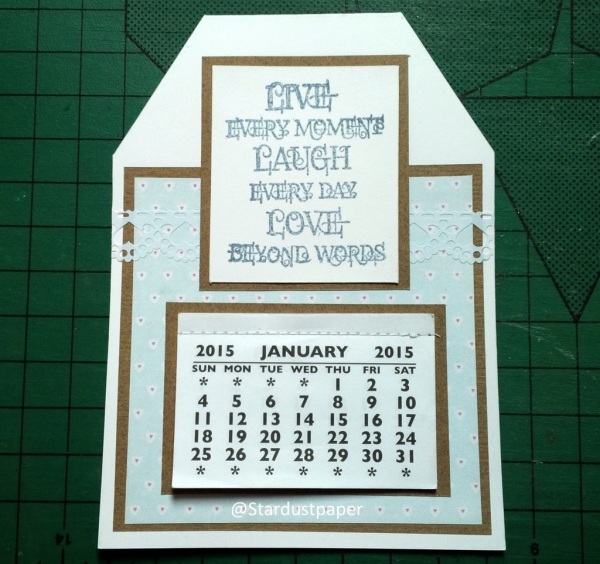
I used as background a brown paper, then I used a pale blue with little dots paper. I glued these papers to the tag and then I glued the little calendar. I stamped a quote onto white paper, glued to a little piece of brown paper and then glued to the tag.
To finish the card/tag I attached some paper roses. If you want on top of the card you can punch a hole and add 2 ribbons.
Your amazing card is finished.


