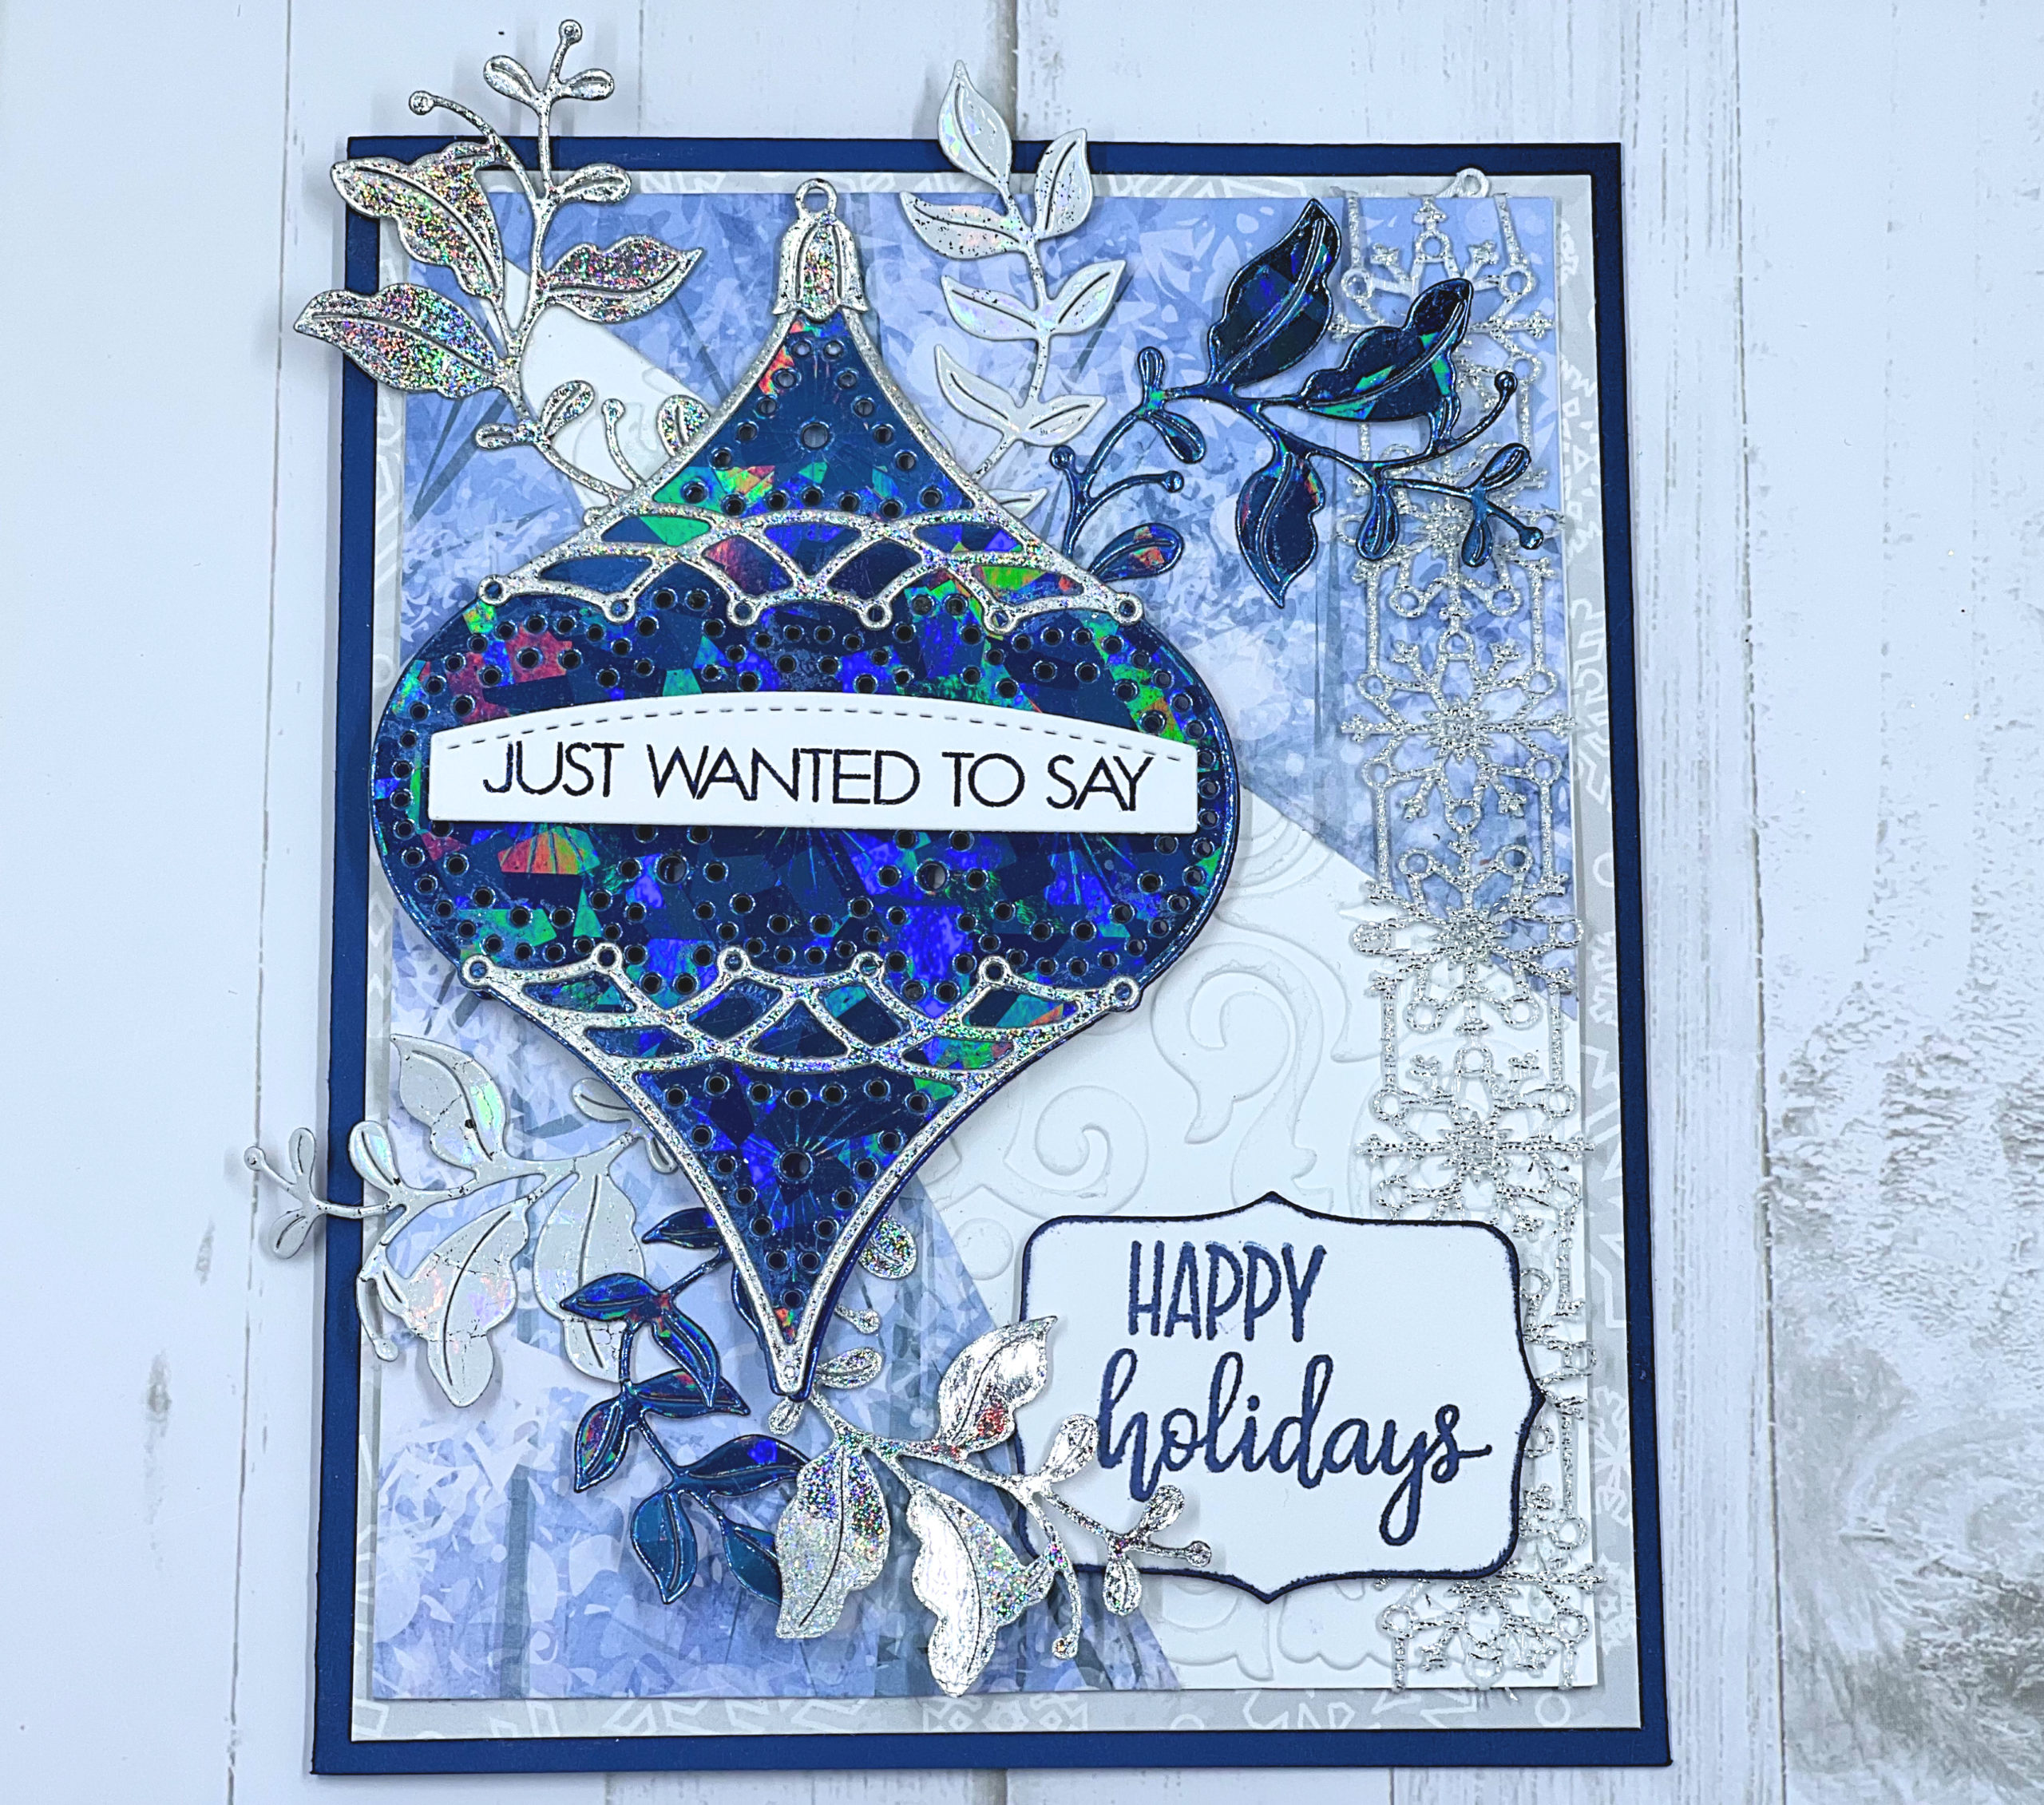
Your family and friends will all be pleased when they see this gorgeous Blue Foiled Card in their mailbox this holiday season!
Please note: This post contains affiliate links. If you use these links and make a purchase, we earn a commission at no extra cost to you…
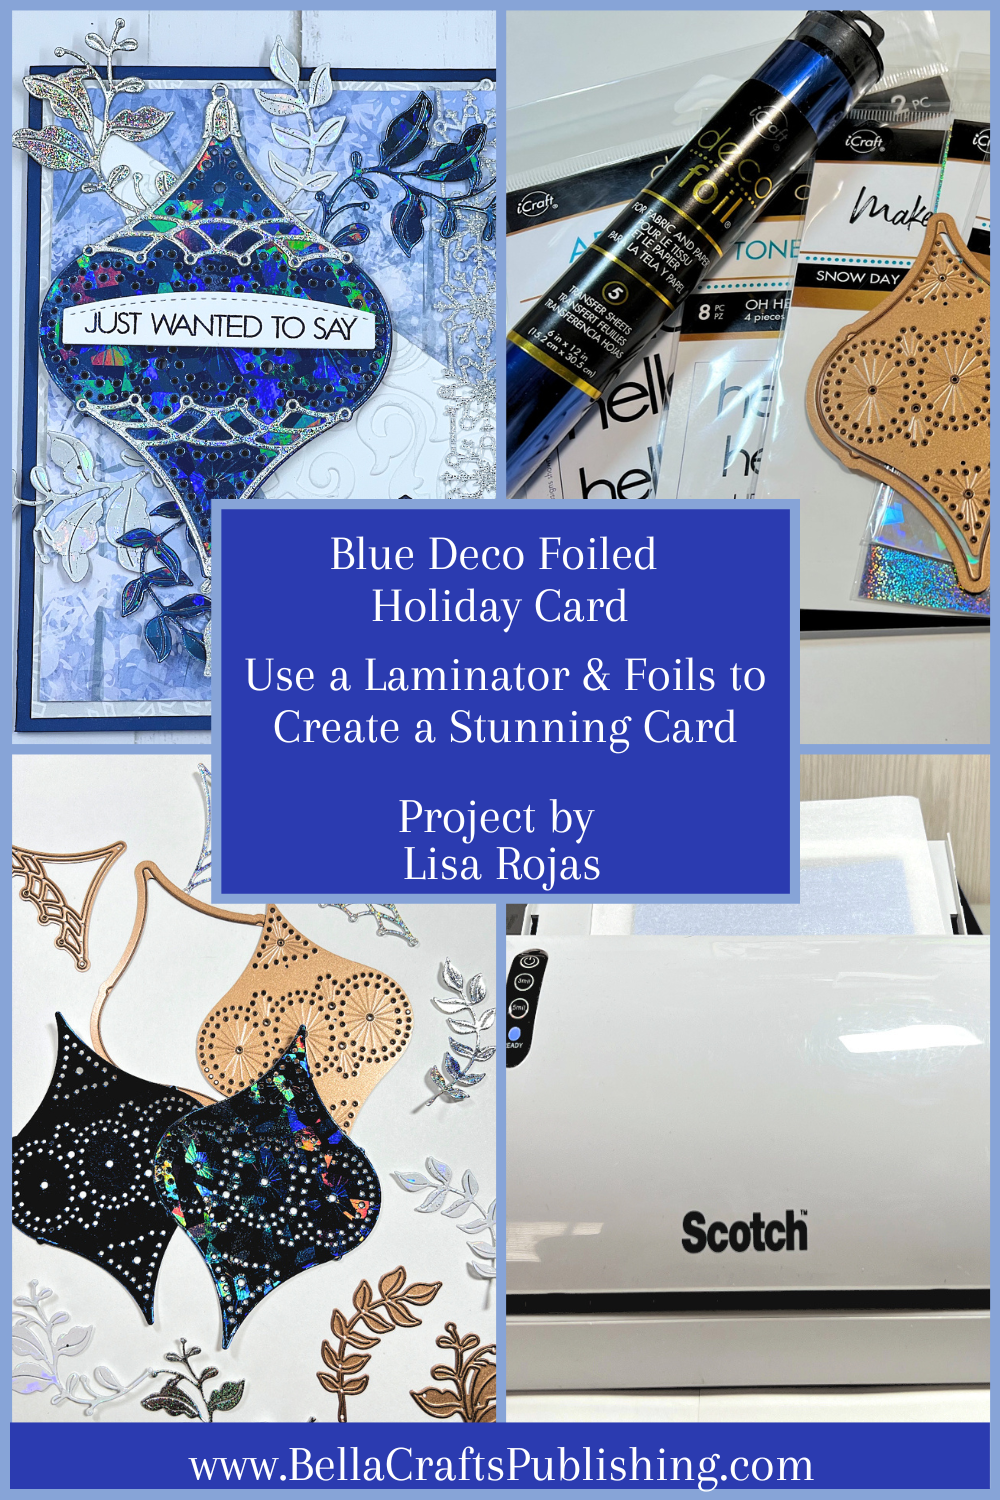
This blue foiled holiday card is the perfect way to let your loved ones know just how much you care! They’ll think you spent hours making this card just for them. But, in reality it doesn’t take a long time to create. By using some beautiful foils from Them O Web and Toner Sheets from Ann Butler Designs, you can pretend you worked really hard. It’ll be our little secret and I promise I won’t tell!!! Have fun! Lisa~
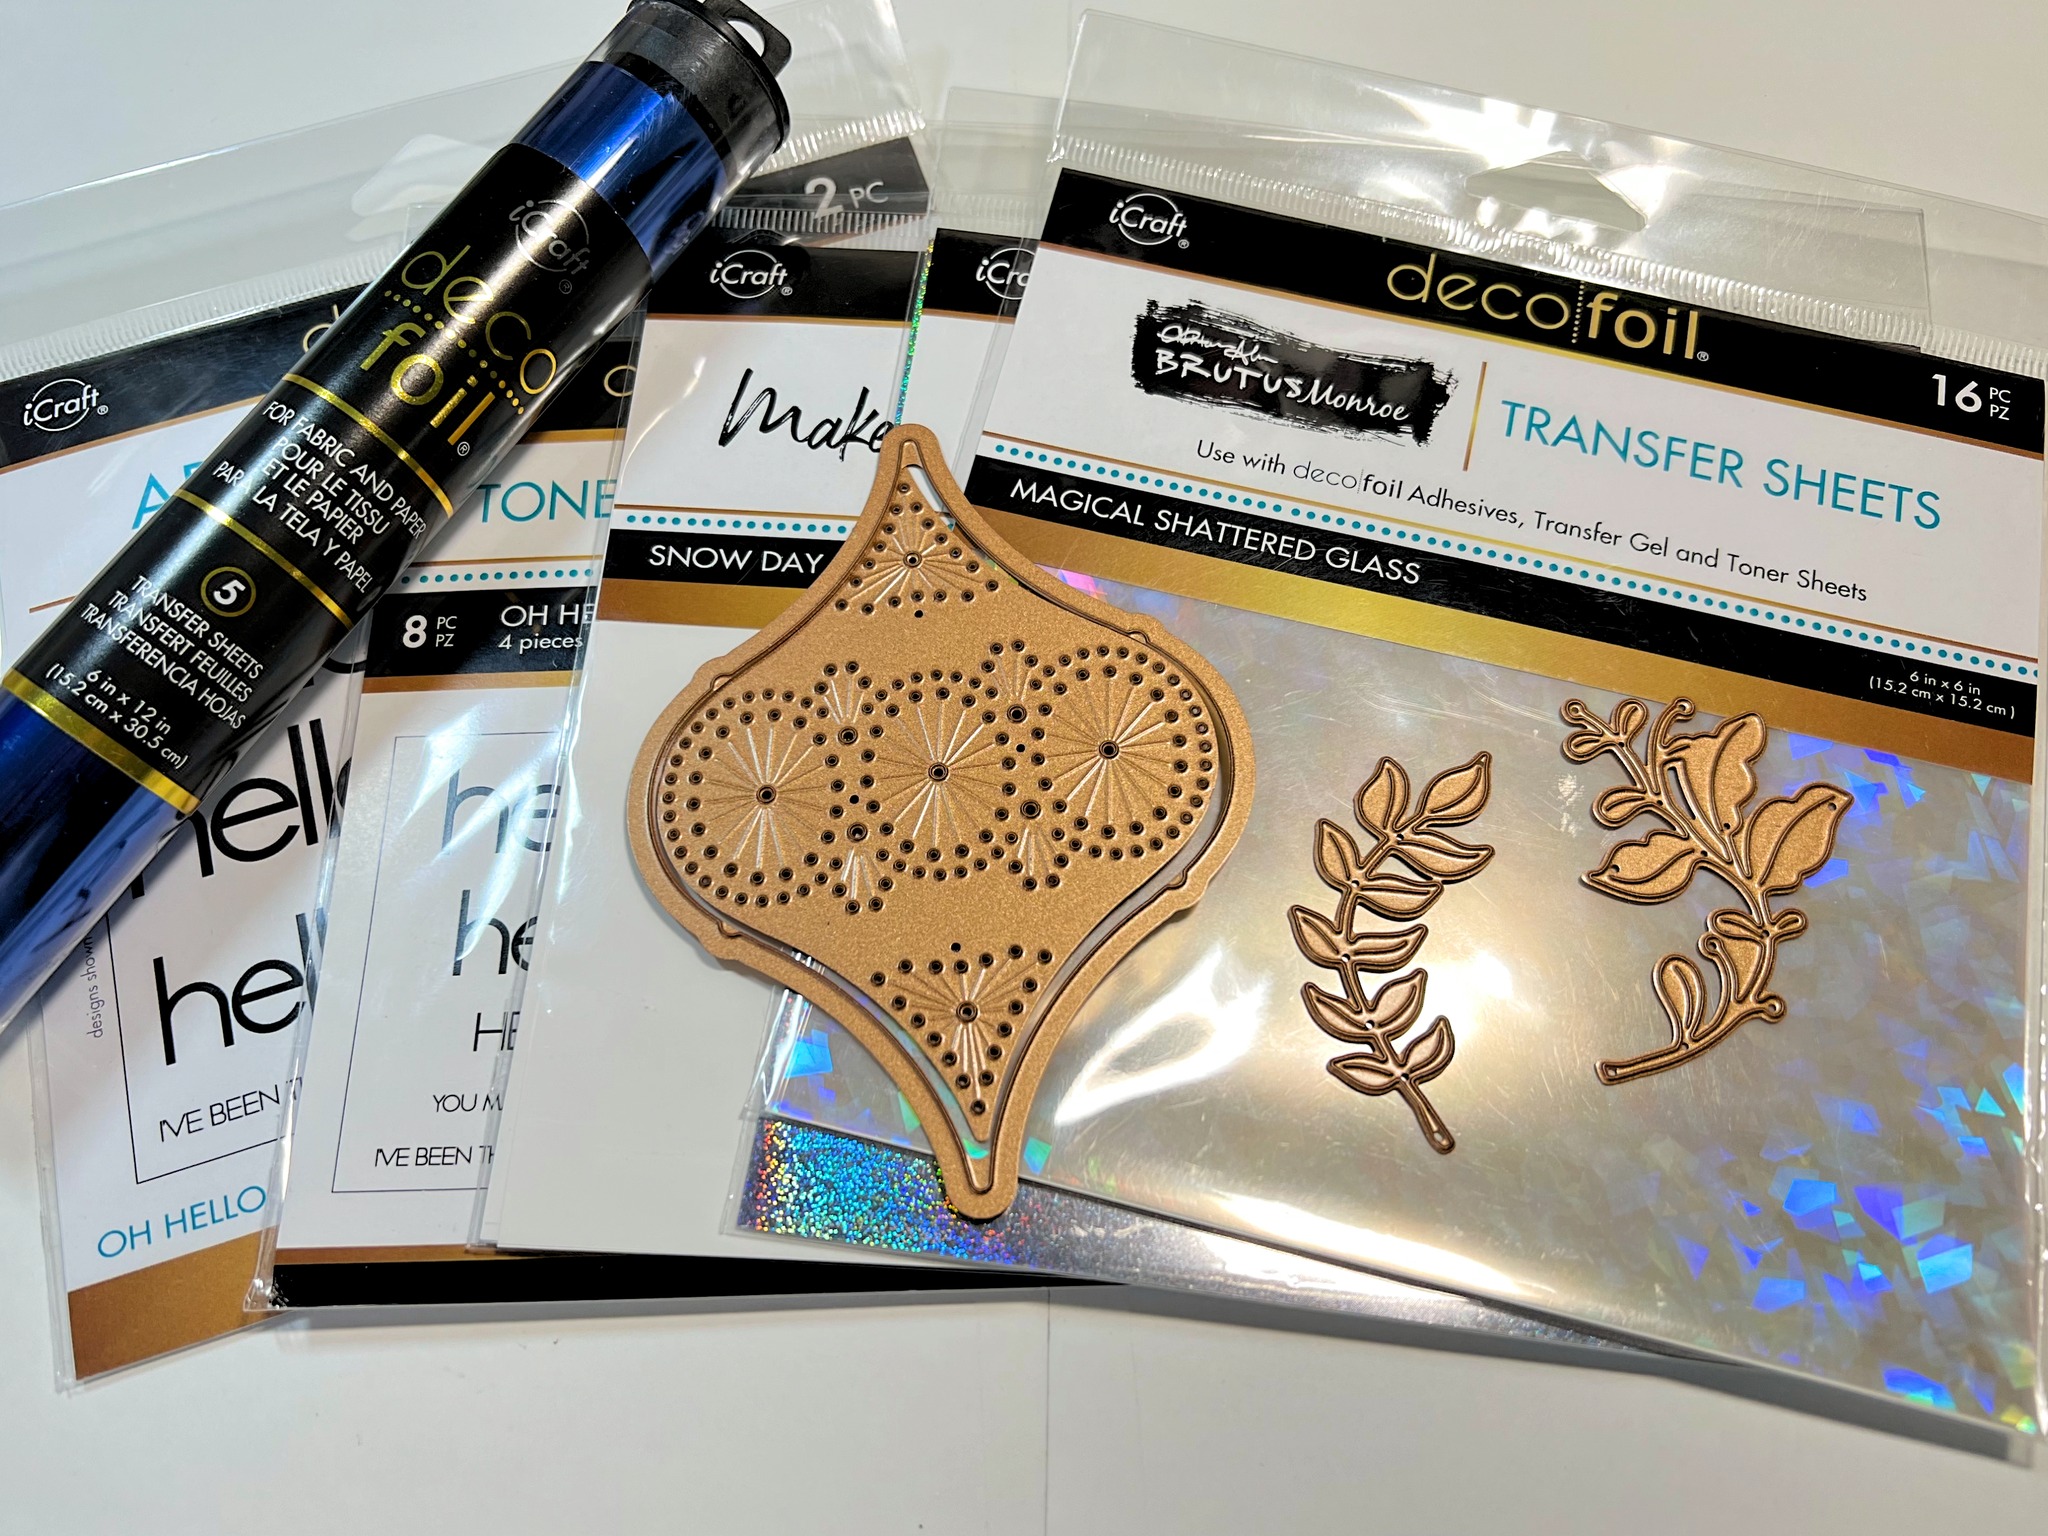
Supplies for Blue Foiled Holiday Card
Check out the full list of supplies at the end of this post.
Step One:
Note: This card was created by using a double Deco Foil technique. Instead of running the foil and toner sheet through the laminator once we’re going to be adding a different color of foil on top of the first piece and run it through the laminator a second time. Here’s a list of the foils and toner sheets you’ll need.
- Toner Sheet + Deep Blue Foil
- Toner Sheet + Silver Glitter
- Toner Sheet + Deep Blue Foil and add Magical Shattered Glass
- Toner Sheet + Snow Days Foil (white) and add Magical Shattered Glass
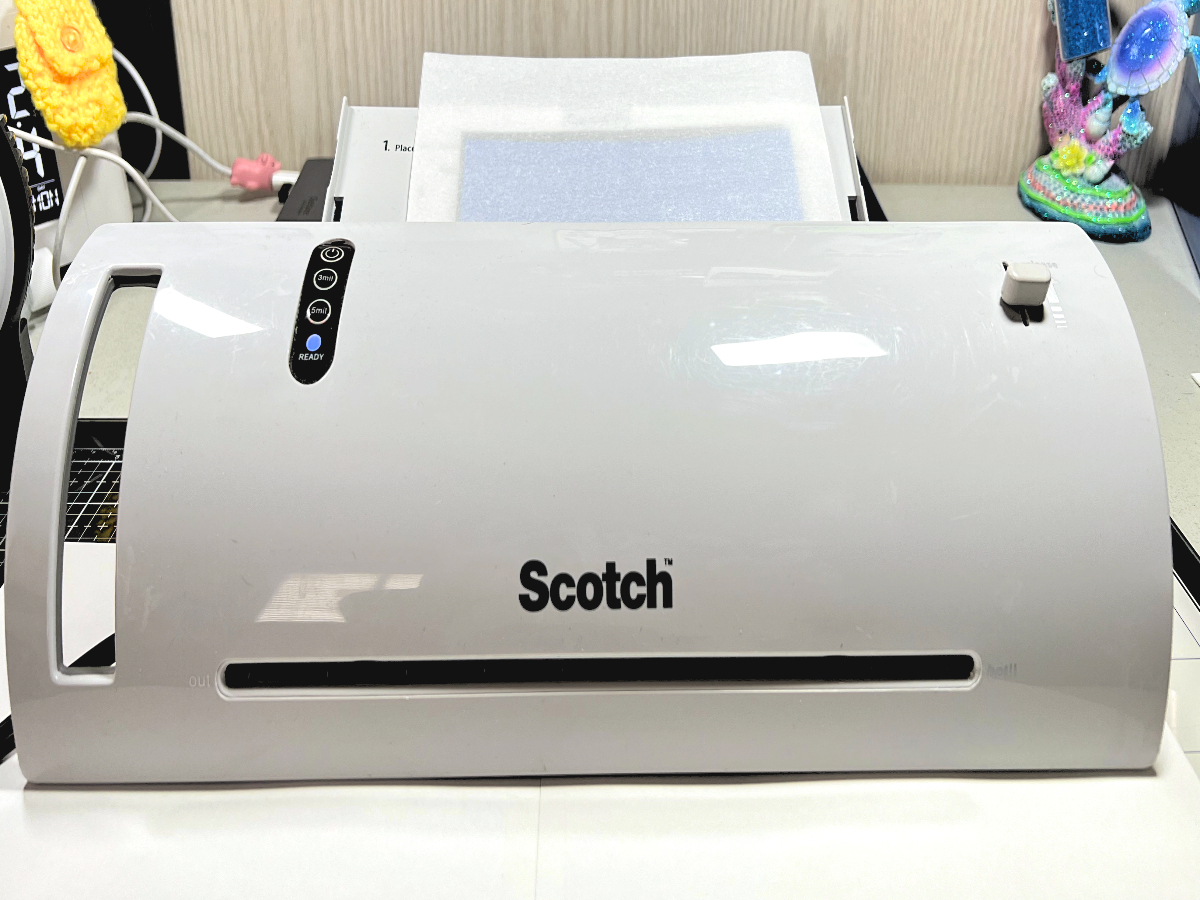
Place a toner sheet and deep blue foil into a piece of parchment paper and run it through a hot laminator and set aside. Repeat with the toner sheet and silver glitter foil and set aside. Next, place a toner sheet and deep blue foil into the parchment paper and run it through the laminator. Open parchment paper and place a piece of the magical shattered glass foil onto the deep blue foiled paper and put it in the laminator one more time. Repeat this last toner sheet with the snow days foil and magical shattered glass foil.
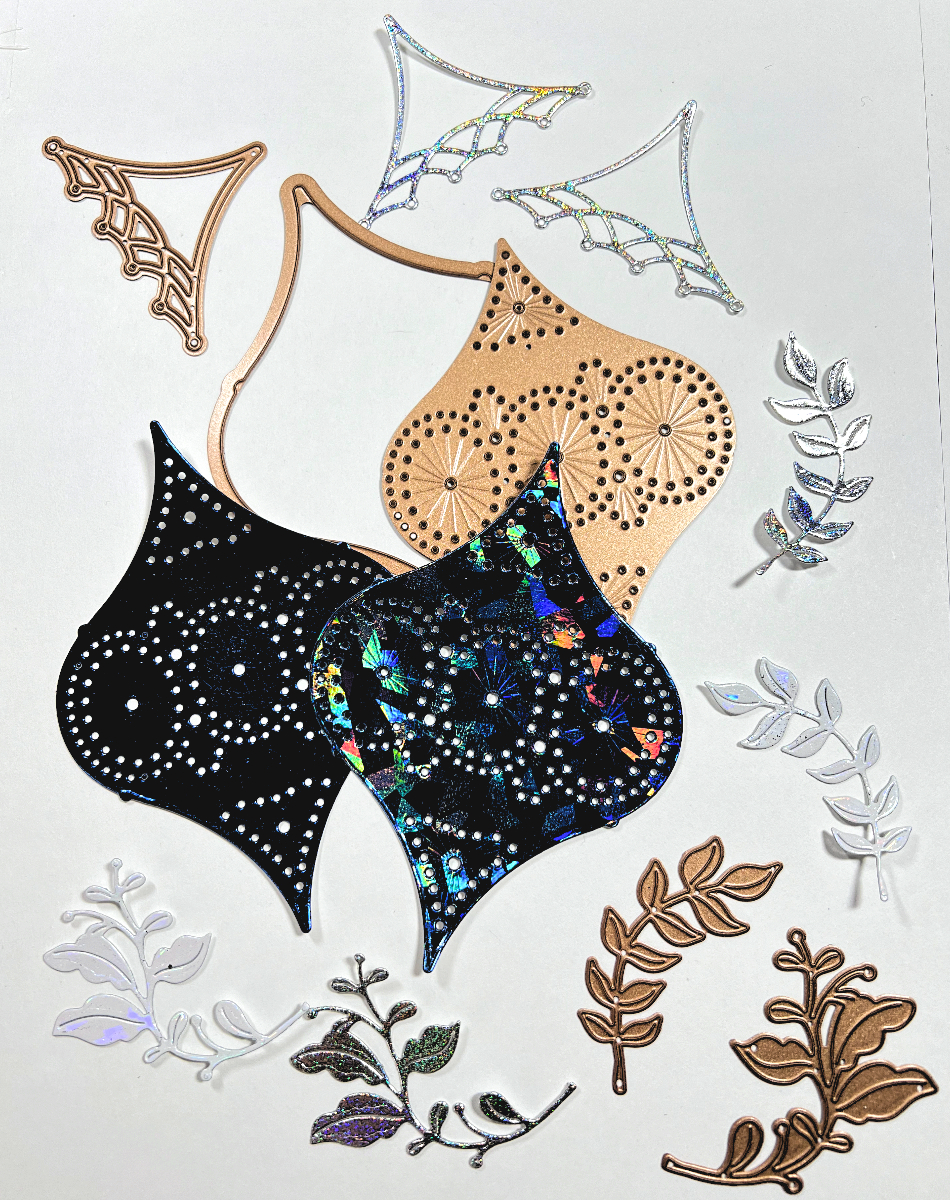
Step Two:
Once the foiled papers are done, die cut as shown in the photo or with different colors if you choose.
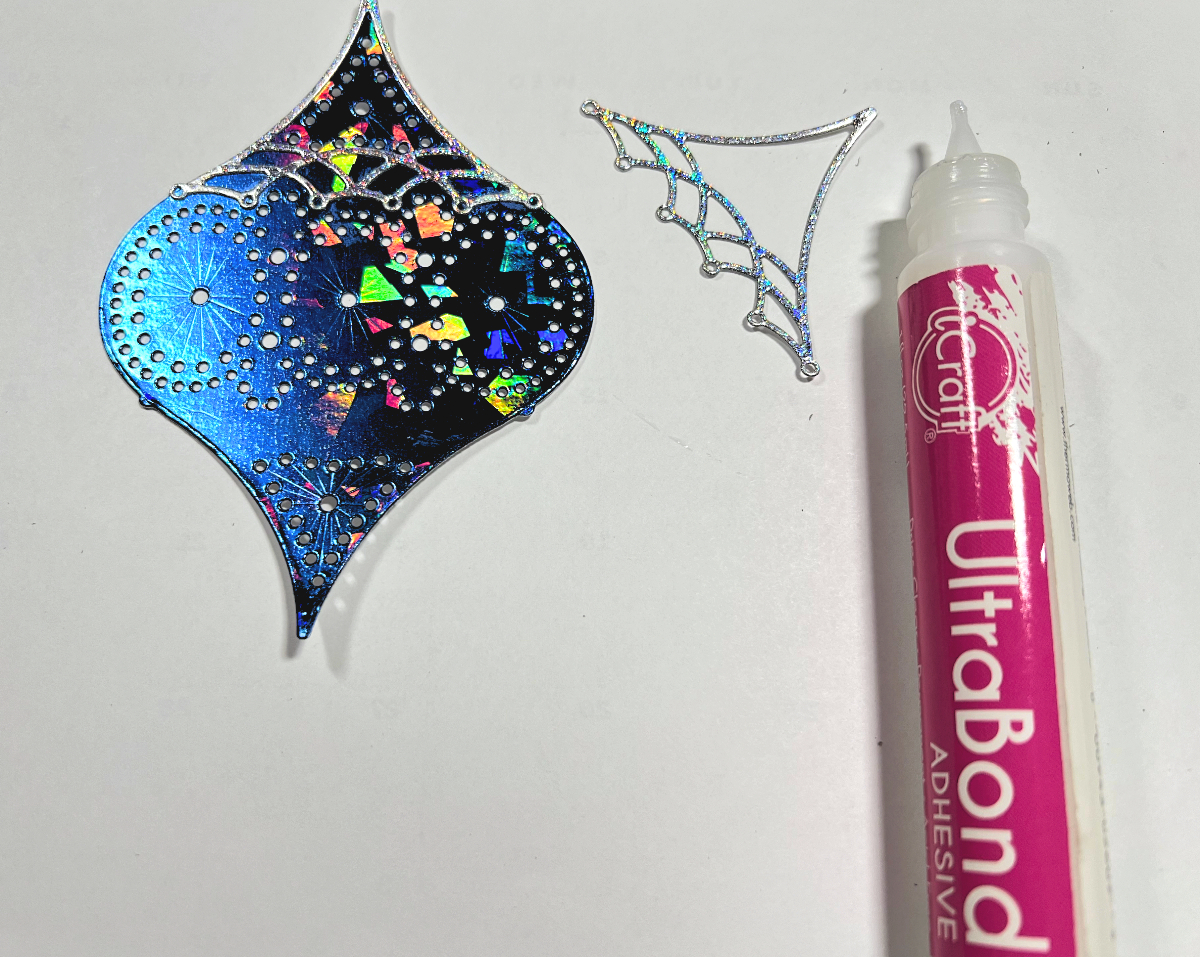
Step Three:
Adhere the silver glitter pieces to one of the ornaments. Use foam tape to adhere both ornaments together.
Step Four:
Cut a piece of white cardstock 4/ 14″ x 5 1/2″. Place it inside of the embossing folder and run it through a die cut machine.
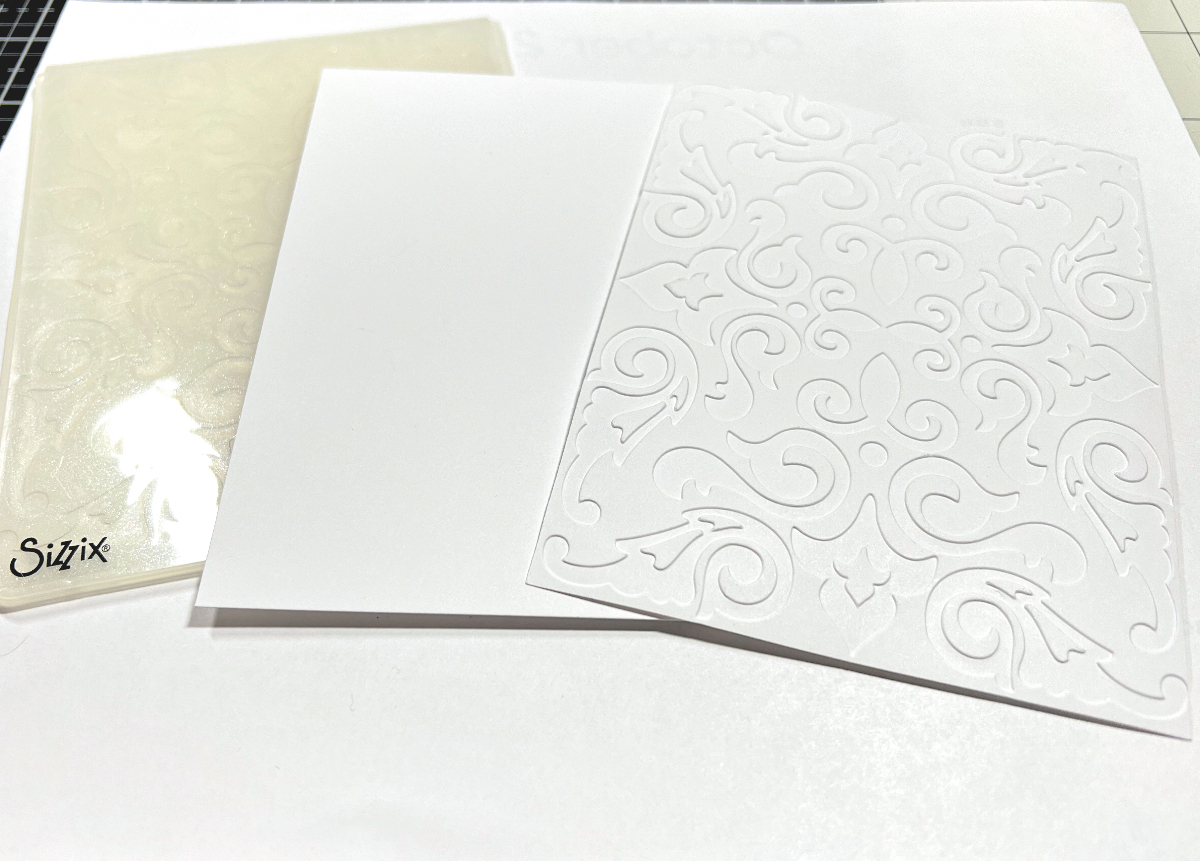
Step Five:
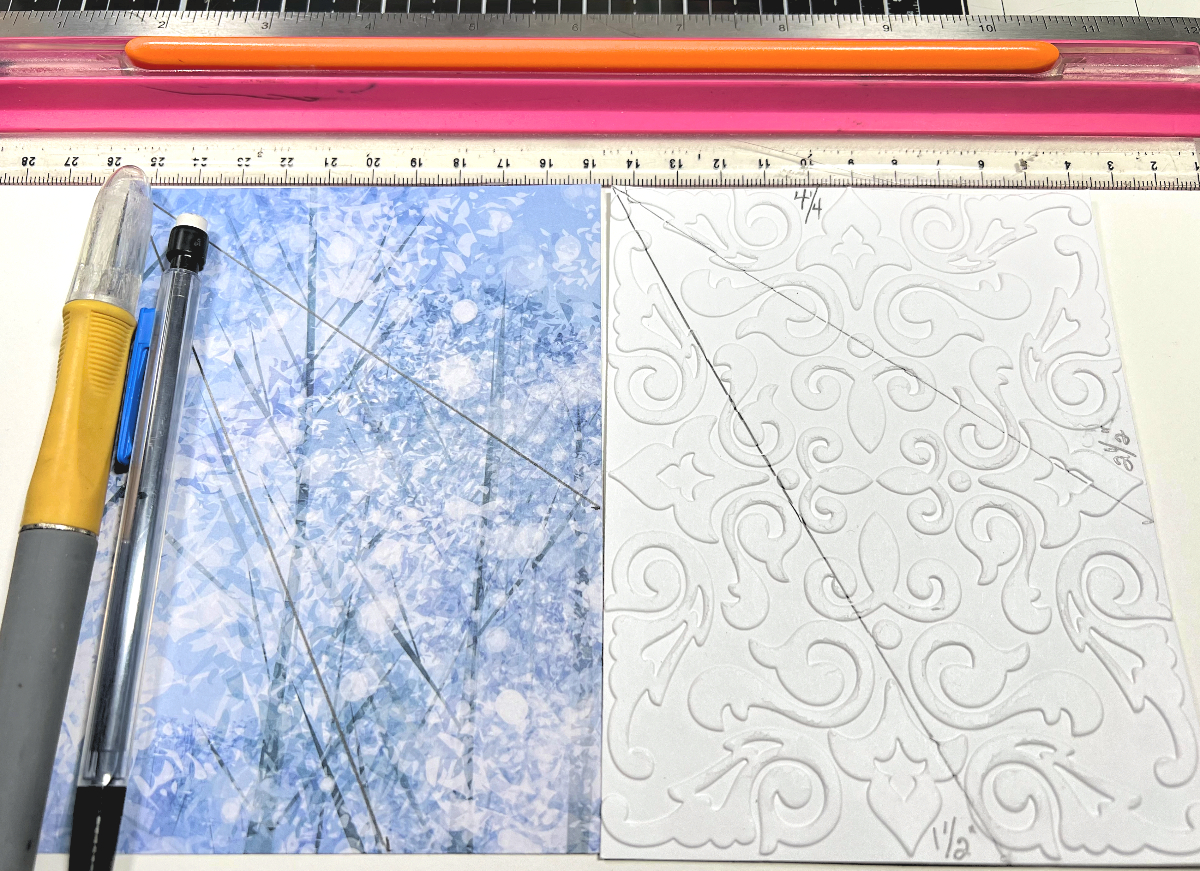
Cut a piece of blue patterned paper 4 1/4″ x 5 1/2″. Starting from the bottom right corner, make a mark at 1 1/2″. Next, make another mark 2 1/2″ from the bottom right corner. Use a ruler to make the cut lines and cut out with an exacto knife.
Note: You don’t need to make the lines on the embossed cardstock. I did that to make it easier to see the lines.
Step 6:
Adhere the two pieces to the embossed cardstock. Attach a piece of glitter ribbon along the right side. For the base card, cut a piece of dark blue cardstock 5 3/4″ x 6″. Cut another piece of light colored patterned paper 5 1/2″ x 5 3/4″. Layer all the papers and adhere them together. To finish, die cut a label out and stamp it with Happy Holidays. Die cut a smaller label and apply the adhesive transfer wording, “Just Wanted To Say” to small label following manufacturer’s instructions. Lay out all of the die cut pieces onto the card and arrange them. Once you have it the way you want adhere the pieces to the card. Check out our Youtube channel for video instructions~ https://youtu.be/zeObmq7zCx0

Blue Foiled Holiday Card
Here’s another PIN for you to share
Supplies for Blue Foiled Holiday Card
- Cardstock: Dark Blue, White
- Patterned Papers, Holiday Theme
- Deco Foil Transfer Sheets: Deep Blue, Silver Glitter, Snow Days, Magical Shattered Glass by Therm O Web
- Deco FoilAdhesive Transfer Sheets, OH Hello by Therm O Web
- Ann Butler Designs Toner Sheets
- Ultrabond Adhesive by Therm O Web
- Foam Tape
- Embossing Folder
- Ornament Die Cut by Spellbinders
- Label Die Cuts
- Laminator and Parchment Paper
- Die Cutting Machine
Trackbacks/Pingbacks