If you’re looking for a fun way to give money or a gift card, this Blinged Out Graduation Pocket Card is perfect!
Please note: This post contains affiliate links. If you use these links and make a purchase, we earn a commission at no extra cost to you…
This Graduation Pocket Card is so easy to create. By adding a few folds in the card base, you can create a pocket to add all kinds of fun stuff. And as a bonus, I’ll also show you how to add multiple rhinestones to your cards and other projects in a few quick minutes with templates created by Ann Butler Designs. That means you no longer have to add bling one at a time or pay a lot of money on the pre-made design packs. I hope you try it. Enjoy! Lisa~
Note: For this project, I used digital stamp images and digital patterned papers. I’ll add the links in the supply section at the end of the post.

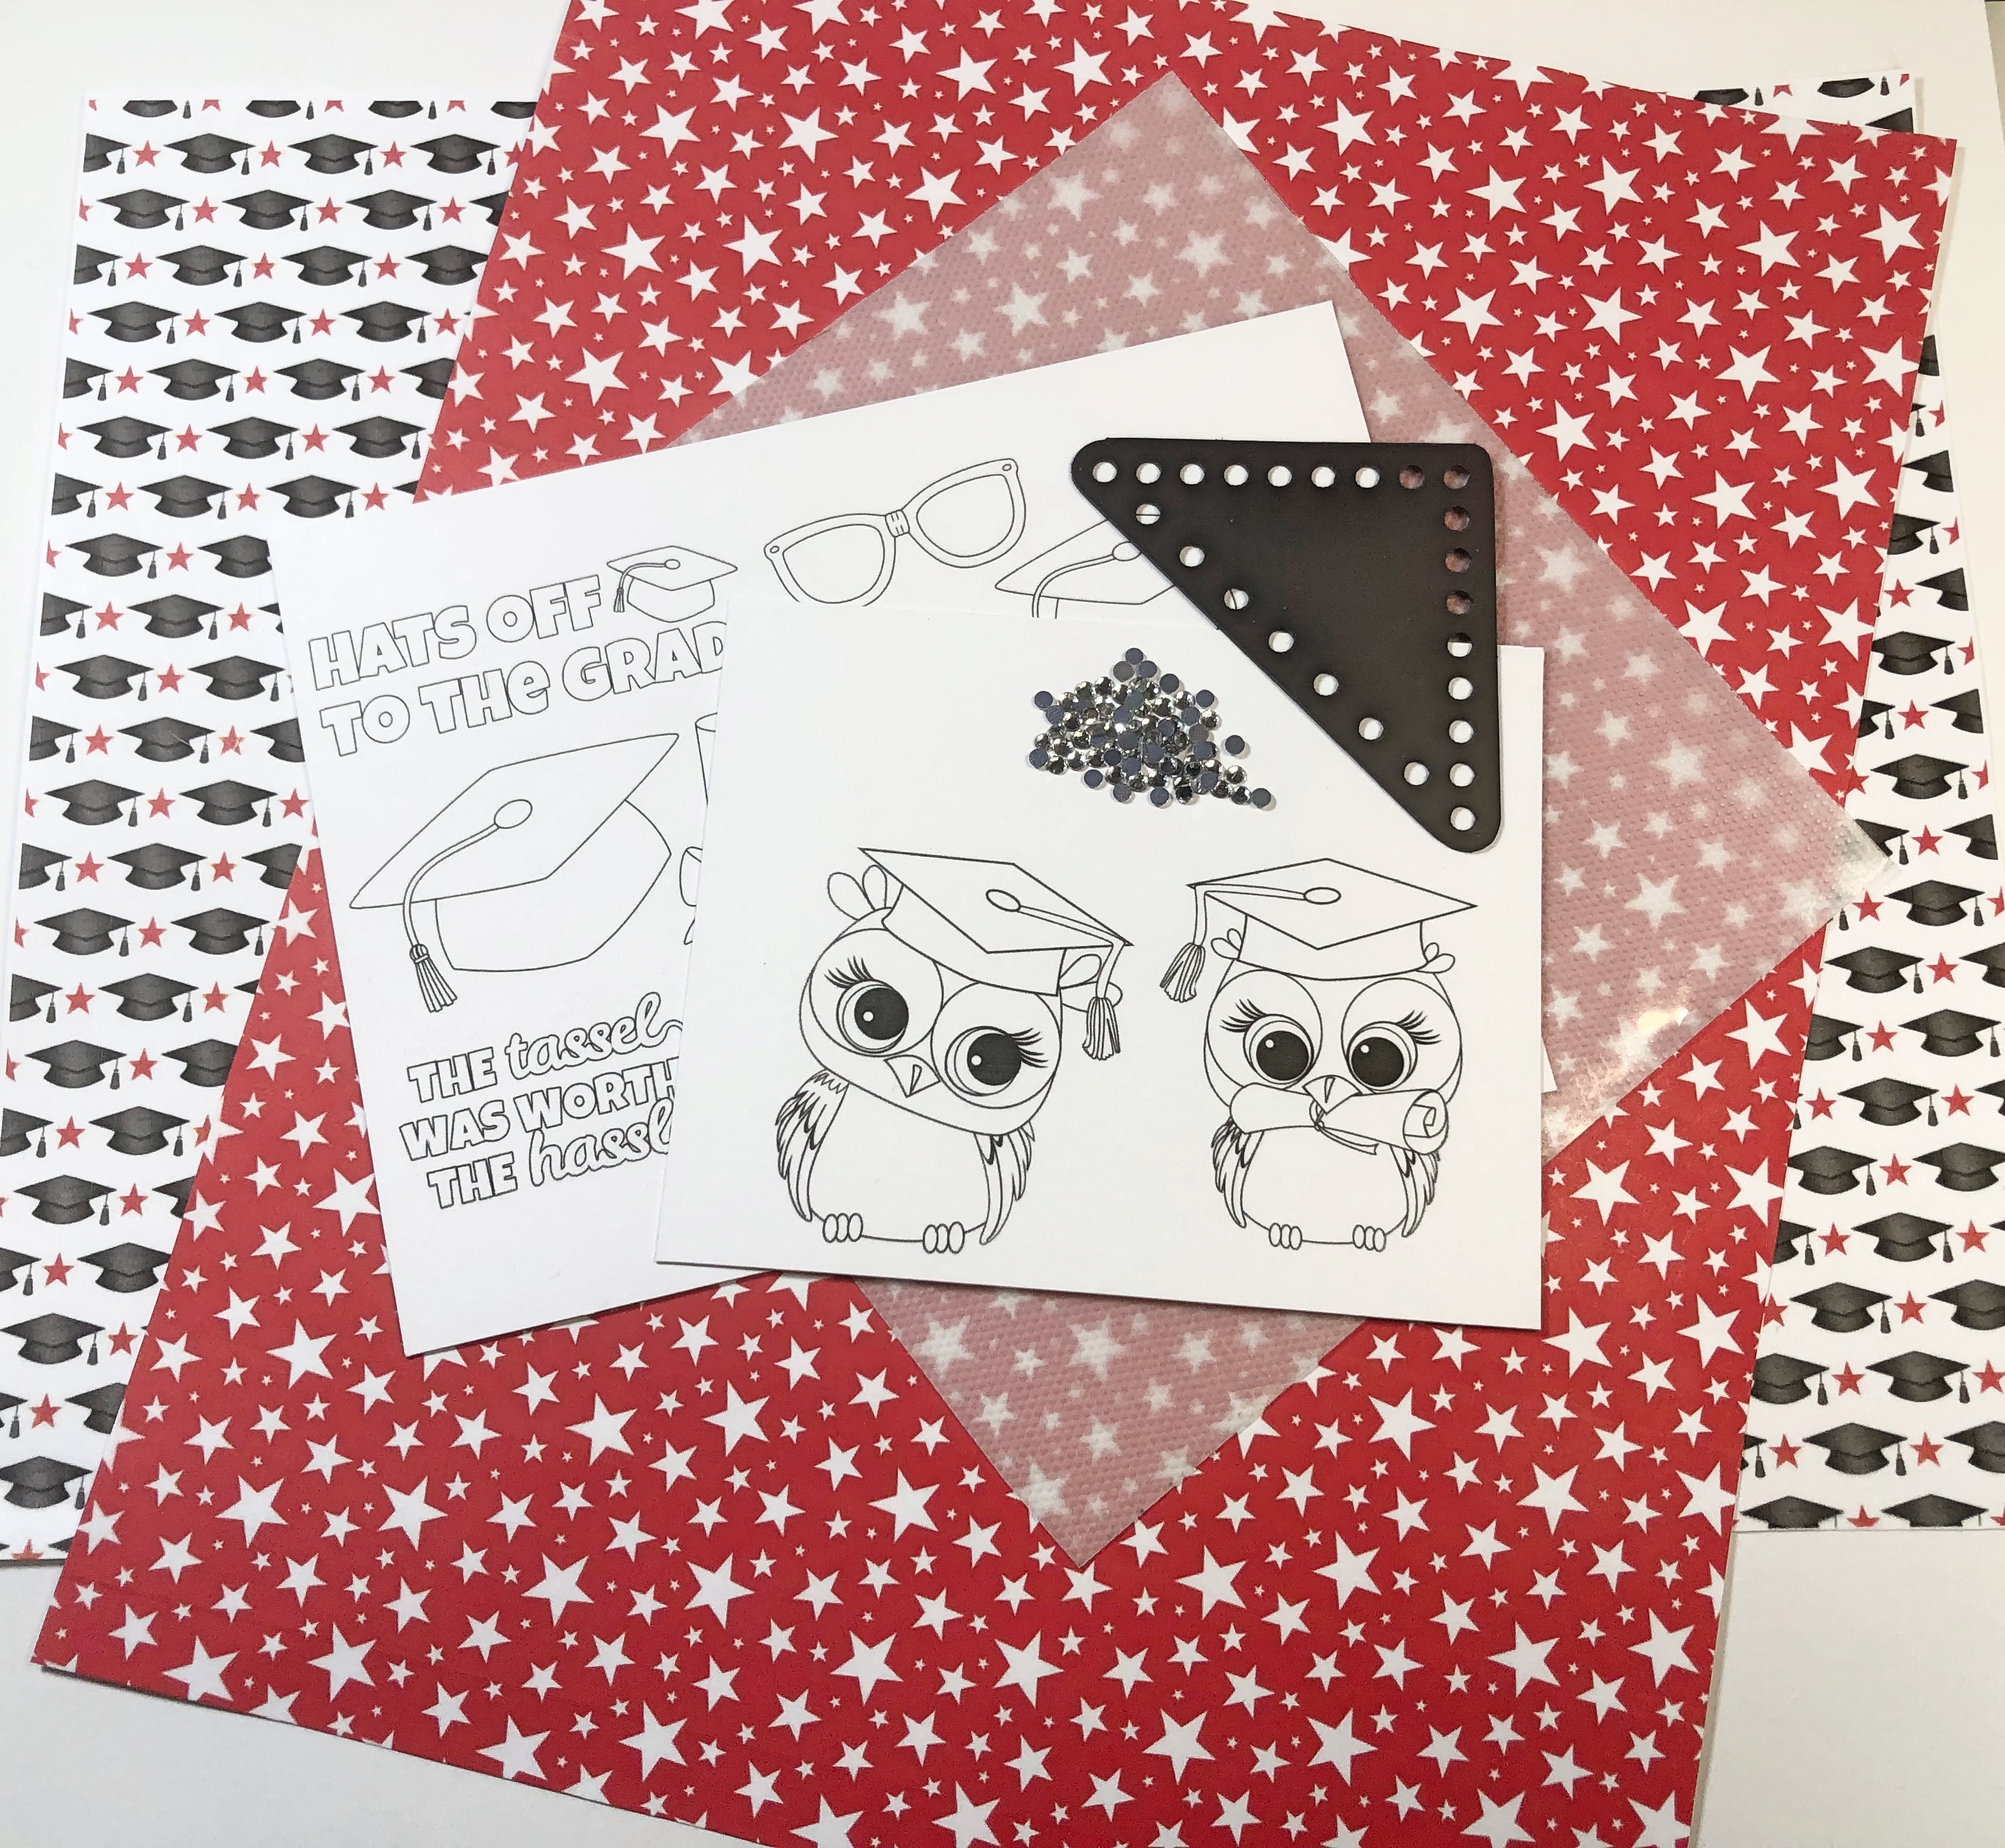
Supplies for Blinged Out Graduation Pocket Card
Check out the full list of supplies at the end of this post.
Steps One, Two, Three:
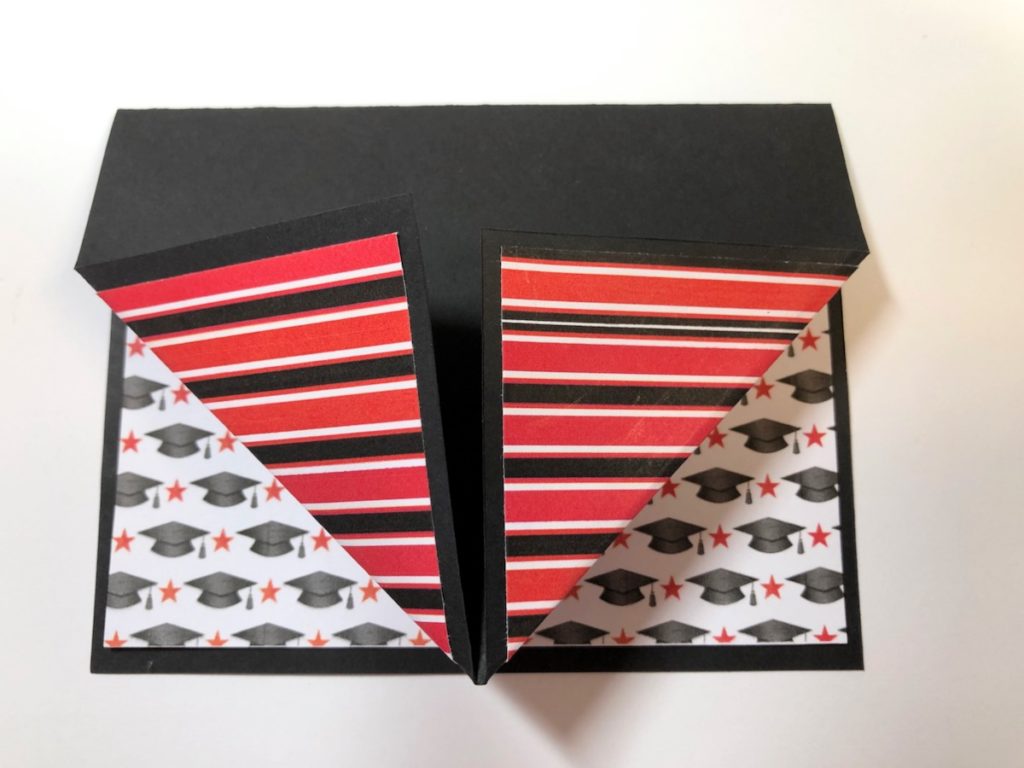
Print the patterned papers on white cardstock. Cut the papers as follows: Black cardstock 4 1/4″ x 5 1/2″ (for the card base), striped and hat patterned papers 4″ x 5 1/4″ and the Stars 1 1/2″ x 5 1/4″. Adhere the striped and hats paper to the inside of the card base. On the card front, measure 2 3/4″ for the middle of the card. Fold the papers at the center of the card as shown in the photo.
Steps Four, Five, Six:
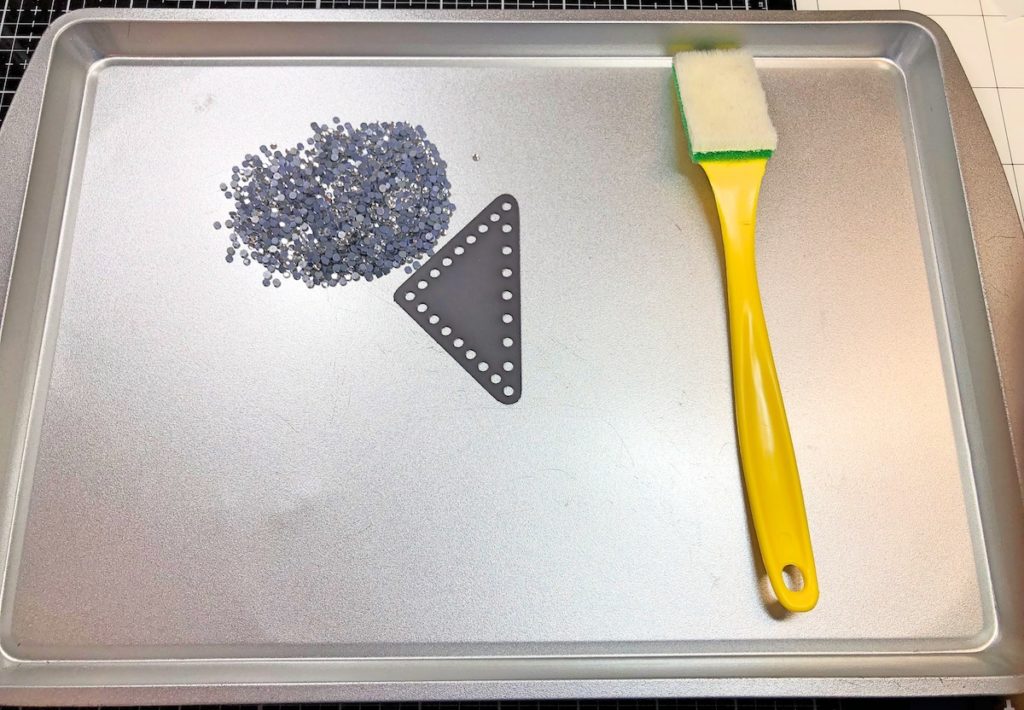
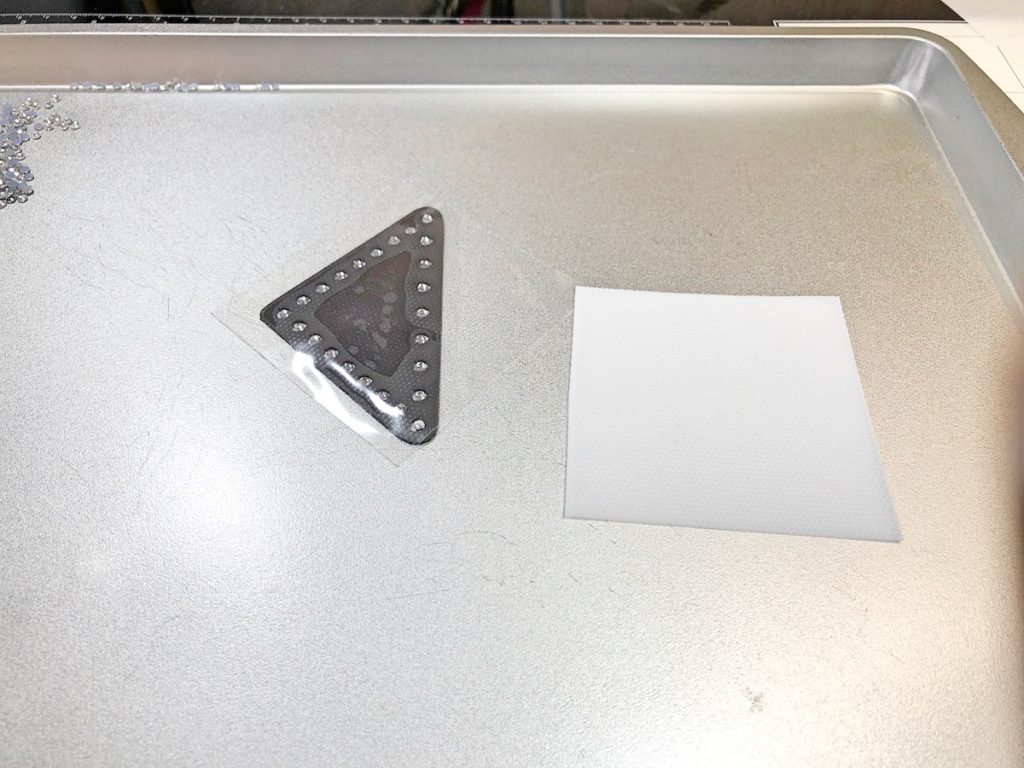
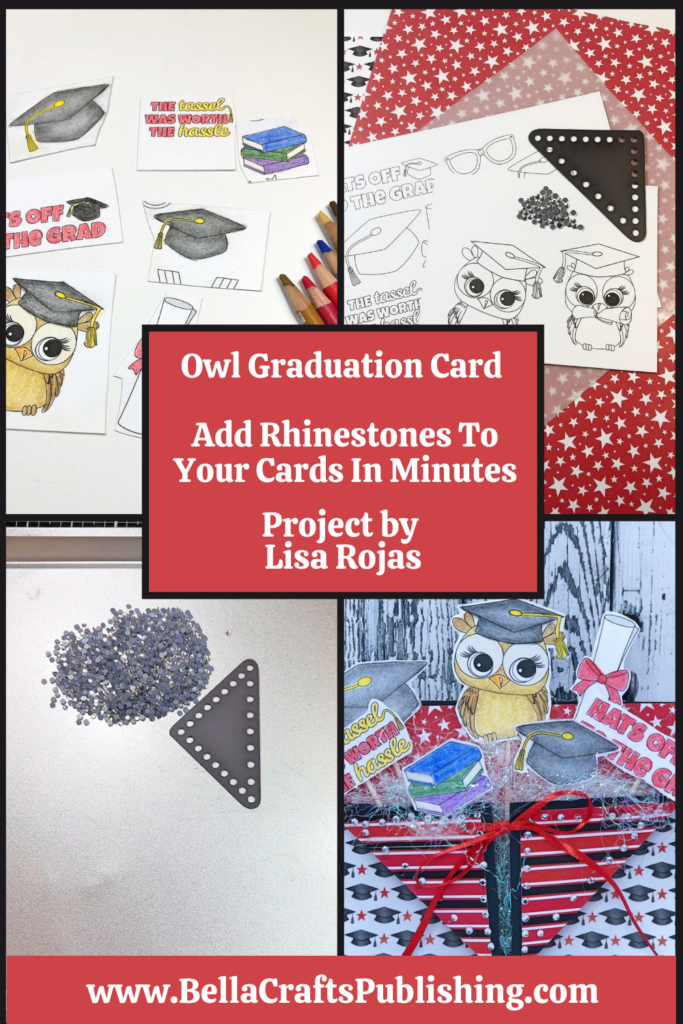
Place the template on a cooking sheet. Pour the rhinestones over the template and move them all around with the brush until all the holes are filled. Remove the white backing off the adhesive sheet and lay the adhesive sheet down on the template. Gently pull the adhesive sheet off the template, making sure the rhinestones are on the adhesive sheet.
Note: Ann Butler Designs is offering a fabulous deal on her Rhinestone Bundle. Click Here for all the details. She also has a quick video showing how to use her templates.
Steps Seven, Eight, Nine:
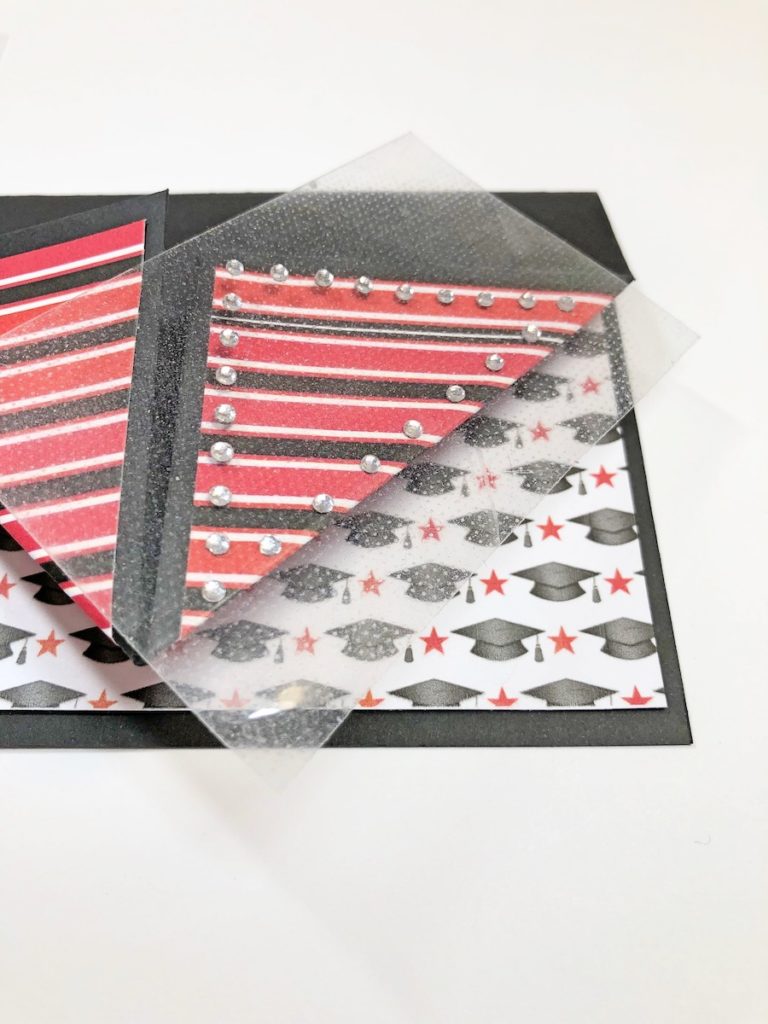
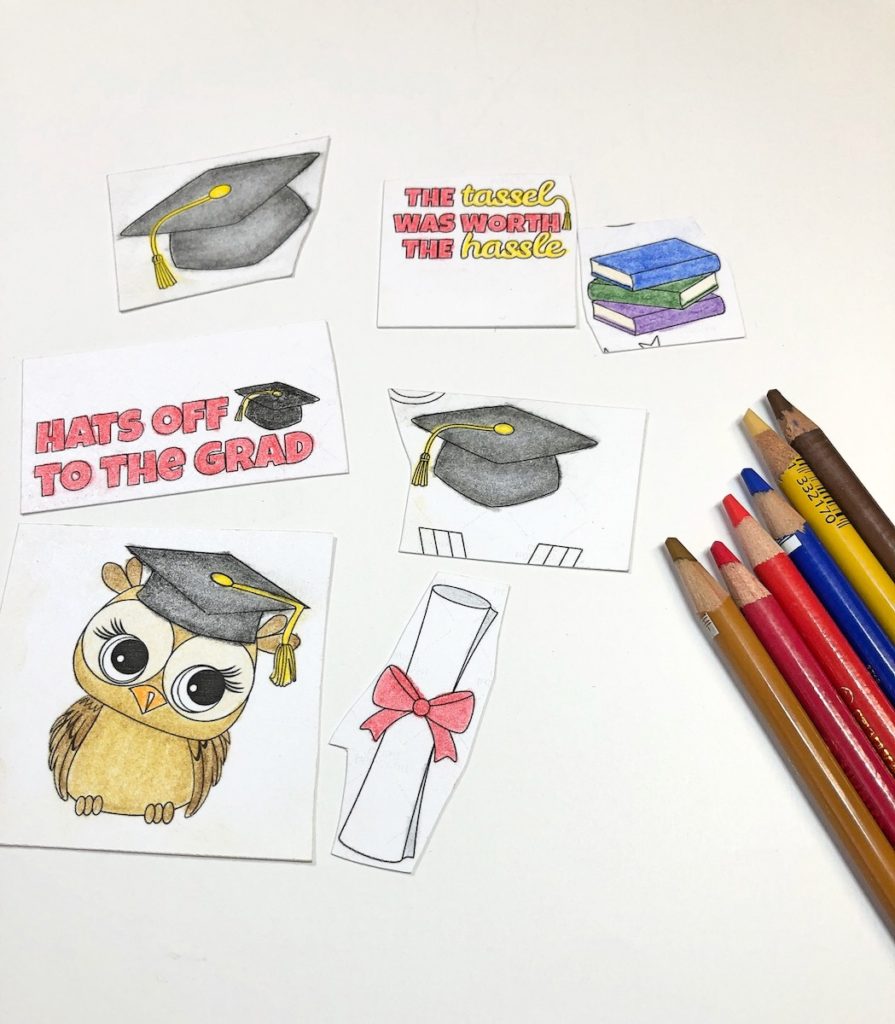
Lay the adhesive sheet on the card base as shown. Put a dry, hot iron for 15 seconds onto the rhinestones to melt the adhesive. When you have heated all of the rhinestones, gently peel back the adhesive sheet. Repeat this step on the other side of the card base. Next, print the digital images out on white cardstock and color them with chalk pencils. Apply one coat of clear spray sealer and cut them out.
To finish the card, adhere the star patterned paper on the top of the card front. Attach toothpicks to the images with a glue glue. Punch two holes on the pocket flaps, add red ribbon and tie a bow. Add some iridescent filler and the images in the pocket.

Blinged Out Graduation Pocket Card
- Cardstock: White, Black
- Rhinestone Templates by Ann Butler Designs
- Digital Patterned Papers by Madscrapper
- Chalk Pencils by STABILO
- Digital Graduation Images by Creative Market
- Digital Owl Images by AMBillustrations
- Ribbon, Red
- Iridescent Filler
- Toothpicks
- Glue Gun
- Tape Runner
- Spray Sealer, Clear
- Scissors
- Paper Trimmer
- Hole Punch
- Iron
- Metal Cookie Sheet
- Computer
- Printer




Awesome card! Love that template!