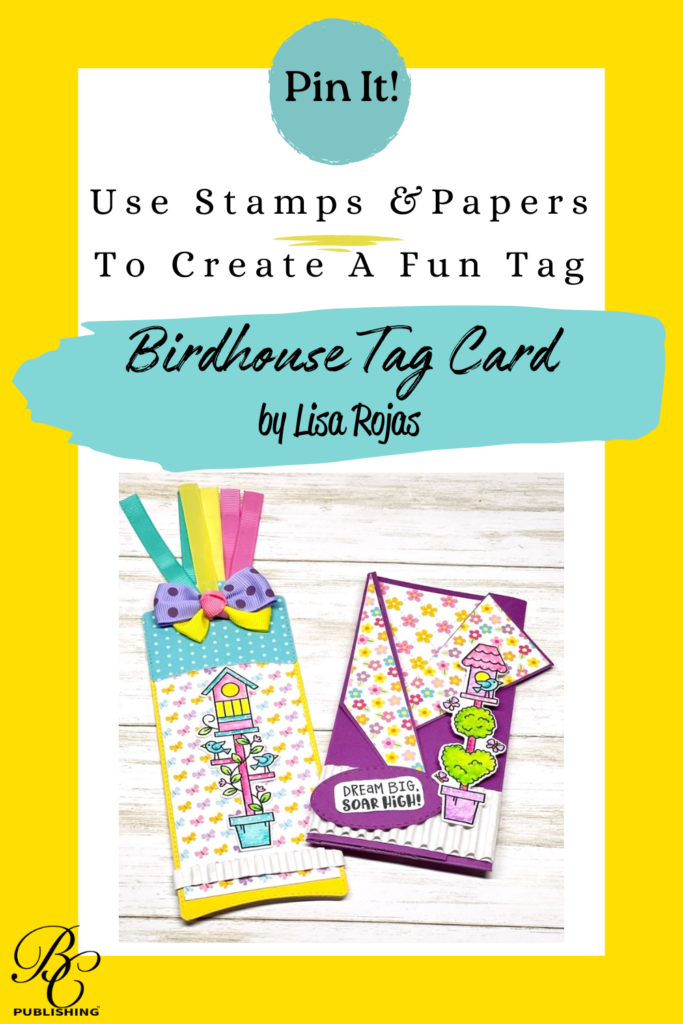
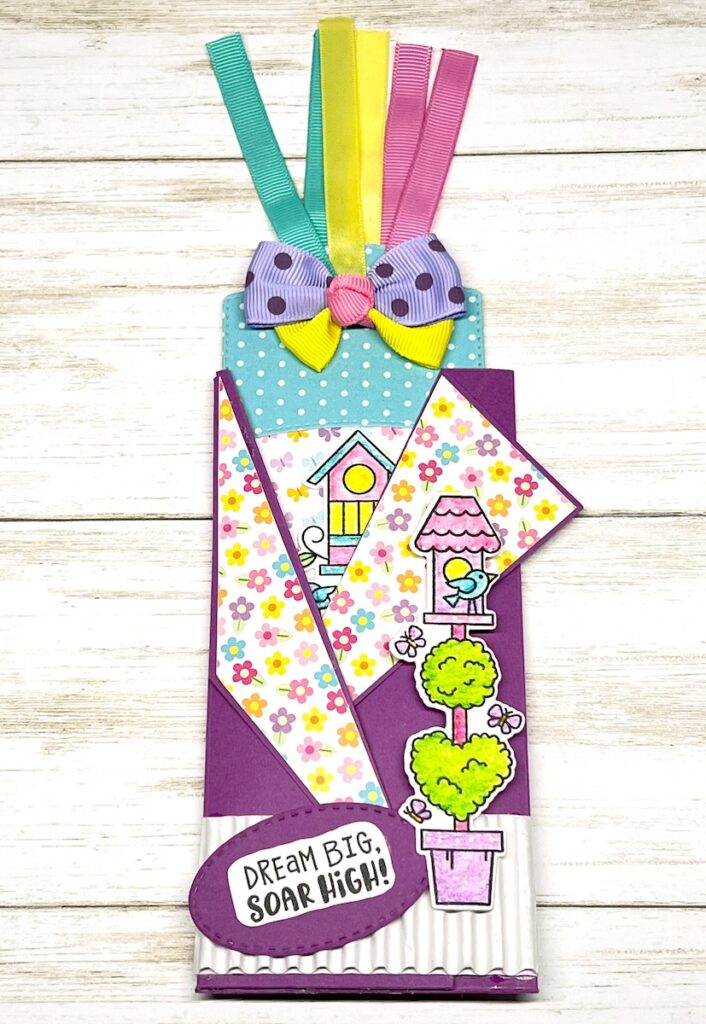
Our Birdhouse Tag Card is perfect for any occasion. Created with stamps and pretty papers from Newton’s Nook, it’s a delightful way to send your heartfelt messages.
Please note: This post contains affiliate links. If you use these links and make a purchase, we earn a commission at no extra cost to you…
This Birdhouse Tag Card is so easy to make and I love the idea of using the tag as a bookmark. I used the fun birdhouse stamp set from Newton’s Nook Designs along with their Springtime patterned paper pack. The funky folds make it unique. I hope you try it out and have as much fun making it as I did.
Crafty hugs, Lisa~
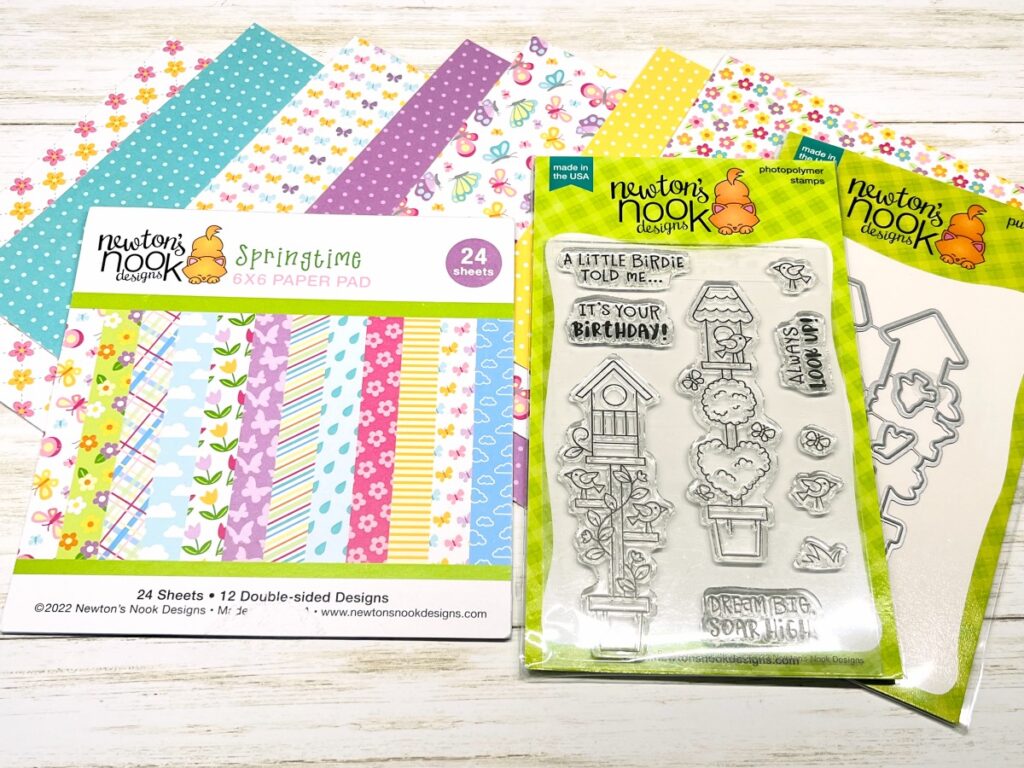
Supplies for Birdhouse Tag Card
Check out the full list of supplies at the end of this post.
Step One:
On a piece of white cardstock, stamp both images with the black inkpad and watercolor the images. Use white paint pen to apply small dots to the images as desired. Cut the images out with the matching die set.
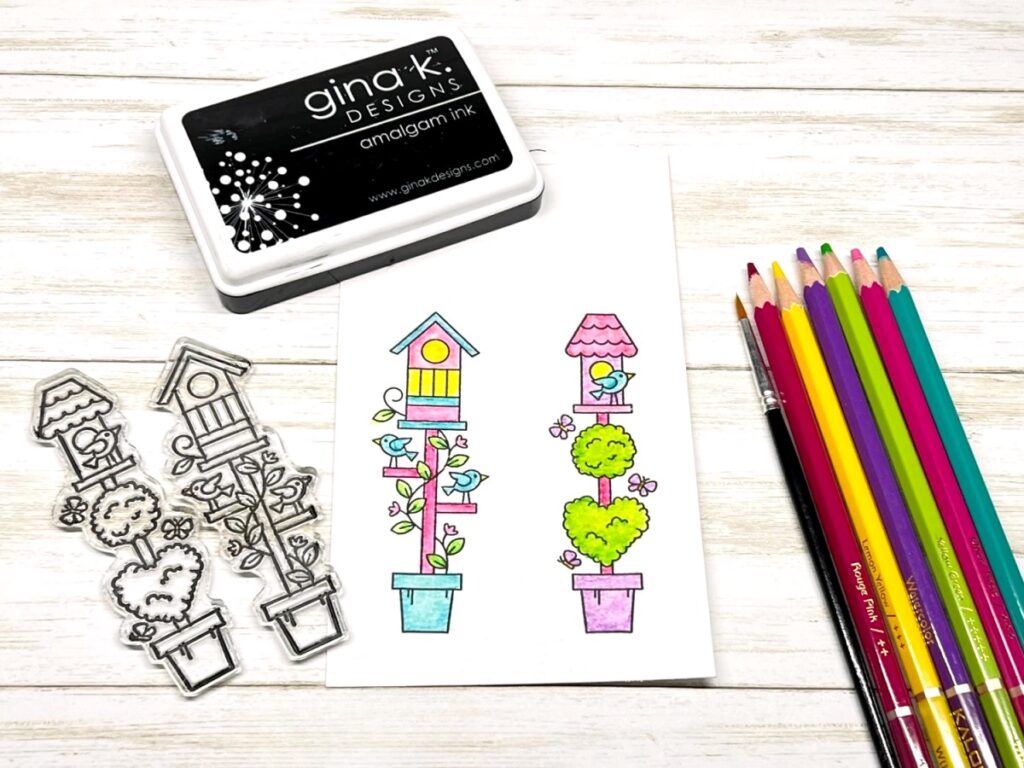
Step Two:
Die cut the tag from a piece of chipboard (or heavy cardstock) and a piece of yellow cardstock. Next, die cut the tag topper from patterned paper. Adhere the pieces together as shown.
Note- The chipboard or heavy cardstock is used to give the tag some sturdiness.
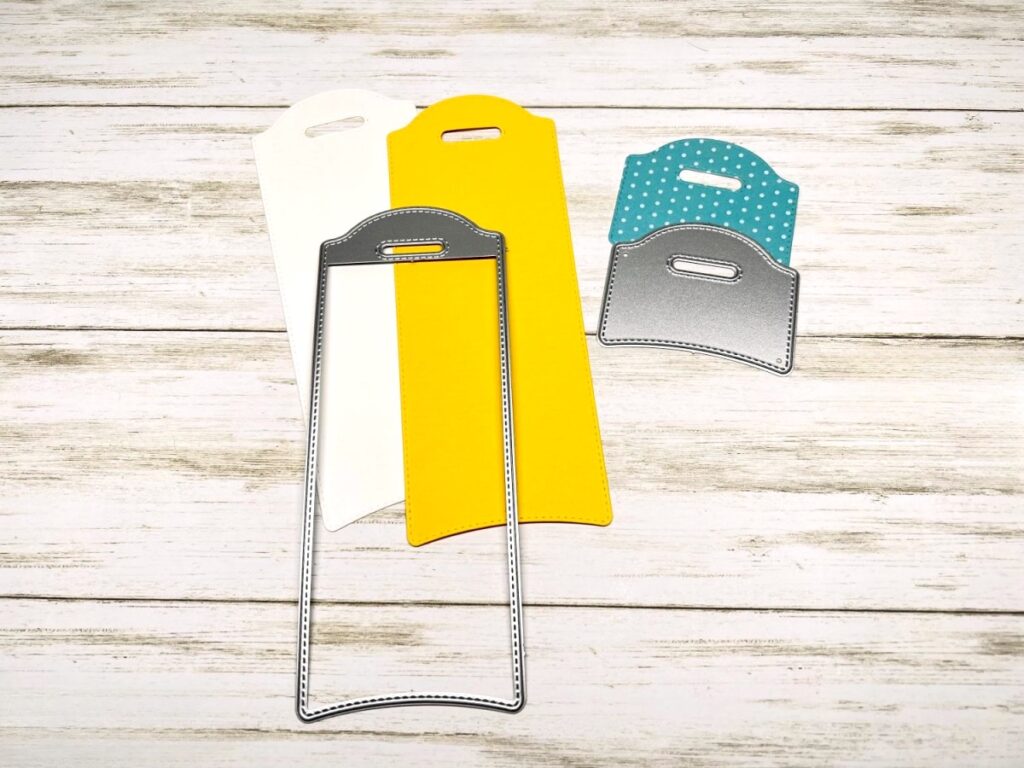
Step Three:
For the base card cut the grape-colored cardstock 8″W x 6 1/2″H. See the diagram for scoring and cutting directions.
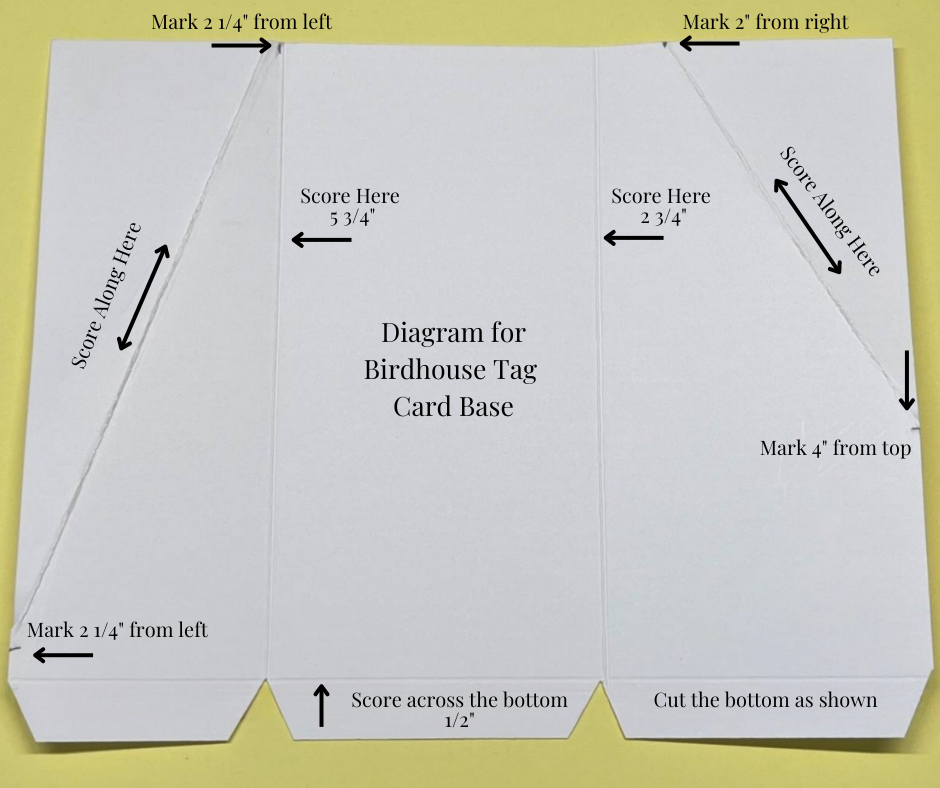
Step Four:
Cut the patterned papers for the front fold. For the center, cut a piece of patterned paper 2 3/4″W x 3″H and another piece 2 1/2″W x 5″H for the tag. Fold the left side along the score line and cut off the excess of the card base. See photo below if needed.
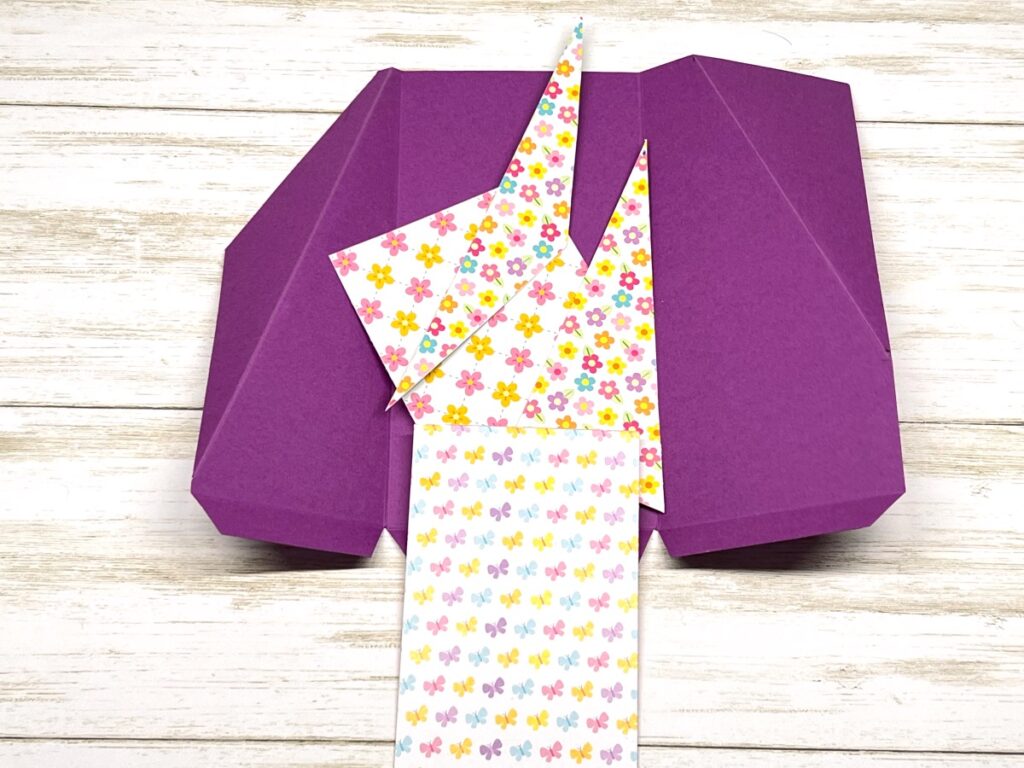
Step Five:
Adhere the papers to the card base and tag as shown. Fold the bottom and sides to form the card base and adhere together. To finish, adhere one of the birdhouse images to the tag. Cut a piece of white corrugated paper 6″W x 1/4″H and adhere it around the bottom of the tag. Add ribbons and a bow. Cut another piece of corrugated paper 7″W x 1 1/4″H and adhere it to the card base. Die cut an 2 1/4″ oval. Next, stamp the word image with a black inkpad on a piece of white cardstock. Cut it out and adhere it to the oval. Apply foam tape to the back of the birdhouse. Attach the birdhouse and oval to the card base.
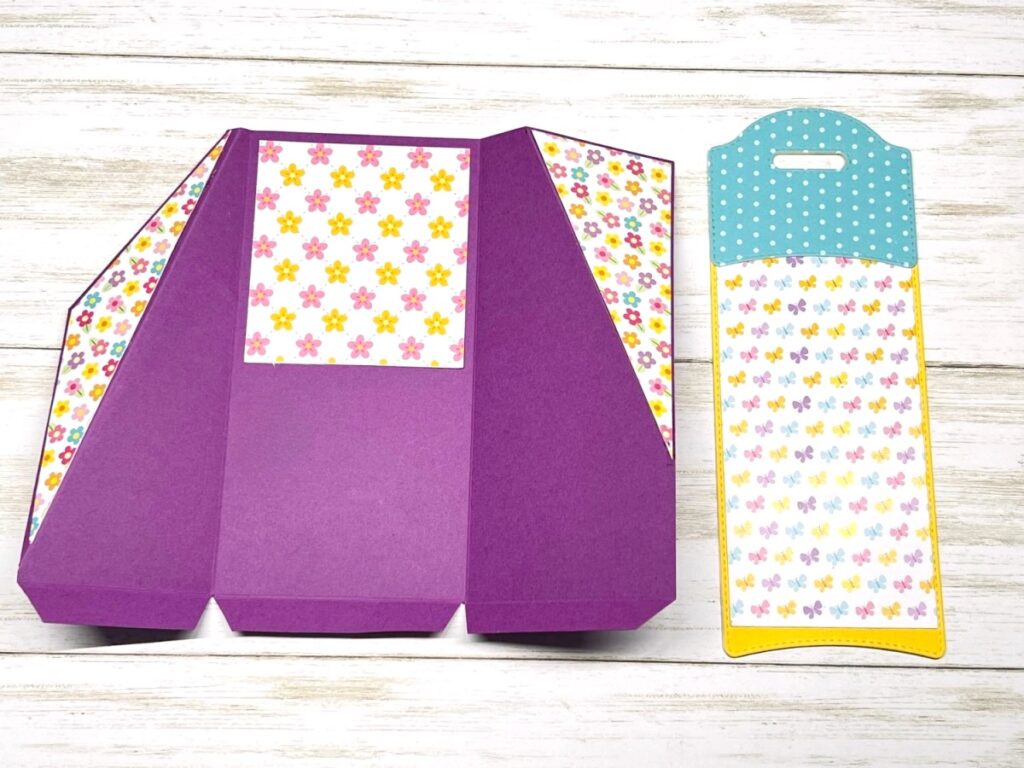
Birdhouse Tag Card
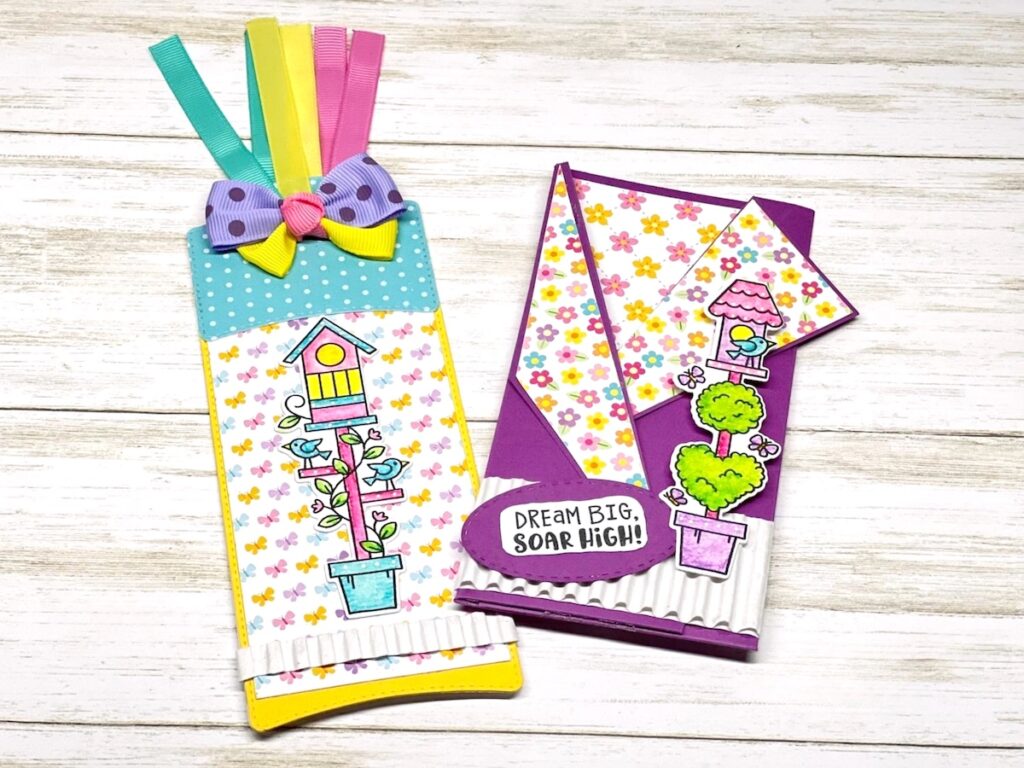
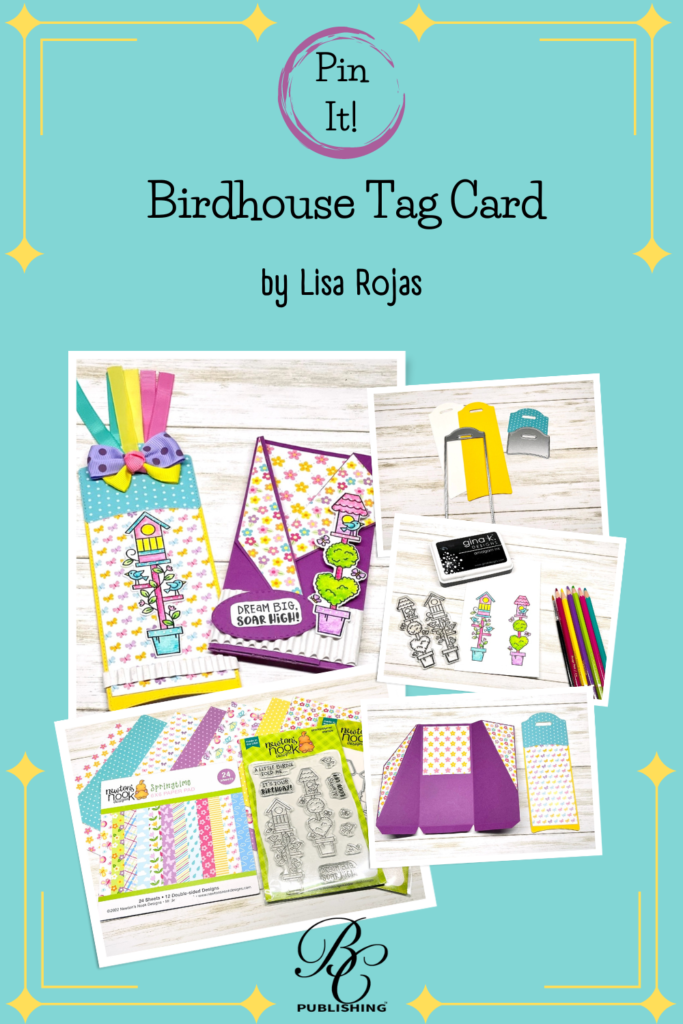
Here’s Another PIN For You To Share!
Complete Supply List
- Cardstock: Grape, White
- Corrugated Paper, White
- Springtime Paper Pack by Newton’s Nook Designs
- Birdhouse Greetings Stamp Set by Newton’s Nook Designs
- Amalgam Inkpad, Obsidian by Gina K. Designs
- Watercolor Pencils
- Paint Pen, White
- Ribbons, Sweet Shop by Gwen Studios
- Zip Dry Paper Glue by Beacon Adhesives
- World’s Best Foam Tape, Double Thick by Pear Blossom Press
- Paintbrush
- Birdhouse Greetings Die Set by Newton’s Nook Designs
- Oval Frame Die Set by Newton’s Nook Designs
- Tag Die Set by KSCraft
- Scissors
- Paper Trimmer
- Big Shot Die Cut Machine by Sizzix

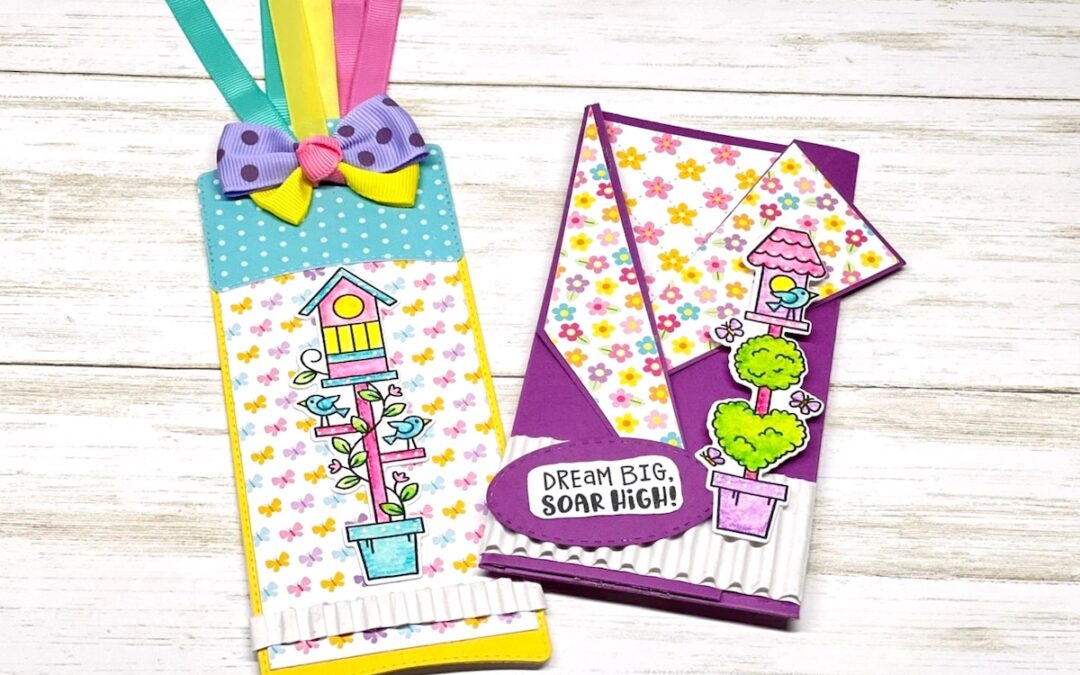
Tags look cute!
Thank you…and so fun!
Beautiful. I love Newton’s Nook, their stamps & dies are great.
Challenging card and bookmark but I love it