Interactive cards are fun to make and you’ll have a great time with this Beachy Platform Pop Up Card!
Please note: This post contains affiliate links. If you use these links and make a purchase, we earn a commission at no extra cost to you…
When I first saw this platform pop up die set from Lawn Fawn, I thought it might be a little difficult to make. I was surprised to find it’s a pretty simple interactive die set. I have broken down the steps so even a beginner can make this card with ease. I hope you give it a try. Enjoy! Lisa~
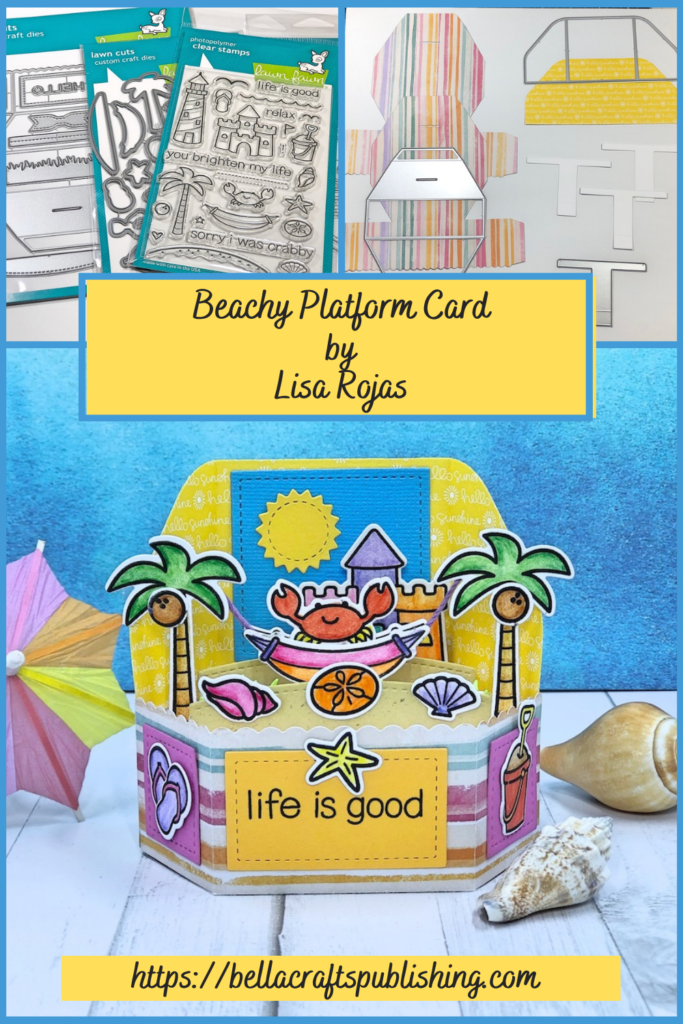
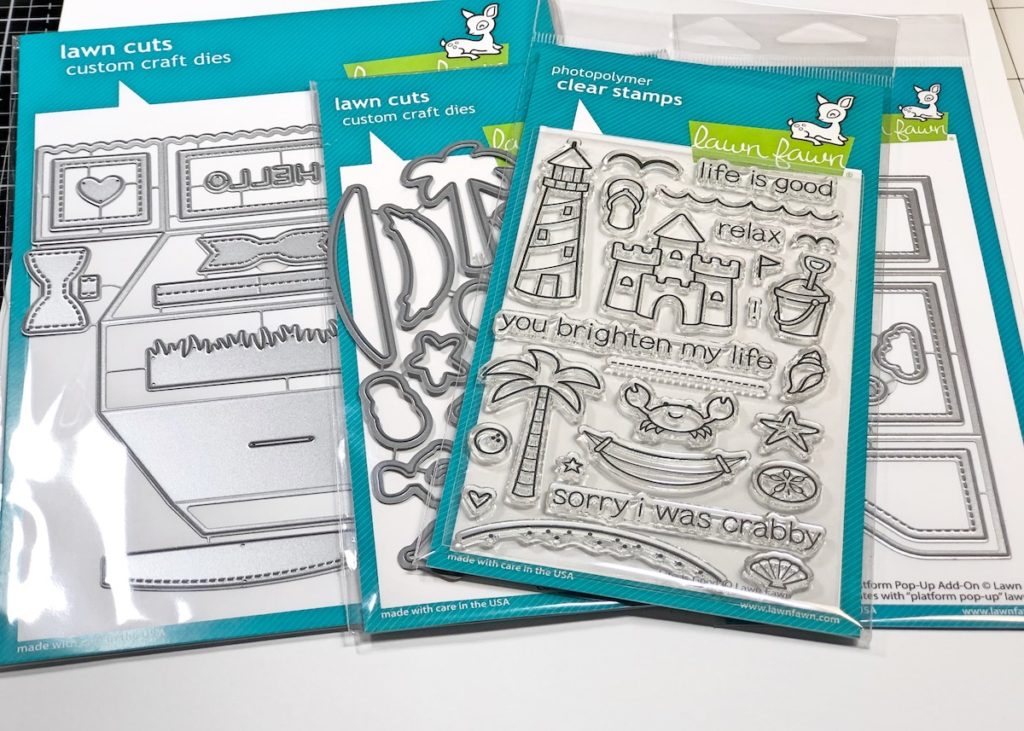
Supplies for Beachy Platform Card
Check out the full list of supplies at the end of this post.
Steps One, Two, Three:
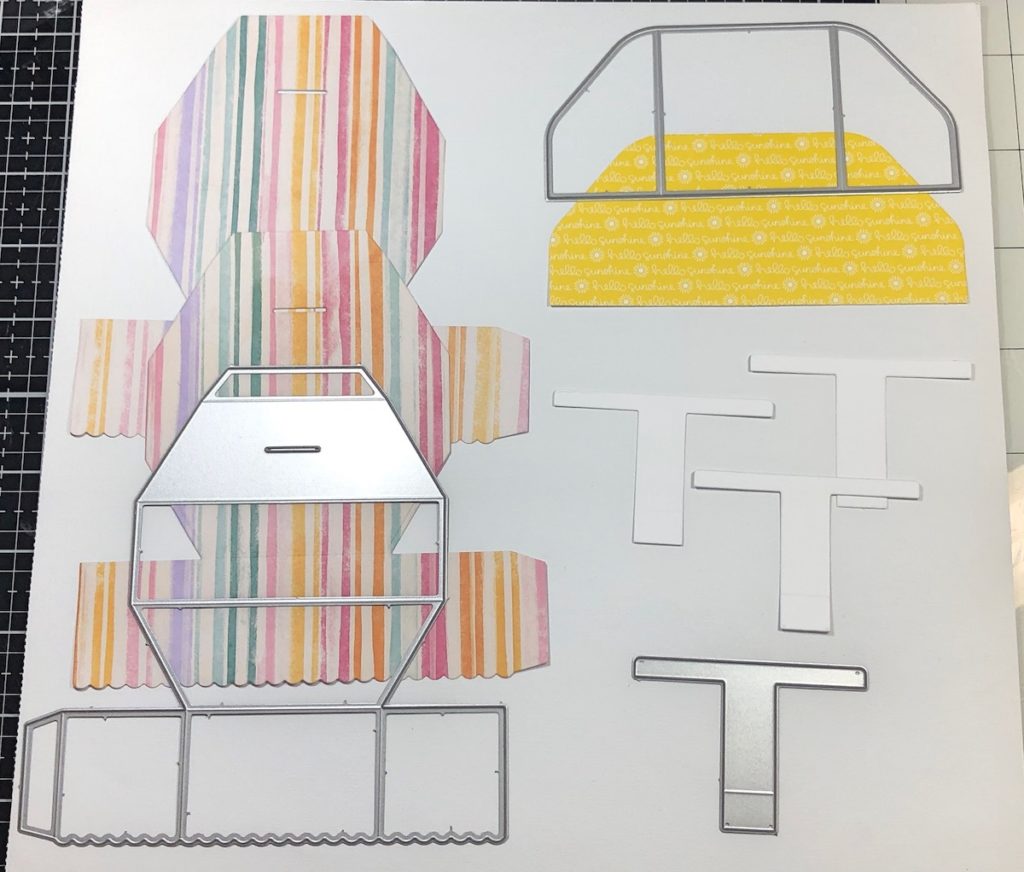
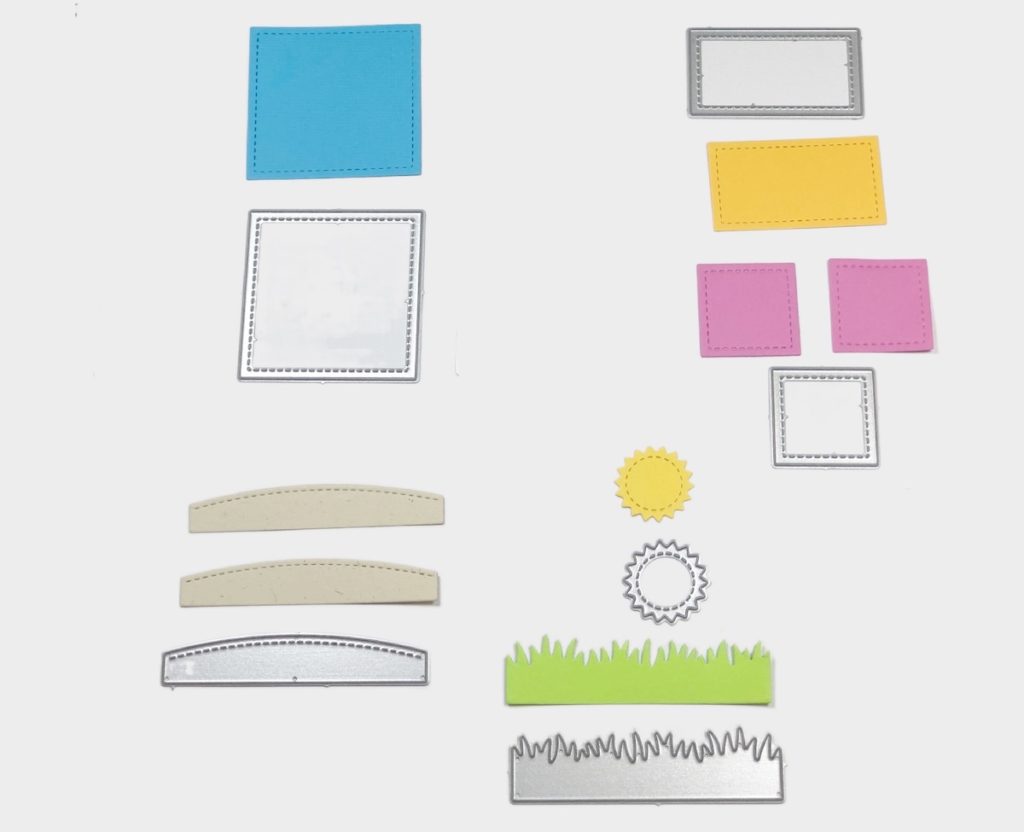
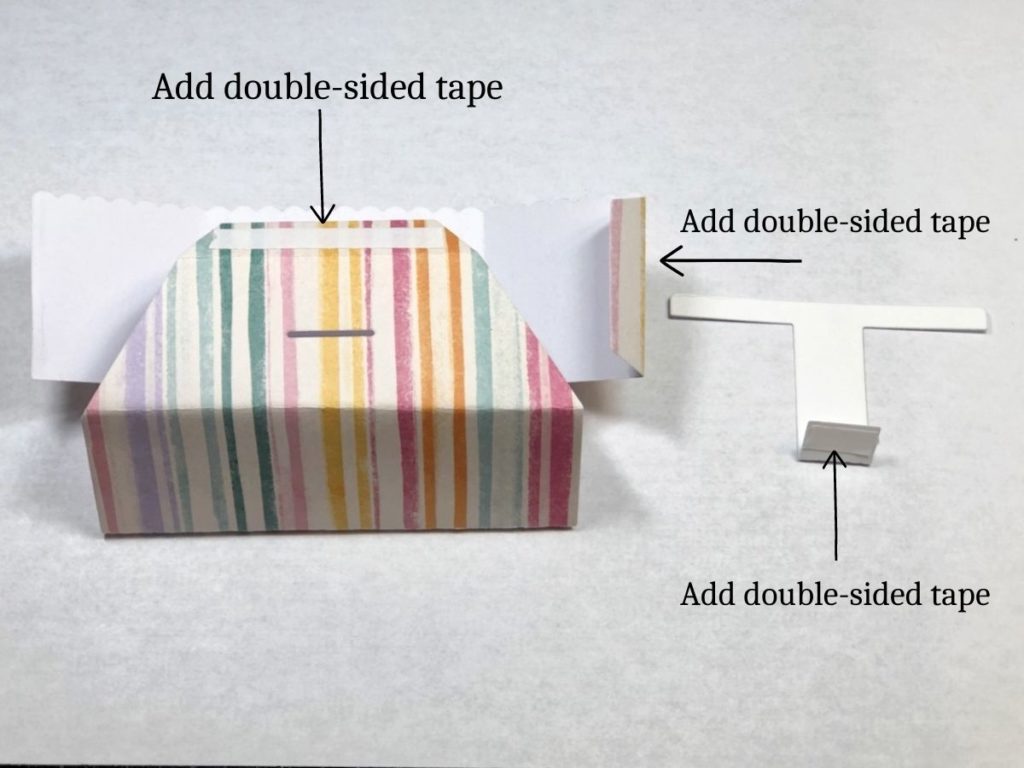
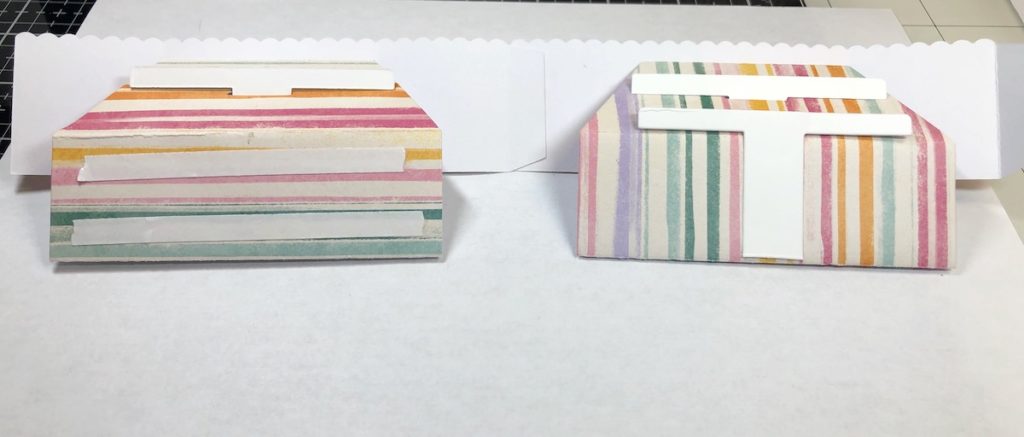
Step 1- Cut out two pieces of patterned paper with the base die and cut three pieces of white cardstock with the “T” looking die (see photo if needed). Cut one piece of the yellow patterned paper for the backdrop. In Step 2- Cut out the dies with the colored cardstock as shown in the photo. Step 3- Fold one of the bases on the score lines and one of the “T” shapes. Apply tape as shown.
Steps Four, Five, Six:
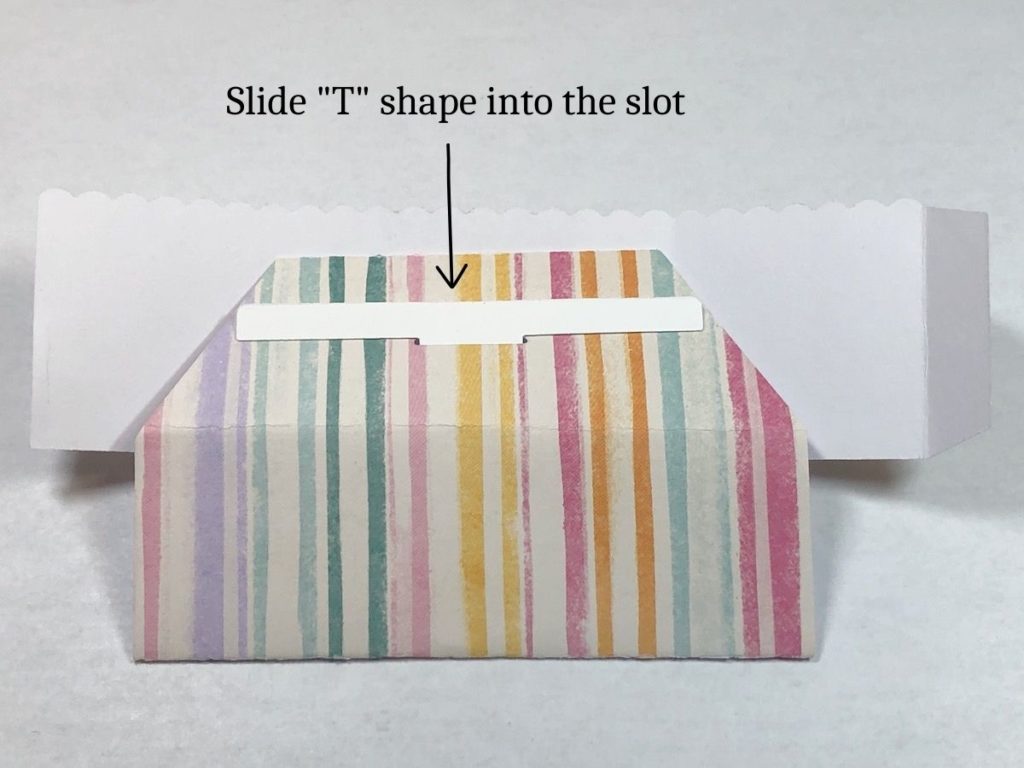
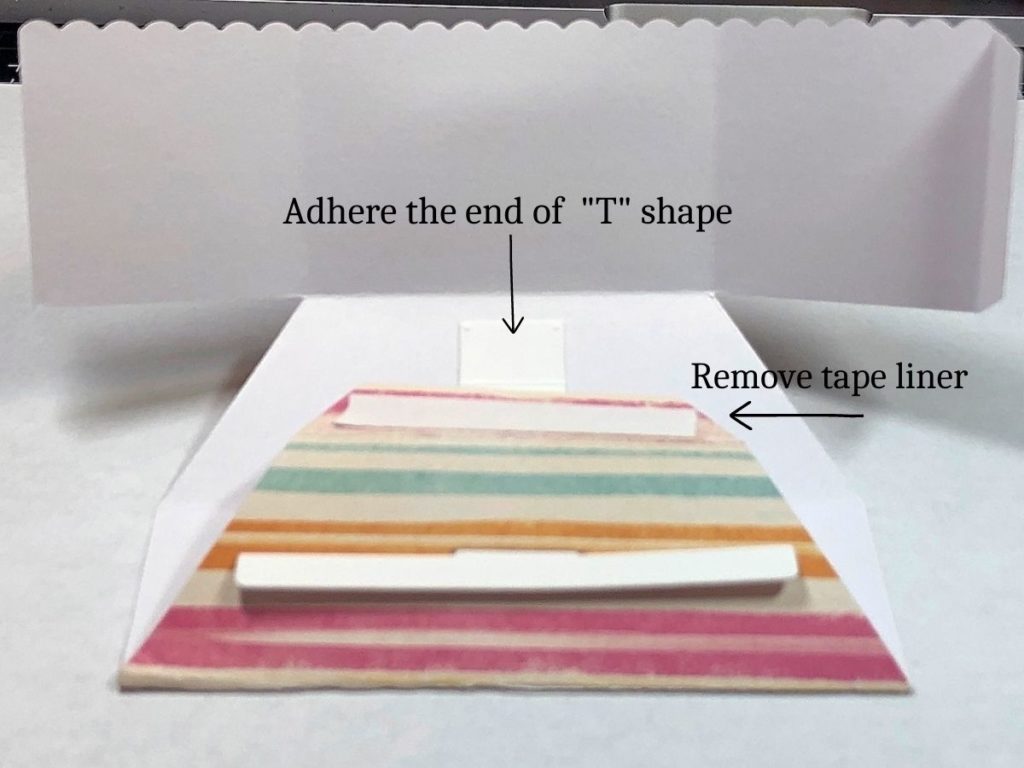
Step 4- Slide a “T” shape into the slot. Step 5- Fold up the second score line and adhere the end of the “T” shape to the base as shown. Step 6- Adhere the tab (where the tape liner was removed in step 5) to the base just below the scallops. Repeat Steps 3-6 to create a second base.
Steps Seven, Eight, Nine:
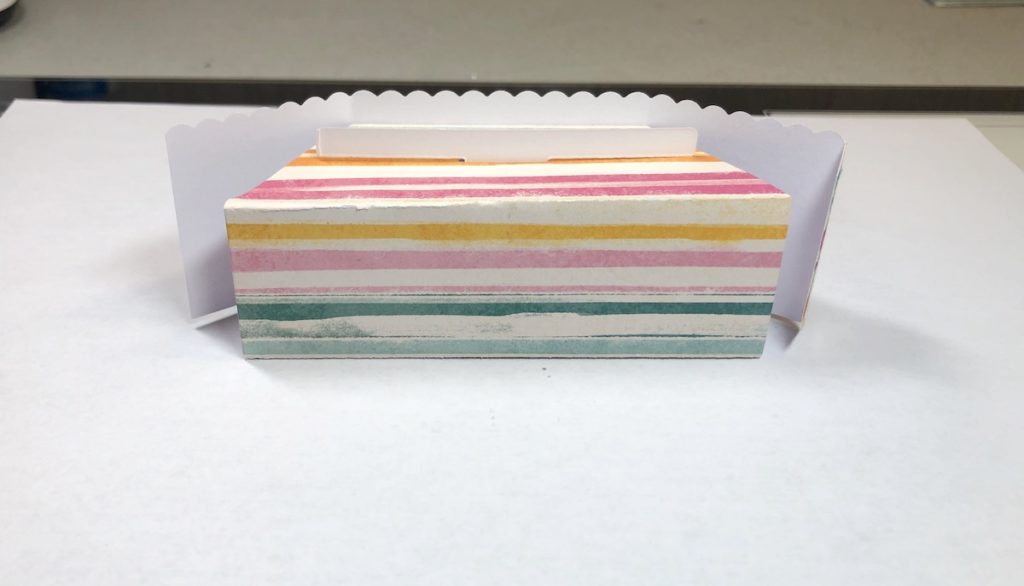
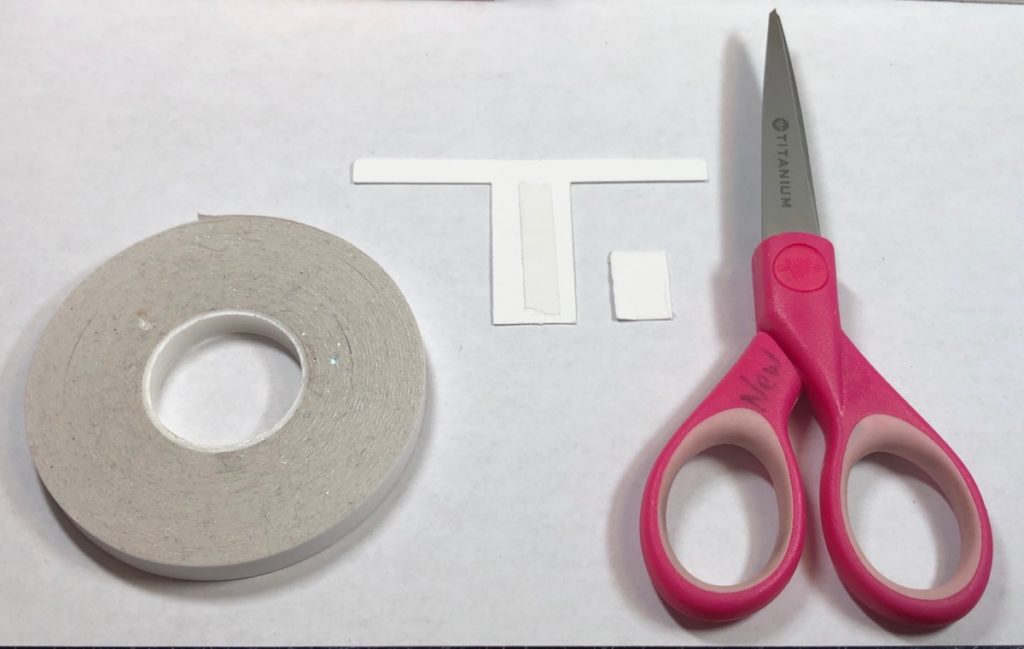
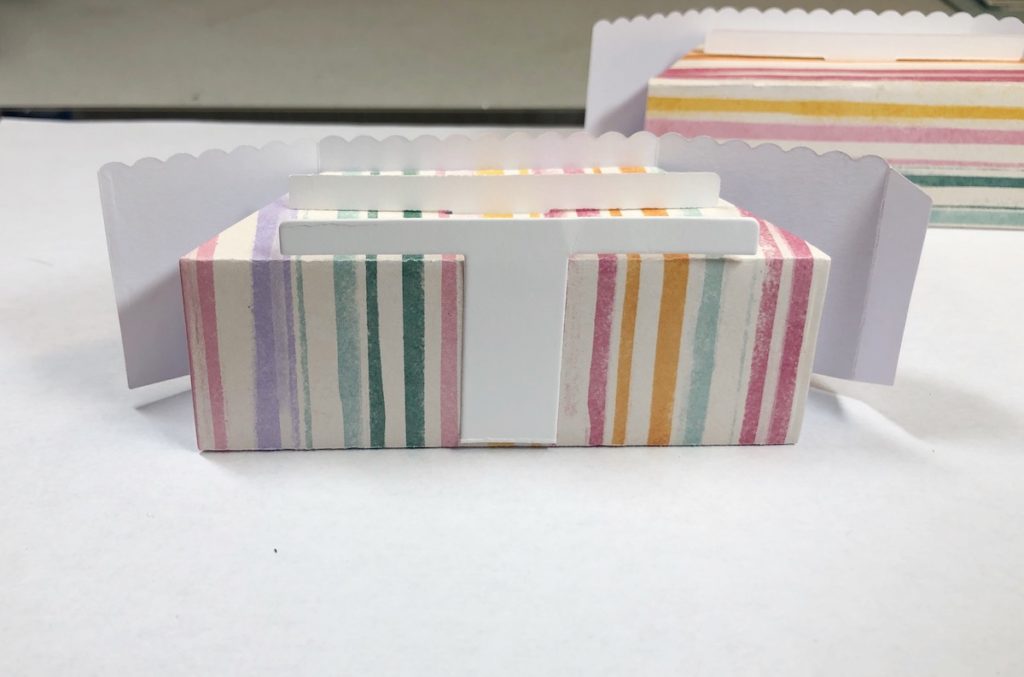
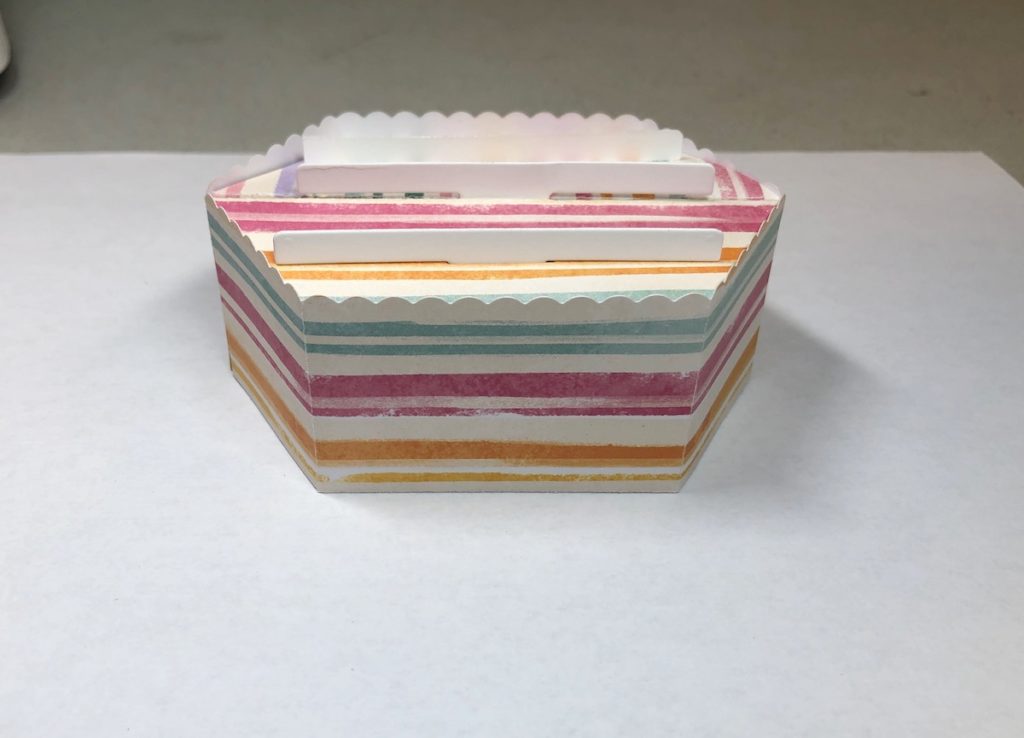
Step 7- Cut off the bottom of the “T” on the score line and discard. Apply tape down the center only. Step 8- Adhere the “T” onto the base as shown. Step 9- Line up the scallops and adhere the bases together. Apply some tape to the other base and fold together, adhering both bases as in Step 10.
Steps Ten, Eleven, Twelve:
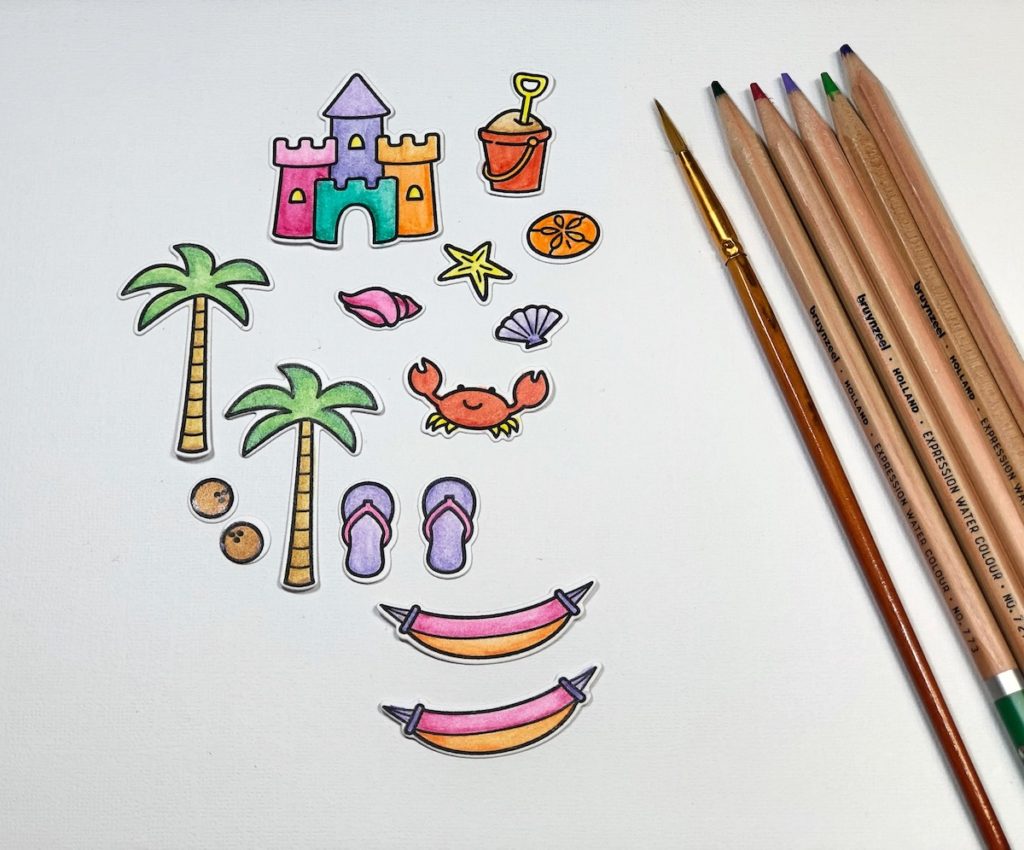
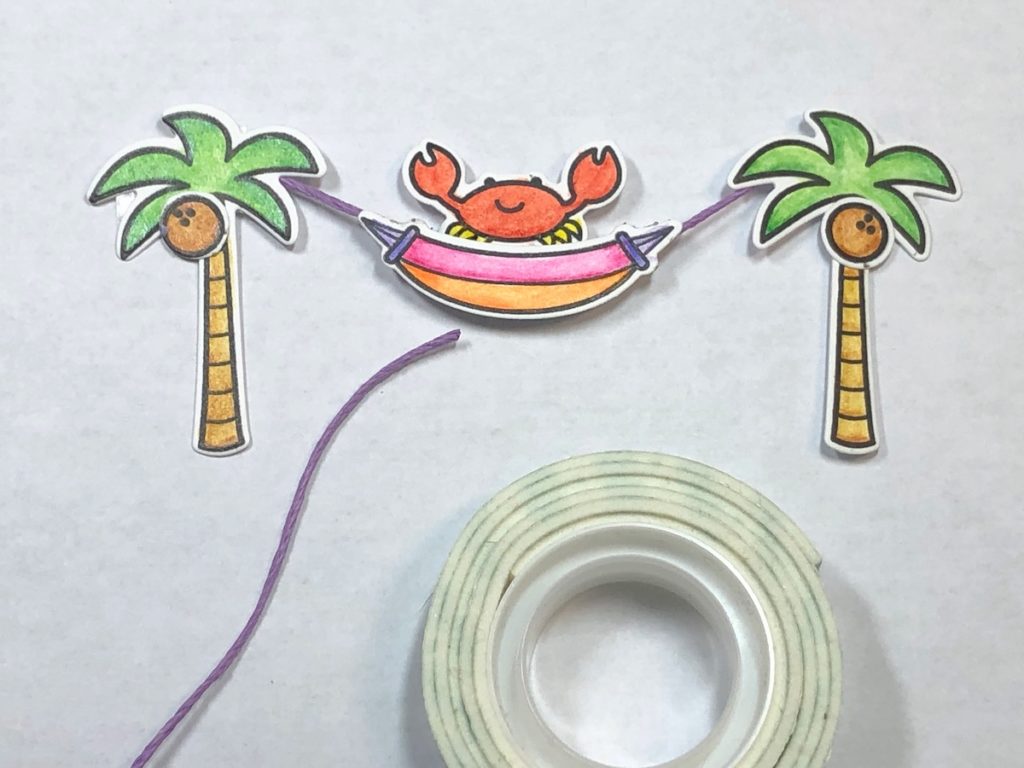
Step 10- The platform pop up card will look like this when assembled. There will be three white platform pieces to add the stamped images. Step 11- Stamp out the images as shown with black inkpad onto white cardstock. Watercolor the images and die cut them out. Step 12- For the hammock, apply foam tape to one image and adhere a small piece of hemp cord. Place the second image on top. Adhere the hemp cord to the back of the trees.
To finish, adhere all of the stamped images to the die cut pieces in Step 2 and then, adhere all of the elements to the card base. Attach the backdrop piece to the back of the card base. To mail the card, press the bottom of the card up and it will fold flat to fit inside an A2 size envelope.
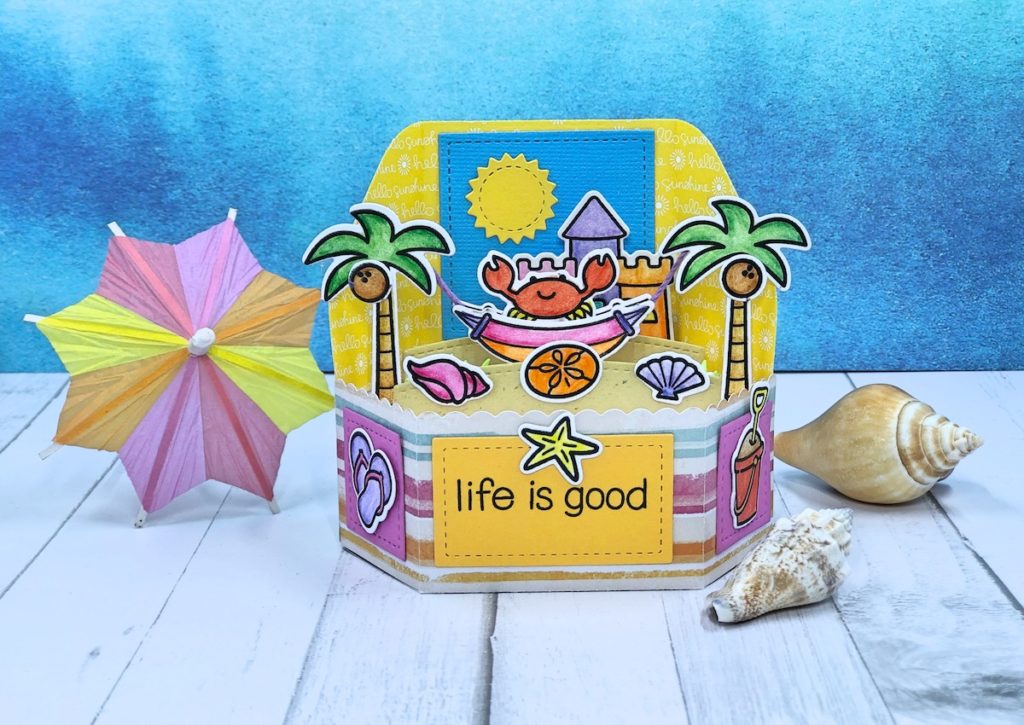
Beachy Platform Card
- Cardstock: White, Blue Yellow, Orange, Pink, Green, Tan
- Patterned Papers
- Platform Pop Up Die Set by Lawn Fawn
- Platform Pop Up Add On by Lawn Fawn
- Life Is Good Stamp Set by Lawn Fawn
- Life Is Good Die Set by Lawn Fawn
- Watercolor Pencils by Royal Talens
- Amalgam Inkpad, Obsidian by Gina K. Designs
- Hemp Cord, Lavender
- Double-Sided Tape
- Foam Tape
- Big Shot Die Cut Machine by Sizzix
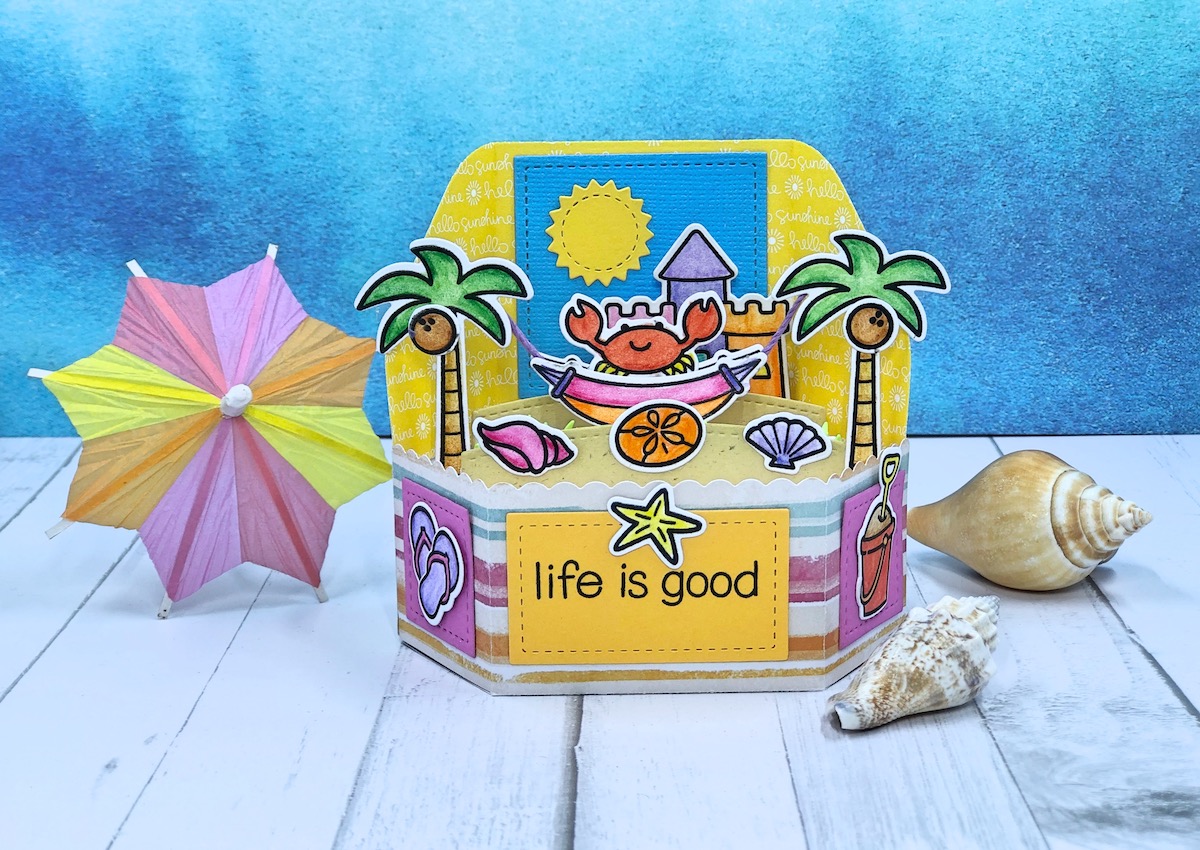
One more PIN of the Beachy Platform Card to share


Trackbacks/Pingbacks