This “Simply Loved Frame” is a project that is very dear to my heart. As a professional designer, I create projects for other companies all the time but every once in a while I create a project that is special to me. This is one of those projects~
Please note: This post contains affiliate links. If you use these links and make a purchase, we earn a commission at no extra cost to you…
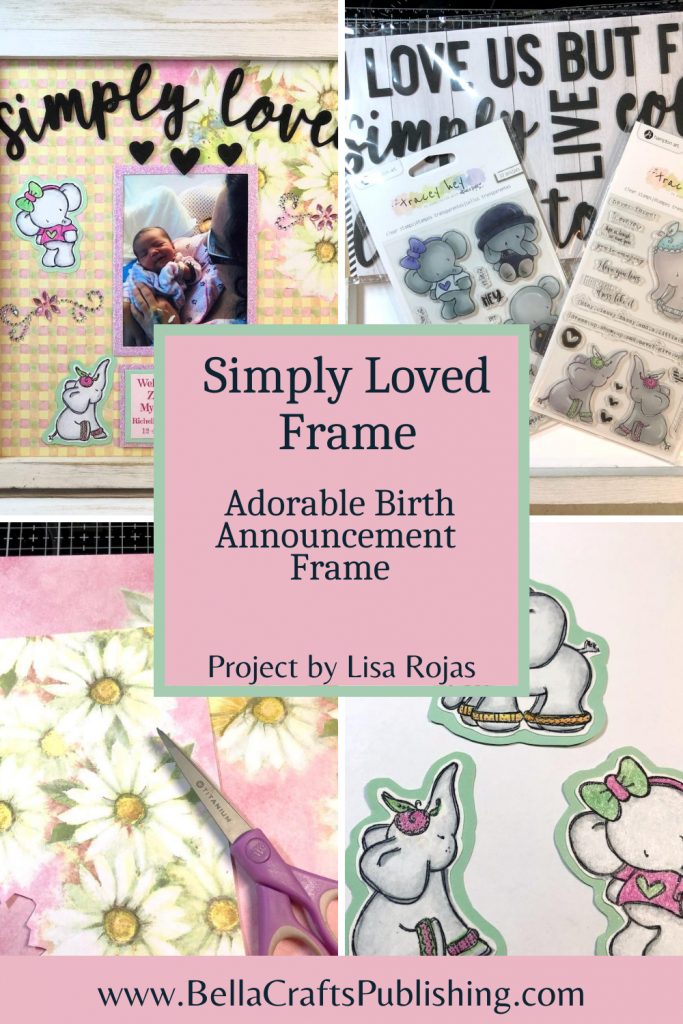
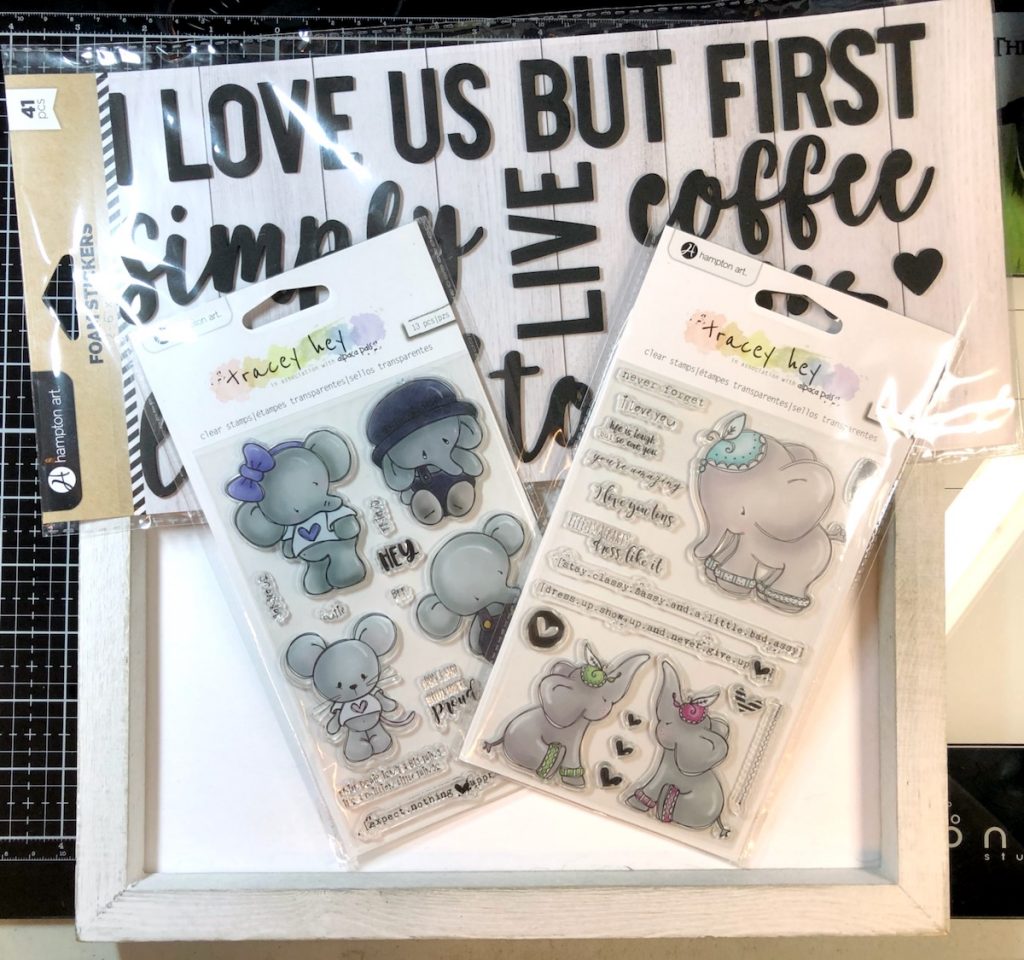
When I first saw these adorable stamps and this beautiful frame from Hampton Art, I knew right away that they would make a perfect birth announcement. Even though my youngest grandchild is now seven years old I still wanted to create this frame for my daughter and when I saw my daughter’s response to it, I knew I made the right decision. Let me show you how to create this frame for someone you love~
Check out the full list of supplies at the end of this post.
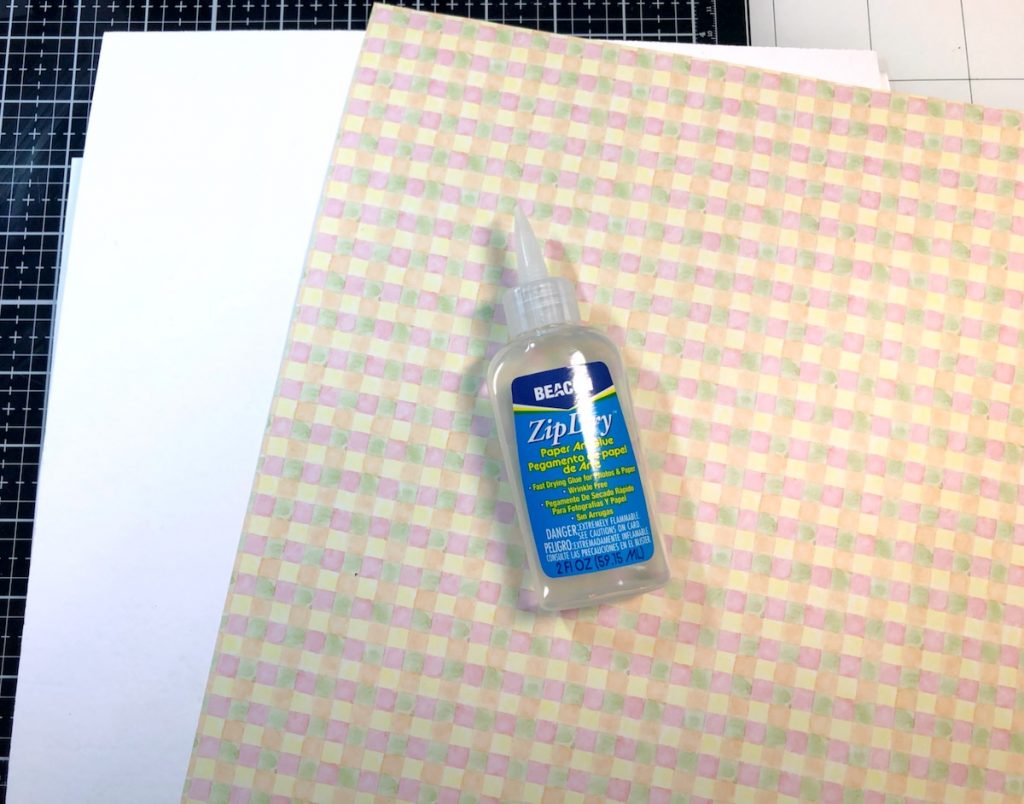
Step One:
Remove the backing from the frame and adhere patterned paper with Zip Dry glue.
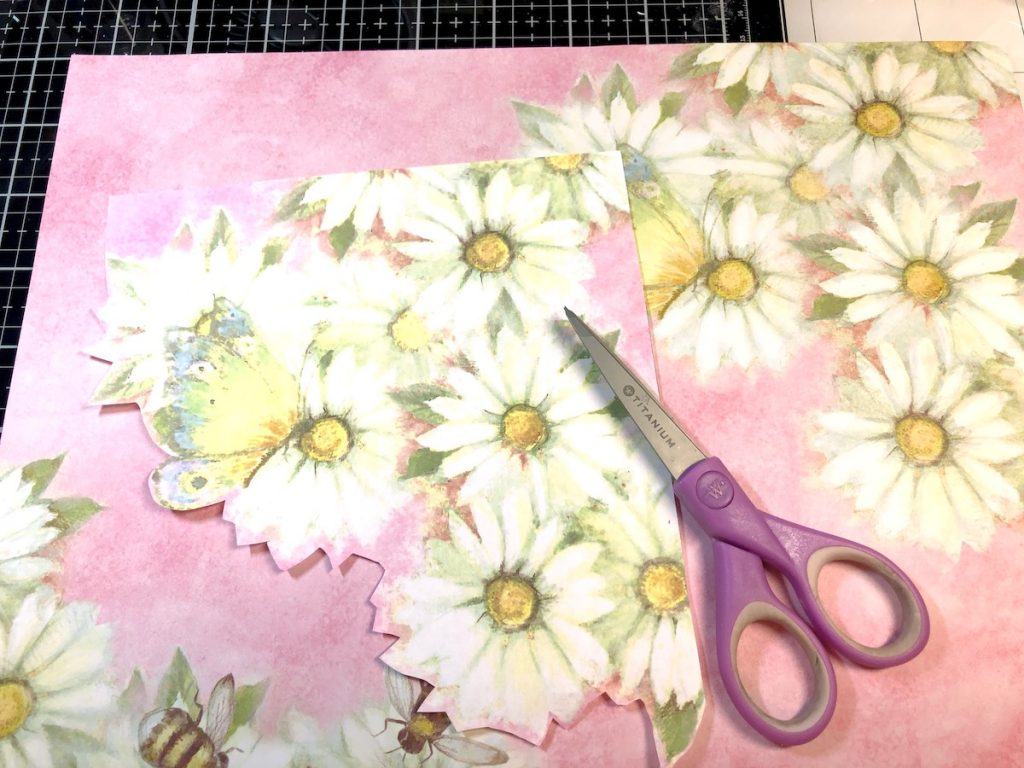
Step Two:
From another patterned paper, cut out the design and adhere to the top right corner of the first piece.
Step Three:
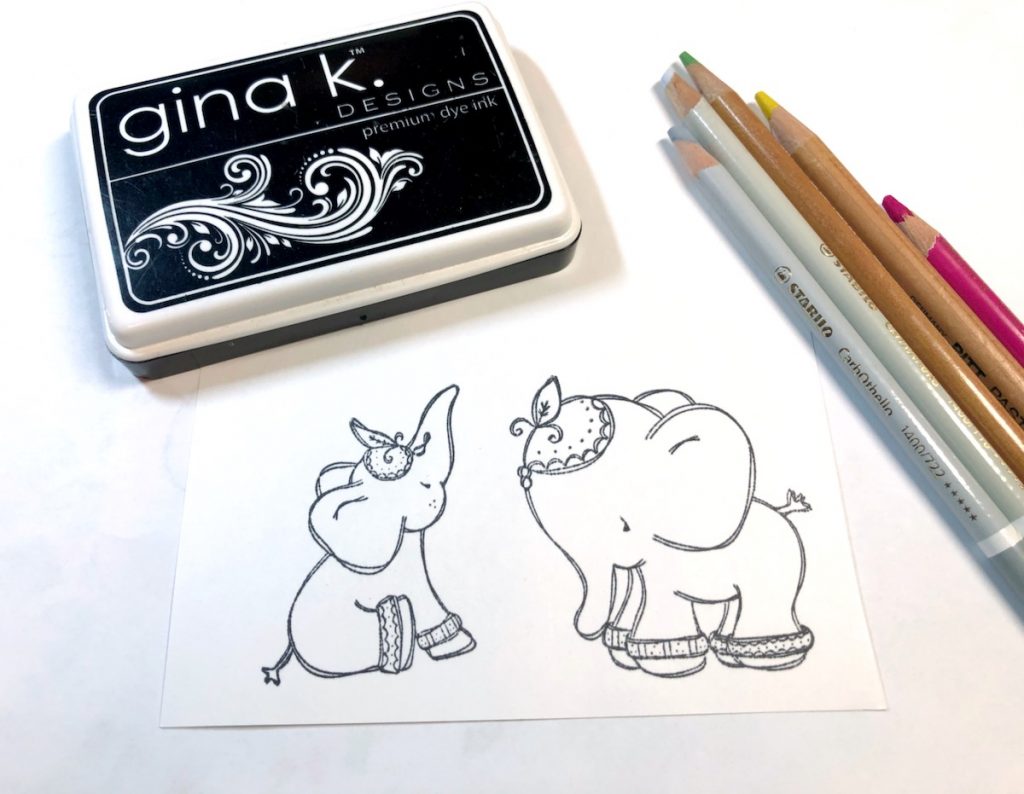
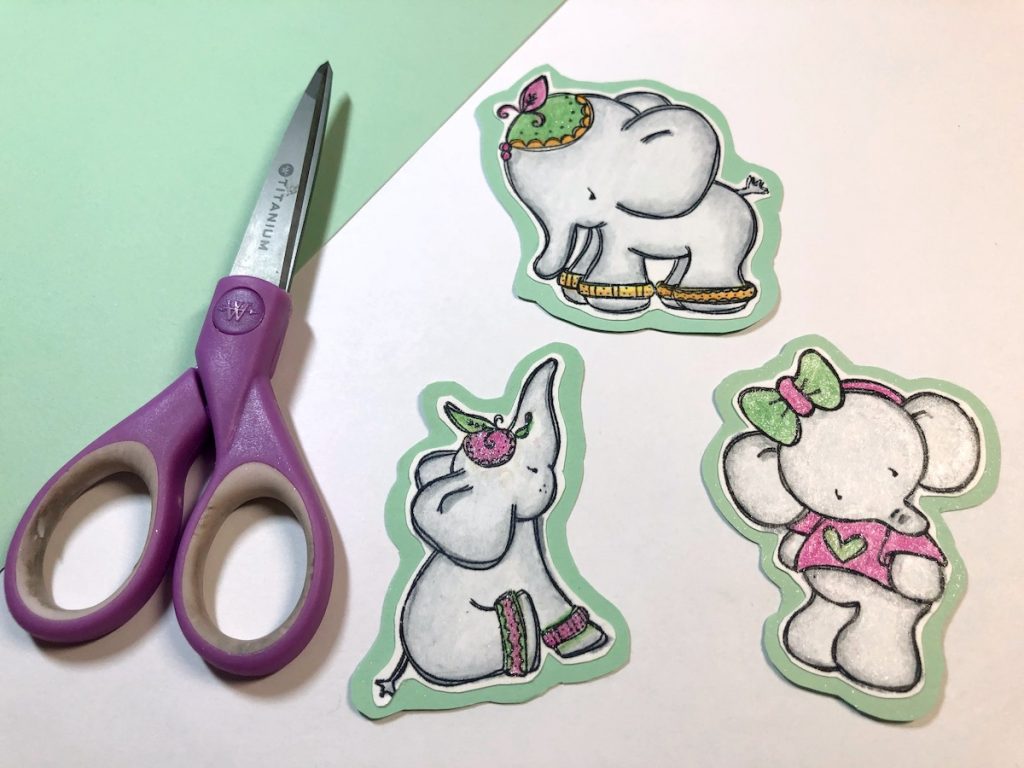
Stamp images onto white cardstock with black inkpad and color images with chalk pencils. Cut out images with scissors.
Step Four:
Adhere images to green cardstock and cut out leaving 1/8″ border around each image.
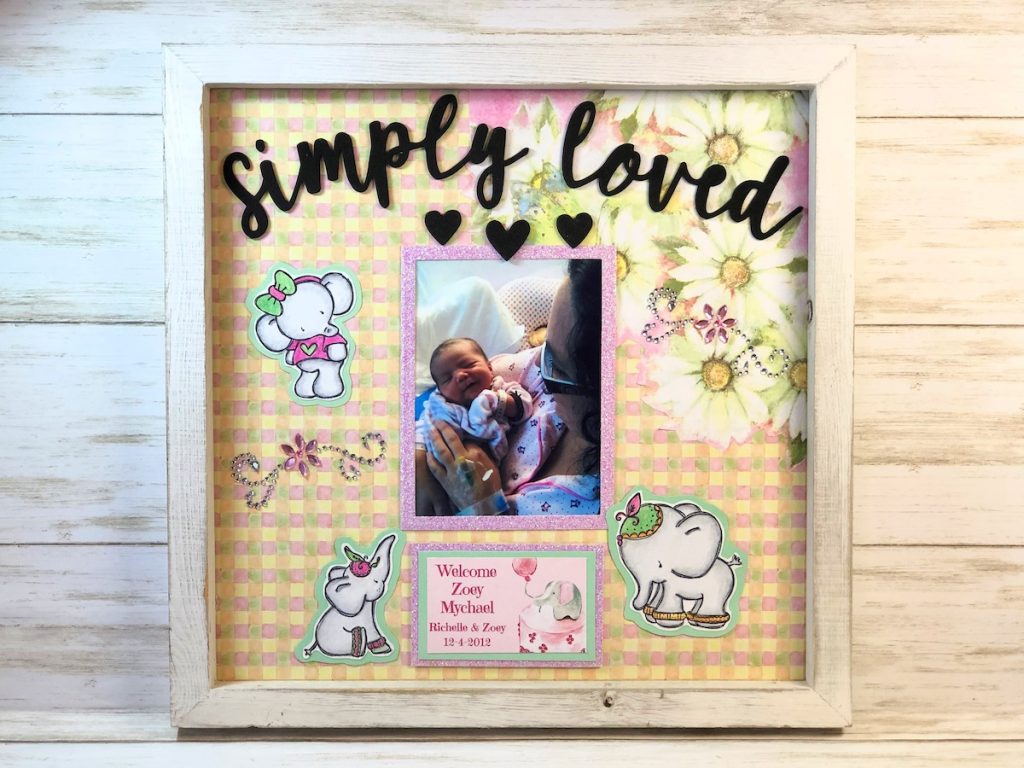
To finish frame, place backing in the frame and adhere the stamped images, words, gem stickers, and photo to the frame. Create the announcement with a computer. Layer it with green cardstock and glitter paper. See photo for placement if needed.
Simply Loved Frame
Supplies for the project
- Frame from Hampton Art
- Stamp Sets from Hampton Art
- Foam Sticker Words from Hampton Art
- Cardstock, White, Green
- Glitter Paper, Pink
- Patterned Papers from K&Company
- Chalk Pencils
- Zip Dry Paper Glue from Beacon Adhesives
- Computer & Printer
- Scissors
Awesome Project! Love HAMPTON ART.
Thanks for the great instructions for this sweet birth announcement. The elephants are so adorable… they make me think of Babar.❤️ 🐘
Love this project. Tell the baby elephant dies came from?? Beautiful
Oh my gosh, the elephants are over the top adorable!!!!!! I NEED THESE. Thank you for showing us :)