Summer is fast approaching and we at Bella Crafts Publishing wanted to celebrate the upcoming season. For us, mermaids and mixed media means fun and isn’t fun what we all think about when we think of summer?
Please note: This post contains affiliate links. If you use these links and make a purchase, we earn a commission at no extra cost to you…
In our Facebook videos this week, Ann & Lisa are using some absolutely gorgeous products our sponsor ReneaBouquets® to create some amazing projects that we know you are going to want to recreate yourself not only for a fun activity to do but also to add a touch of summer beauty to your home. This was the first time that we worked with this company and in doing so we were pleased with the beauty and the quality of the products, even down to the packaging that the products were delivered in.
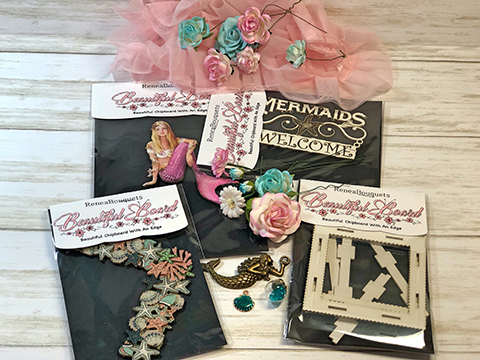
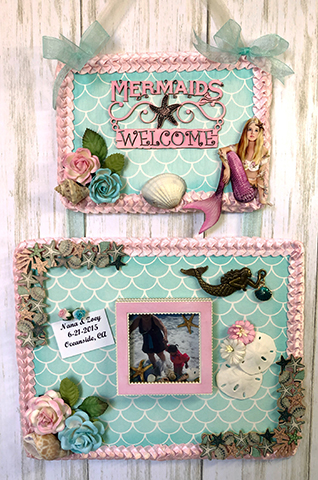
In our first video this week, Lisa created a “Mermaids Welcome” wall hanging. She started the project with two different sized artist canvas adding a background image using a stencil designed by Ann Butler Designs for StencilGirl® and inkpads from Gina K. Designs®. Lisa finished out the project by adding the beach themed products from ReneaBouquets® You can find the complete video tutorial by clinking on the link below the finished project photo.
Products Used in Mermaids Welcome Project
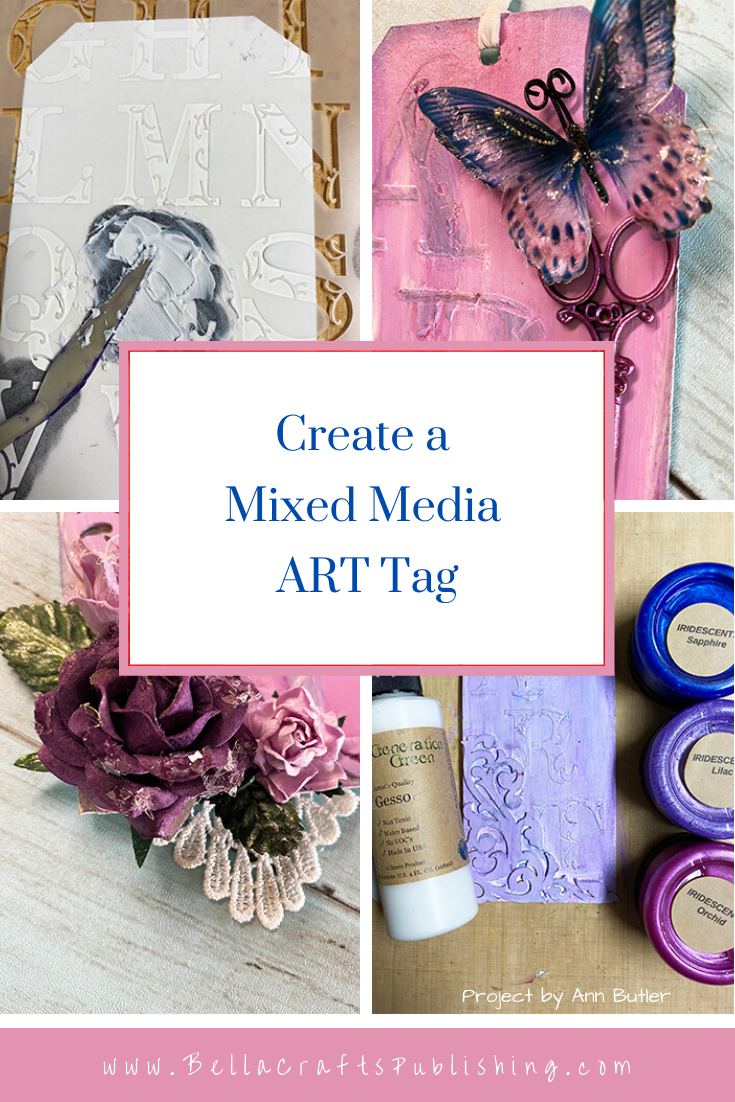
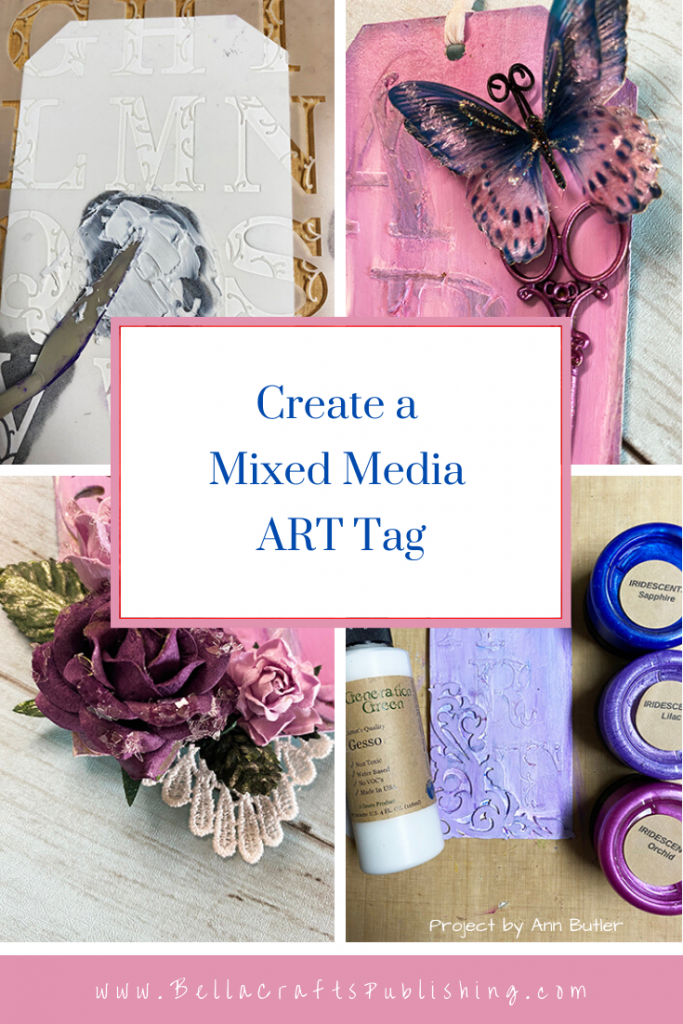
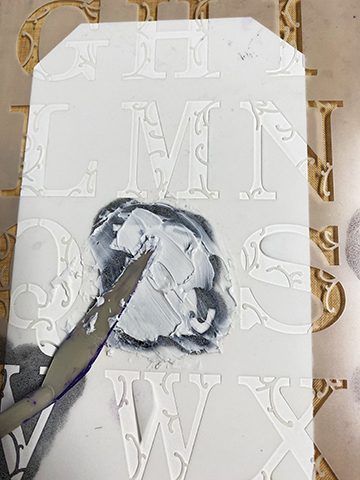
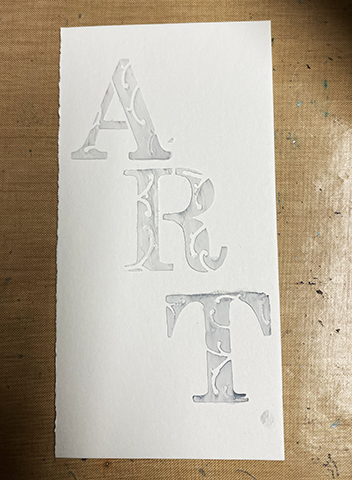
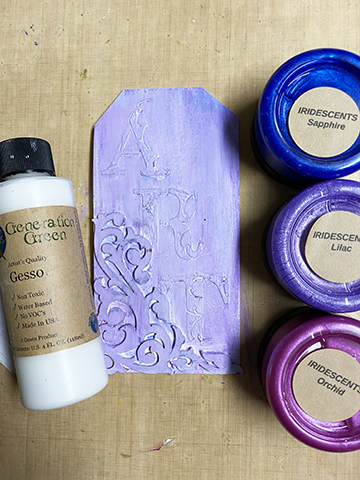
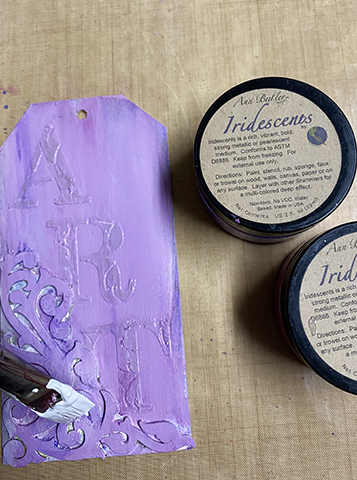
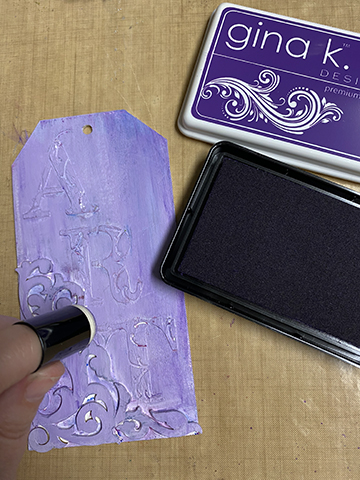
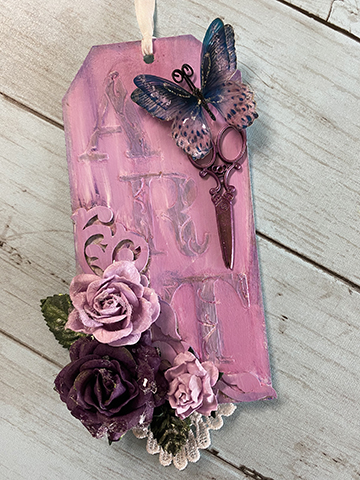
In our second video, Ann created a stunning mixed media tag using her Iridescent paints from Earth Safe Finishes® and her Flourish Alphabet stencil from StencilGirl®. She shares her step by step photos and instructions here, but you don’t want to miss her video tutorial in the link below the finished project photo.
Step 1:
Add Molding Paste to Ann Butler Designs Alphabet Stencil to create the word ART.

Step 2:
Let Dry.
Step 3:
Apply Iridescents and Gesso over tag.
Step 4:
Continue until you get the desired results.
Step 5:
Apply ink over the letters to highlight the details.

Step 6:
Add Glitter Glass to the butterfly and flowers.
Step 7:
Adhere everything together.
Along with all of the gorgeous products we have shown to you today and the steps you need to create the projects for yourself, we have one more bit of happy news to share with you. Every week we have a wonderful company that we work with that also provide our readers with an awesome prize for our giveaways. The prizes are either a product package or a gift certificate and each one ranges anywhere from $25.00 to $50.00.
This week, our sponsor ReneaBouquets® is offering one lucky reader a $25.00 gift certificate! If you would like to enter our giveaway you need to watch our Facebook Live videos to find out how you can enter to win. You have until Tuesday, June 16th at midnight CST to enter. We hope you enjoy the projects and videos.
If we ever inspire you to create a project we would love for you to share it in the comment section below or join us in our crafty fun Facebook Group~ Do You Love To Craft We would love for you to come craft with us and show us all of your crafty projects!
Don’t forget to join us every Wednesday on our Bella Crafts Publishing’s Facebook Page at 10:00 am PST (12:00 pm CST, 1:00 pm EST) and again at 2:00 pm CST (12:oo pm PST, 3:00 pm EST) for two brand new crafty videos and a new giveaway. Hope to see you there~ Ann & Lisa

