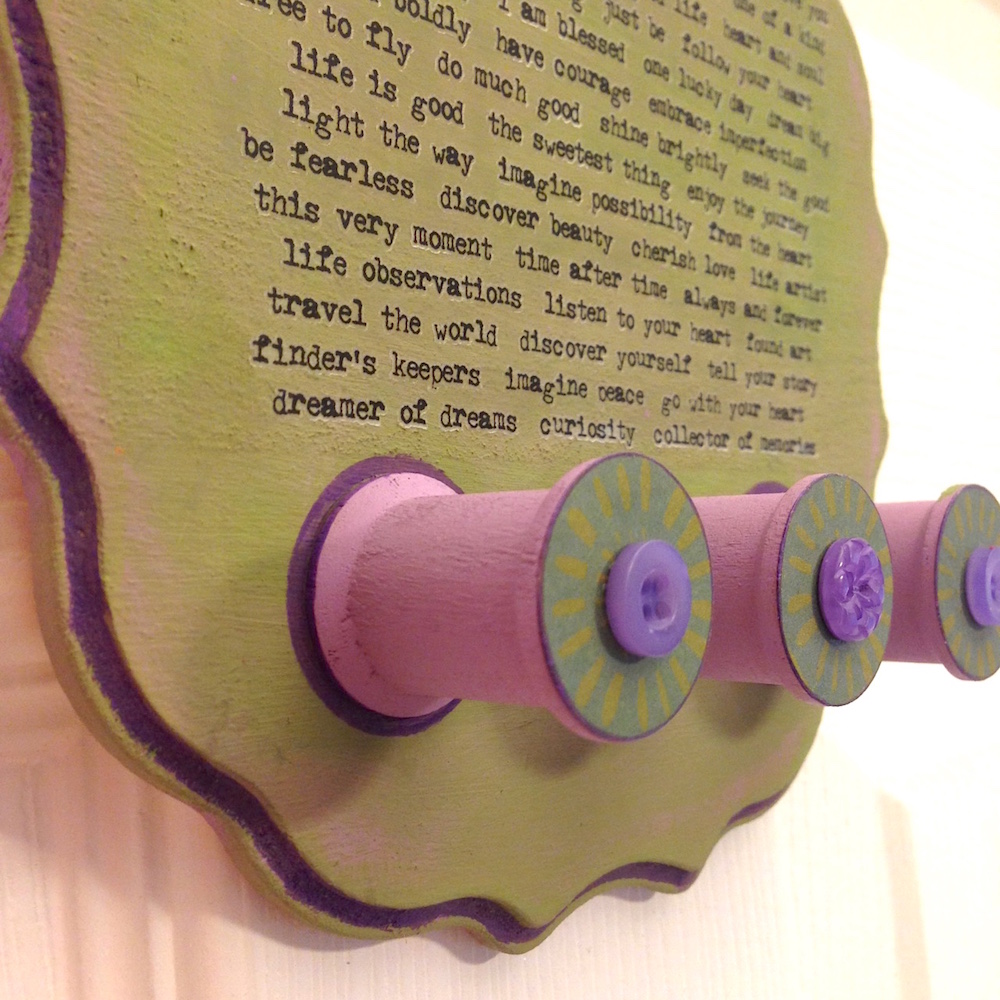
Hey Crafters! For my #craftyourstash project today, I made this super cute jewelry organizer with a wood plaque and some gorgeous vintage wood spools.
I have a large bin of random wood things in my stash – little plaques, spools, skewers, cut-outs – so I reached in and pulled out this little 6″ scalloped unfinished wood plaque, plus 3 empty wood spools that I had saved from my grandma’s sewing basket.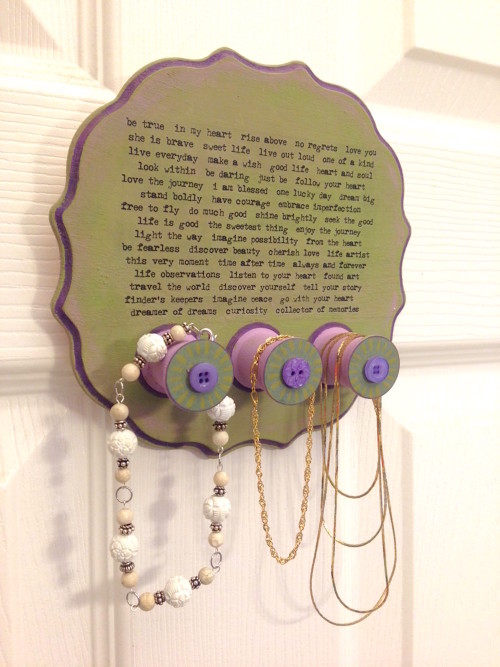 I used to love sewing with my grandma as a child. She was quite thrifty with her supplies, even her ten-cent spools of thread. She would save all her empty spools to wrap leftover bits of thread and embroidery floss on them. I received her wonderful sewing basket after she died and of course, I had to undo all her cost-saving efforts by removing all the colorful bits of thread and floss to get to the real treasure – vintage wood spools!
After staring at them for a while, I realized they’d make perfect hooks for bracelets or necklaces because of their width. The jewelry hangs more openly and without getting all twisted up like it can on regular hooks, so you can see what’s there and easily remove the piece you want.
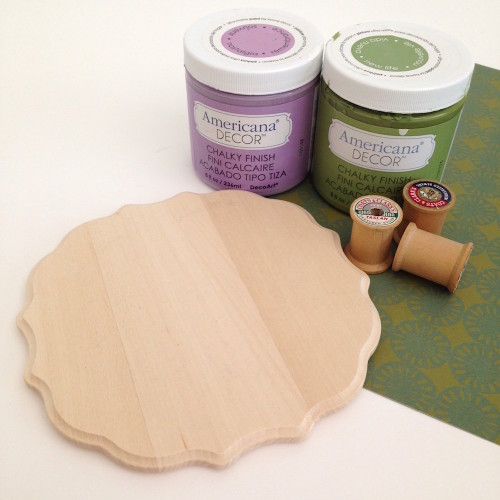 I decided to use the same two colors of chalky finish paint that I used for a ladder rack I made last summer – the colors are nice and opaque. And as usual, everything I used was already in my stash – I didn’t buy anything new.
Materials
♦ Unfinished wood plaque
♦ 3 small wood spools (remove labels if they are loose)
♦ Chalky finish paints – green and purple
♦ Scrapbook paper, circle punch
♦ Tacky glue, paint brushes, sponge dauber
♦ Rub-on image, bone folder, paint marker
♦ Small buttons
Instructions
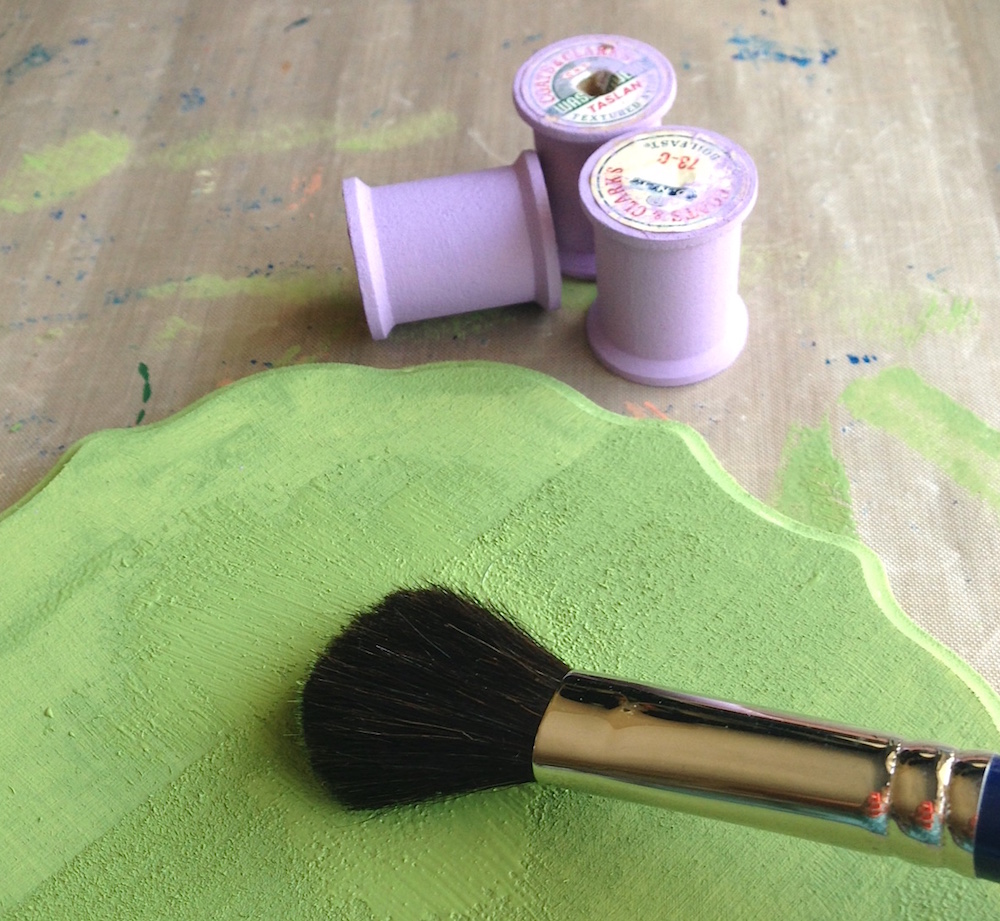
1. Paint the plaque green (top and sides) and the spools purple; let dry.
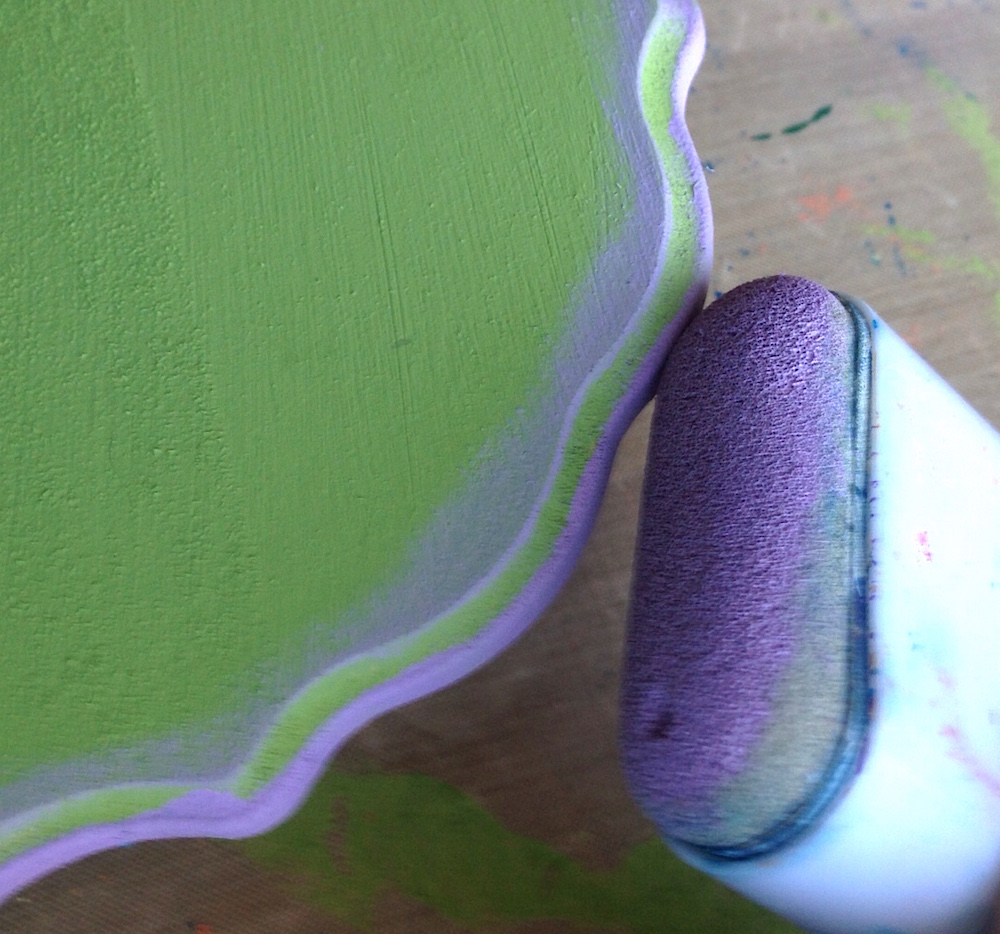
 2. Use a sponge dauber to dry-brush some purple around the edge of the plaque and blend some on top; let dry. Because the dauber has a large flat surface, you can brush color to the edges of the bevel at an angle to still let some of the green peek through.
 3. When the paint is completely dry, apply a rub-on image to the top section of the plaque. I prefer to use a bone folder instead of a popsicle stick to transfer the rub-on – it’s stronger and easier to hold, plus the pointed tip is great for rubbing down any small, stubborn spots on detailed images. You can brush on a coat of decoupage medium to seal the plaque if you like.
4. Glue the three spools into position across the bottom of the plaque and let dry. If you plan to hang heavier items, secure each spool from the back of the plaque with a couple of small nails or a staple gun, avoiding the hole in the spool.
5. Punch circles from paper to fit the spools, color the edges with a paint marker and then glue in place on the spools. Embellish each spool hook with a button glued in the center – this also covers the hole under the paper.
 [Tweet “Best way to #Organize your necklaces and bracelets:a #vintage wood spools #jewelry organizer “]
6. As a final touch, I decided to carefully outline the beveled edge of the plaque, as well as around the base of each spool, with a purple paint marker. It adds a nice weight to the piece and helps make the paint colors pop more. If your plaque doesn’t already have a slot for hanging on the back, you can screw in a sawtooth picture hanger yourself. Since I’m only hanging a few lightweight items on my spools, I just tacked a small ribbon loop to the back.
What might you make with an unfinished wood plaque you have sitting in your stash? Use the #craftyourstash hashtag when you post your projects on social media so I can find you and share! See you again in two weeks – happy crafting!

What a fantastic idea, Lisa!
Yay! Thanks Roberta.
OMG, this idea is great. Thank you Lisa for sharing with us.
thanks so much, Martha!
What wonderful memories and tribute to your grandmother!
Gee, I sure need to use some of my “stash”…..smile.
Love and light,
Michele
craft that stash, baby – it won’t craft itself! ;-)
Awesome idea.
thanks for stopping by, Larissa!