Hi friends! This is Carmen and I’m so happy to be back with you sharing a Spring project that will brighten any room in your home. I love creating shadow boxes because you can really personalize them to the season, room decor or occasion.
Materials:
- 7Gypsies™ Solo Shadow Box Tray
- 7Gypsies™ Mini Ephemera Tags Lady Like
- 7Gypsies™ Charms – Flight
- 7Gypsies™ Paper Tape – Lille
- Canvas Corp™ Bikes & Baskets paper on Ivory
- Canvas Corp™ Hemp Rope – Avocado
- Canvas Corp™ Small Clothes pins – Black, Avocado and brown
- Canvas Corp™ Stretched Burlap 6 x 6 – Avocado, Brown
- Tattered Angels™ Simply Sheer Mist – Cozy Yellow
- Tattered Angels™ Glimmer Mist – French Lime and Verdigris
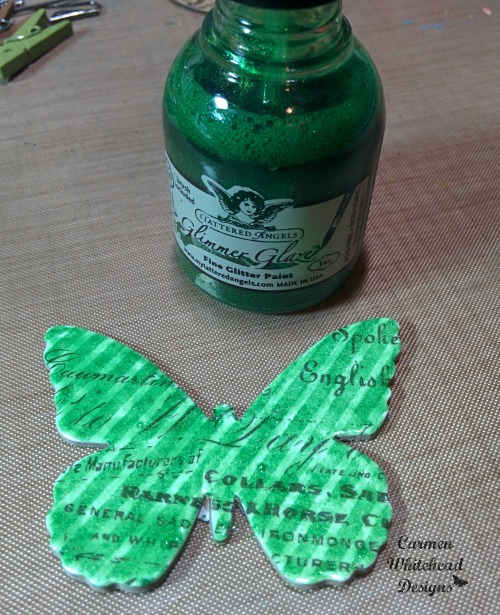
- Tattered Angels™ Glimmer Glaze – Parsley
- Small knick knacks from your stash (buttons, lace, wooden spools, etc.)
Tools:
- Heat gun
- Small brushes
- Tacky glue
Instructions:
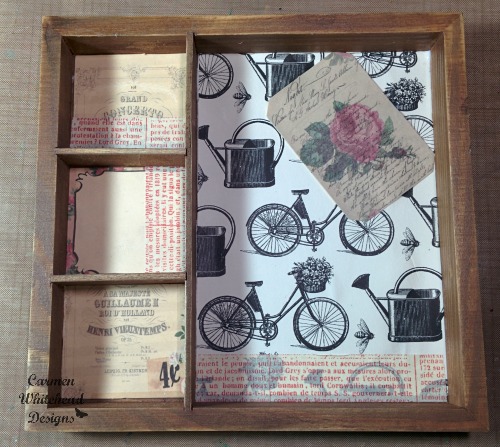
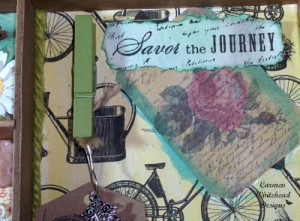
The first layer to creating this project is placing paper, tags and tape. After cutting the paper pieces I adhered them with some tacky glue and added strips of paper tape to add more detail.
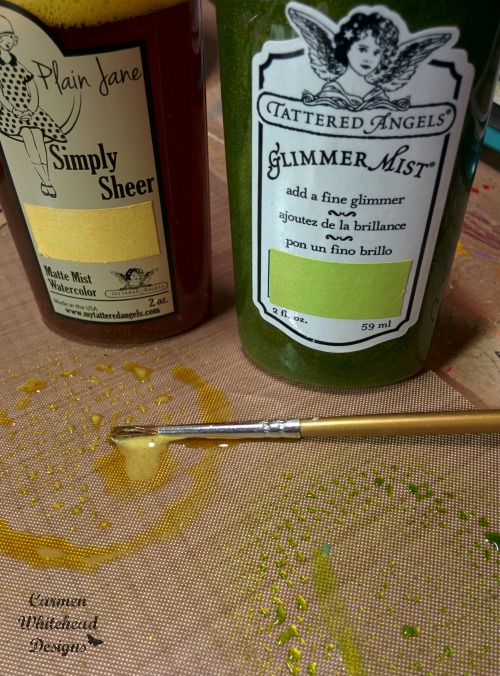
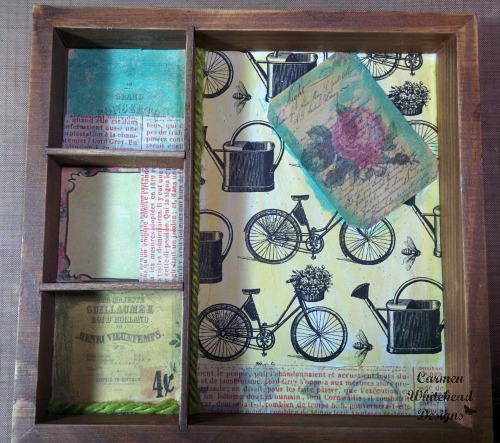
The small spaces of the shadow box can make it difficult to use mists or sprays. But, you can also apply them with a brush. Spray the colors you want to use onto a craft mat and use a small brush to add color and distress to the papers.
I also added some pieces of the hemp rope for more dimension.
I continued with the Spring theme by adding more color to tags.
[Tweet “Personalize a Spring shadow box #crafts #tutorial”]
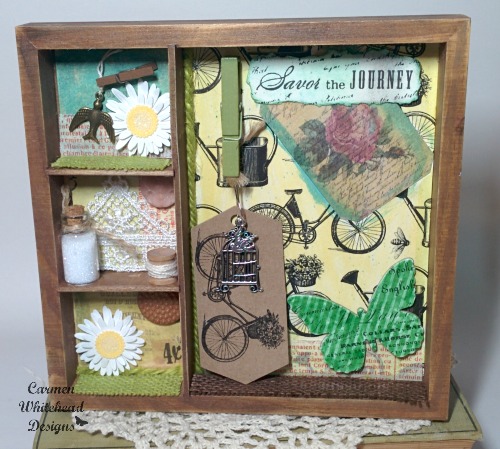
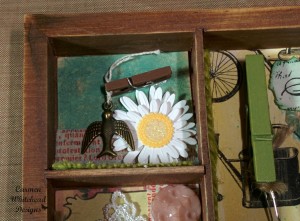
Now comes the really fun part! Add charms, tags and clothes pins to each of the compartments. I did glue strips of colored burlap to the bottom of each compartment to give it a grass or dirt look. I also added buttons, lace trim, wooden spools, apothecary bottles and flowers that I had in my craft stash. This is when you can really personalize the box to your liking or the recipient’s if it is a gift.
I really love how this shadow box came out. The shadow box is wide enough to sit on a shelf or you can add a saw tooth hanger on the back to hang on the wall. This would look lovely in a kitchen or breakfast nook.
I hope you enjoyed this project and it inspires you to create today. Make sure you come back to the blog often and check out what the team is up to!
Blessings,


Such a wonderful tutorial, Carmen!
Thanks Roberta, I really enjoyed making it.
Absolutely fabulous Carmen!!!!
Thanks so much Lisa!
Carmen, This is so cute! Great tutorial.
Thanks Lisa, I appreciate that!
Love this sweet, Spring-y project Carmen!