Hello my dear crafty friends!
This is Irit here today and this is my March inspiration made for the Bella Crafts Quarterly blog.
Today I am going to show you my own way to make chalkboards and to show you that any trend can be taken to your own direction.
The chalkboard trend is very distinctive and visible over the web and print during last year or so.
It begins with chalkboard paint over wood, plastic or paper; continues to chalkboard stamps and to chalkboard stickers, and goes far away to chalkboard rub-on’s and stencils. But how to make your own chalkboard with stamps and inks only? My way is very easy, frugal and fun and all you need is a good black pigmented ink, a couple of good saying stamps and some frame dies. Also dies are not the issue: you can hand cut your own frames in no time too.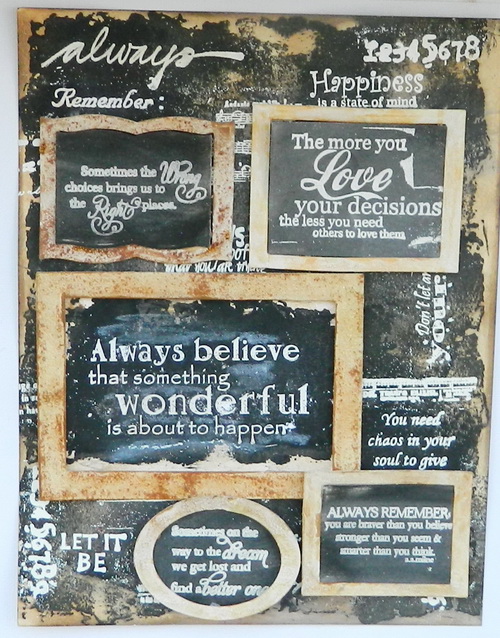
This is my finished chalkboard: made with a background stamping and a lot of outer small framed sentiments. All sentiments are encouragement style ones and this is the perfect gift for your loved one or to yourself to frame and to hang on your craft room wall.
First I am going to show you how to make a small frame and then to explain the rest of the work over this art piece.
Supply list:
Cardstock- Recollections
Dies- Spellbinders Nested Rectangles, Labels 7, Nested Ovals
Stamps: Rubber Dance, Unity, Inspired by Stamping
Inks: Clearsnap
Embossing powder: Clearsnap
Paint: Ranger
Instructions:
1. Using some nesting dies, make frames from thick cream cardstock. The sample is just for one kind of a frame and it’s just the same way to make them all.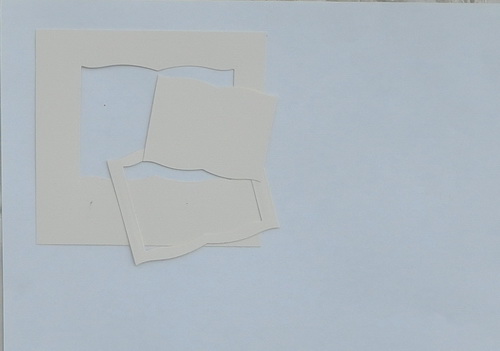
2. Cover the outer frame with the crackle paint and let it dry. I used a colored paint for the example, but the real piece was covered with clear paint that is not seen on photos.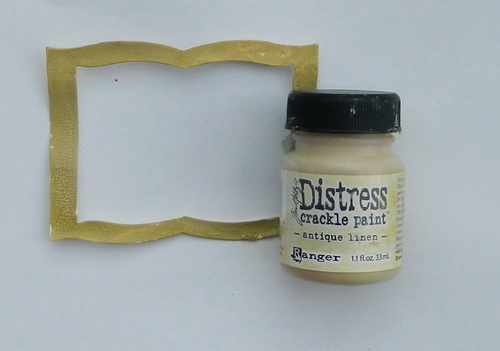
3. Ink the dry frame with a mix of brown inks. Pigmented inks work the best, so I used Clearsnap Crafter’s inks here to get this lovely distressed look. Let it dry for a couple of hours or dry it with your heat gun to speed the procedure.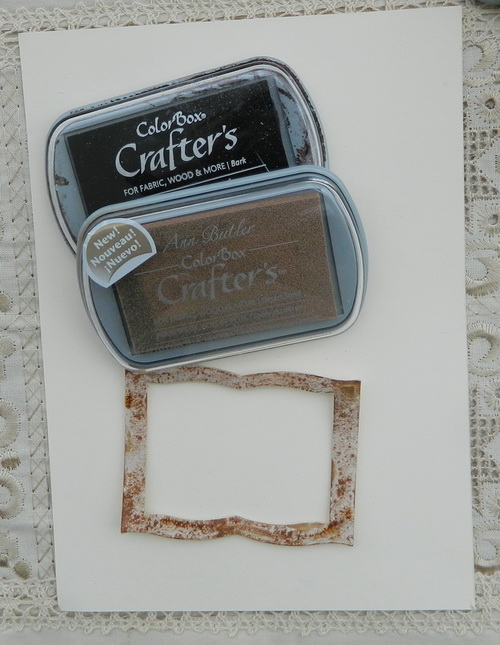
4. Ink the inside die cut with a thick layer of black pigmented ink and dry it with your heat gun.
Stamp the sentiment over the dry inked surface with white pigmented ink and heat emboss with clear embossing powder. Ink the stamped sentiment with a think layer of light brown ink .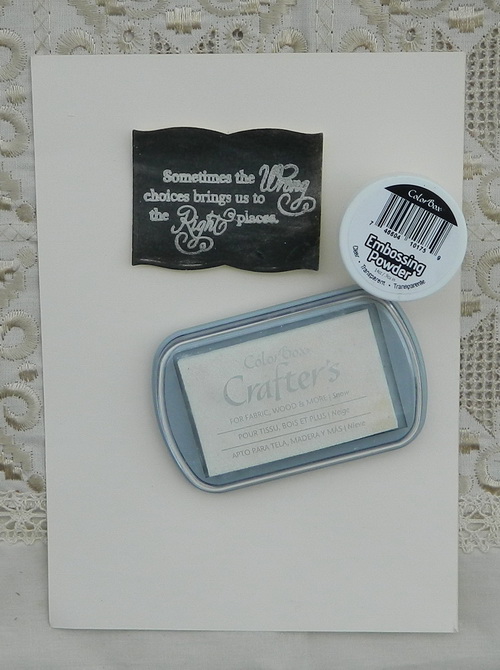
5. Ink the background cardstock with the same black ink and dry it. Stamp the background words, shapes and sentiments. I made this kind of a title with words “Always remember” on the top.
Make more frames and arrange them over your blackboard in your favorite way.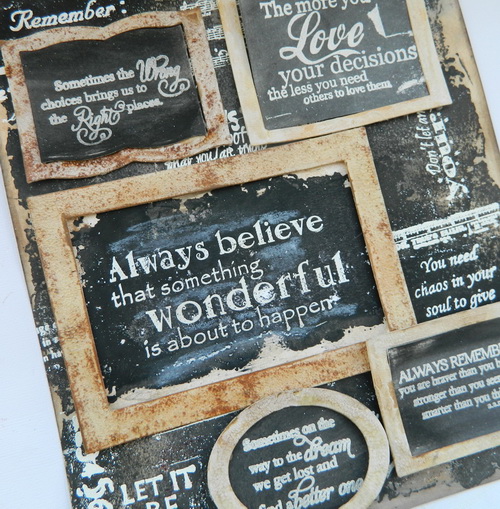
[Tweet “make your own chalkboard with only stamps and inks #crafts #tutorial”]

WOW! This is so cool! I love how it turned out and I will definitely have to try thi technique.
It was such a nice surprise to see some of my stamps featured in this article ♥
xox
Awesome tutorial! You always make it look so easy! Beautiful work!
xxDaniella
Great tutorial. Easy to follow. Thanks for the inspiration!
Wonderful work! Thanks for sharing!
This is a wonderful project Irit! Great job!!!
Awesome project Irit! I love the chalkboard look, and your project showcases it beautifully!