If you are like me and always think that the packaging of your presents is just as important as your gift, today you will find a cool idea to convert any ordinary package in something really extraordinary.
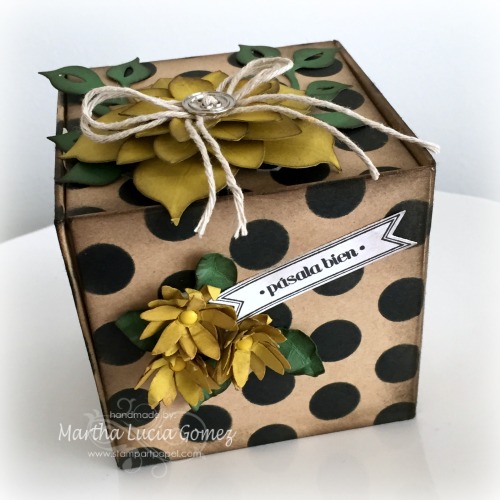
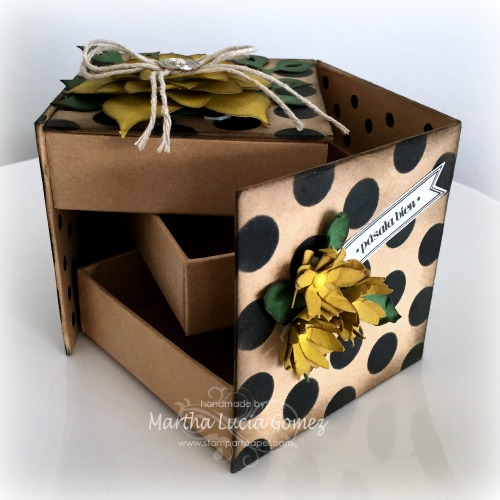
I found this jewelry box in a craft store for only $1 dollar and it was in my atelier for a little while. The original color was plain Kraft so I decided to changed it and decorate the box with a few elements. One of the color combos that I really like is just black on kraft. I think it looks very elegant without being to fussy. Let me tell you the materials that I used to fulfill this mission.
Materials:
- Jewelry Box
- Memento Tuxedo Black Ink or Any Black Ink
- Early Espresso Classic Ink
- Dots Stencil or Any Stencil
- Sponge Daubers or Stamping Sponges
- Flower Frenzy Bigz Large Die or Any Die or Flower Punch
- Flower Fair Framelits or Any Die or Small Flower Punch
- Cardstock Hello Honey, Garden Green and Whisper White
- Banderines Stamp Set
- Thick Baker’s Twine
- Metal Button
- Brads
[Tweet “Have you ever made the most of $1 finds? Come with me, I found a great Tutorial!”]
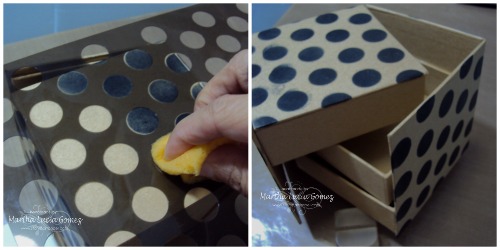
The trick to using stencils on boxes is to apply the ink face to face and very slowly. I stamped the dots of my box with Memento Black Ink , but just about any black ink will work for this project.
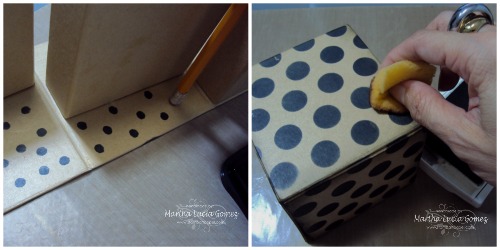
Don’t expect a totally clean image when you do this, you can camouflage the imperfections later by sponging Early Espresso Ink along all the edges of the box. The image itself will be “speckled” too, but I think that adds to the rustic feel of the box. To create the same pattern inside the box, you can use a pencil eraser with the same ink.
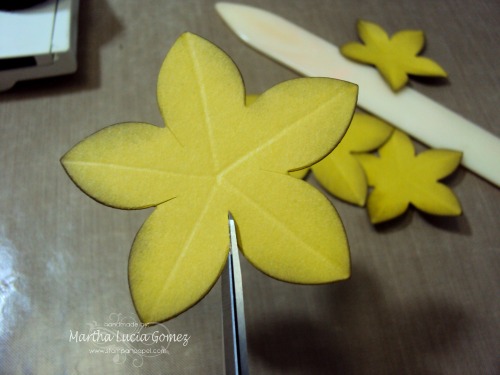
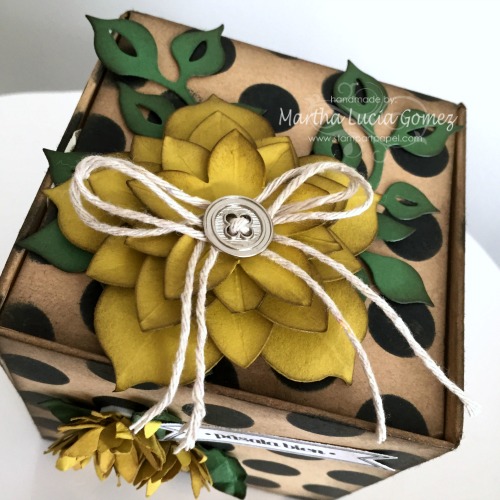
The jewelry box is almost done and now it is time to work on the decorations. For these I used three different sizes of flowers from the Flower Frenzy Bigz Large Die. I used the biggest flower once and the other two twice each. I scored each flower from the tips to the center to give it the look of veins, I cut a little between the petals and sponged each flower with early espresso before assembling.
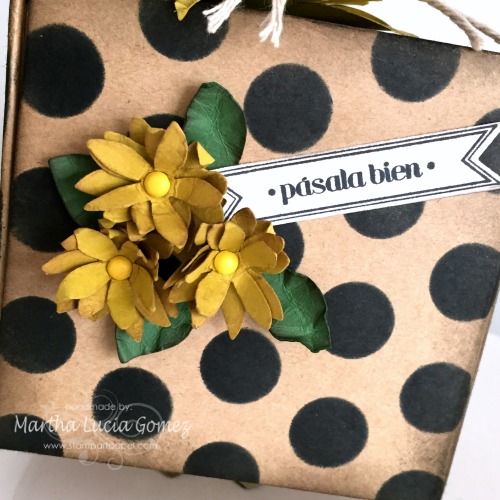
Finally, I decorated this with a button and green foliage. To make the lateral little flowers I used the smallest flower die in the Flowers Fair Collection Framelits. Each flower consist of four layers. For my flowers I used Hello Honey Cardstock.
Have you ever made the most of $1 finds? Find more ideas here, and feel free to check out Stampartpapel my blog after. See you soon!

Martha, your upcycled jewelery box is beautiful. I love the colour palette you chose and your instructions have great detail!
Thank you Roberta, I love the combination of Kraft and Black. I think is very elegant and I use it in a lot of my projects. Hugs!
WOW, Martha! You have taken something so ordinary and made it look so sophisticated. Very classy.
Theresa thank you!. I like the simple things and you only need a little of time and imagination to made the things that you love. Hugs!
This is awesome! I love transforming $1 finds into something wonderful! Great job!
xxDaniella
Thank you Daniella, sometimes this kind of things help our inspiration. Hugs!
What a wonderful idea! So creative. Thank you for showing how easy it is to turn bargain buys into something spectacular..
Thank you Lisa, you made my day!
Love this project Martha! Thank you so much for sharing it with us. Great job!!!
Thank you Lisa. I am happy you like it! Hugs!
What a cute little box! Great place for keepsakes.
Thank you Carmen! Really was very easy to made this. Hugs!
What a great project – elegant and inexpensive! Thank you for sharing your expertise! :) Molly
Thank you Molly, you are right only one dollar and a little of imagination. Hugs!
I love up-cycling and this is an Awesome project!
Thank you Ann, you made my day!
LOVE the project and that you did it in my favorite colors of black and tan (kraft)! Great find at any price.
Very good tutorial too.
Love and light,
Michele
Thank you Michele, they are my favorite color combination too! I really appreciate your comment about the tutorial. Have a great day! Hugs!