It is so difficult for the editors of Bella Crafts Publishing to acknowledge the fact that there has not been a cure found for this horrific disease and we are still dealing with it in 2014. With that being said, we would like to do our part to support the breast cancer awareness campaign, as we too have people in our lives that have dealt with this disease. Since crafting is our business, what better way to spread the word than to share with you this wonderful blog post written by our guest blogger, Terri Burson. Her card project would not only be great to send a cheerful hello to those you know struggling with this illness, but also to help raise funds for a cure. You can gather your girlfriends and spend the afternoon making a variety of this breast cancer awareness card to sell or take them to a cancer center to pass out to the patients. Whatever you decide is likely to put a smile on someones face and isn’t that what it’s all about?
********************************************************************
I’m so excited to be with you here at Bella Crafts Quarterly with my first article. At this writing, October is upon us, which for crafters, is one of the busiest seasons for creating. October is also the time to recognize breast cancer awareness, which is near and dear to my heart. My family has been touched by this disease, along with some close friends. So, with that in mind, my project today is in tribute to the strong women who have, and continue, to fight this battle.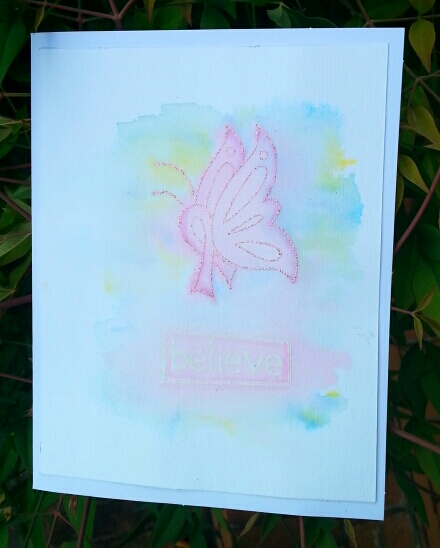
There are two techniques I love to do and that is stamped heat embossing and watercolor so I’m going to combine both and give you a crash course! If you’re a seasoned crafter, you may already be familiar with these techniques so I hope you enjoy my final creation. If you’re a novice, then let’s get inky!
I’ve assembled all the tools you will need to heat emboss: a heat embossing tool, Versamark watermark clear ink, an embossing buddy, stamps and embossing powder.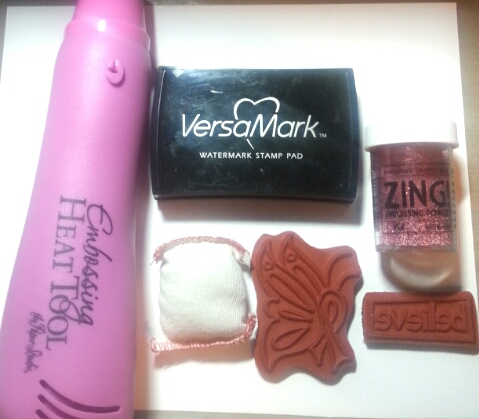
Supplies used: Unity Stamp Co “All Things Are Possible” kit, American Crafts Zing Glitter Pink embossing powder, Ranger white embossing powder, Versamark watermark clear ink, Tim Holtz distress markers in Ripe Persimmon, Salty Ocean and Squeezed Lemonade, The Paper Studio heat embossing tool, Embossing Buddy, small paintbrush
First, you need to prepare your surface to be embossed. Take your embossing buddy (the powder filled pouch) and swipe across the area where you will stamp, blowing off the excess powder. Ink your stamp generously with the Versamark and stamp. Since I’m going to be watercoloring, I’ve opted to use watercolor paper for this project.
Next, sprinkle embossing powder over your stamped image, tap excess powder onto a paper or a funnel tool and pour excess back into bottle. You’re embossing tool will get extremely hot so keep your fingers clear and be careful not to burn your paper. Swipe your tool side to side while heating; image will only take a minute to melt.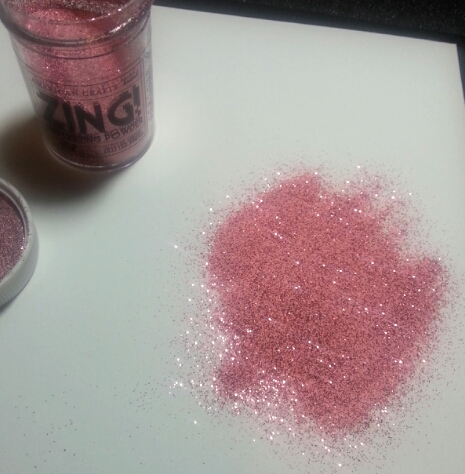
Now for the watercolor – there are many ways to achieve this effect. However, today I’ll be using distress markers. I’ve outlined my embossed images with a pink distress marker and spritzed with water. I also keep a cup of water and small paintbrush on hand for use as well.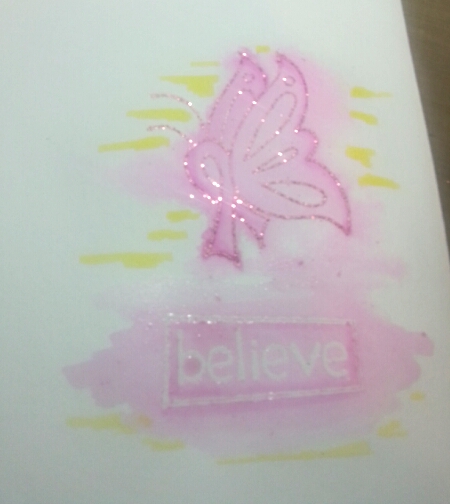
Next take a couple more distress markers and draw some lines where you want color; I’ve chosen yellow and blue. Spritz more water and tip your paper, allowing the colors to naturally run. Use your watered paintbrush to directly concentrate more water in an area, if needed. Blot as needed, with a paper towel, to remove any “muddied” colors and allow to dry overnight.

This is so beautiful, Terri! Kudos to you!!!!! I love the delicate, soft colors you achieved.
Beautiful! You make it look so easy ;)
Great lesson. Answered some questions I had. Thanks so much for the info. I looked on Terri Burson’s blog. She does beautiful work.