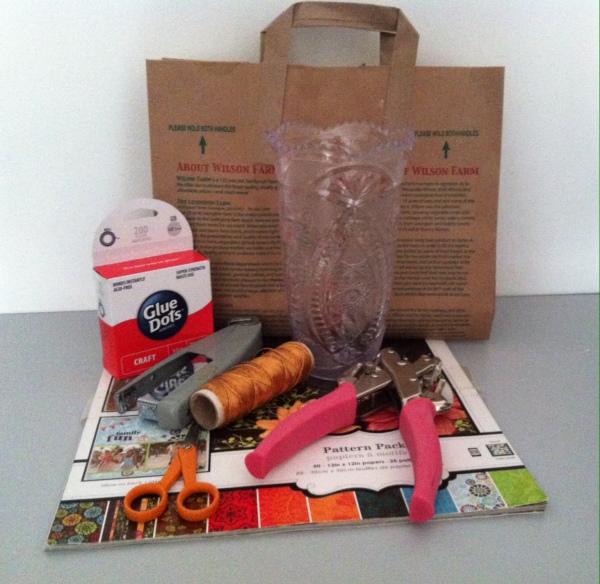
For today’s post, we have another terrific recycled project that is quick and easy to create, and a great way to use those extra paper bags you have laying around your house. Our guest blogger, Judy Mabardy, is with us again today with a project she calls “Tree of Inspiration.” For this project, she used inspirational sayings to help embellish it, but this project is so versatile you could use it for a bridal shower by using fun facts about the bride & groom or a baby shower where you could write helpful tips for a first time mom. The ideas for this project really are endless!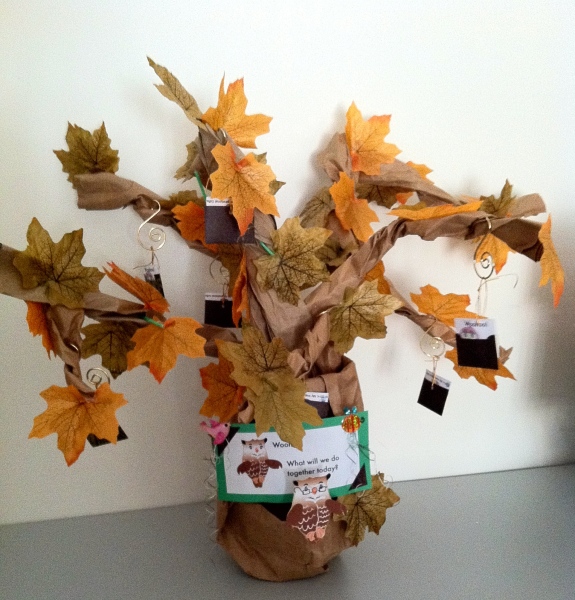
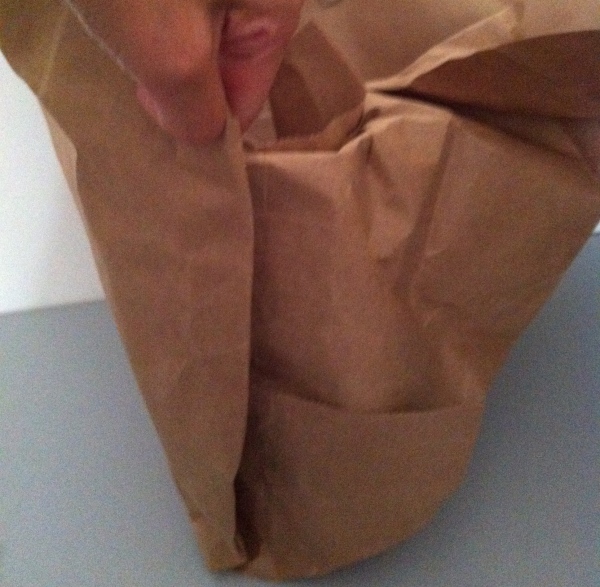
Open a brown paper bag like you are ready to fill it. Carefully remove the handles from the bag. You will not be needing them. With a scissors, cut out one whole side of your paper bag. Begin your cut down one of the narrow side seams of the bag. Be careful to not cut the bottom of the bag in any way. Best to stay about an inch above the bottom seam of bag. (Don’t worry if what you cut out is uneven in size. Turn the brown bag inside out so all lettering is on the inside being careful not to tear the bag.
Center a plastic vase inside the bag. (I found the perfect plastic vase in the Dollar Store). Fold up all sides of the bag around the vase evenly tucking in the corners and sides of the bag inside the plastic vase. Even out the sides of the bag as you wrap to cover vase completely. Before continuing with project, look over your wrapped vase and choose what side of the vase you want to be the front of your tree. Adjust the wrap as desired.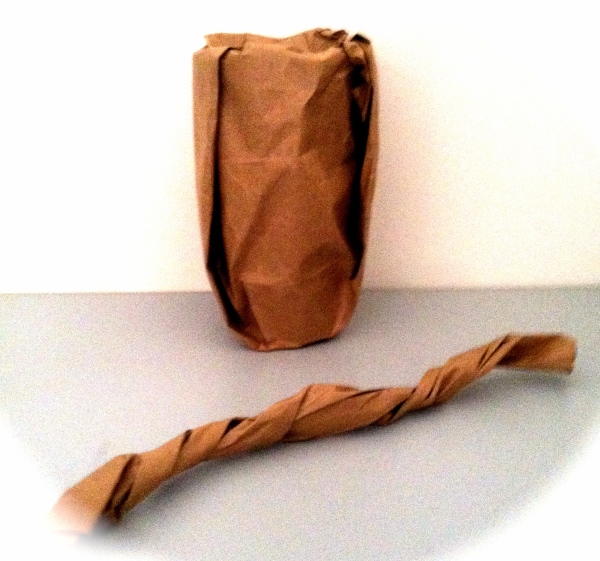
Open another same size bag. Cut the bag so it lays flat and makes one big piece of paper. Cut long pieces and short pieces (no shorter than 12”) from this bag. Keep in mind these piece will form the limbs and branches. The shorter the pieces, the thinner your branches. The longer the pieces the thicker your limbs.
Roll each cut piece of the paper bag to form a tube. Twist each paper bag tube as tight as you can going about an inch up the tube, at a time until you have as many limbs and branches as you want for your tree.
Note: You should only need 2 bags total for this tree project.
Fill your vase with the limbs as you make them. Put the branches aside until the tree limbs are in the vase and shaped as you want. The tighter the limbs in the vase, the more stable the vase and the more options you have to shape the tree to your liking. Attach the branches to the limbs with staples.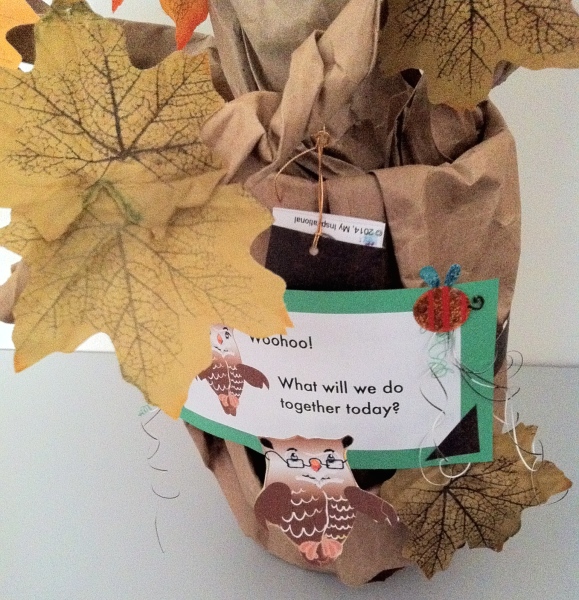
Decorate the tree with homemade leaves or buy a package of fall leaves no larger than approximately 3 x 3. Strategically place the leafs one at a time on your branches. Attach the leaves with a Glue Dot.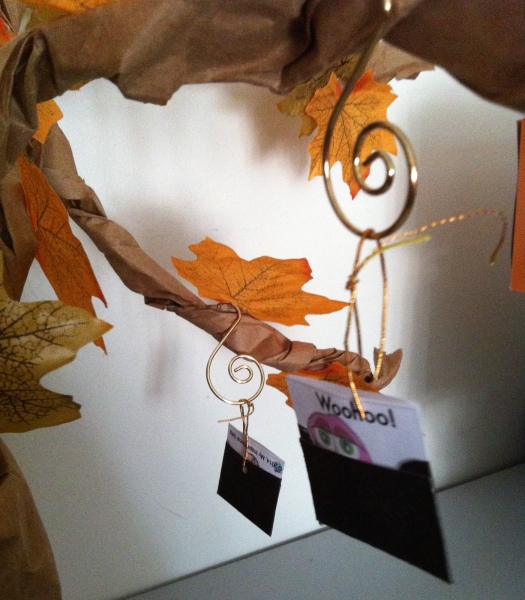
I have prepared a FREE attachment for some extra ideas and templates to complete this project.
Enjoy!

