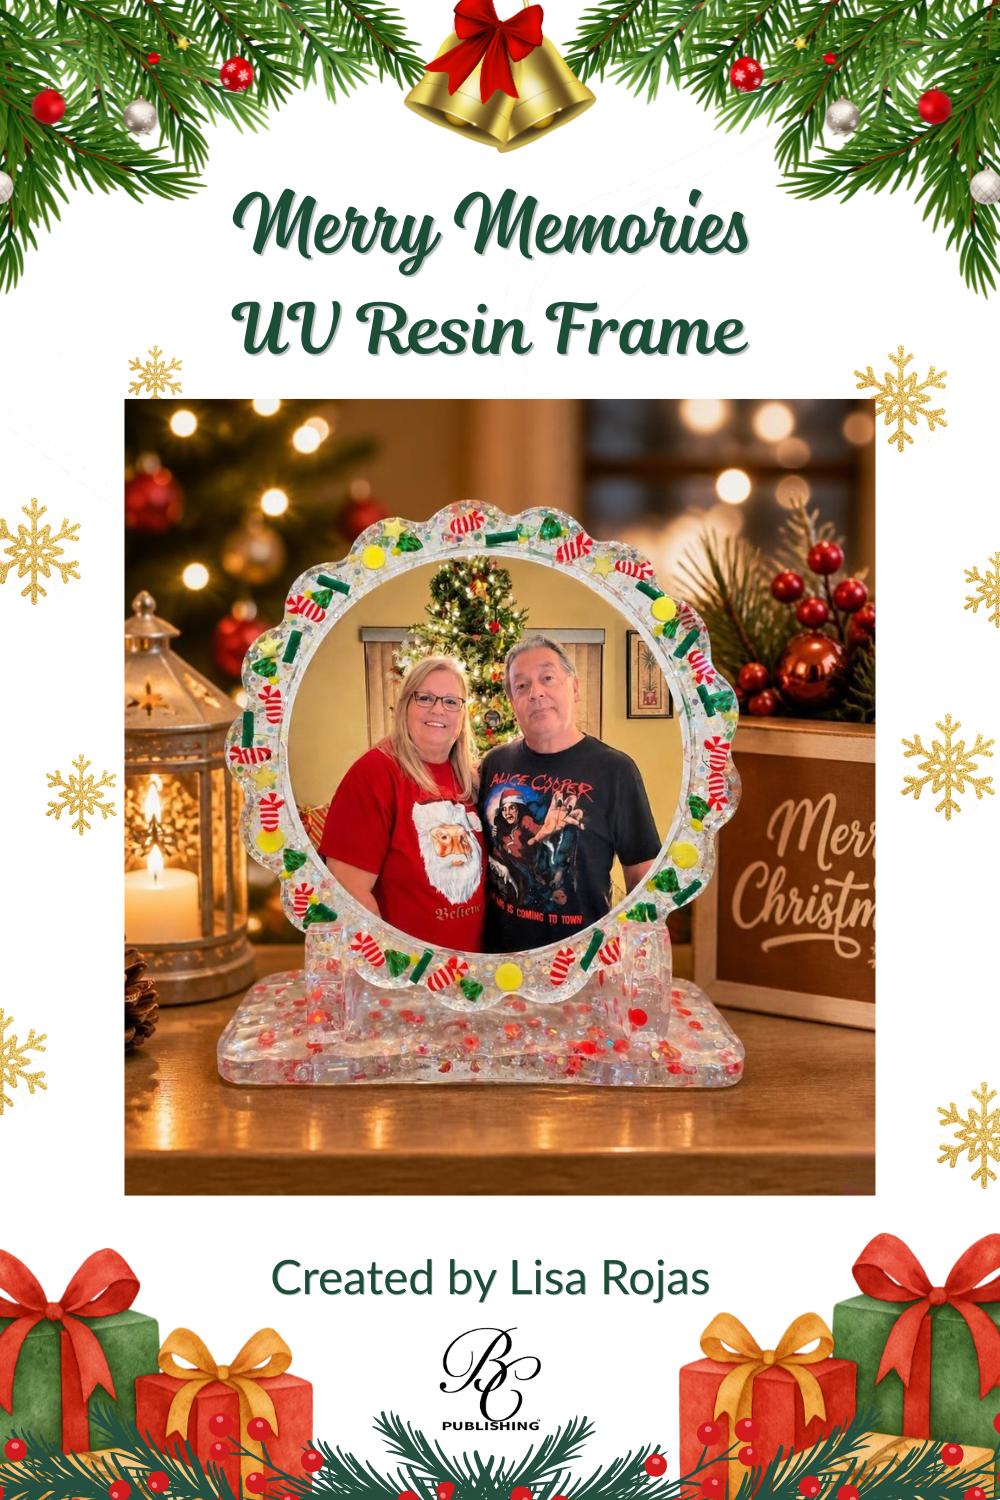

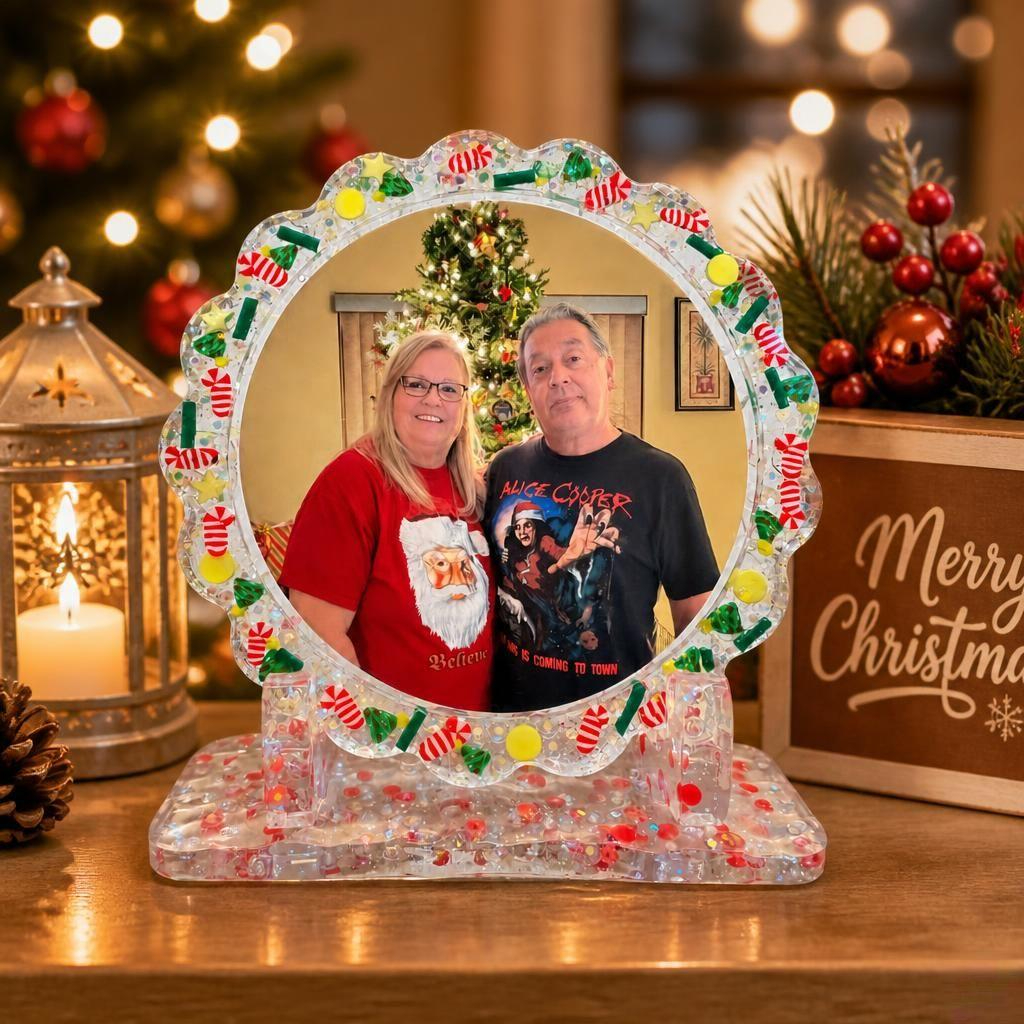
Merry Memories in Resin brings a little extra sparkle to the holiday season. This festive UV Resin frame is decorated with cheerful candy canes, bright Christmas colors, and shimmering details, making it a sweet way to display a favorite holiday photo. A handmade keepsake to treasure long after the decorations come down! 🎄✨
Please note: This post contains affiliate links. If you use these links and make a purchase, we earn a commission at no extra cost to you…
If you have been on the fence about working with Resin, it’s time for you to jump in and give UV Resin a try. It’s different than the 2-part Epoxy Resin because there’s no mixing, no bubbles and it cures in minutes with a UV light. Honestly, I love this so much and I really hope you give it a try! Crafty hugs, Lisa~

Check out the complete supply list below
Steps One, Two, Three:
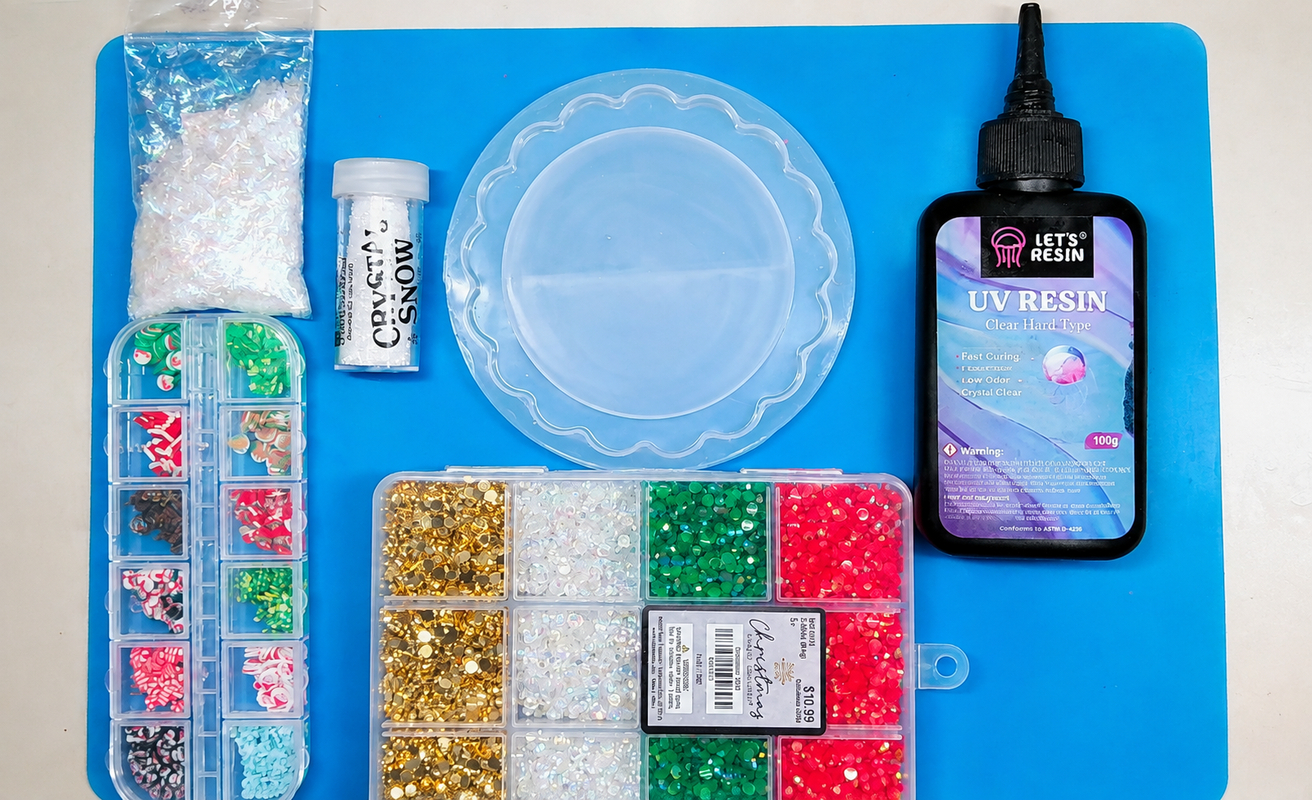
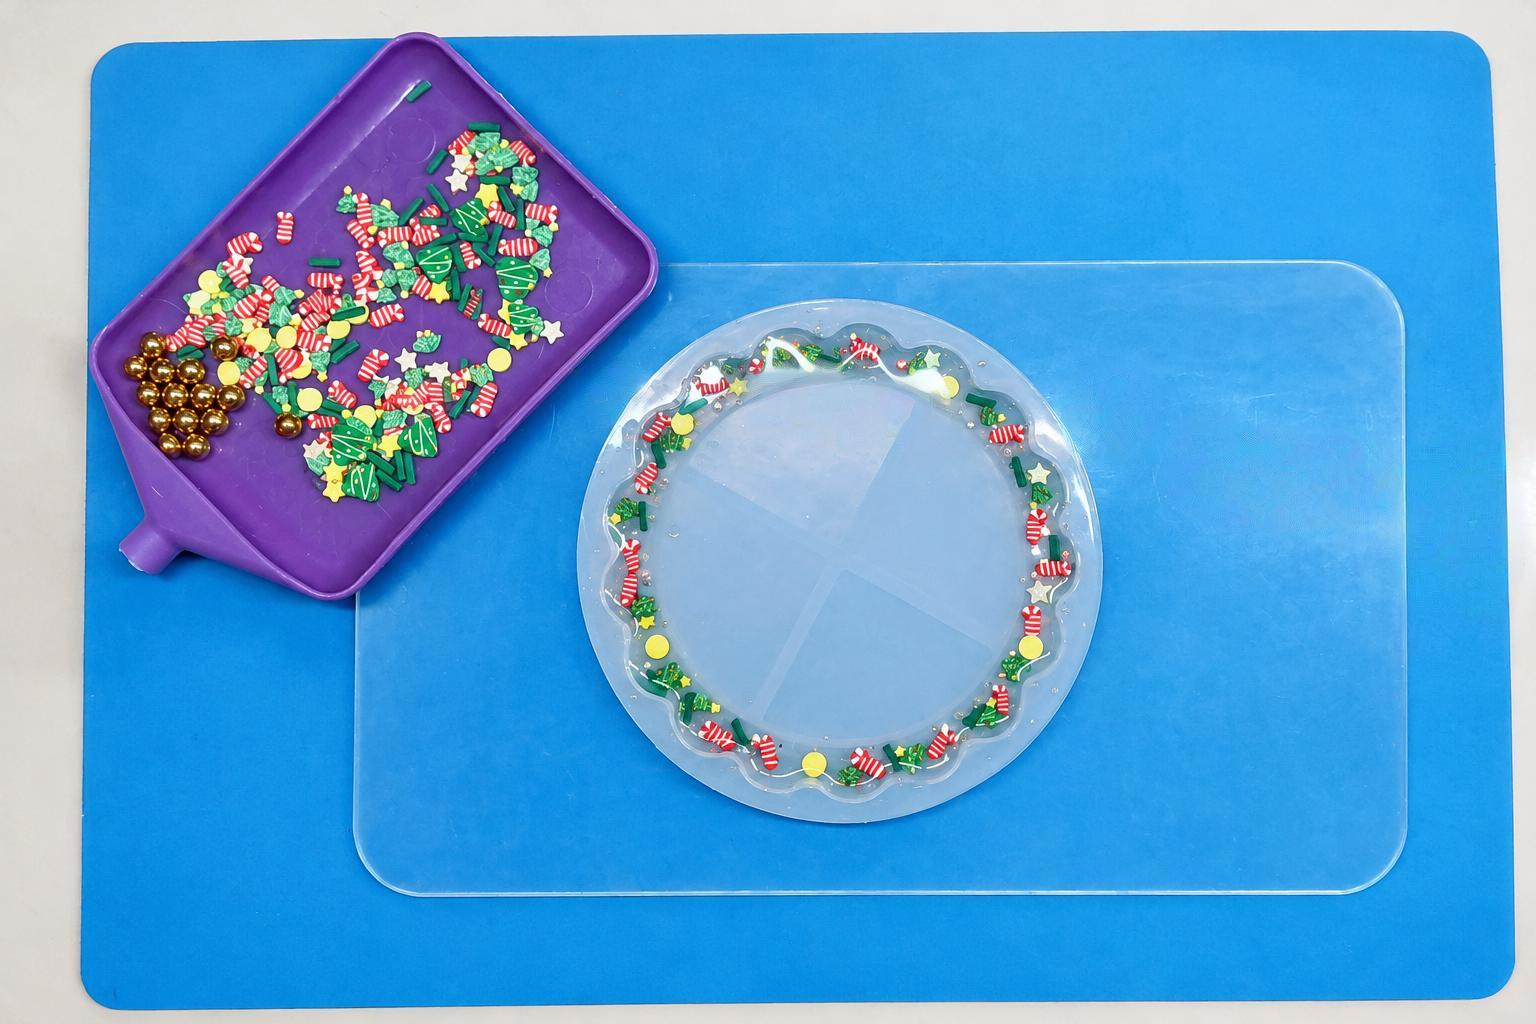
These are the products I used and I’ll add links in the supply list below. To begin, pour the resin around the edge of the mold filling it half full.
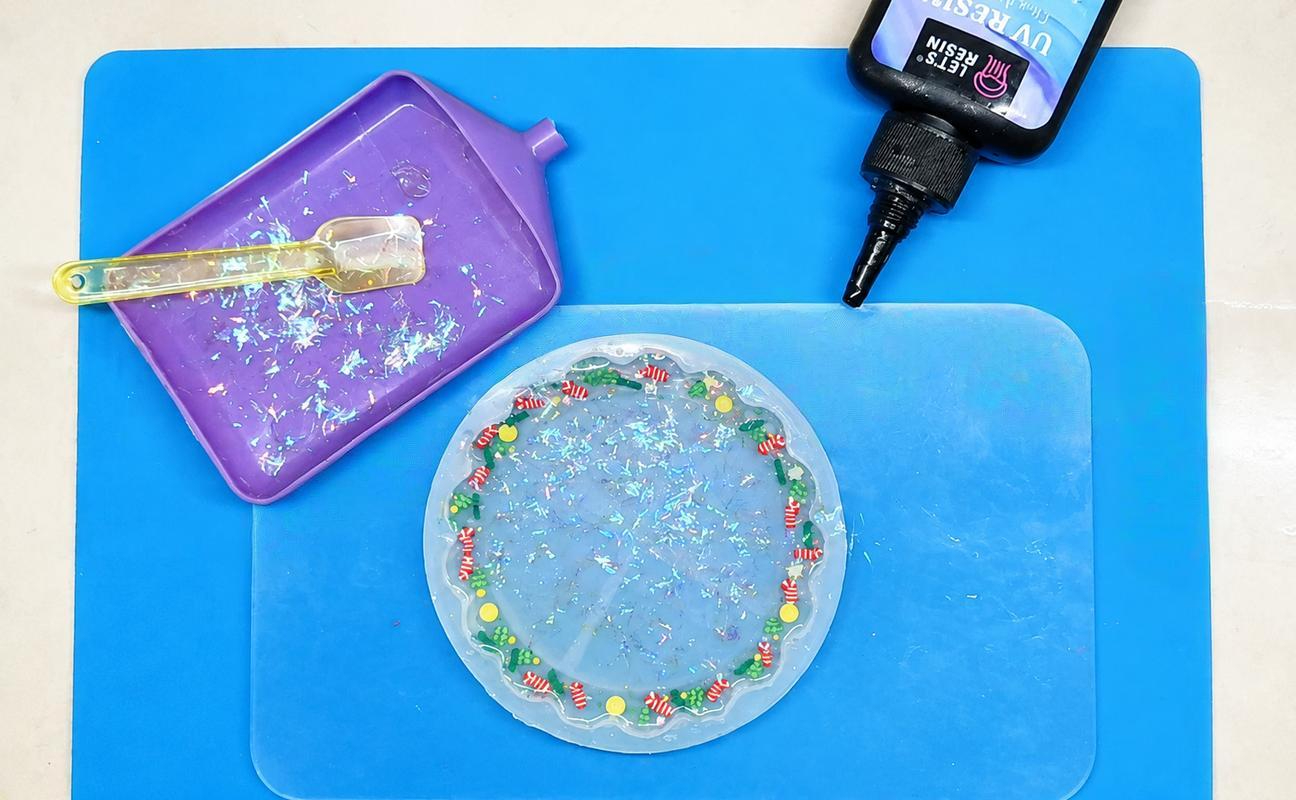
Add some glitter and the clay confetti to the resin.
Fill the remainder of the mold with resin and add some chunky glitter to the center. Place the mold into a uv light and cure it for about two minutes. Remove it from the uv light and let it cool. Once it has cooled remove it from the mold.
Steps Four, Five, Six:
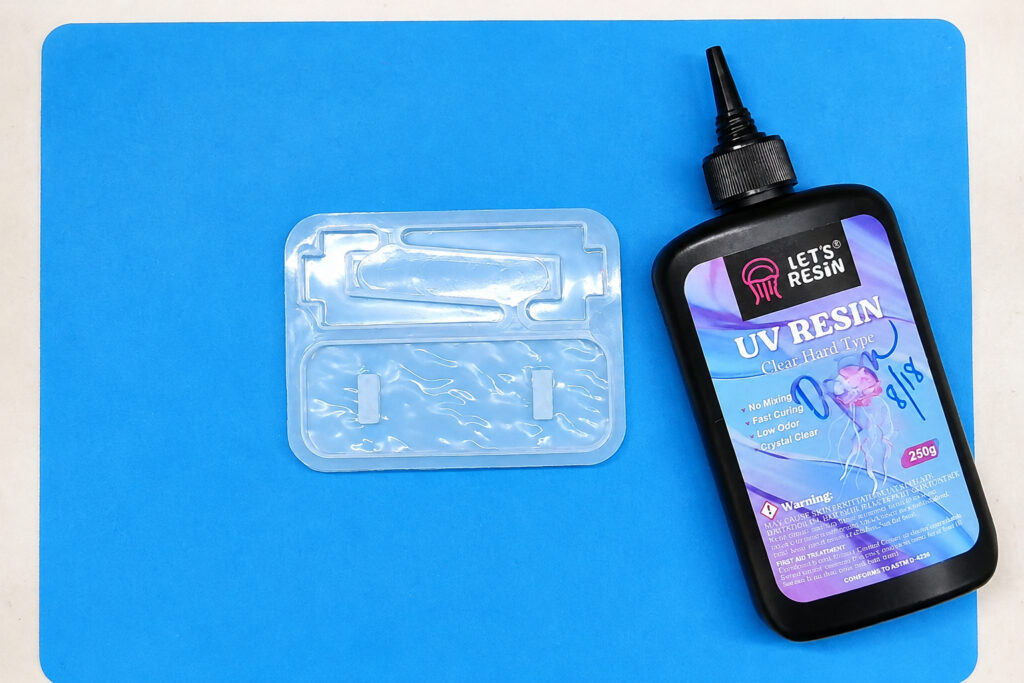
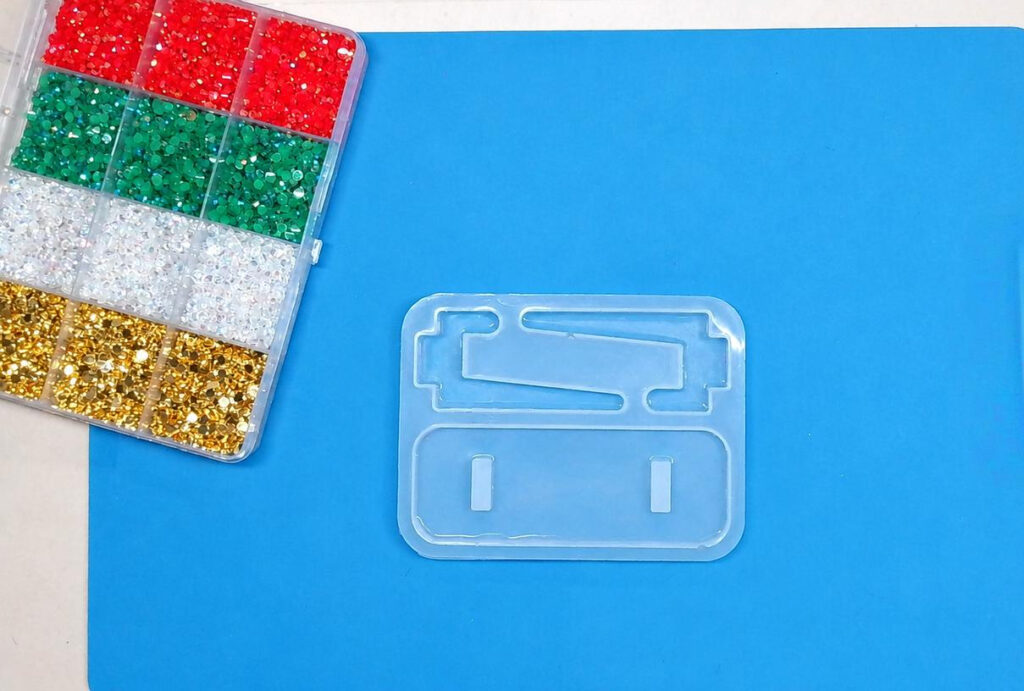
For the stand, fill the mold half full with the resin.
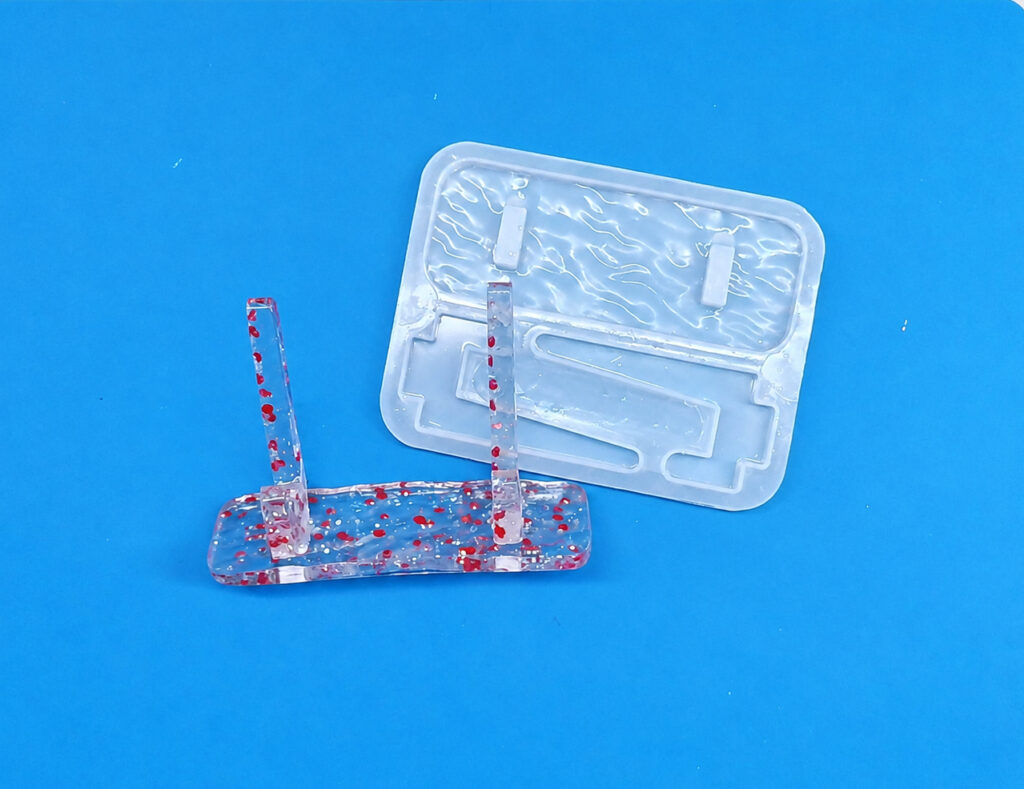
Add some clear and red rhinestones into the resin and fill the remainder of the mold with resin.
Place the mold into a uv light and cure it for about two minutes. Remove it from the uv light and let it cool. Once it has cooled remove it from the mold. If you have any rough edges, you can use an emery board or a hand drill to clean them up. Use a 3″ circle die to cut out the photo.
Note: You can watch my Live for this project on our YouTube channel. Here is the link~
https://youtube.com/live/GryV-kNIaTY?feature=share
Merry Memories in Resin
- Photo
- Let’s Resin UV Resin, Clear Hard
- Amazon Resin Mold for Photo Frame with Stand Holder
- Bead Treasures Rhinestones
- Chunky Glitter, Clear
- Fine Glitter, Clear
- UV Resin Tools, optional
- Resiners UV Light
- Sizzix Circle Die, 3″
- Sizzix Big Shot
One more PIN of the Merry Memories in Resin to share