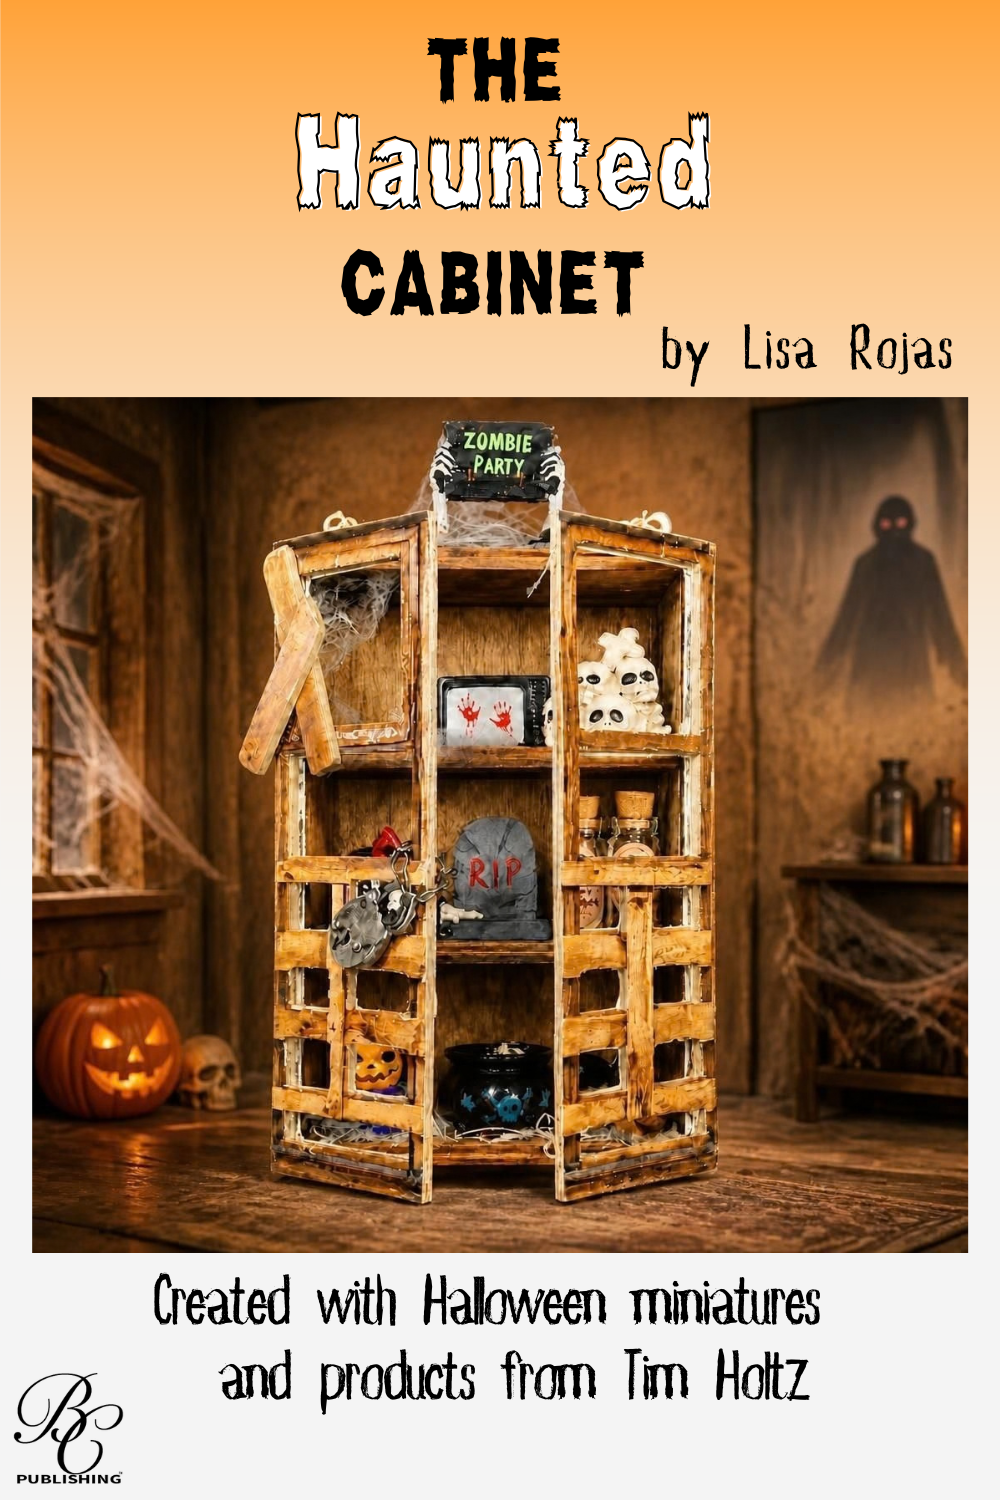
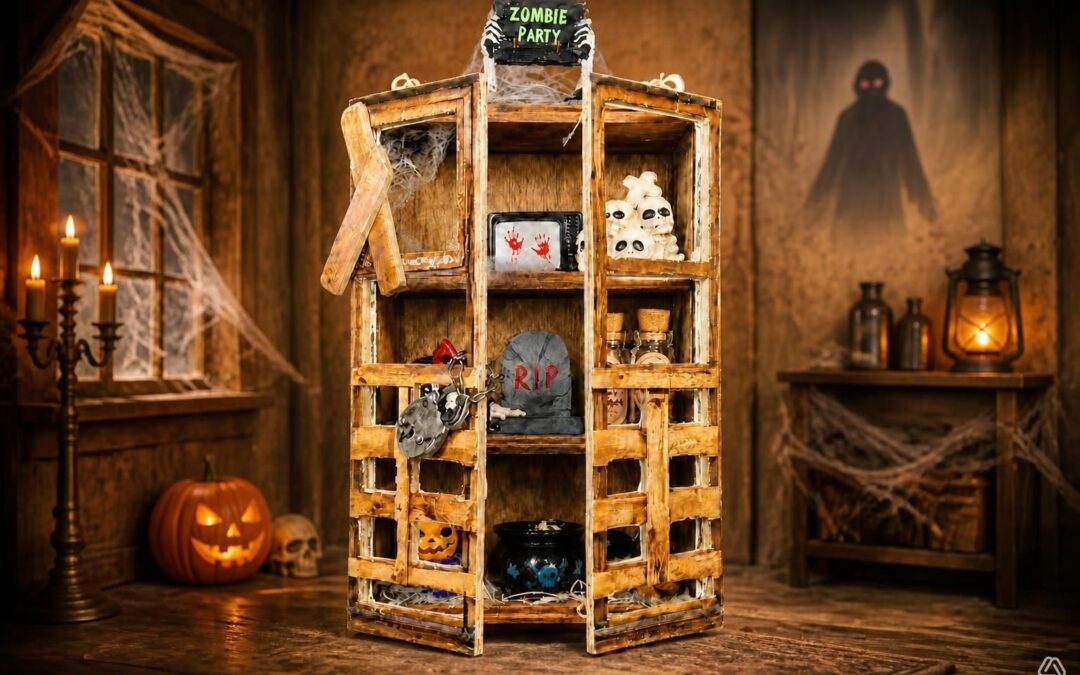
The Haunted Cabinet is a weathered collection of eerie curiosities, hidden treasures, and spooky surprises. Every detail—from the aged wood and broken boards to the skulls, cobwebs, and mysterious objects within—adds to its haunted charm.
Please note: This post contains affiliate links. If you use these links and make a purchase, we earn a commission at no extra cost to you…
This project was created with a wood card file box and chipboard pieces from Tim Holtz. When I saw the card file box, I knew it would be perfect to created my Haunted Cabinet. It stands about 5 1/2″ tall which makes it great for some spooky decor. I hope you give it a try. Crafty hugs, Lisa~
Steps One, Two, Three:
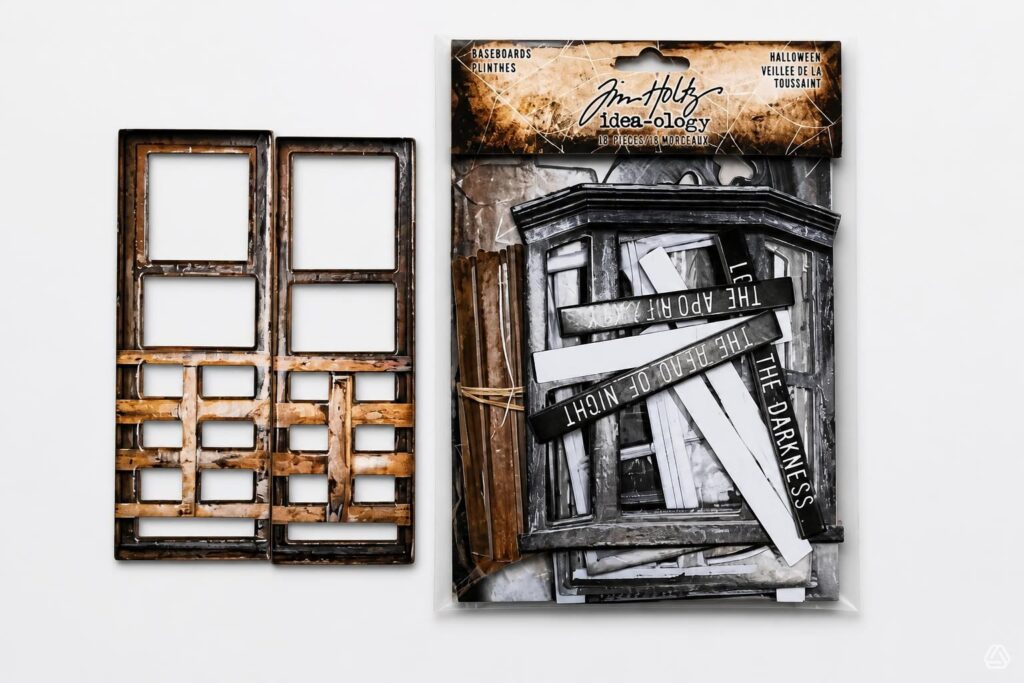
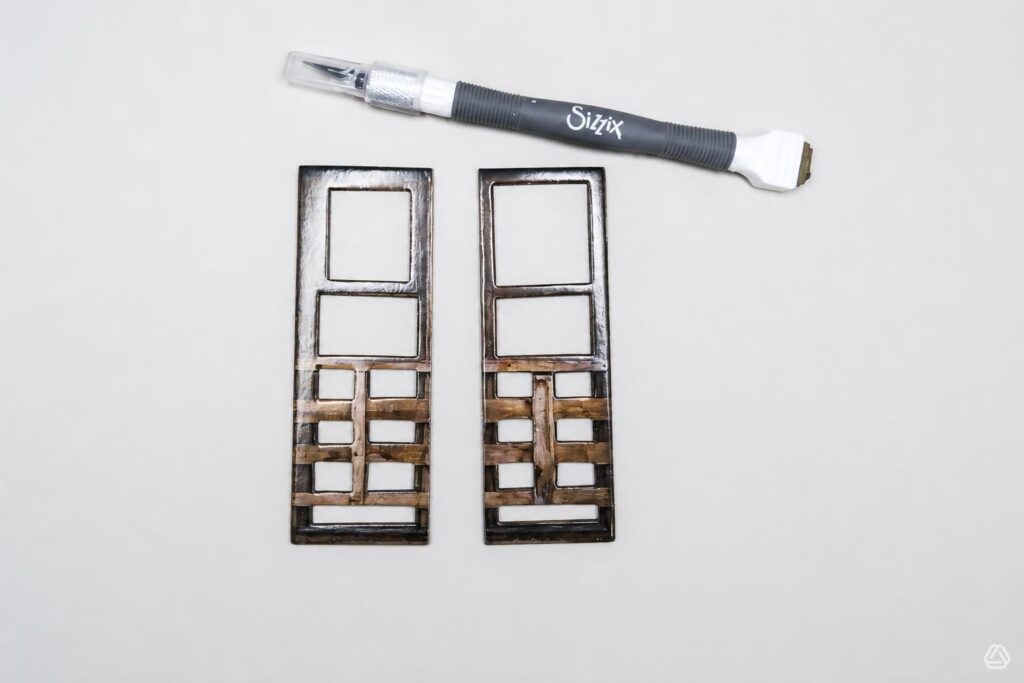
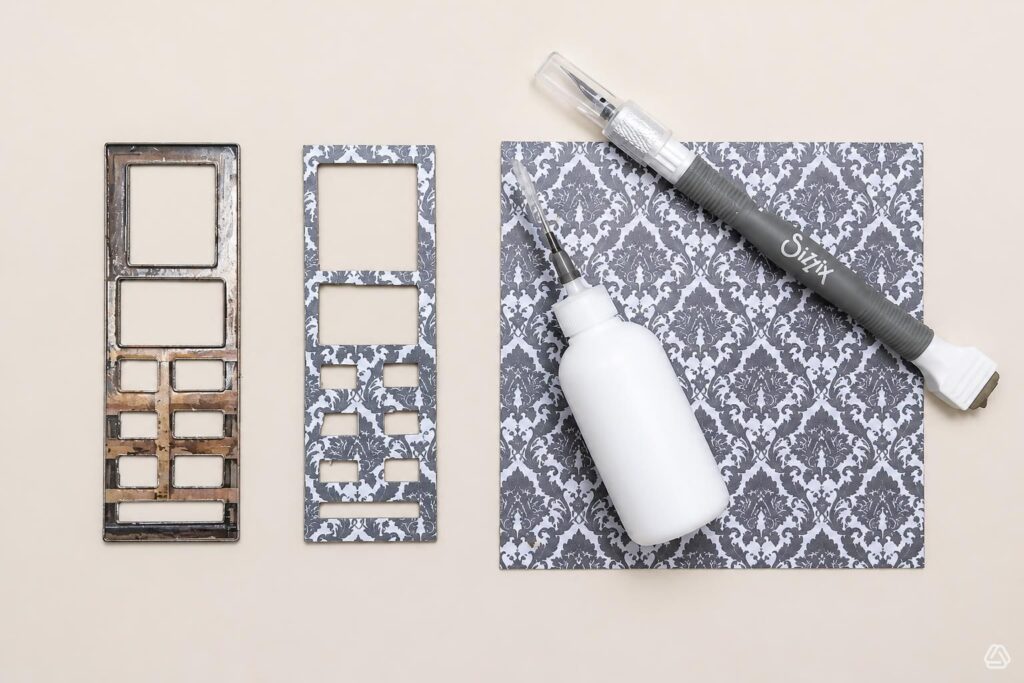
There are multiple doors and windows in this package of chipboard. Choose this brown one as it’s a perfect size for the file box.
Use a craft knife to cut the piece in half.
Trace the doors onto the patterned paper, cut them out and adhere them to the back of the doors.
Steps Four, Five, Six:
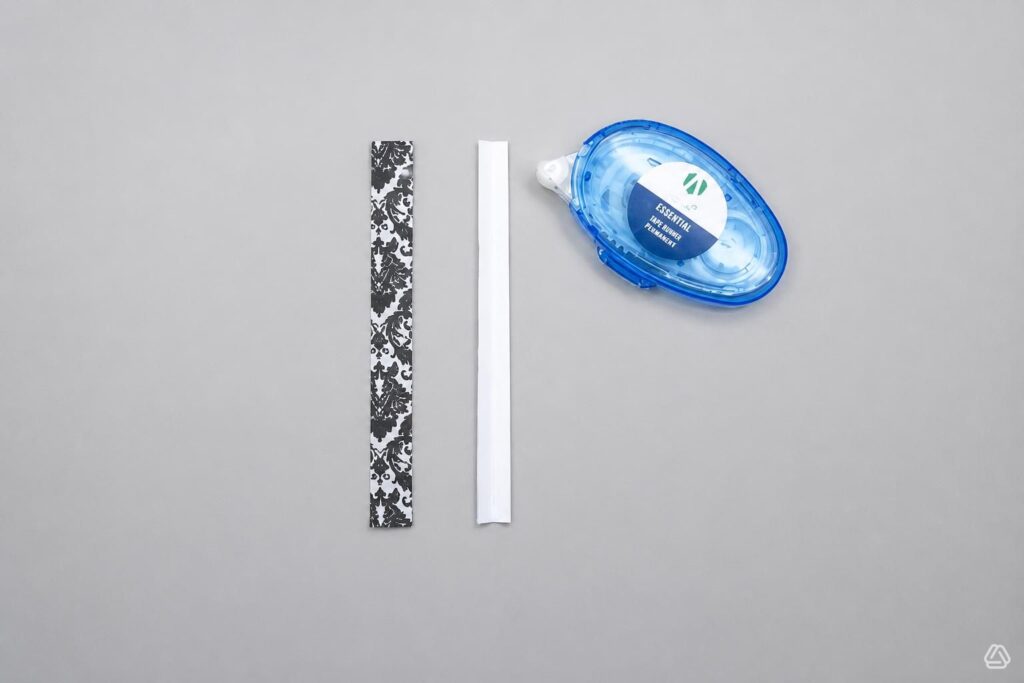
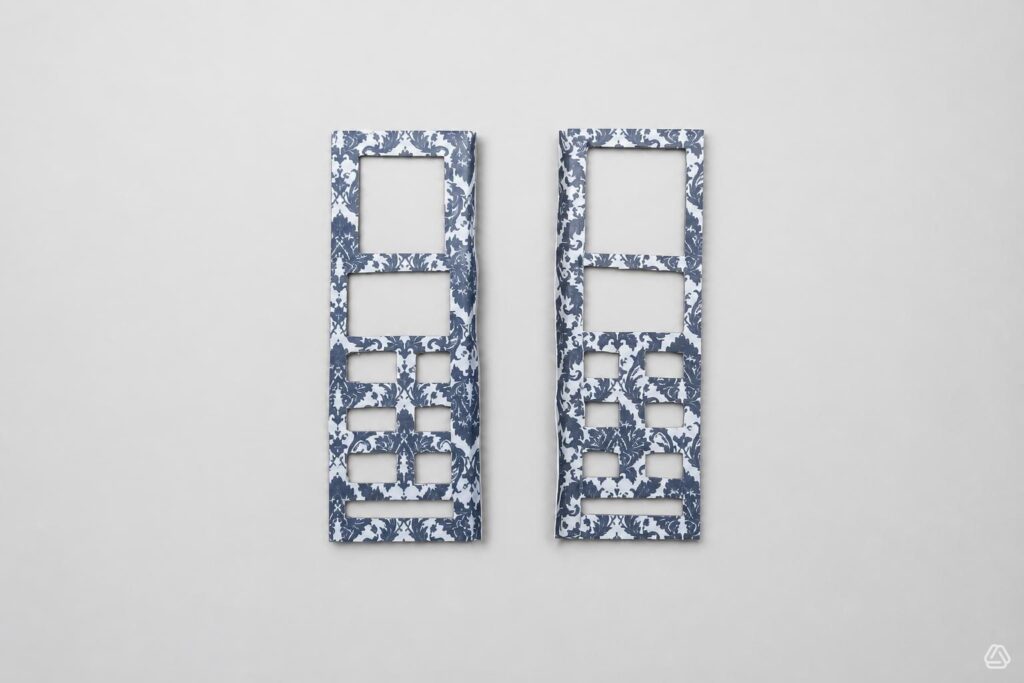
Cut four pieces of patterned paper 1 3/4″W x 5 1/4″H. Adhere two pieces together to create one hinge and repeat for the second one. If you want to make the hinges a little sturdier you can add a piece of cardstock between the patterned papers. Score the papers in half and fold them together.
Adhere the hinges to the back of the doors and set aside.
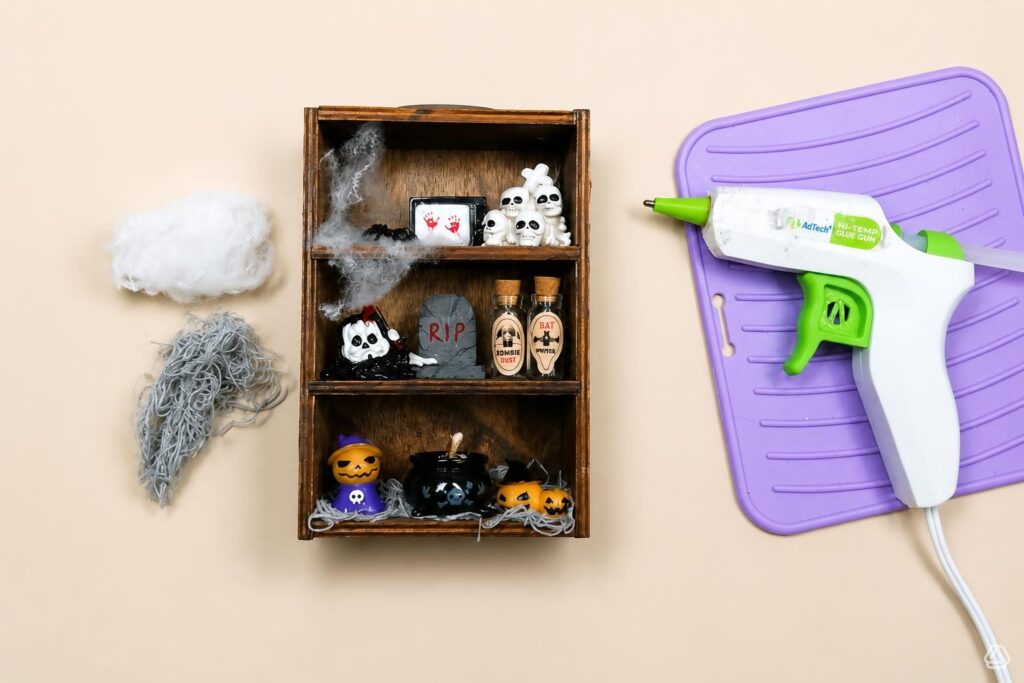
Use a hot glue gun to add the gauze and webbing to the file box. Next, adhere the miniature pieces inside.
Steps Seven, Eight:
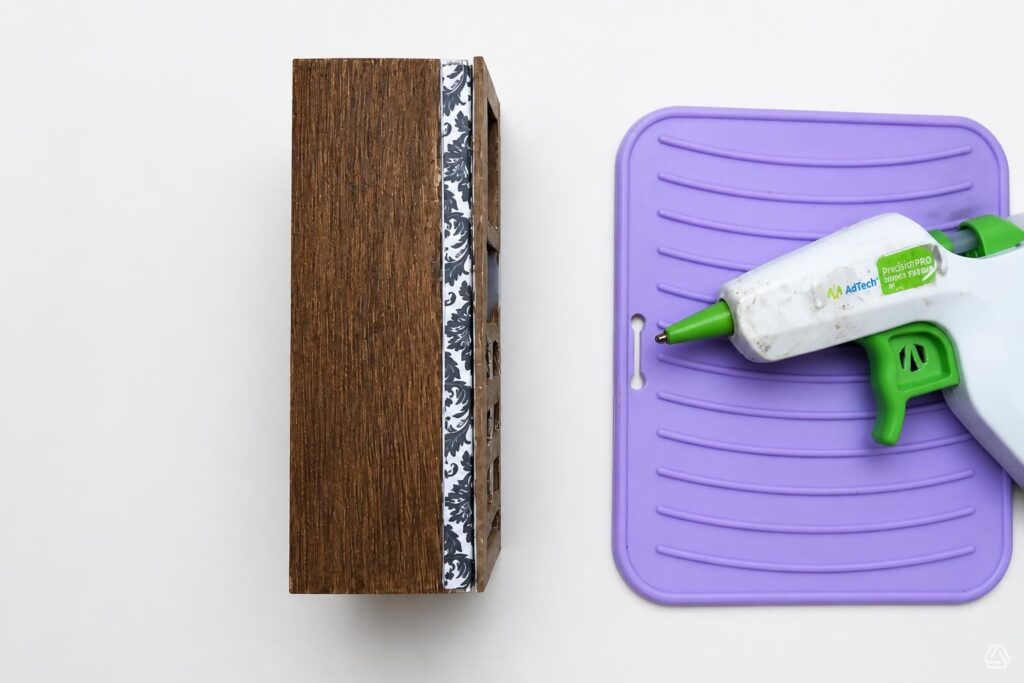
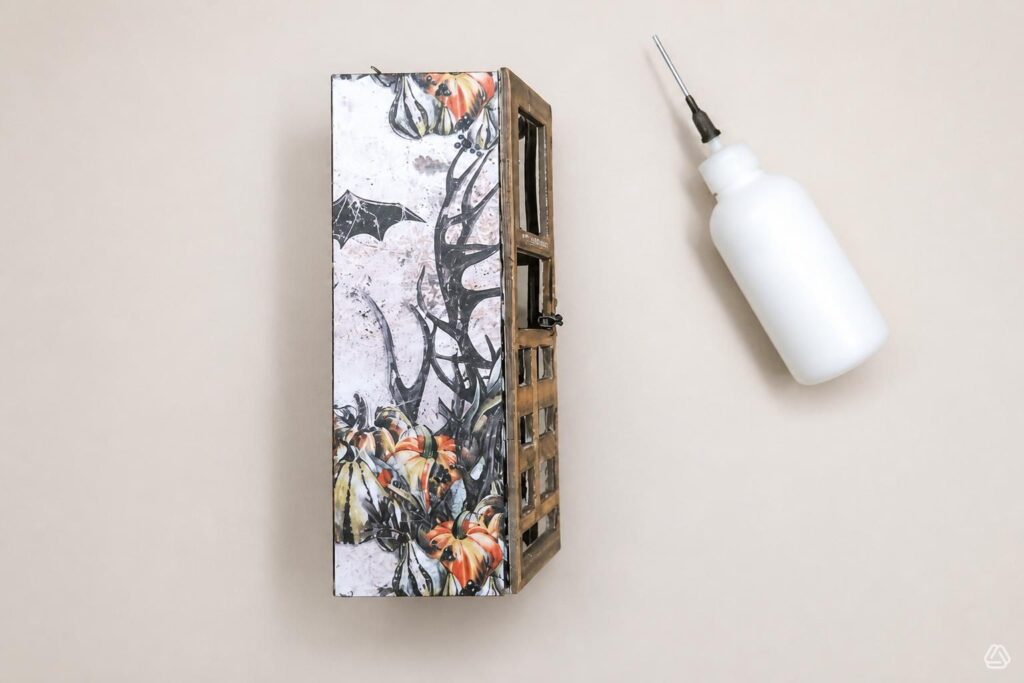
Adhere the hinges to the sides of the file box with the glue gun.
Cut two pieces of patterned paper 1 3/4″W x 5 1/2″. Adhere them to each side of the file box. Add some gauze and a couple of miniatures to the top of the file box as shown in the finished photo.
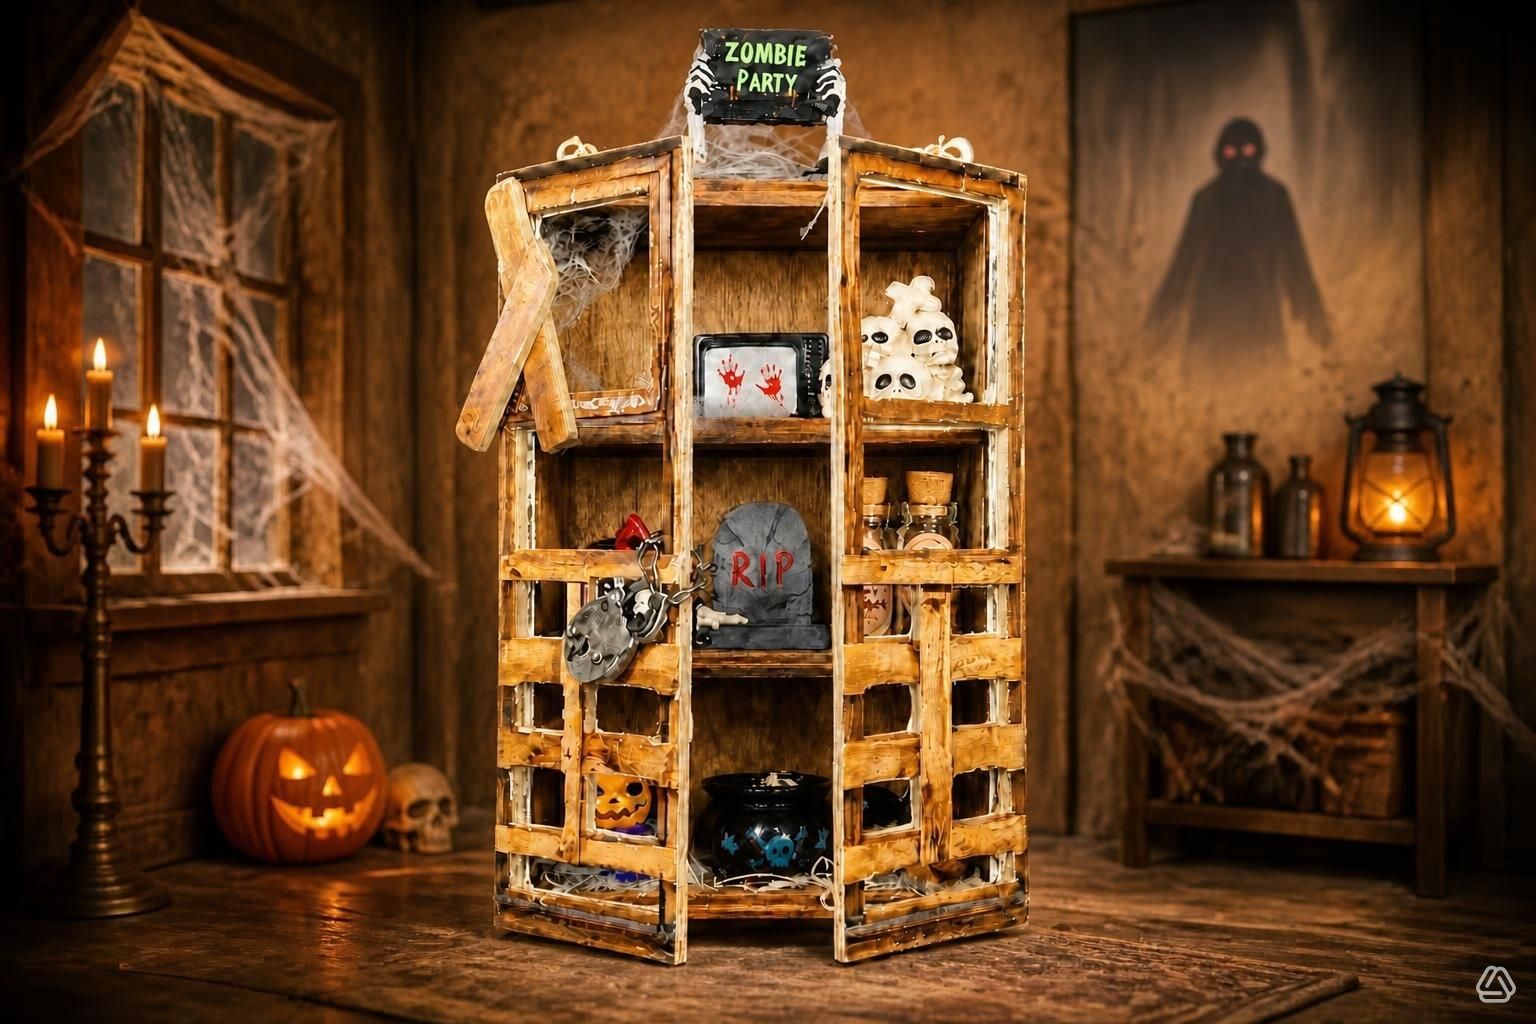
The Haunted Cabinet
- Tim Holtz Idea-Ology Card File Vignette, Brown
- Tim Holtz Idea-Ology Halloween Baseboards, Doors, Signs & Window Frames
- Patterned Papers
- Gauze, Gray
- Spider Webs
- Halloween Resin Miniatures
- AdTech Adhesives Glue Gun
- White Glue
- Craft Knife
One more PIN of the The Haunted Cabinet to share