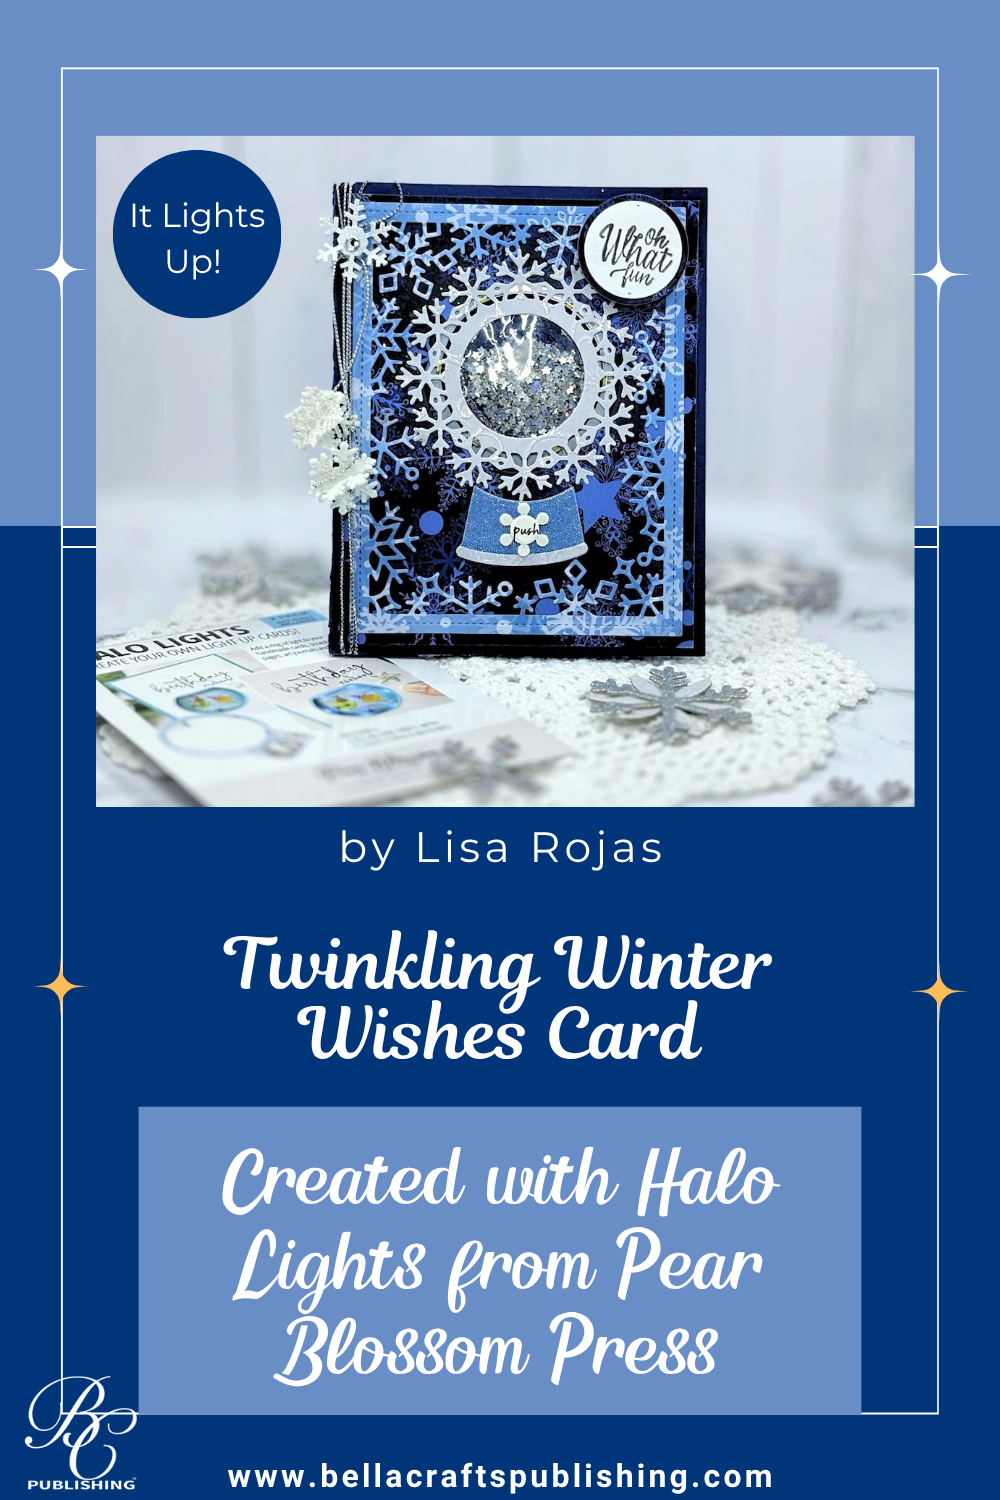
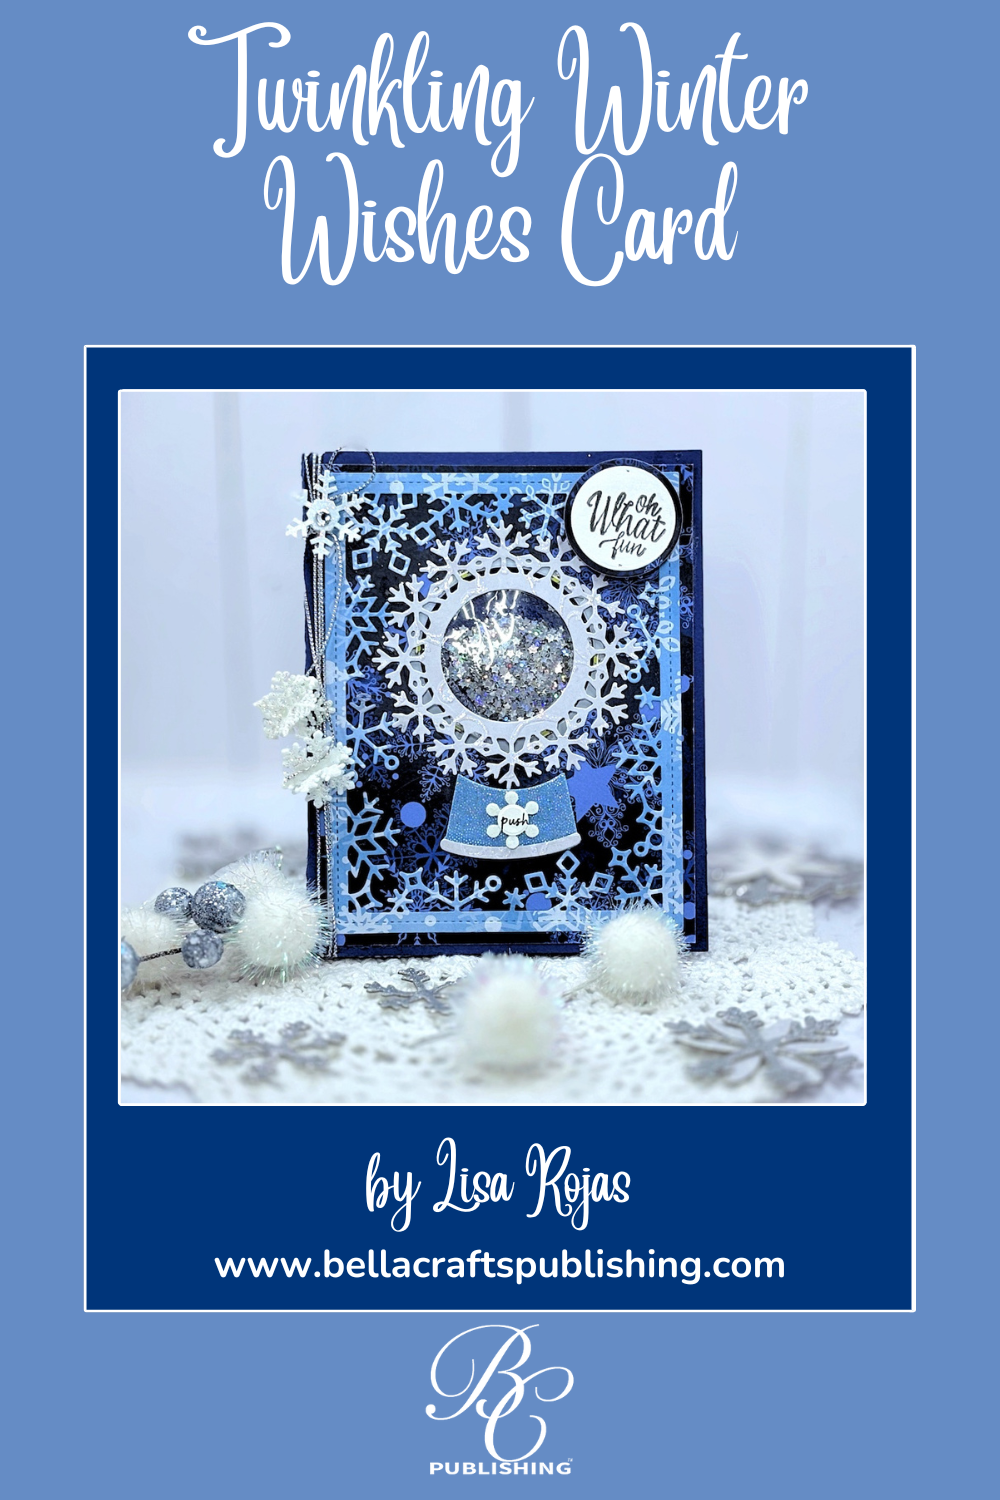
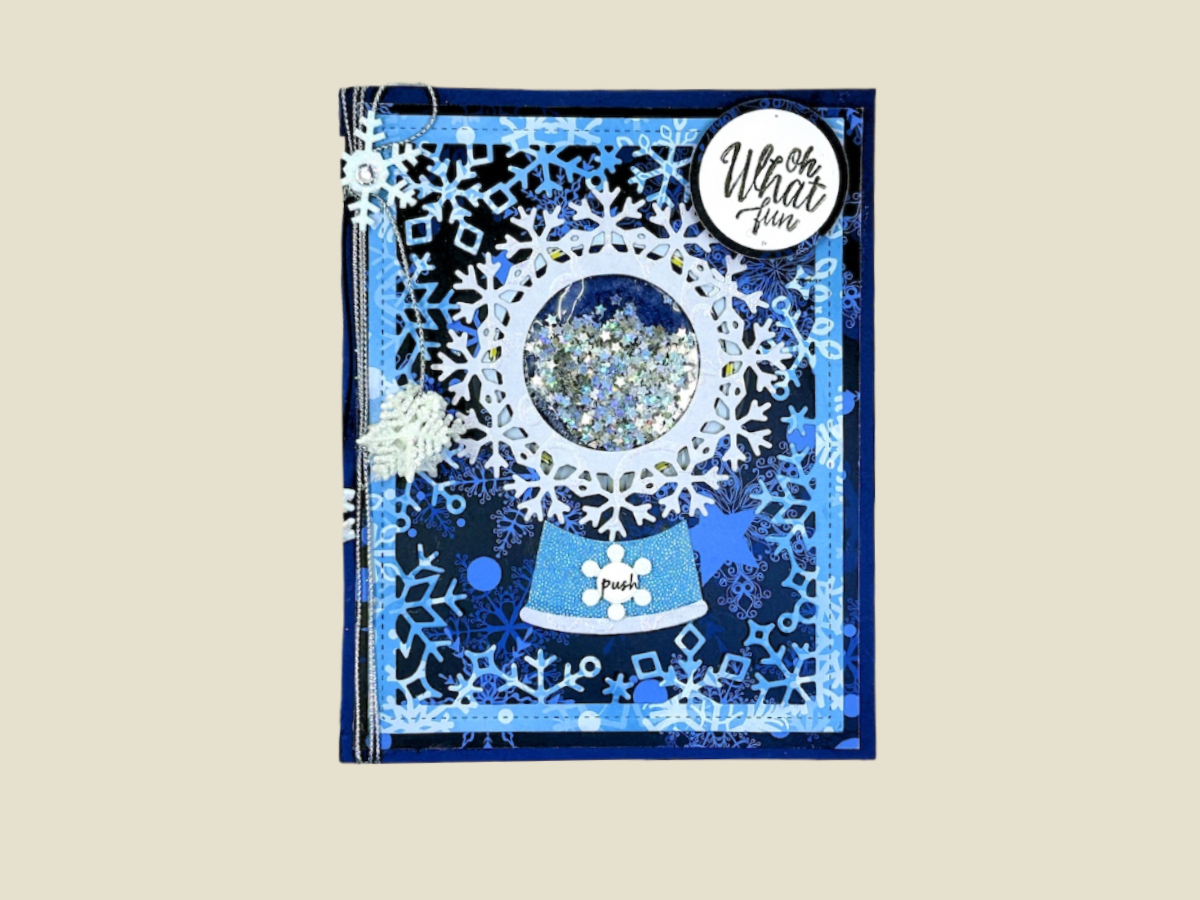
Send a sparkle of joy this holiday season with our Twinkling Winter Wishes card. This enchanting handmade card lights up to bring warmth and cheer!
Please note: This post contains affiliate links. If you use these links and make a purchase, we earn a commission at no extra cost to you…
I love interactive cards, especially ones that light up! These Halo Lights from Pear Blossom Press are not only fun, but so easy to use! The lighting unit comes in a circle with six tiny lights all around it. When you push the button it lights up the snowflake in the center of the card. I hope you give it a try. Crafty hugs, Lisa~
Steps One, Two, Three:

Cut the papers as follows: Blue cardstock (for card base) 9 1/2″W x 6″H, fold in half to4 3/4″W x 6″H, cut another Dark Blue cardstock 4 3/4″W x 5 3/4″H (for inside card to cover the Halo Light), Light Blue patterned paper 9 1/4″W x 5 3/4″H folded in half (for inside card), Dark Blue patterned paper 4 1/2″ W x 5 3/4″H (for front layer), Light Blue patterned paper 4 1/2″ W x 5 3/4″H (to die cut snowflake frame).
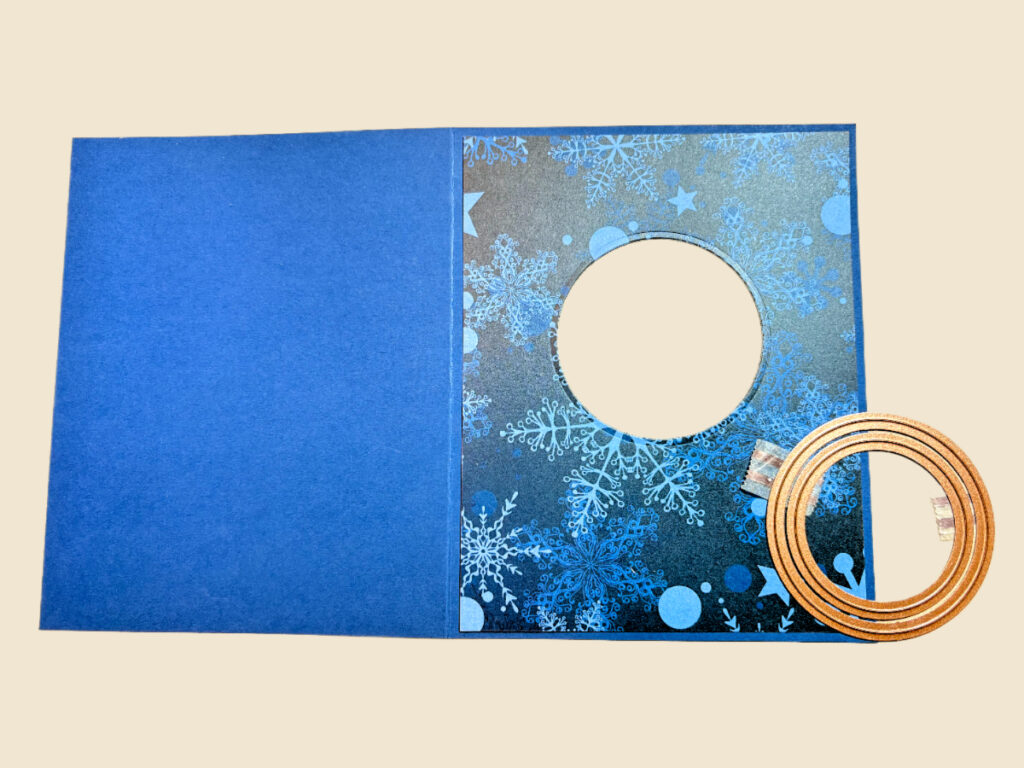
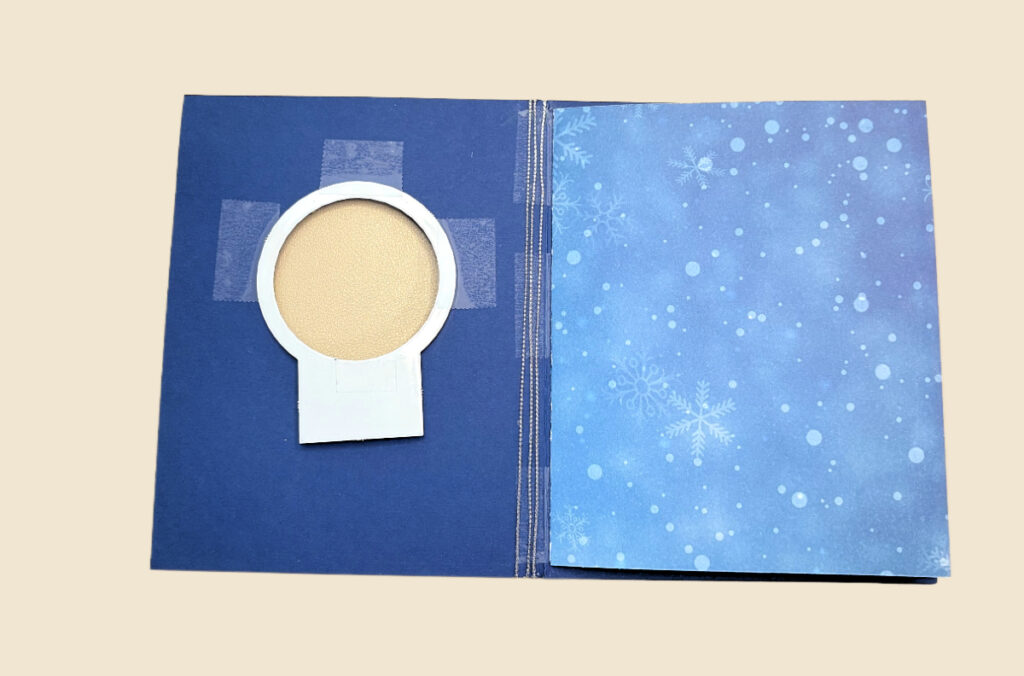
Adhere the Dark Blue patterned paper to the front of the card. Open the card base and die cut a circle 2 3/8″.
Place the Halo Light inside the card and tape it down. Adhere the folded patterned paper to the inside of the card. Cut a piece of Silver thread 48″ long. Wrap it around the card three times and tie a bow toward the front of the card. Next, adhere Dark Blue cardstock to the inside to cover the Halo Light.
Steps Four, Five, Six:
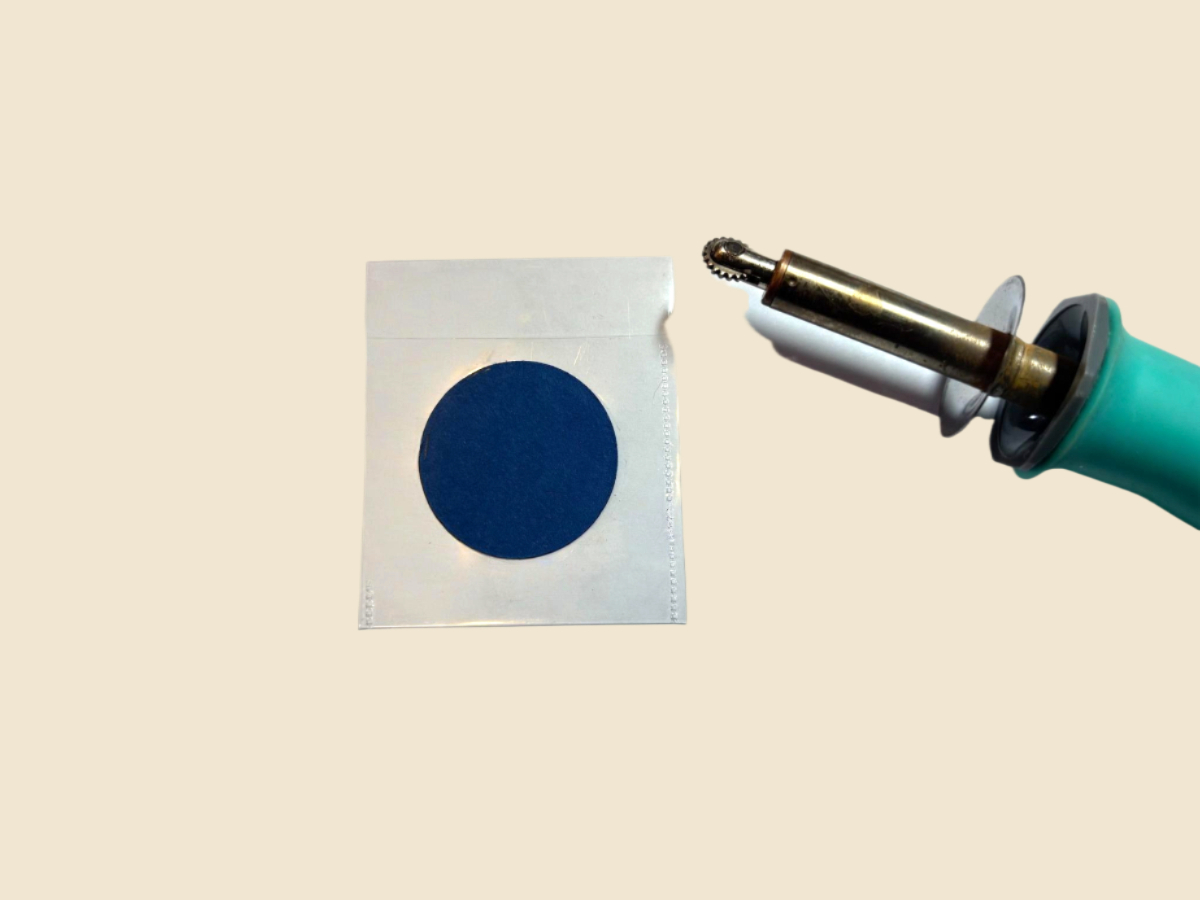
To create the confetti pouch, place a clear plastic photo sleeve on a protected space. Use the circle for the sentiment as a pattern, and trace it on the photo sleeve. Go around the circle with the heated Fuse tool, leaving an opening on the top. Pour the confetti into the opening, and then seal it with the Fuse tool. Use scissors to cut around the circle to remove the excess.
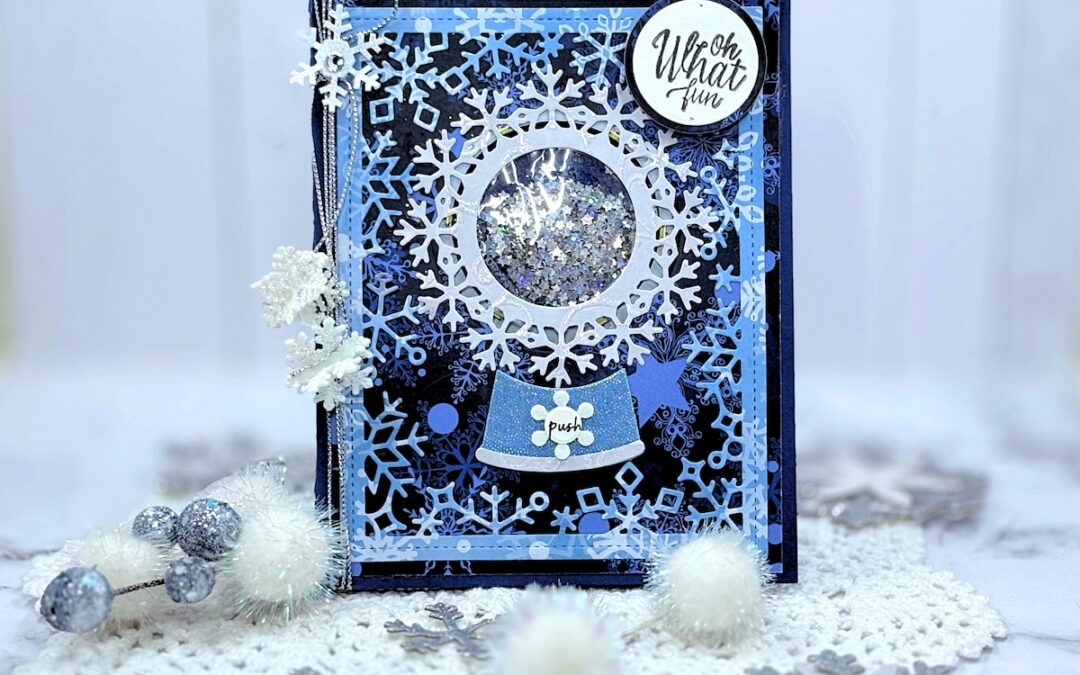
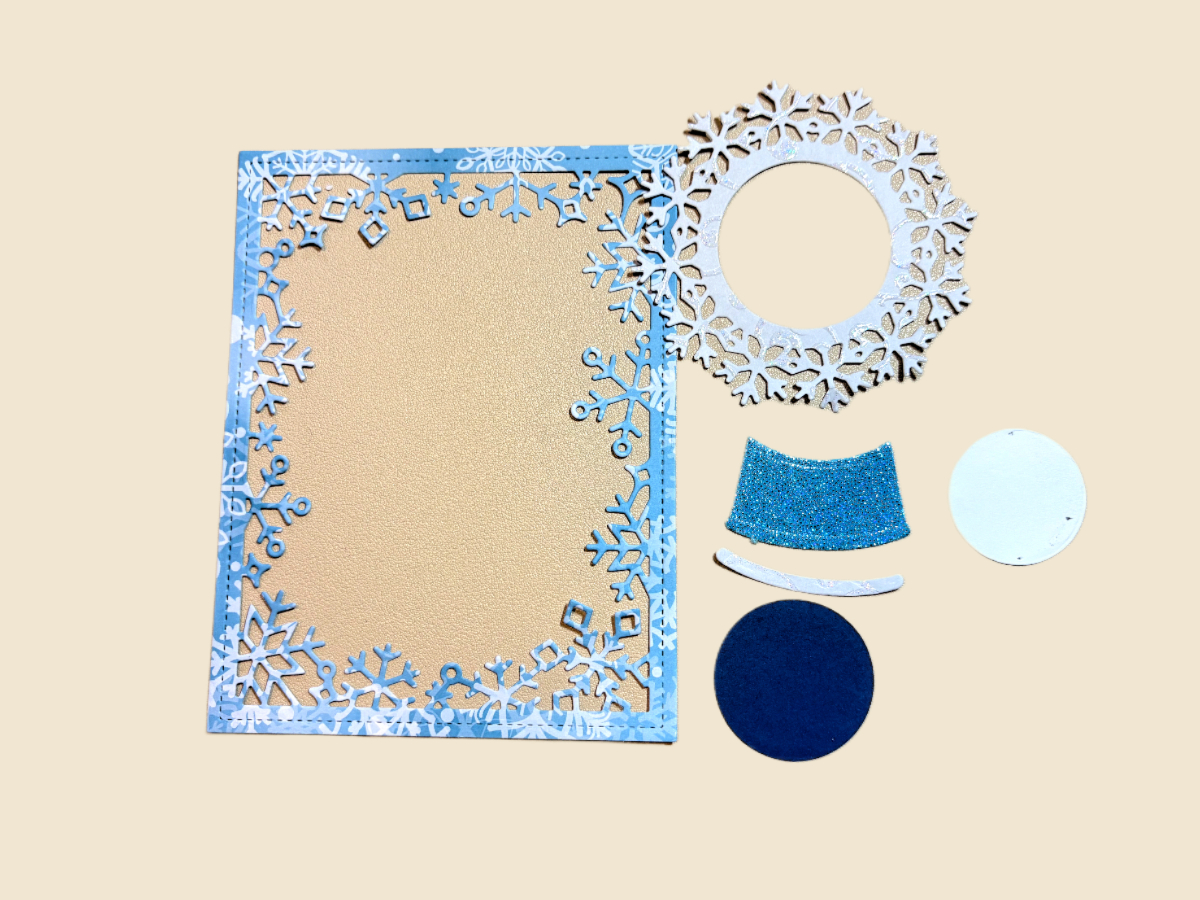
Die cut all the pieces out as shown in step 5. Adhere the confetti pouch to the back of the snowflake and glue them to the center of the Halo Lights. Adhere the snowflake frame to the card front.
To finish, die cut a 1 1/4″ circle from White cardstock and a 1 1/2″ circle from Dark Blue cardstock and adhere them together. Stamp the sentiment with the Black inkpad and adhere it to the card. Adhere the snow globe base under the snowflake and attach a small snowflake sticker. Use the “Push” stamp and mini circle die from the Pear Blossom Press set to show how to use the Halo Light. Add a snowflake sticker to the center of the bow and two snowflakes to the ends of the Silver thread as shown.
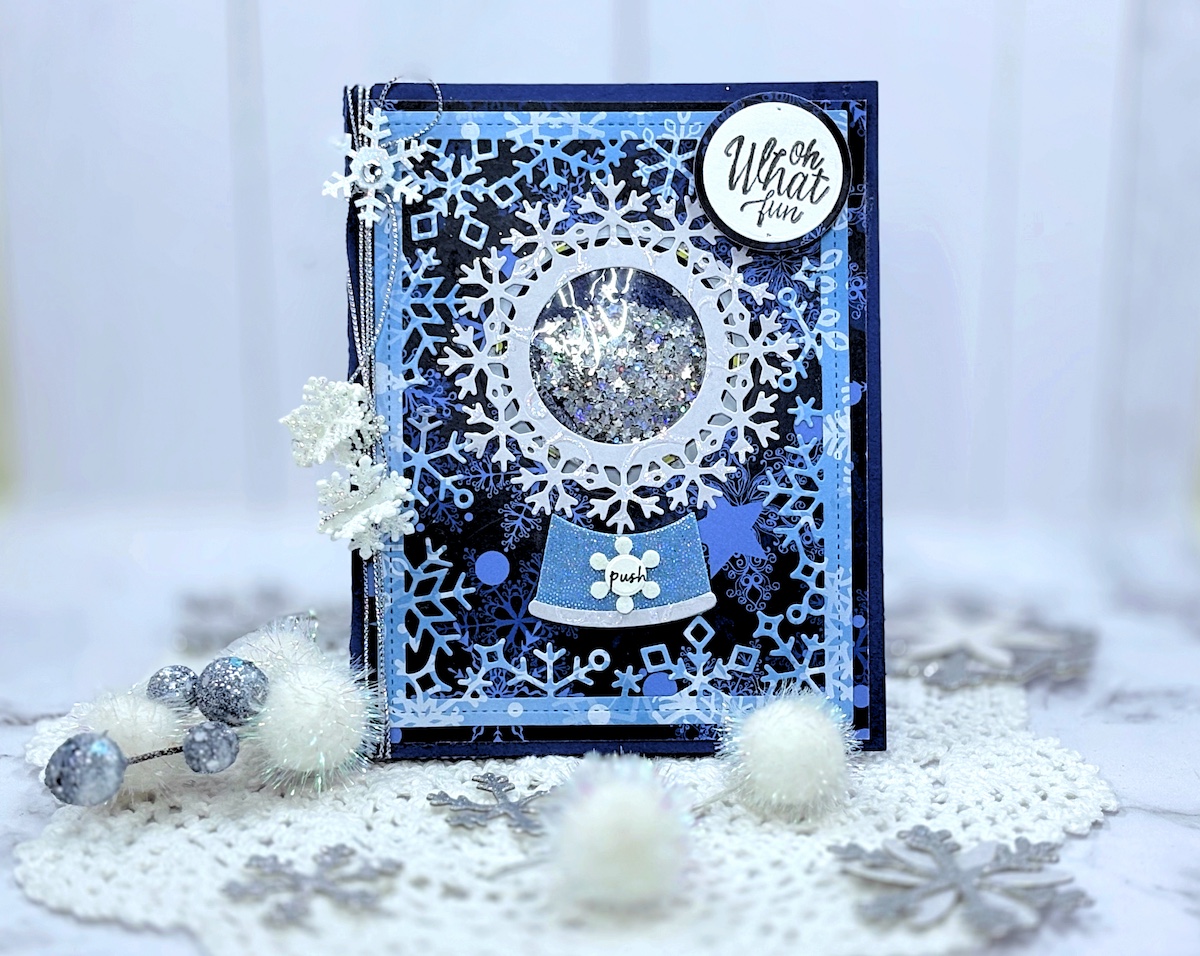
Twinkling Winter Wishes
- Pear Blossom Press Halo Lights
- Cardstock: Dark Blue, White
- Glitter Paper: White, Light Blue
- Holiday Themed Patterned Papers
- We R Memory Makers Photo Sleeve
- Gina K Designs Inkpad, Obsidian
- Confetti
- Silver Thread
- Snowflake Stickers
- 3D Snowflakes, (2)
- Sentiment Stamp
- Pear Blossom Press Stamp and Die Set
- Snowflake Die
- Lawn Fawn Die Set, Snow Flurries Backdrop
- Lawn Fawn Die Set, Shutter Card Snow Globe Add-On
- Sizzix Circle Die Set
- Scissors
- Paper Trimmer
- Sizzix Big Shot
- We R Memory Keepers Fuse Tool
- AdTech Tape Runner, Permanent
One more PIN of the Twinkling Winter Wishes Card to share