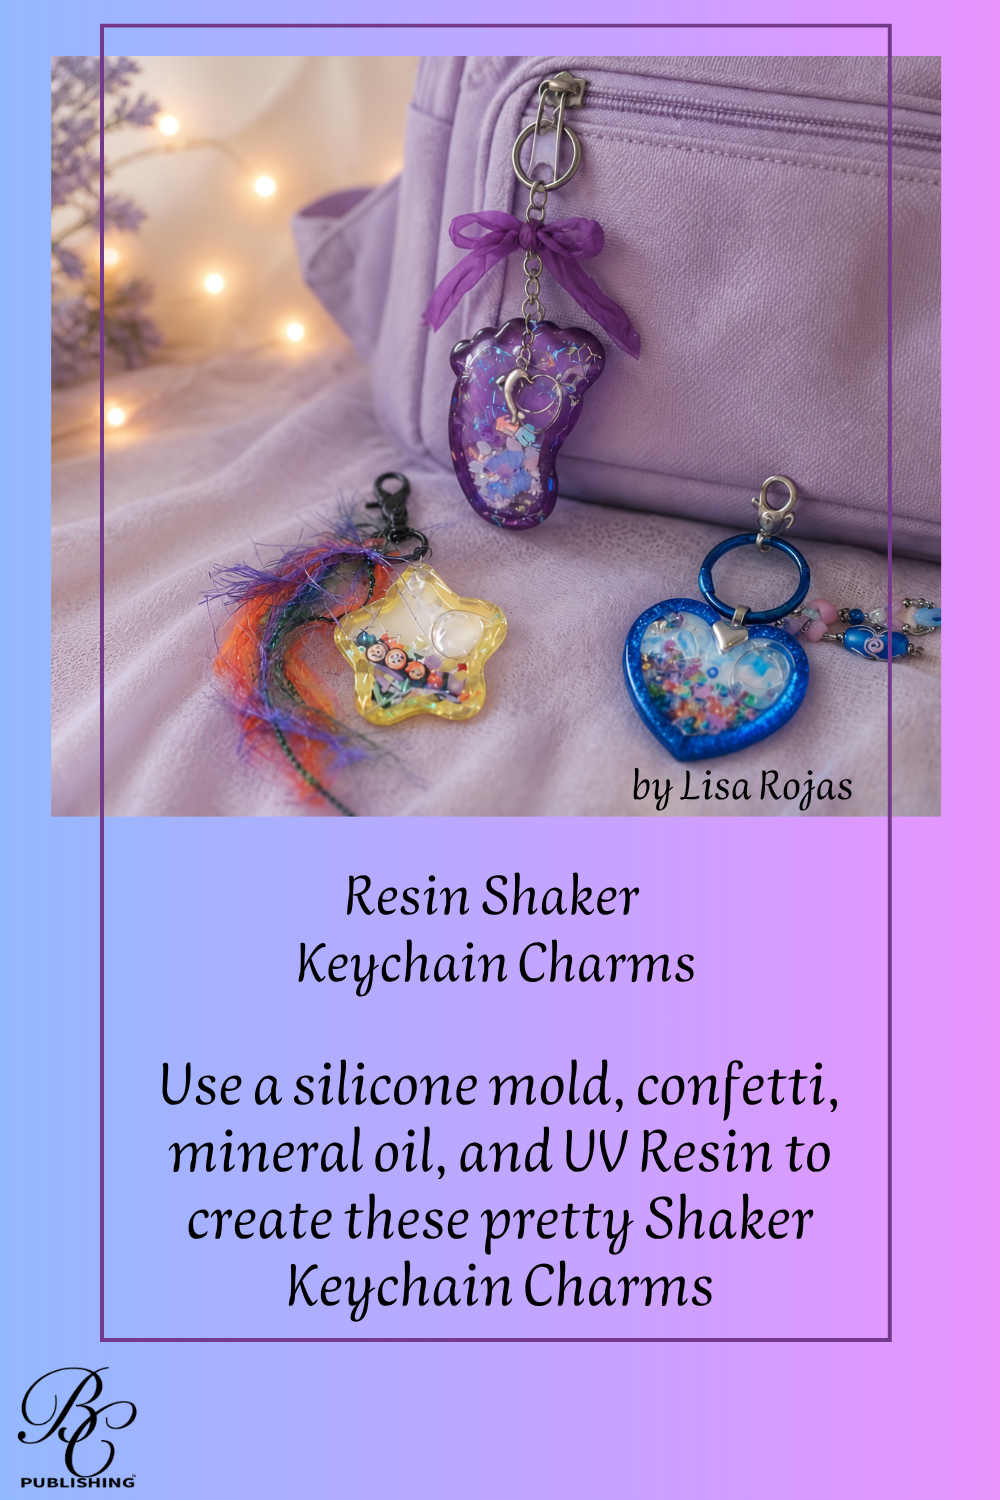
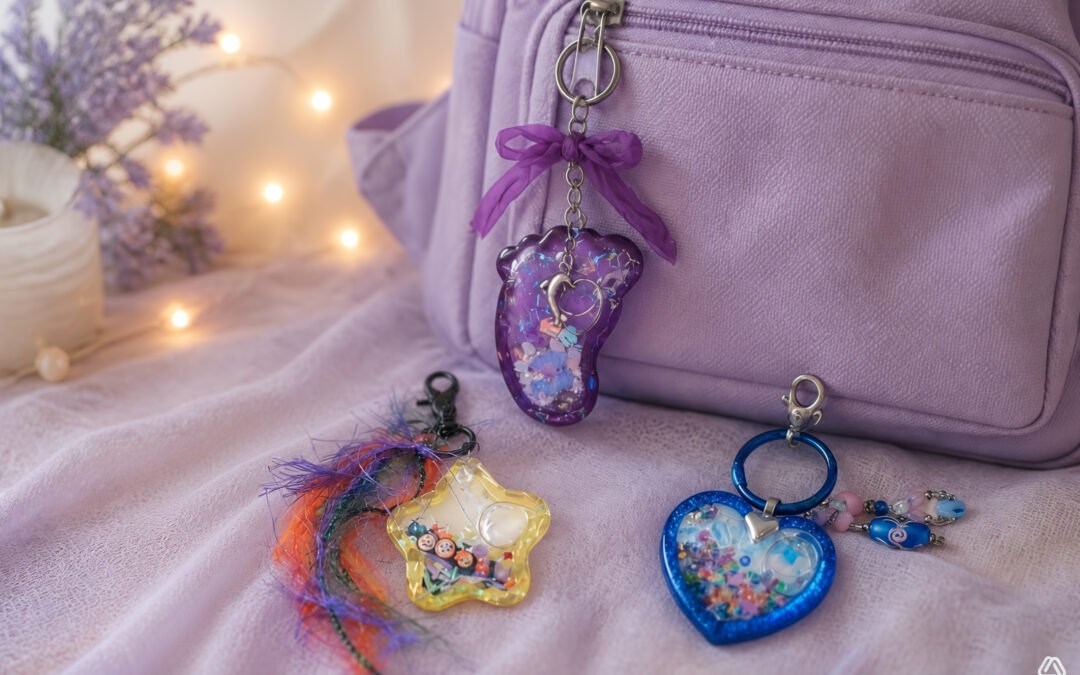
Elevate your style with these enchanting UV resin shaker charms! Each charm features vibrant colors and playful designs that shimmer with movement, making them perfect for personalizing bags or keys. From whimsical stars to joyful hearts, these unique accessories add a delightful touch to any outfit. Embrace the magic of resin art and let your personality shine!
Please note: This post contains affiliate links. If you use these links and make a purchase, we earn a commission at no extra cost to you…
I don’t know about you, but I love creating with UV Resin. I have loved the look of Epoxy Resin, but I didn’t like all the mixing and long cure times. UV Resin is easy to use with no mixing and once you put it under a UV light it only takes minutes! I will definitely be using it more in my creative journey and I hope you’ll give it a try. Crafty hugs, Lisa~
Steps One, Two, Three:
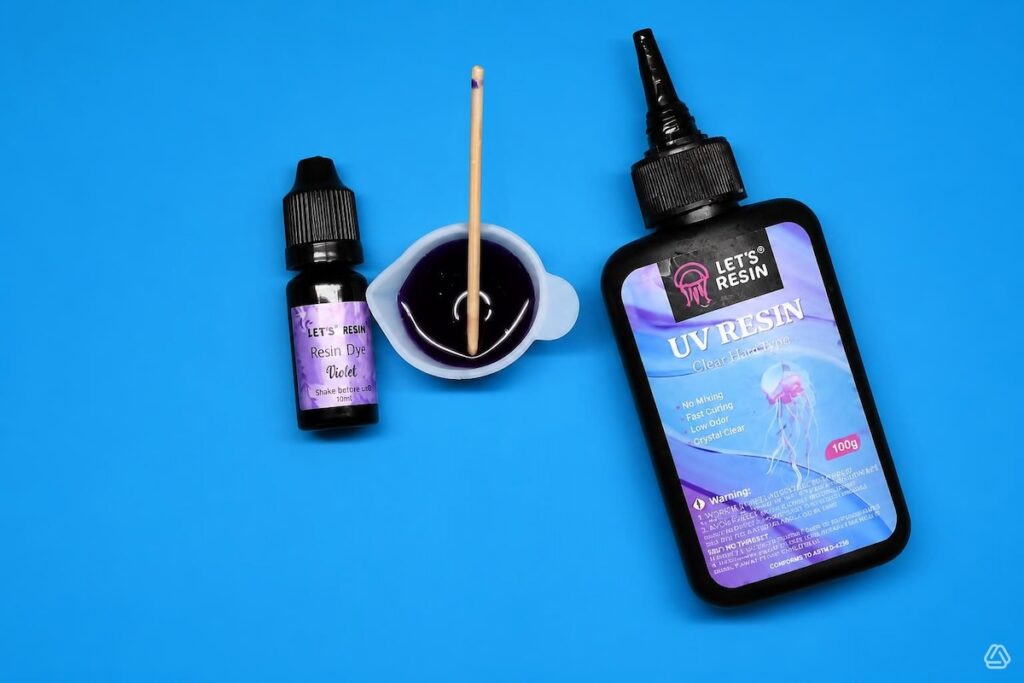
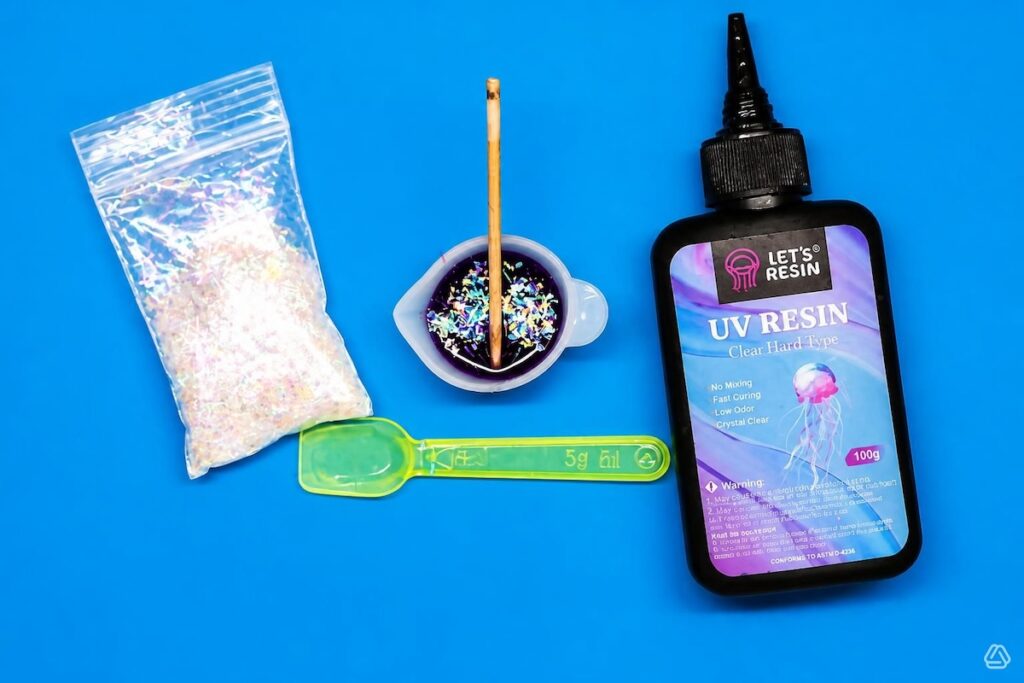
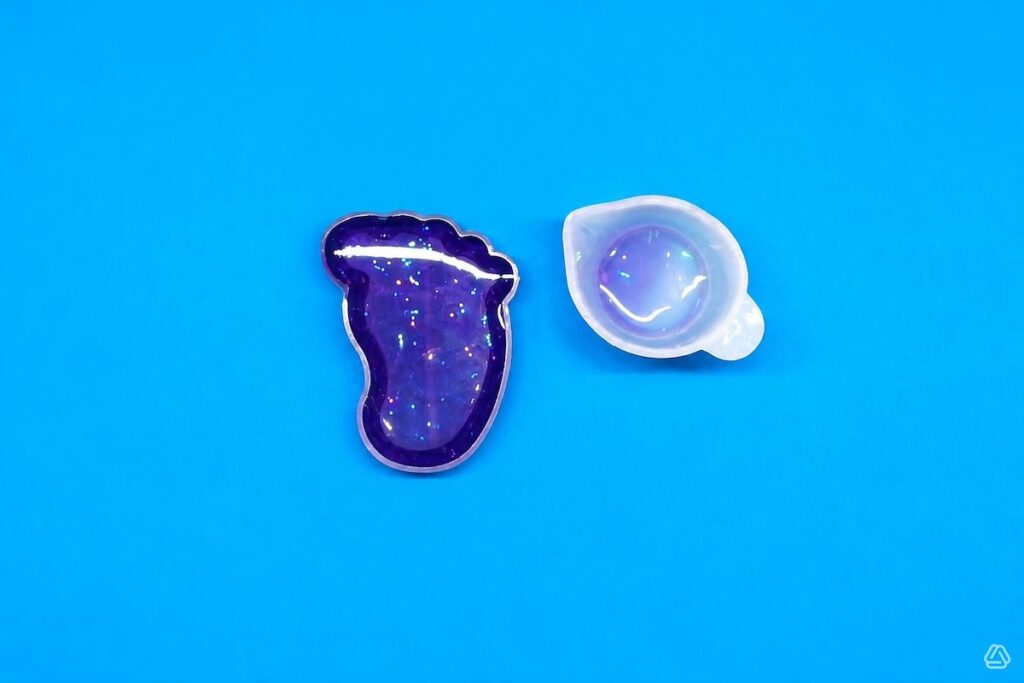
Pour a small amount of resin in a silicone cup and add two drops resin dye.
Add some glitter and mix it together. Let it settle for about a minute to reduce any bubbles.
Pour the resin into the mold and place it under a uv light for two to three minutes to cure.
Steps Four, Five, Six:
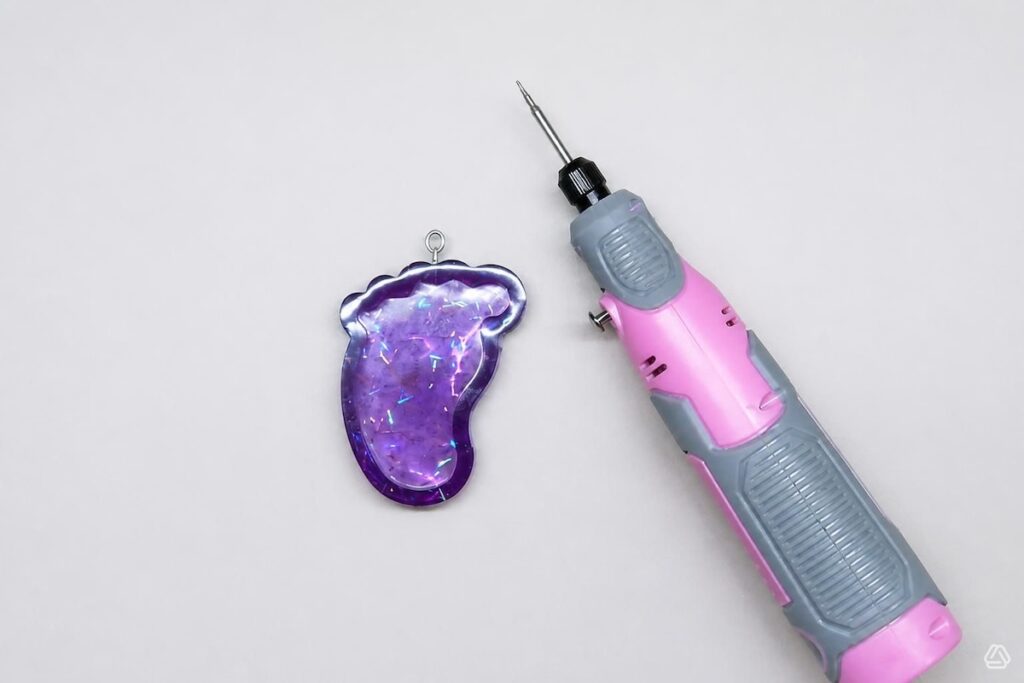
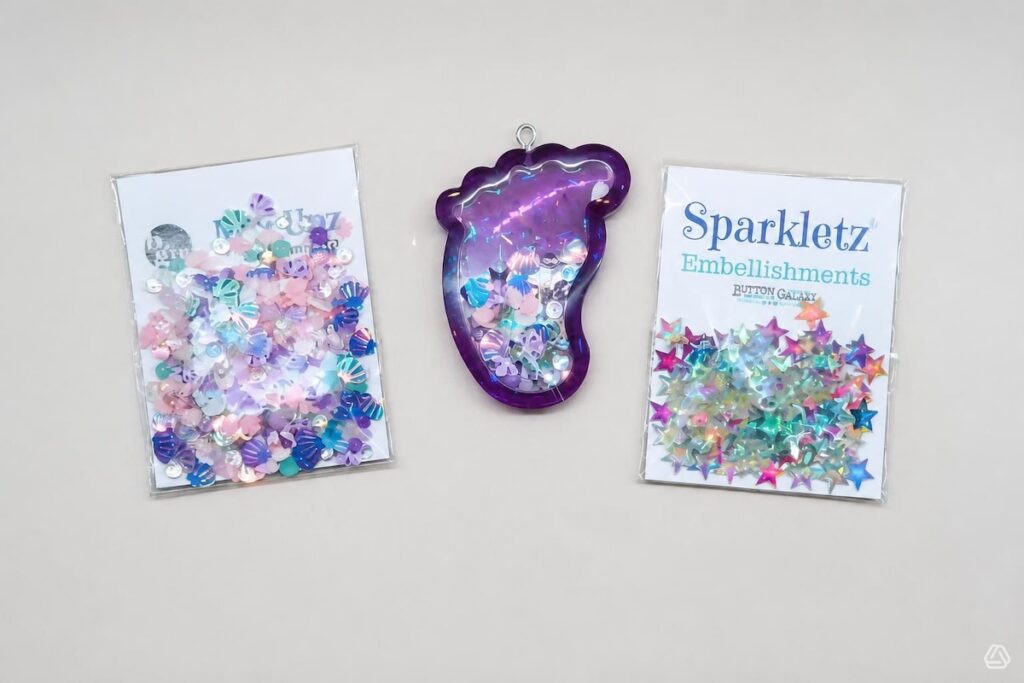
Remove the resin from the mold. Drill a small hole on top and place a eye screw inside. Add a tiny amount of super glue to hold in place.
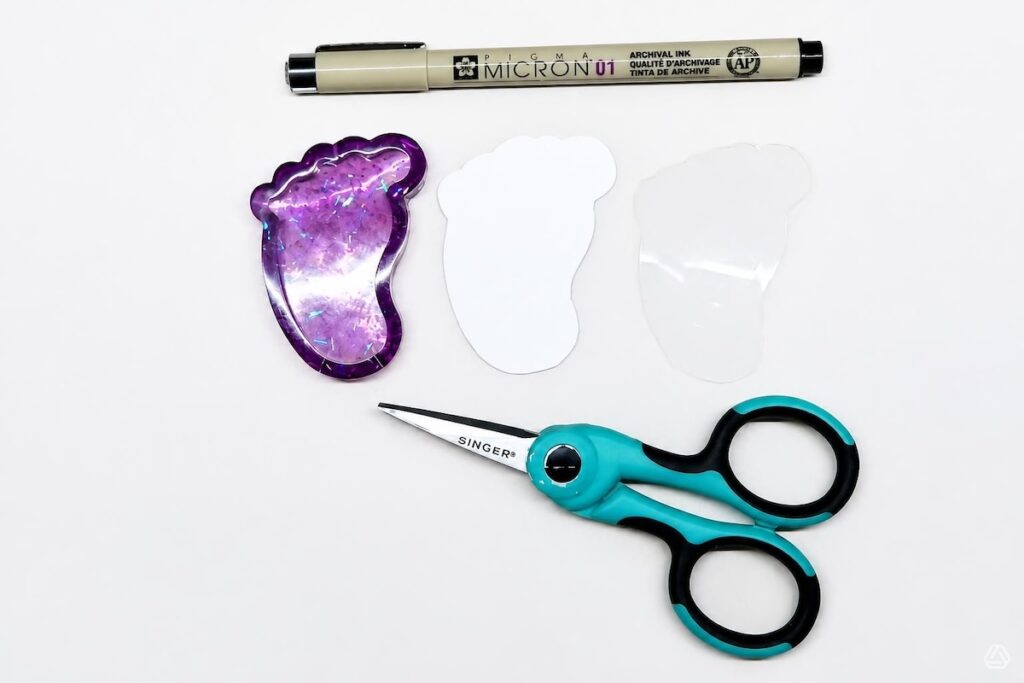
Trace the mold onto a piece of cardstock and cut it out. Place the cutout onto a piece of plastic, trace it, and cut it out.
Fill the mold with confetti.
Steps Seven, Eight, Nine:
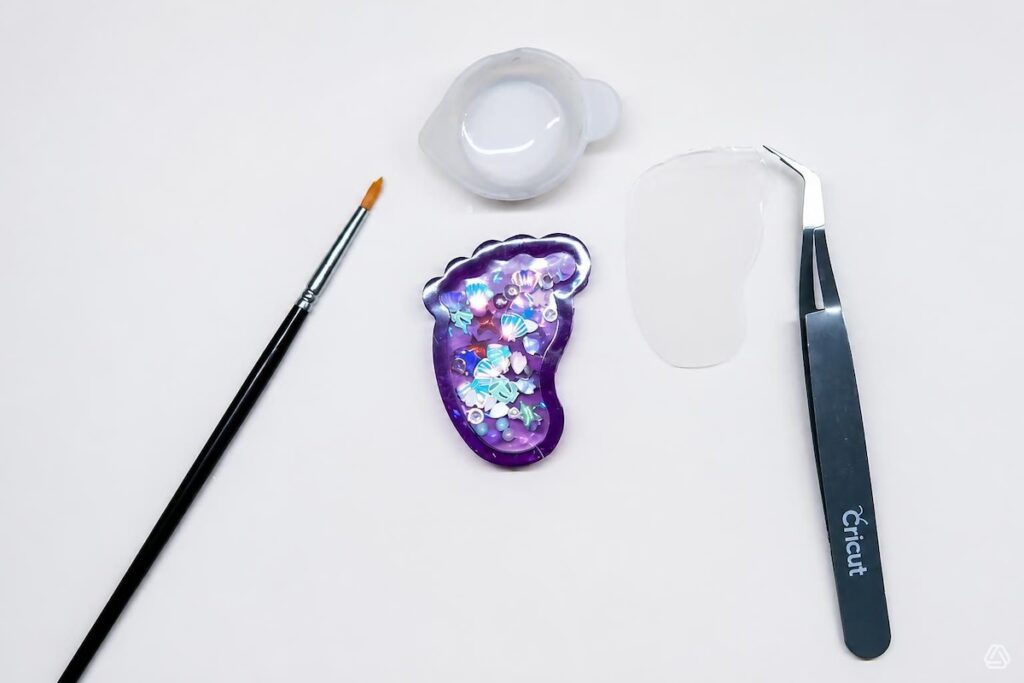
Add a small amount of resin into a cup. Apply it around the edge of the mold with a paintbrush or tool, leaving a small area around the opening for the mineral oil, free of resin. Add the plastic on top and press around the edges to make sure the area is covered. Cure it for one to two minutes.
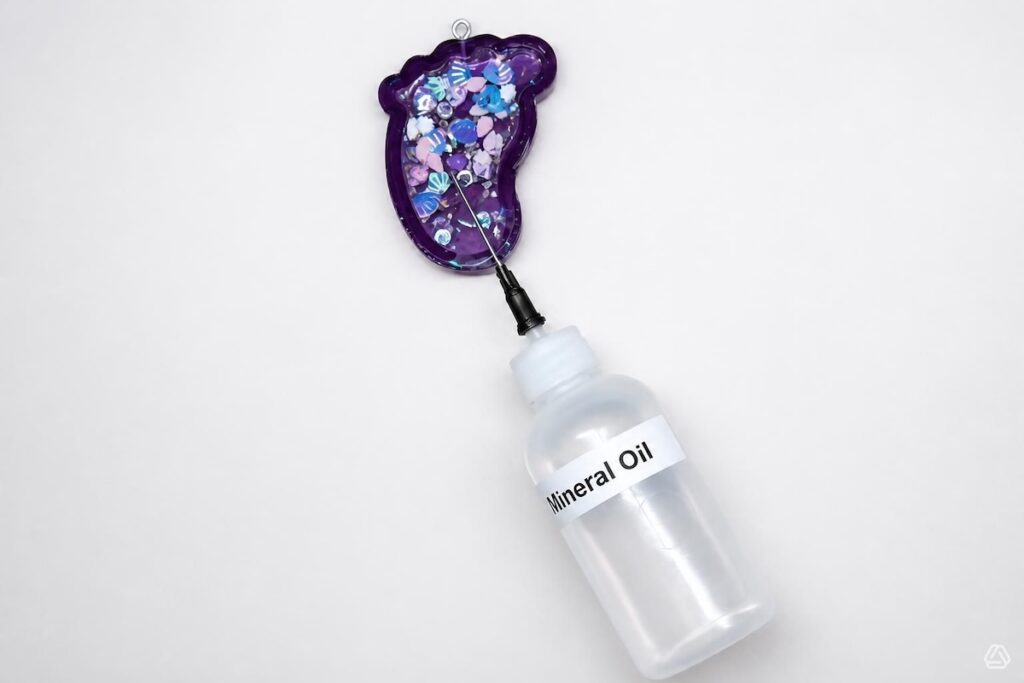
Pour some mineral oil into a plastic bottle and attach a small needle to the top. Insert the mineral oil into the mold and fill to desired amount. To close the opening, apply a little resin to the hole and cure it for thirty seconds. To finish this charm, wipe it clean and add a layer of resin to the top. Cure for two to three minutes.
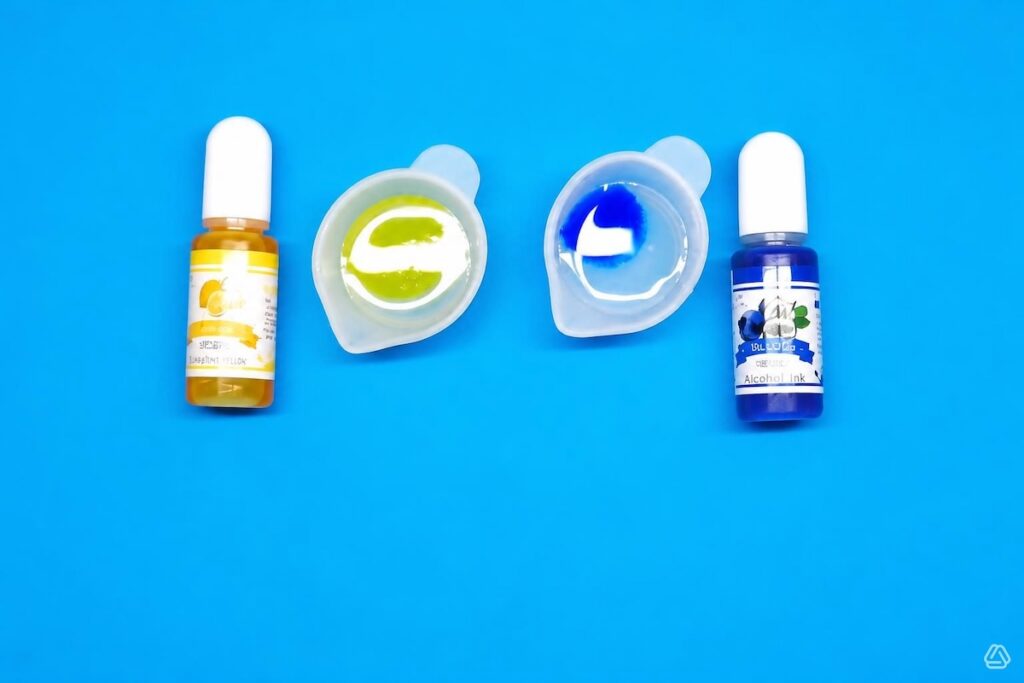
Pour a small amount of resin in two silicone cups and add two drops each of blue and yellow alcohol inks.
Steps Ten, Eleven, Twelve:
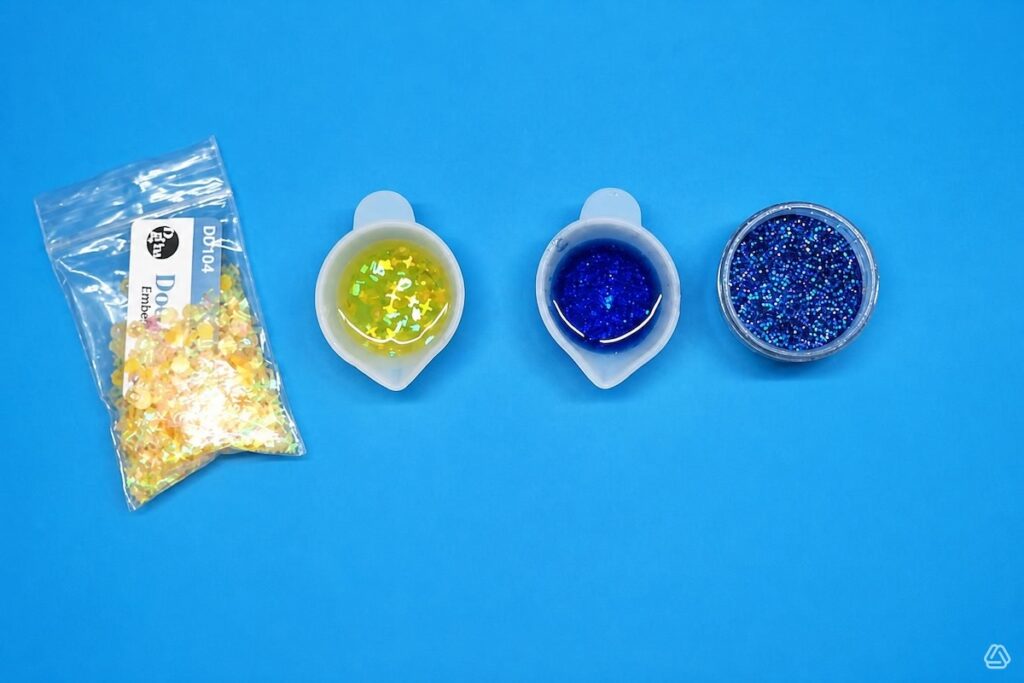
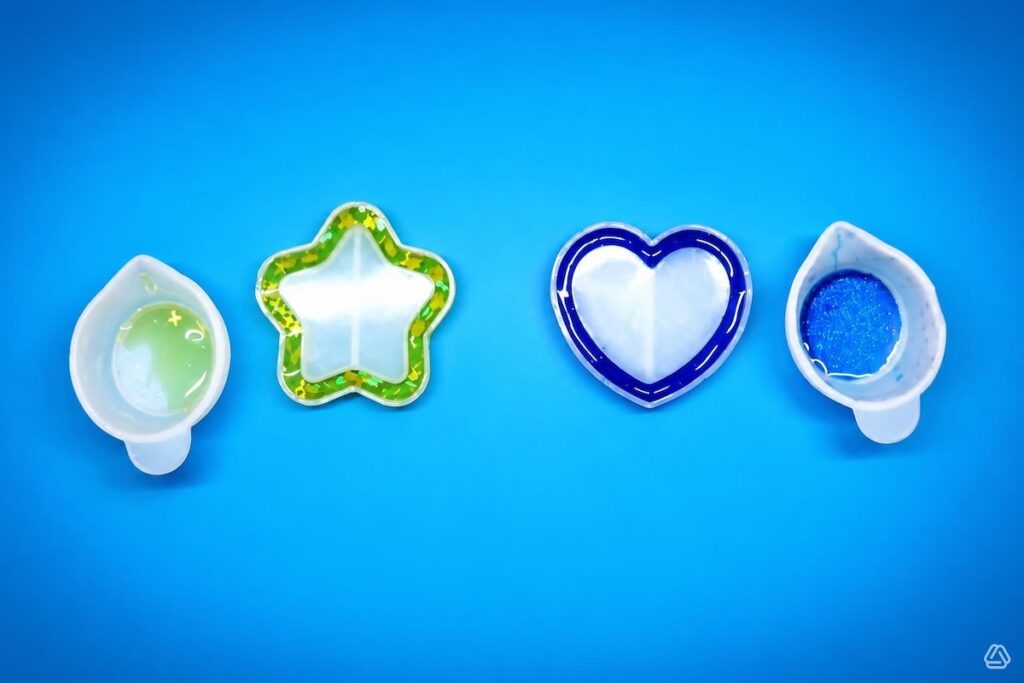
Mix in some yellow confetti and blue glitter to the resin.
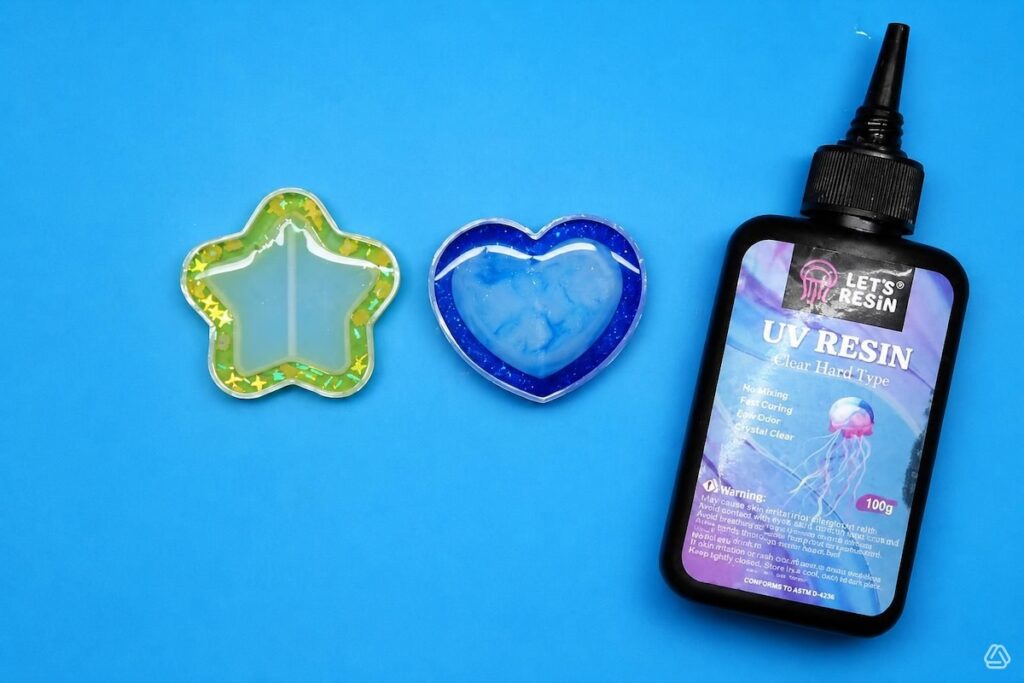
Pour the resins into the molds as shown.
Apply a coat of resin on top of each mold. Place the molds under a uv light and cure for two to three minutes.
Steps Thirteen, Fourteen, Fifteen:
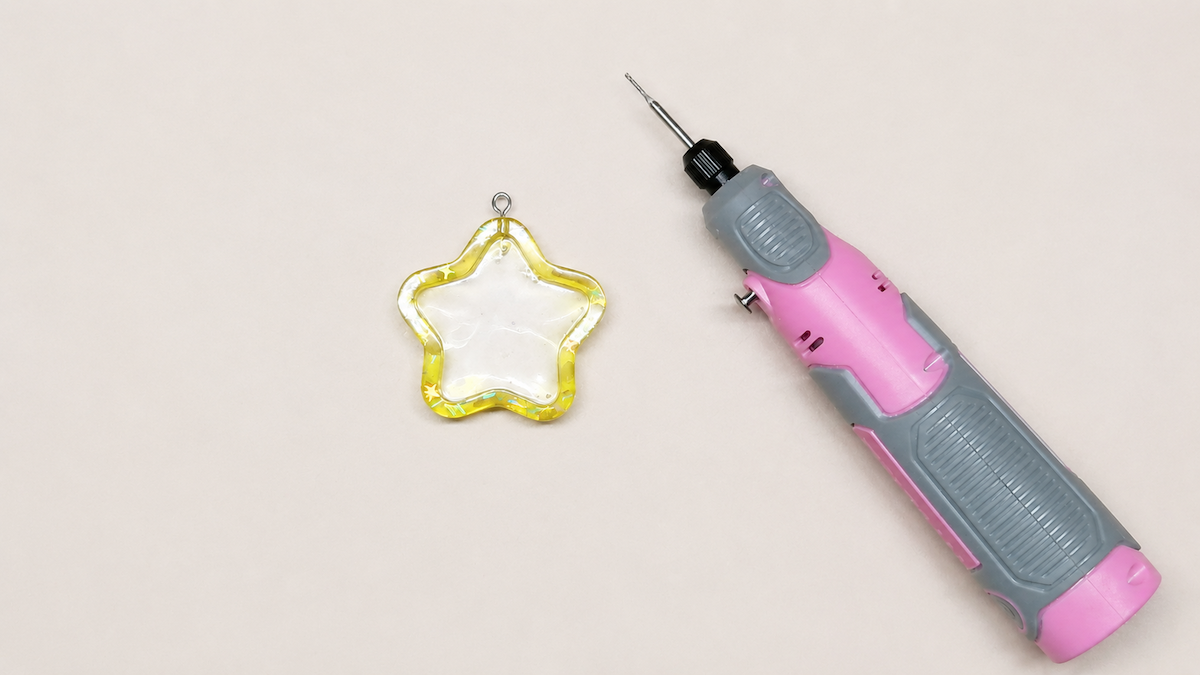
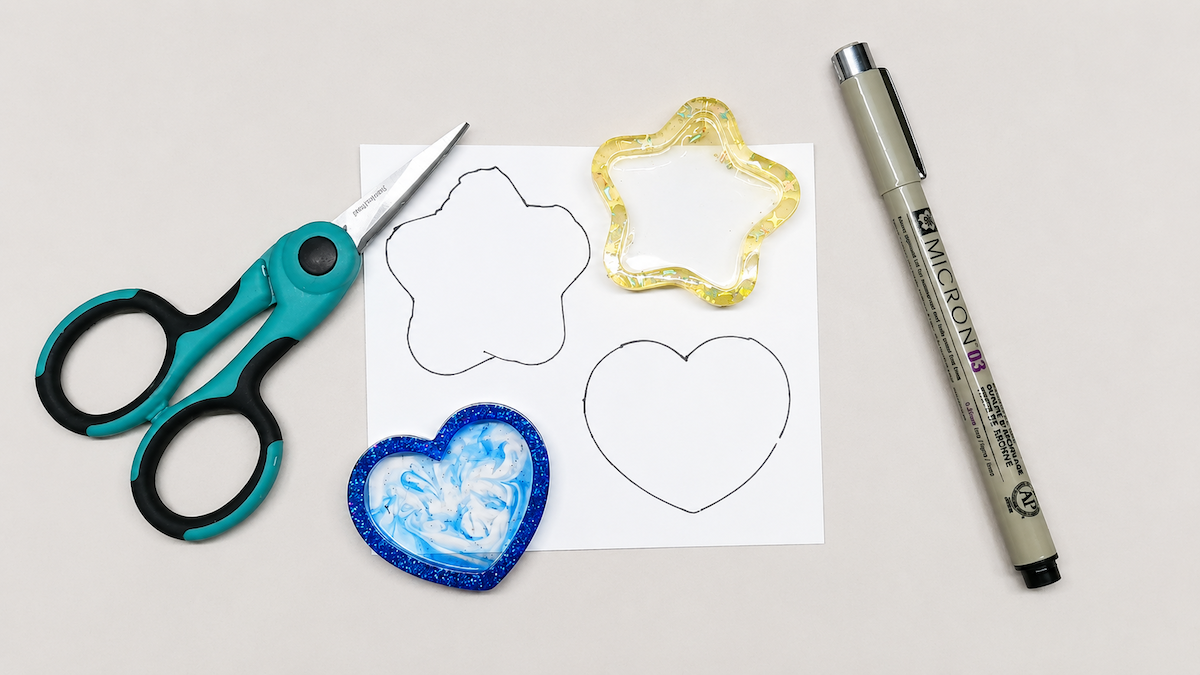
Remove the resin from the molds. Drill a small hole on top and place a eye screw inside. Add a tiny amount of super glue to hold in place. Note: The heart charm will have a heart shaped jewelry bale that will be glued on after the charm is finished.
Trace the molds onto a piece of cardstock and cut it out. Place the cut outs onto a piece of plastic, trace them, and cut them out.
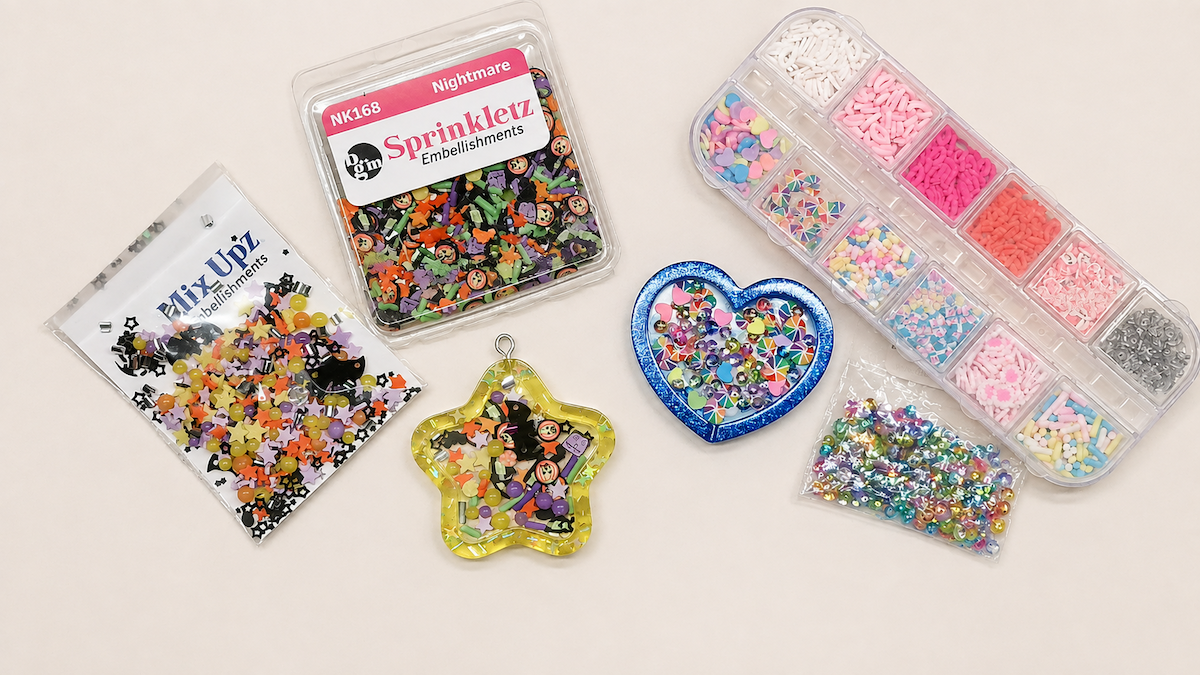
Fill the molds with confetti.
Steps Sixteen, Seventeen:
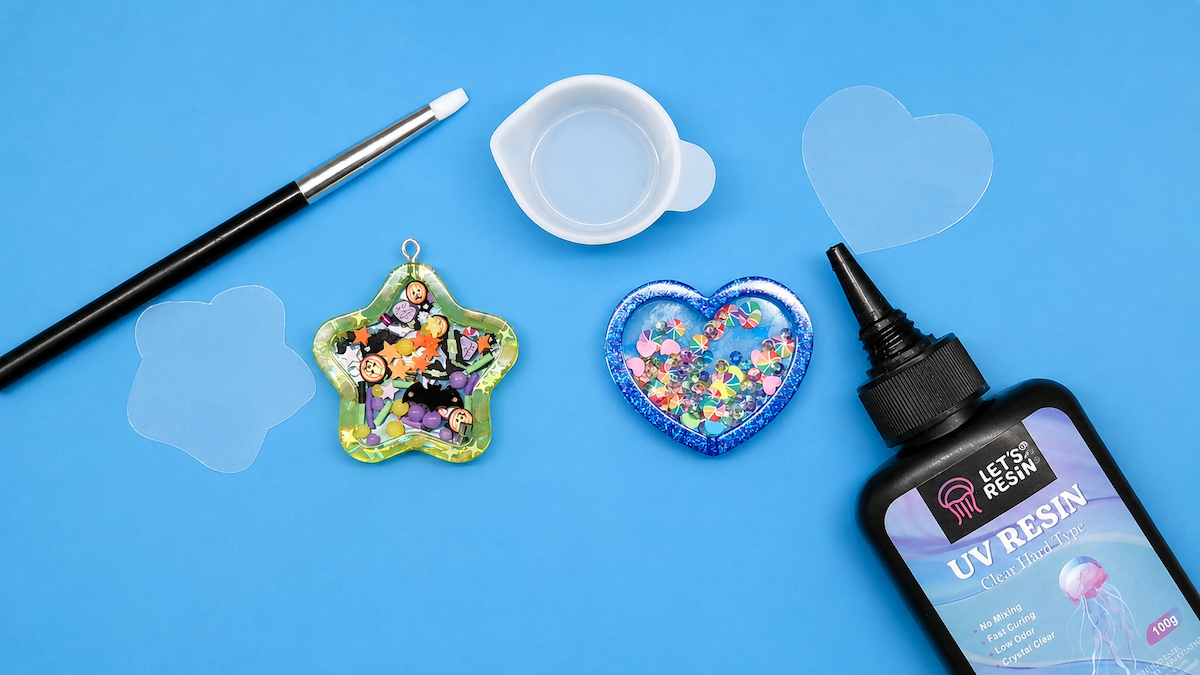
Add a small amount of resin into a cup. Apply it around the edge of the molds with a paintbrush or tool, leaving a small area around the openings for the mineral oil, free of resin. Add the plastic on top and press around the edges to make sure the area is covered. Cure it for one to two minutes.
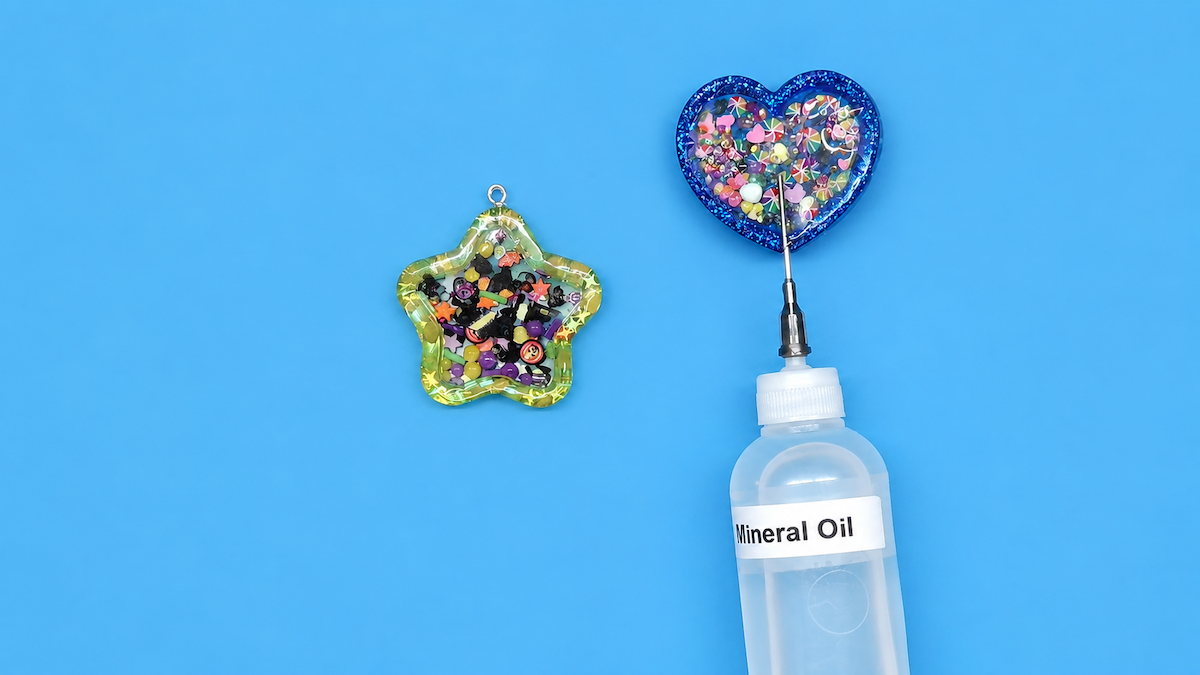
Insert the mineral oil into the molds and fill to desired amount. To close the openings, apply a little resin to the holes and cure it for thirty seconds. To finish the charms, wipe them clean and add a layer of resin to the top. Cure for two to three minutes.
To finish all of the charms, add ribbons, beads, fibers, etc. to create keychains and hang them from your purse or backpack. See the photo below to see how I finished mine. They are so simple to make and fun to show off your own personal style!
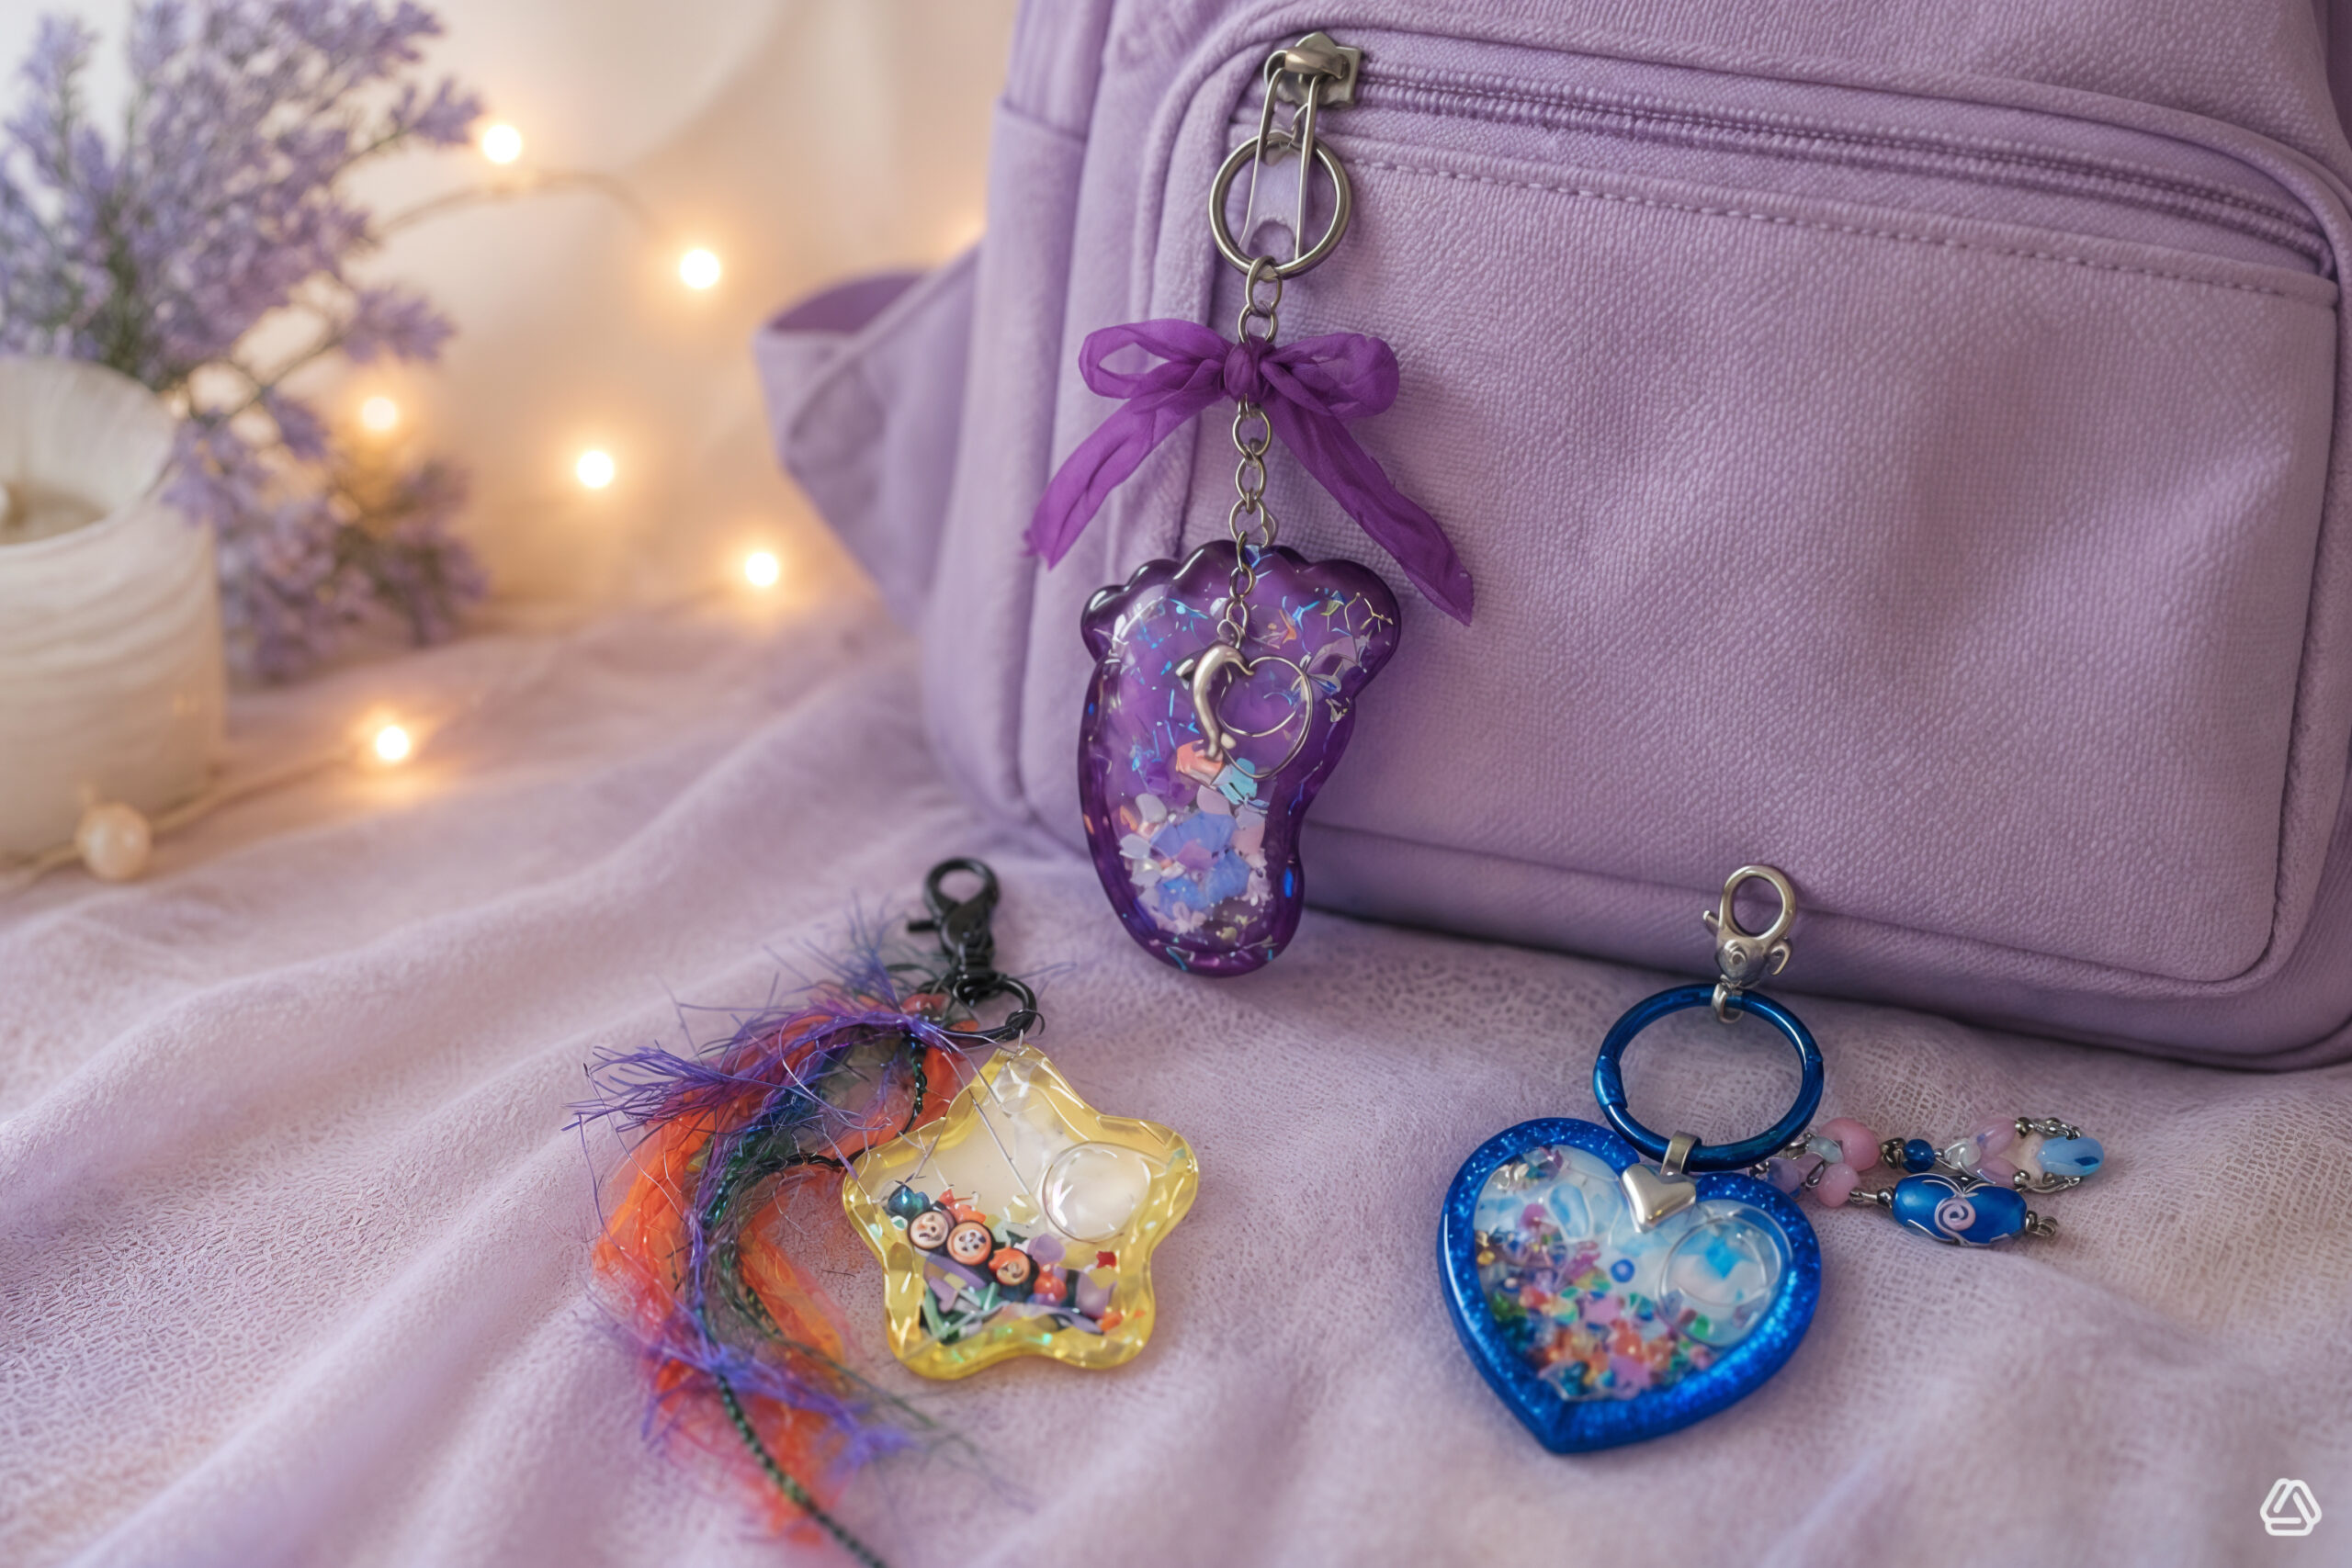
Resin Shaker Keychain Charms
- Let’s Resin UV Resin, Clear Hard
- Let’s Resin Resin Dye, Violet
- Amazon Alcohol Inks: Blue, Yellow
- Mineral Oil
- Plastic
- Glitters: Blue, White
- Confetti, assorted
- Eye Screws
- Jewelry Bales
- Jump Rings
- Keyrings
- Ribbons, Fibers, Beads, assorted
- Amazon Resin Molds
- Resiners UV Light
One more PIN of the Resin Shaker Keychain Charms to share