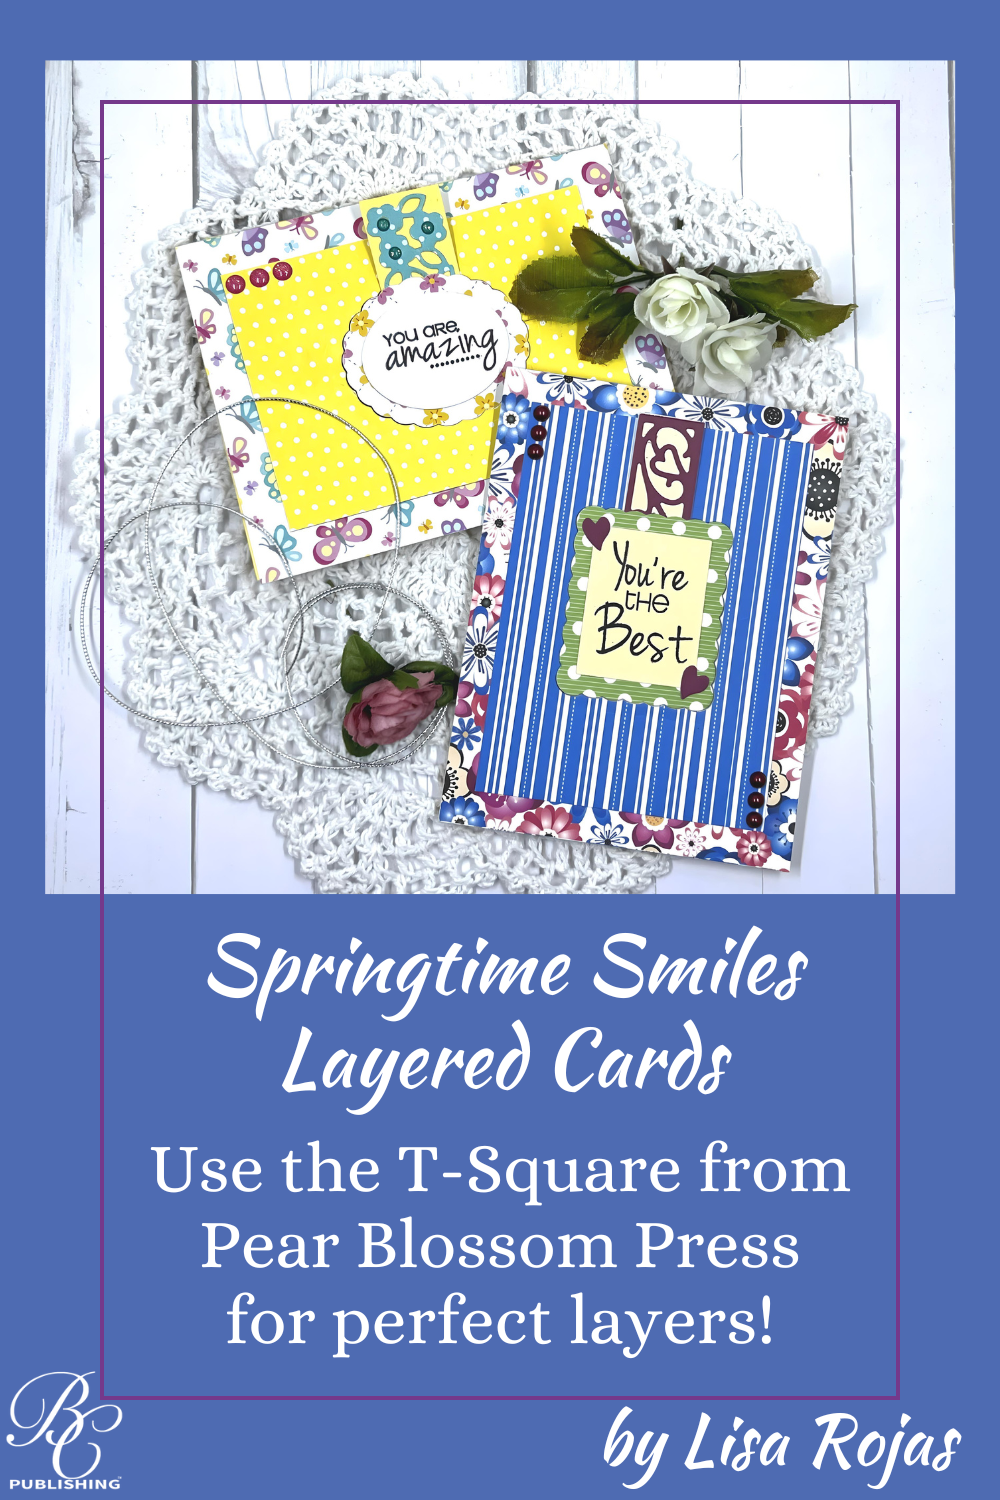
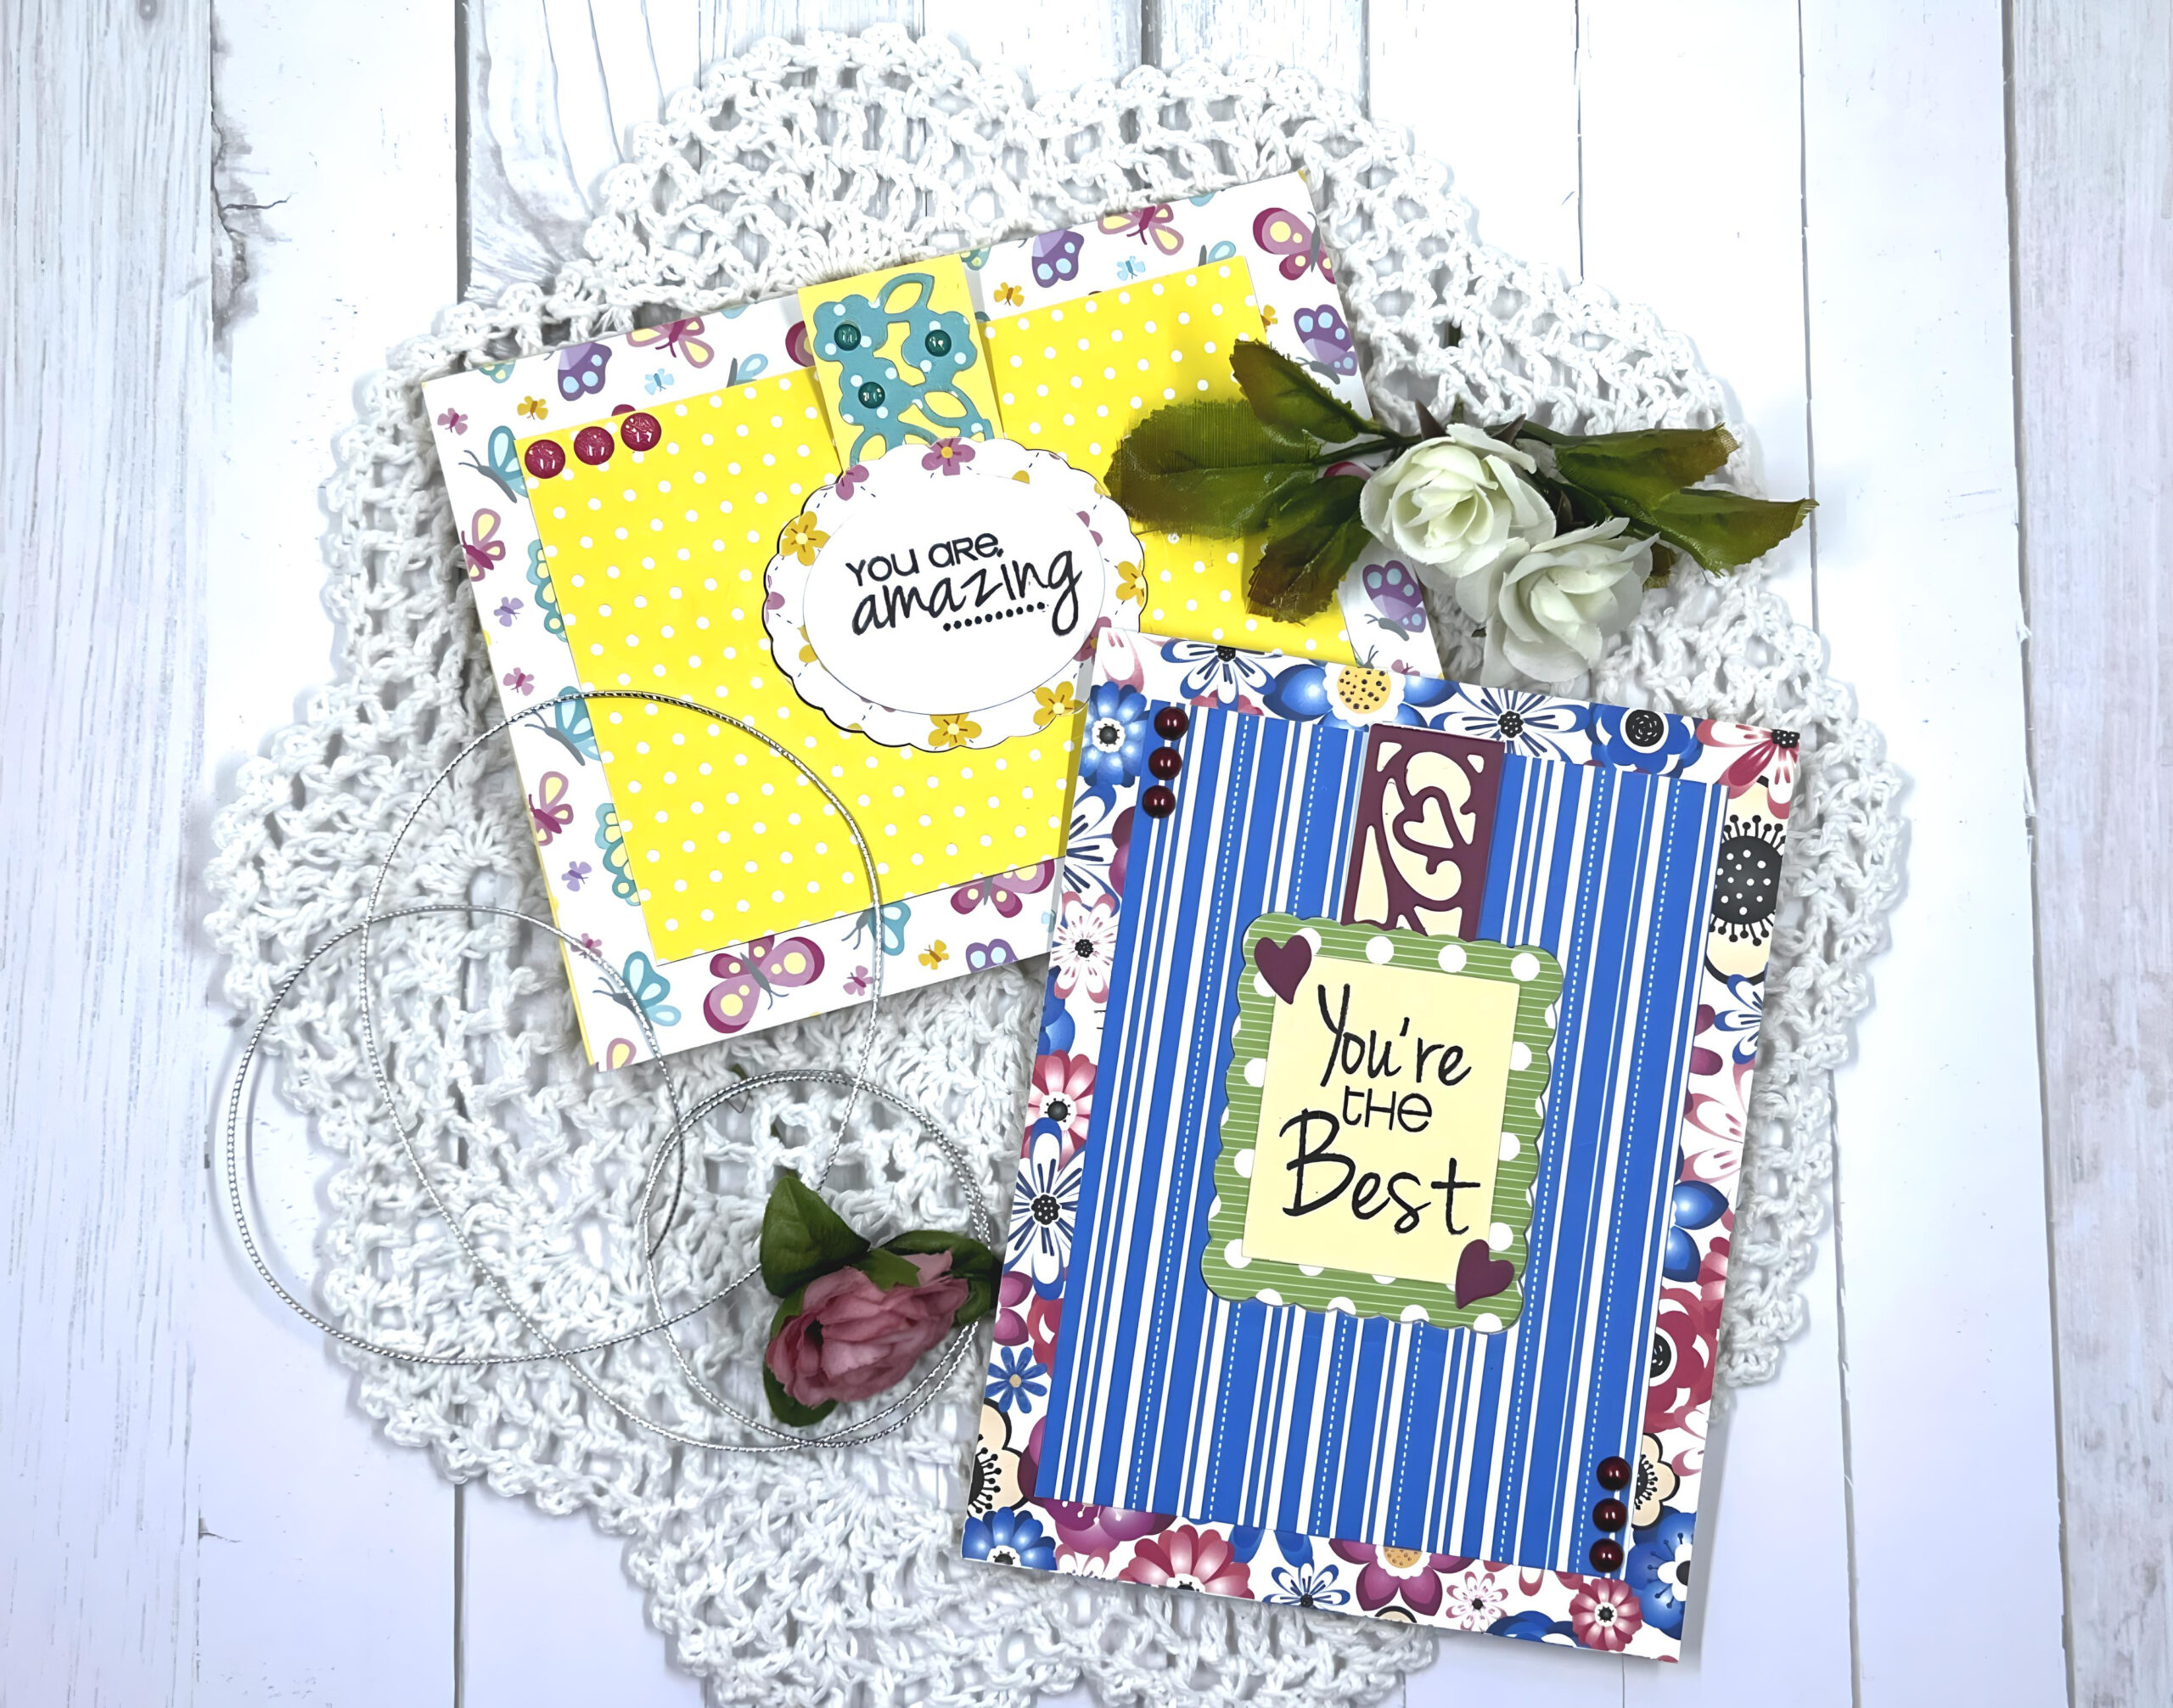
Say goodbye to layering frustrations and hello to perfect results every time with the game-changing tool from Pear Blossom Press! We created our “Springtime Smiles” layered cards with it and we love it. We know you will too!
Please note: This post contains affiliate links. If you use these links and make a purchase, we earn a commission at no extra cost to you…
I can’t tell you how much money I have spent on tools to make layering my cards easier. I’m one of those people that can’t draw or cut a straight with a ruler, lol! And now I don’t have to worry about it anymore. You will definitely want this T-Square Ruler from Pear Blossom Press in your craft room! Crafty hugs, Lisa~
Steps For The Blue Card
Steps One, Two, Three:
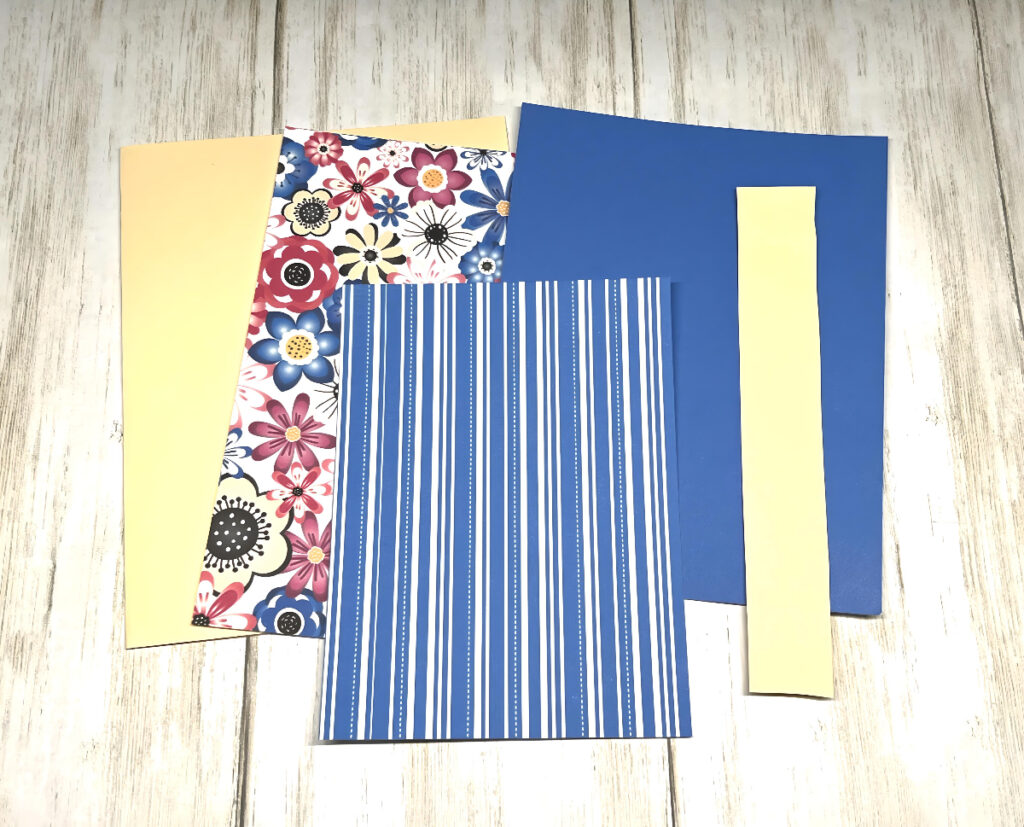
Cut the papers as follows- Tan cardstock (base card) 8 1/2″W x 5 1/2″H with the fold on the left. Floral patterned paper 4 1/4″W x 5 1/2″H, striped patterned paper 3 1/2″W x 4 3/4″H, and the Blue cardstock 4 1/8″W x 5 3/8″H. Cut another piece of Tan cardstock 1″W x 6″H for the border die.
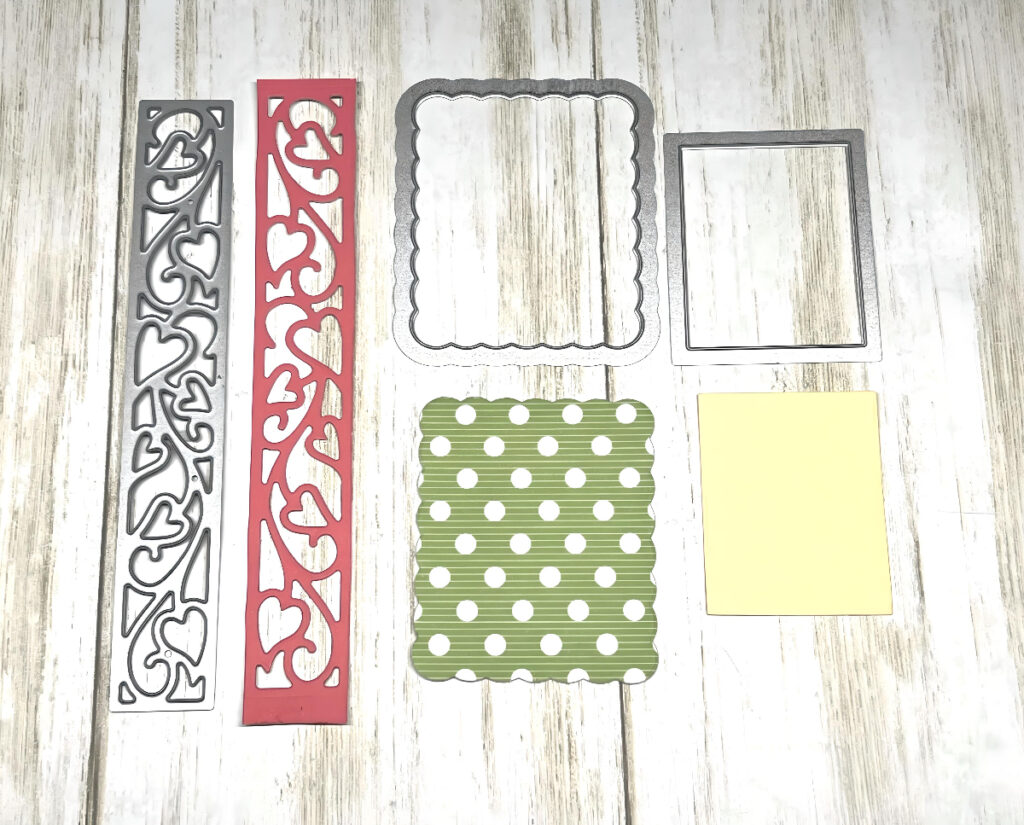
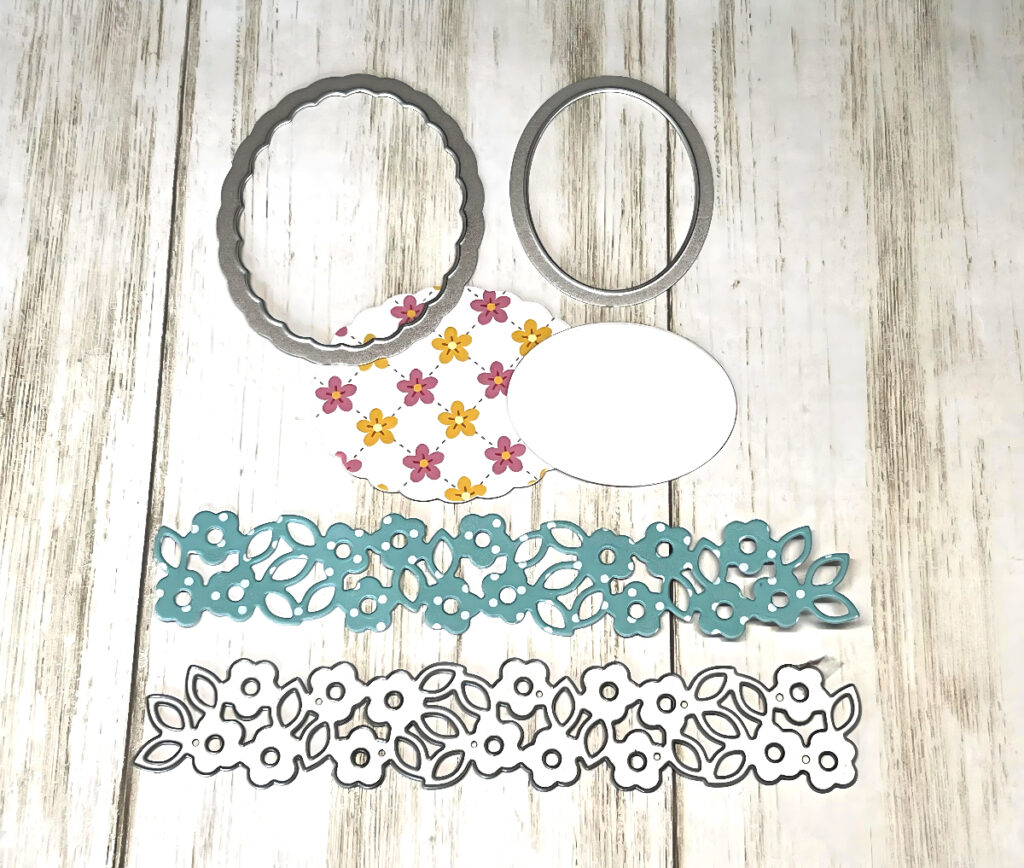
Die cut the papers as shown in photo #2.
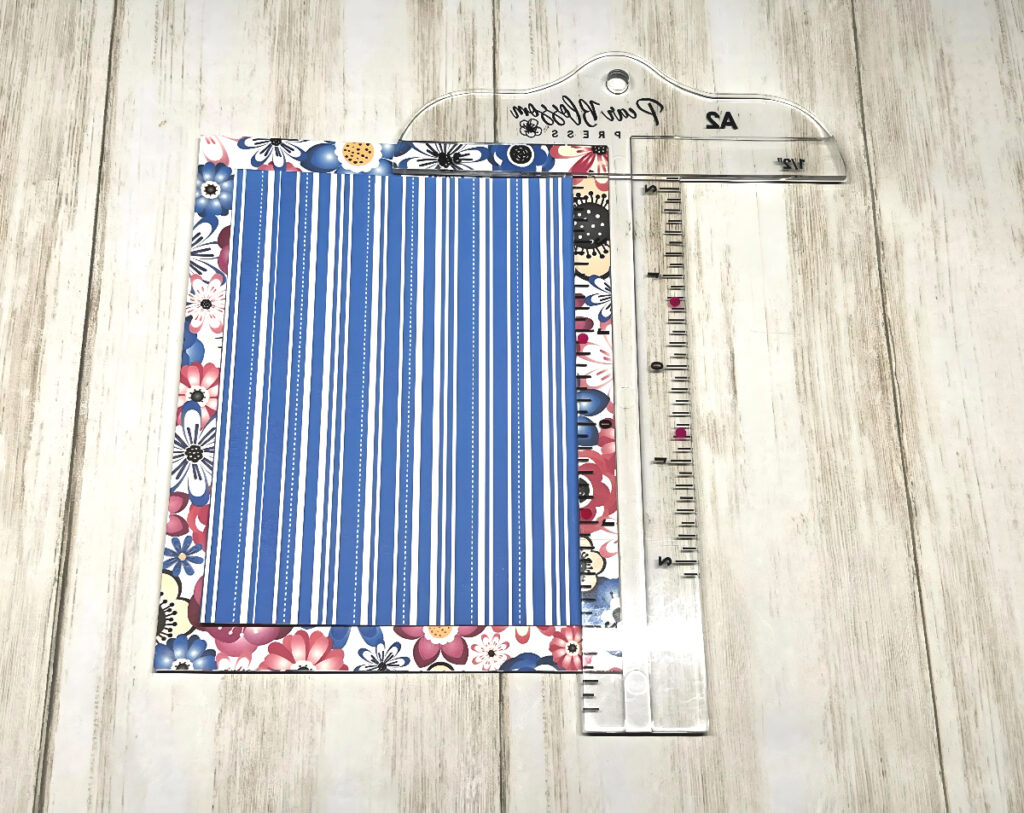
Adhere the floral patterned paper to the card base. Turn the T-Square over and slide the card into the 3/8″ slot. Adhere the striped paper to the card base.
Steps Four, Five, Six:
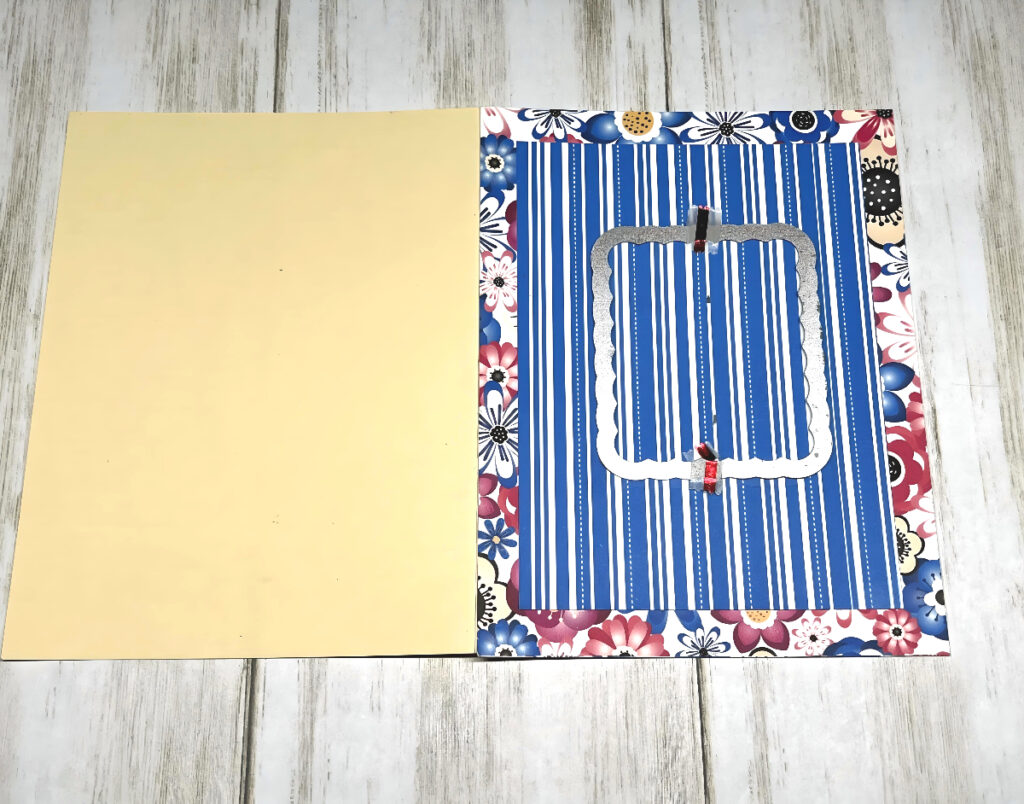
Open the card and place the die in the center. Run the card through the Big Shot, leaving it open.
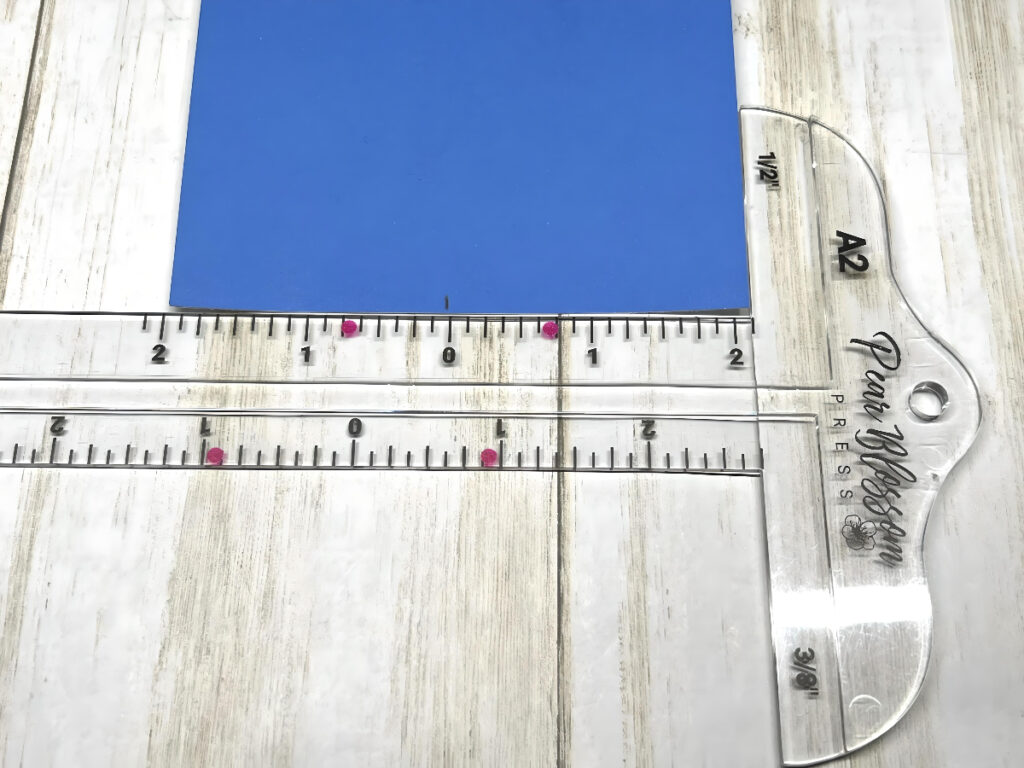
Use the “0” measurement on the T-Square to find the center, and mark it with a pencil.
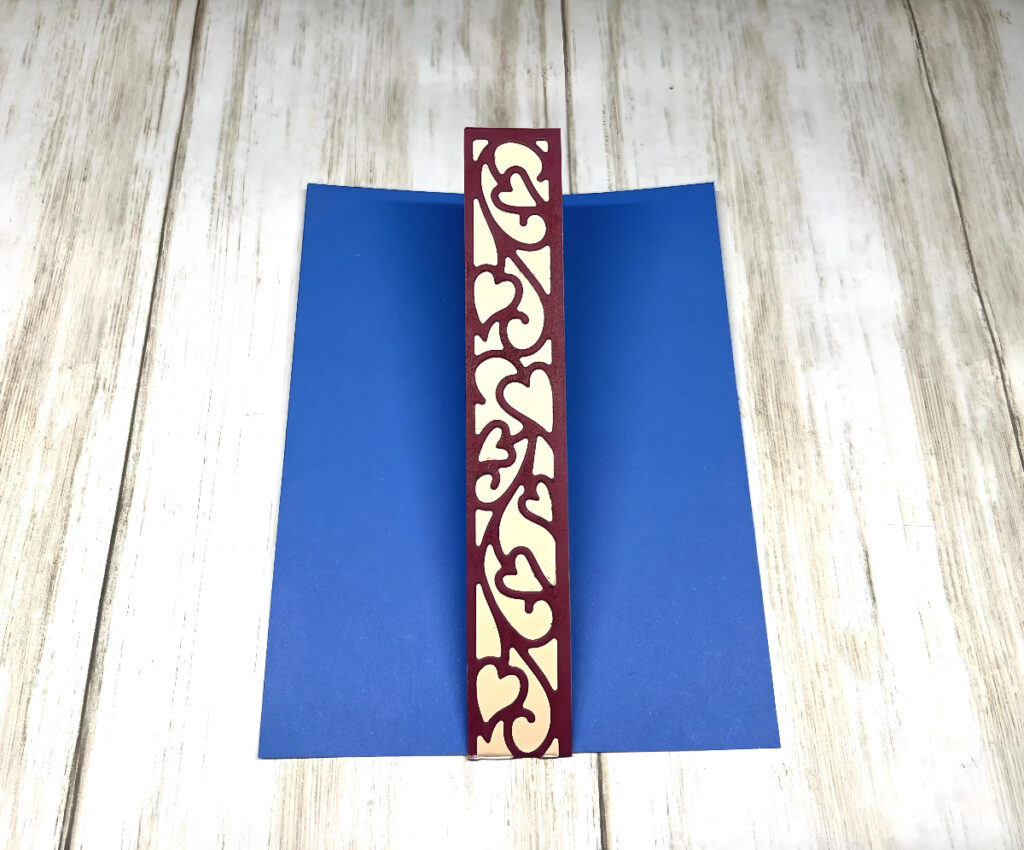
Adhere the border die cut to the Tan cardstock. Make a fold at the bottom 1/2″ and adhere it to back of the paper, then adhere the Blue paper to the inside of card. Close the card base and pull the border die cut through the opening.
To finish, stamp the sentiment on the Tan cardstock with the black inkpad and layer it with the Green dotted paper. Align the sentiment with the opening on the front of the card and adhere it to border die cut, being careful to glue it to the border die cut only. Adhere the enamel dots to the front of the card.
Steps For The Yellow Card
Steps One, Two, Three:
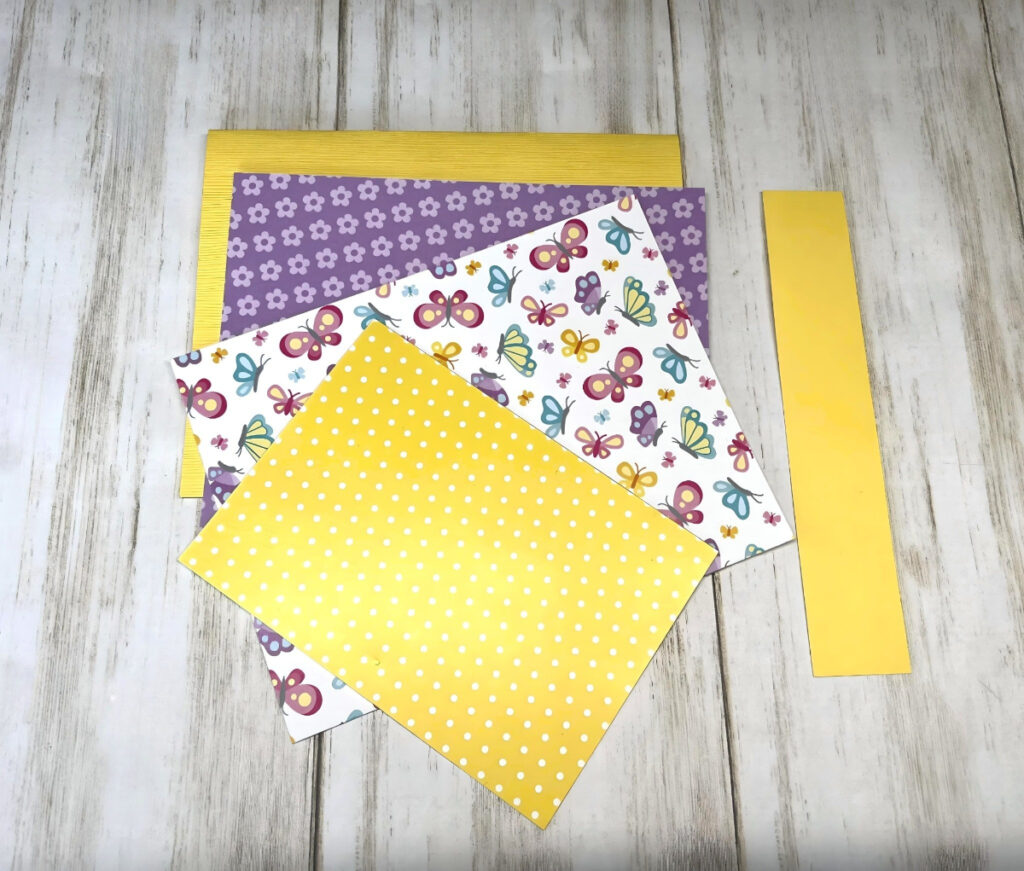
Cut the papers as follows- Yellow cardstock (base card) 8 1/2″W x 5 1/2″H with the fold on the top. Next cut the butterfly patterned paper 5 1/2″W x 4 1/4″H, Yellow dotted patterned paper 4 1/2″W x 3 1/4″H, and another piece of Yellow cardstock 1″W x 4 1/2″H for the border die.
Die cut the papers as shown in photo #2.
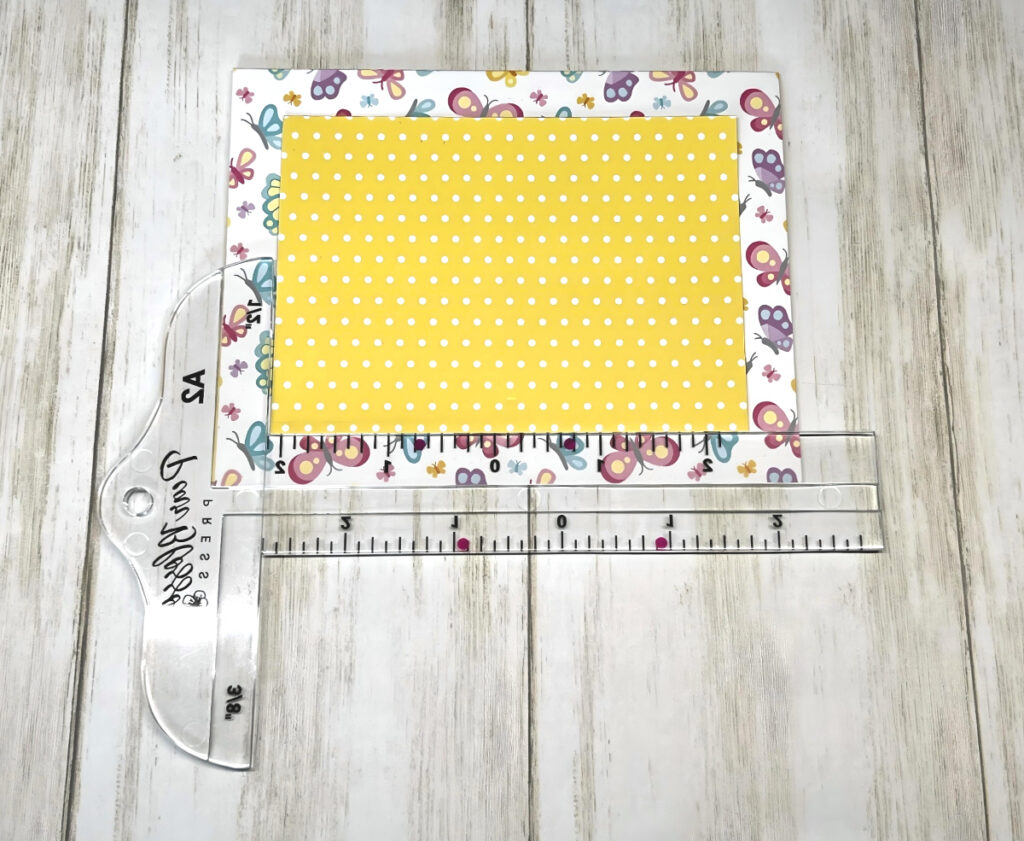
Adhere the Yellow dotted patterned paper to the card base. Turn the T-Square over and slide the card into the 1/2″ slot. Adhere the dotted paper to the card base.
Steps Four, Five, Six:
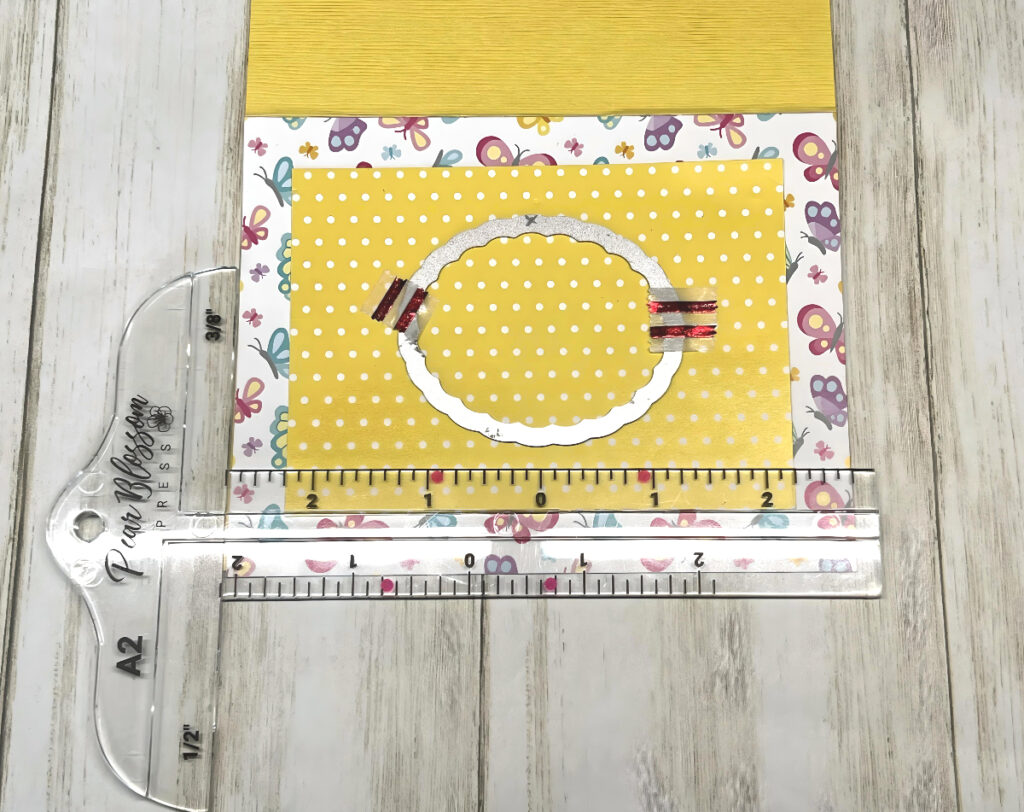

Using the “0” measurement on the T-Square to find the center. Place the die on the card front and run it through the Big Shot, leaving it open.
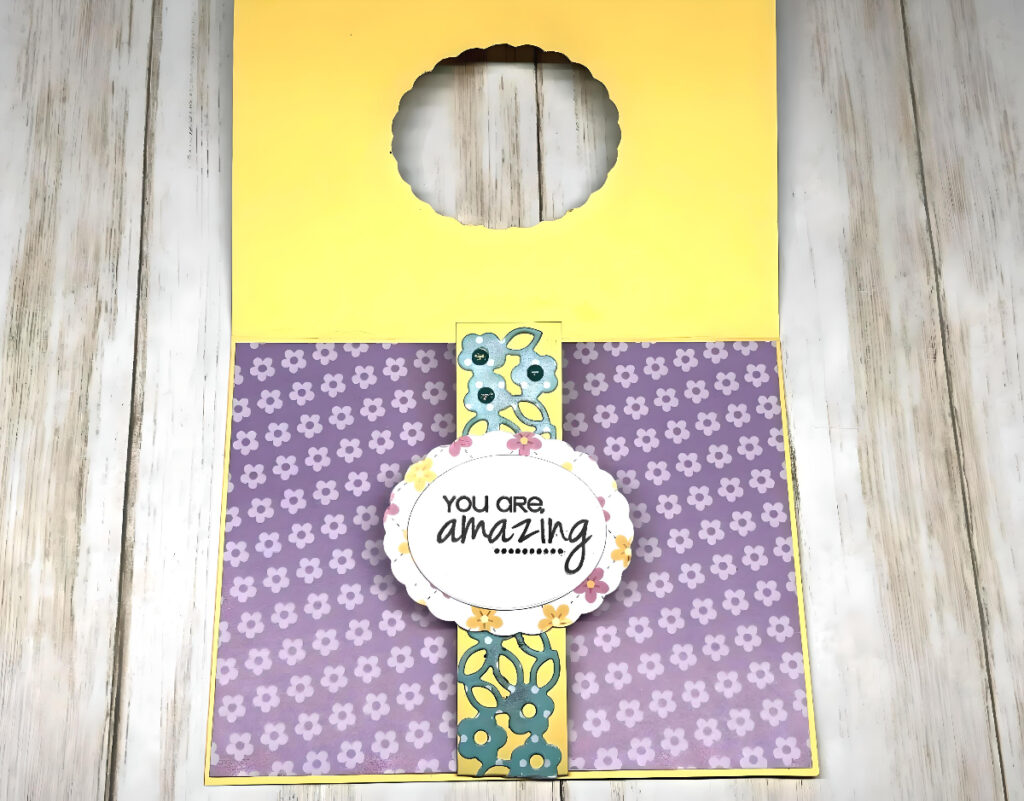
Adhere the border die cut to the Yellow cardstock. Make a fold at the bottom 1/2″ and adhere it to back of the paper, then adhere the Purple flower patterned paper to the inside of card.
Align the sentiment with the opening on the front of the card and adhere it to border die cut as shown, being careful to glue it to the border die cut only. To finish, close the card base and pull the border die cut through the opening. Adhere the enamel dots to the border die cut and the front of the card. See finished photo for placement.
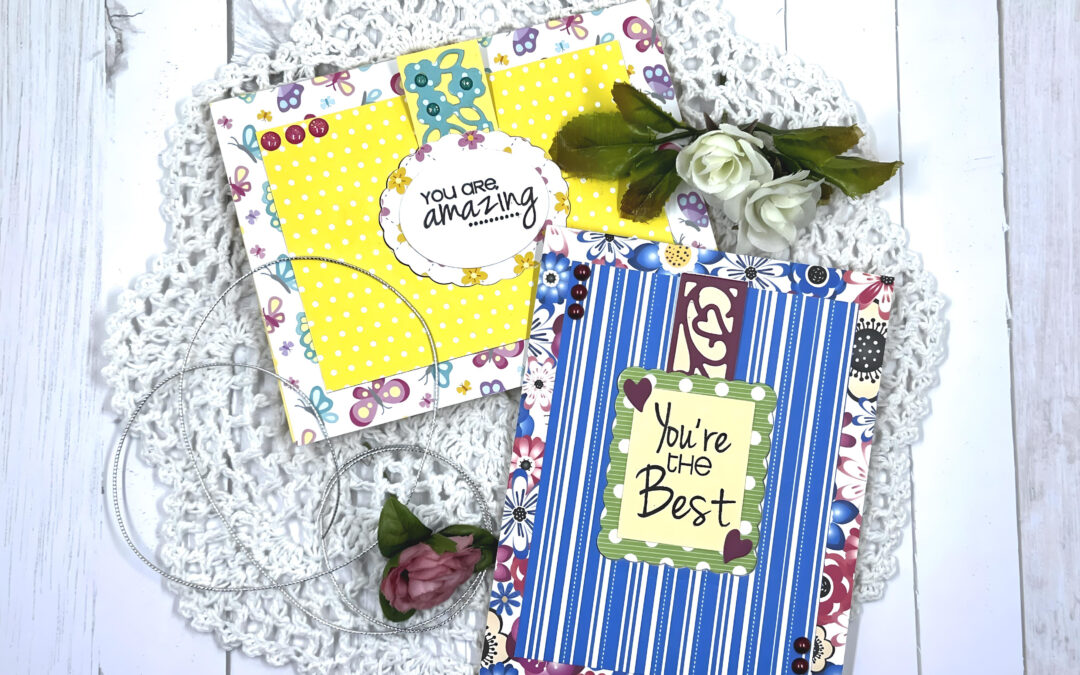
Springtime Smiles Layered Cards
Supplies for Both Cards
- Cardstock: White, Yellow, Tan, Blue
- Patterned Papers, assorted
- Gina K Designs Amalgam Inkpad, Obsidian
- Sentiment Stamps
- Enamel Dots, assorted
- Pear Blossom Press Cardmaker’s T-Square for A2 Cards
- Frame Dies
- Border Dies
- Paper Trimmer
- AdTech Tape Runner
- Sizzix Big Shot Machine
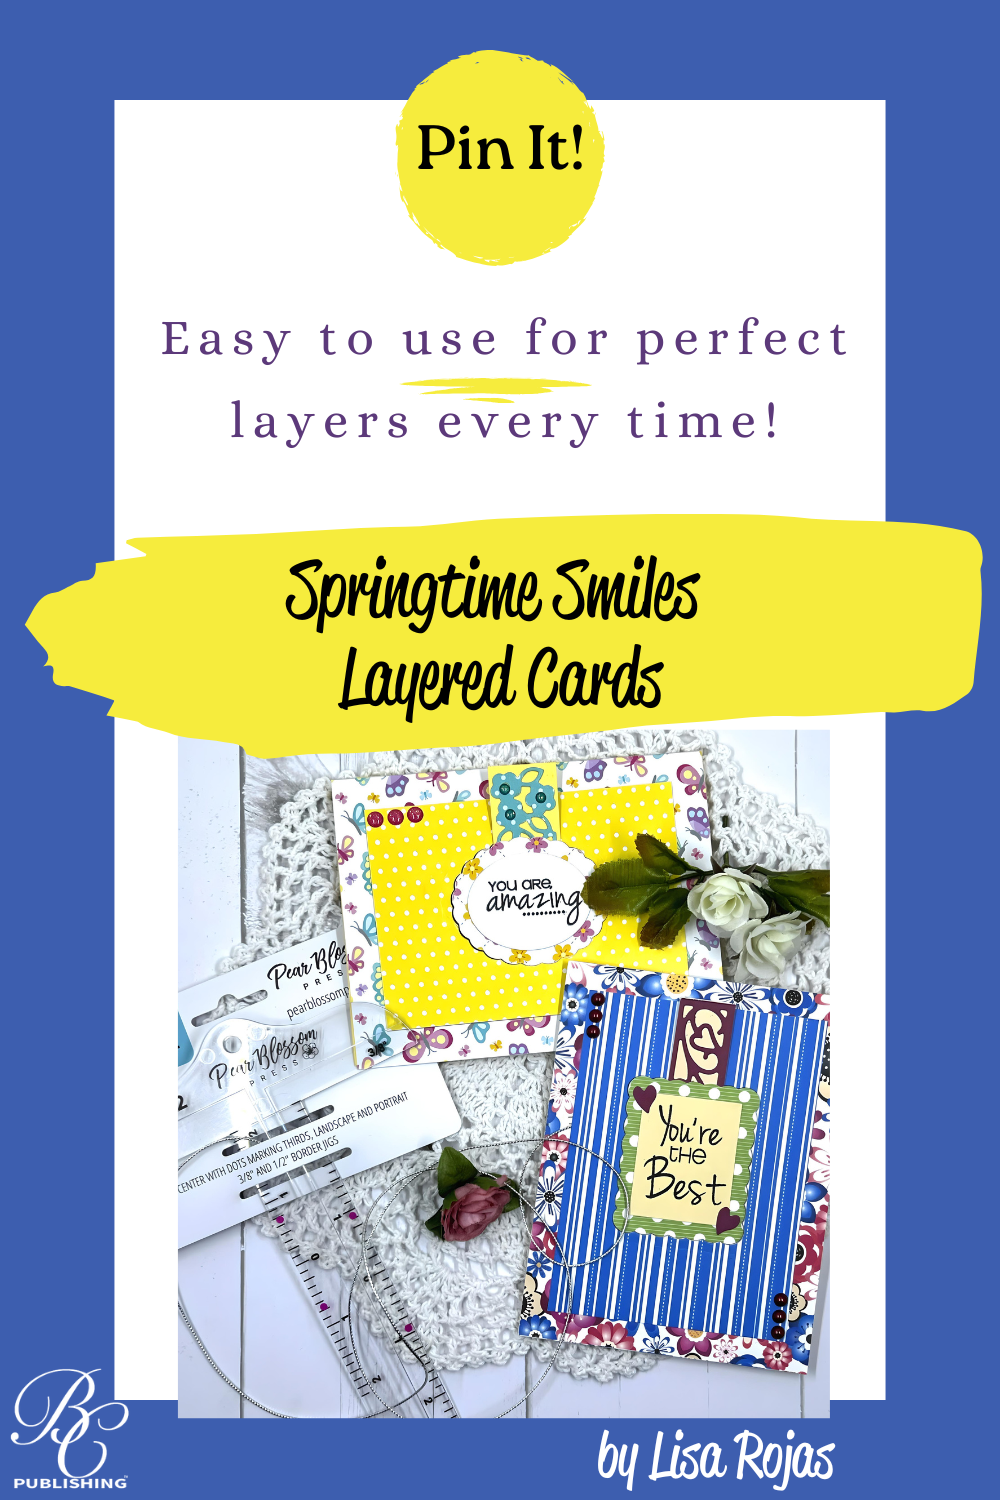
One more PIN of the “Springtime Smiles” Layered Cards to share