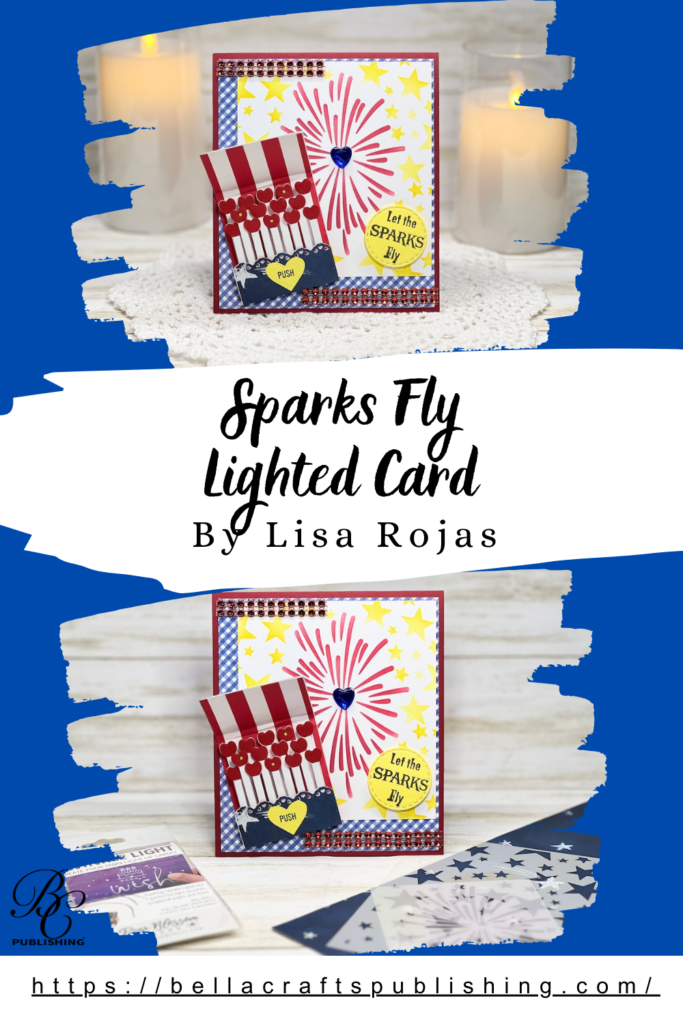
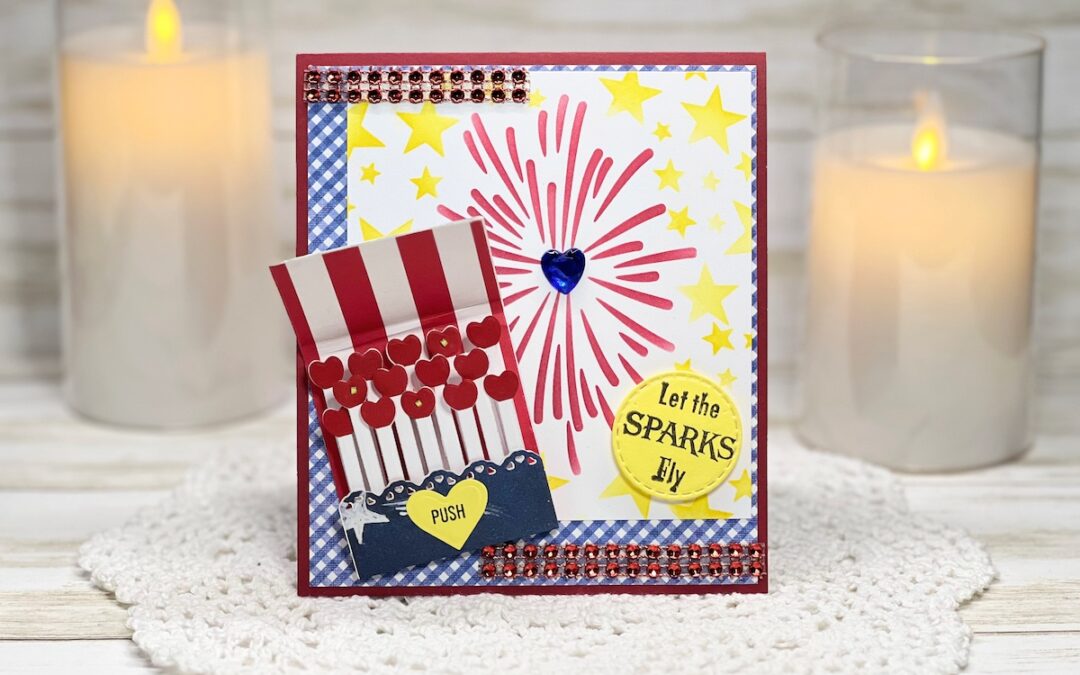
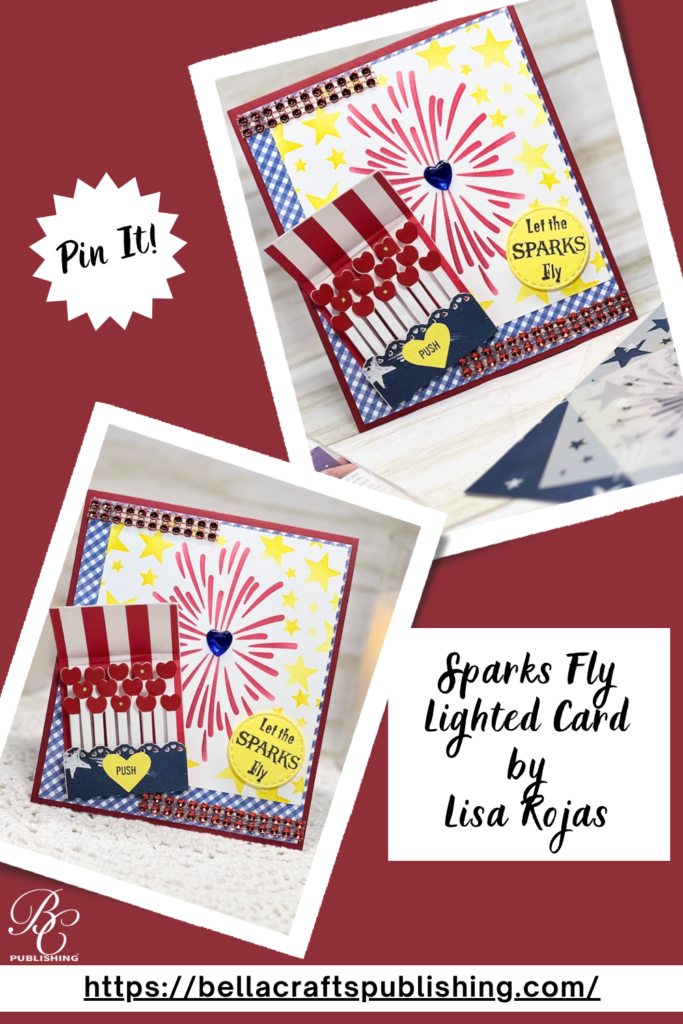
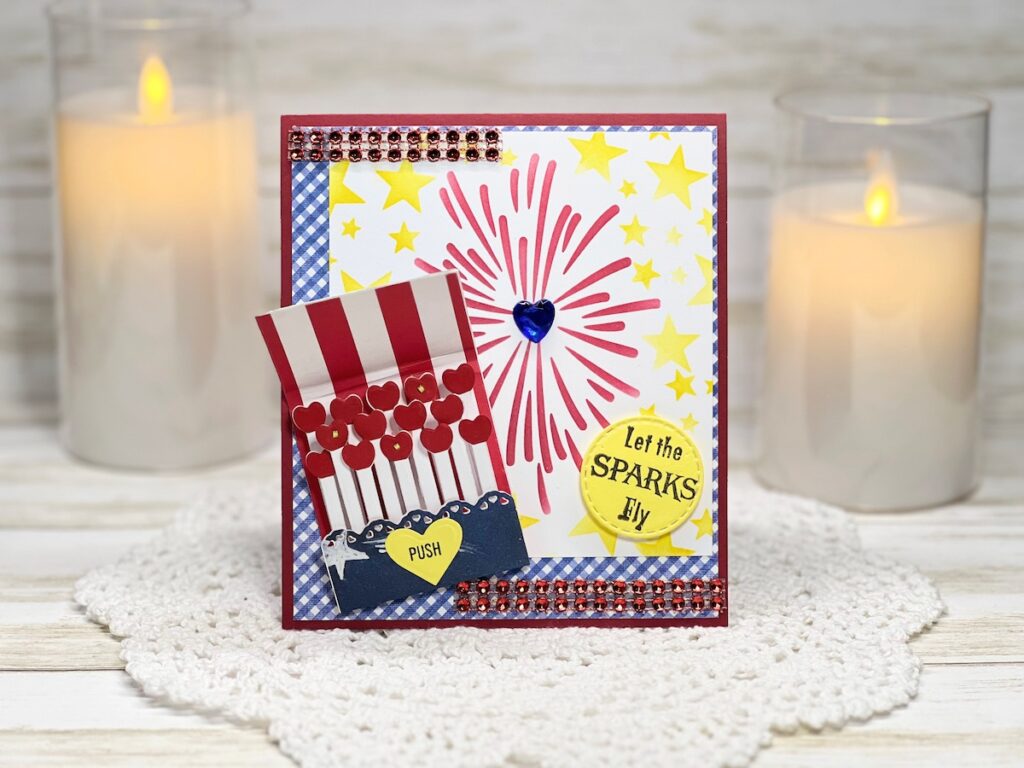
Our Sparks Fly Lighted Card has lights that twinkle when you push the button. It’s so fun and it’ll make your sentiments shine so much brighter!
Please note: This post contains affiliate links. If you use these links and make a purchase, we earn a commission at no extra cost to you…
This fun card is perfect for the Fourth of July, or just letting someone know they’re your perfect match! With the amazing light products from Pear Blossom Press and stencils from Ann Butler Designs, my Sparks Fly Lighted Card is unique and card makers will have a blast creating it!!! Crafty hugs, Lisa~
Steps One, Two, Three:
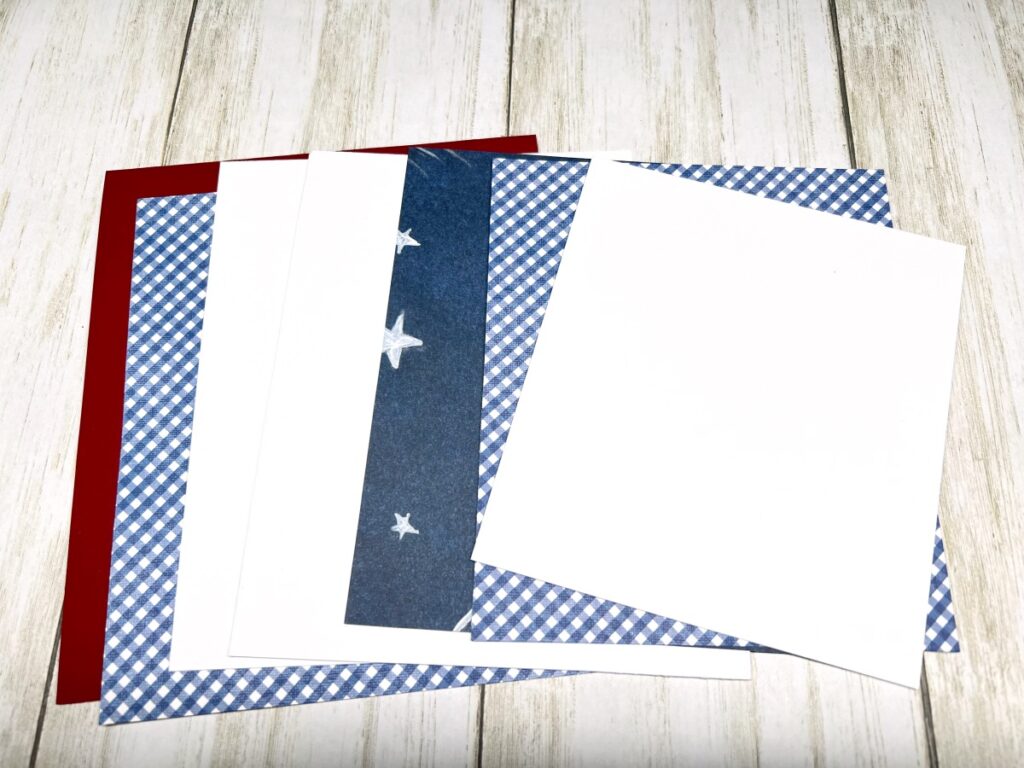
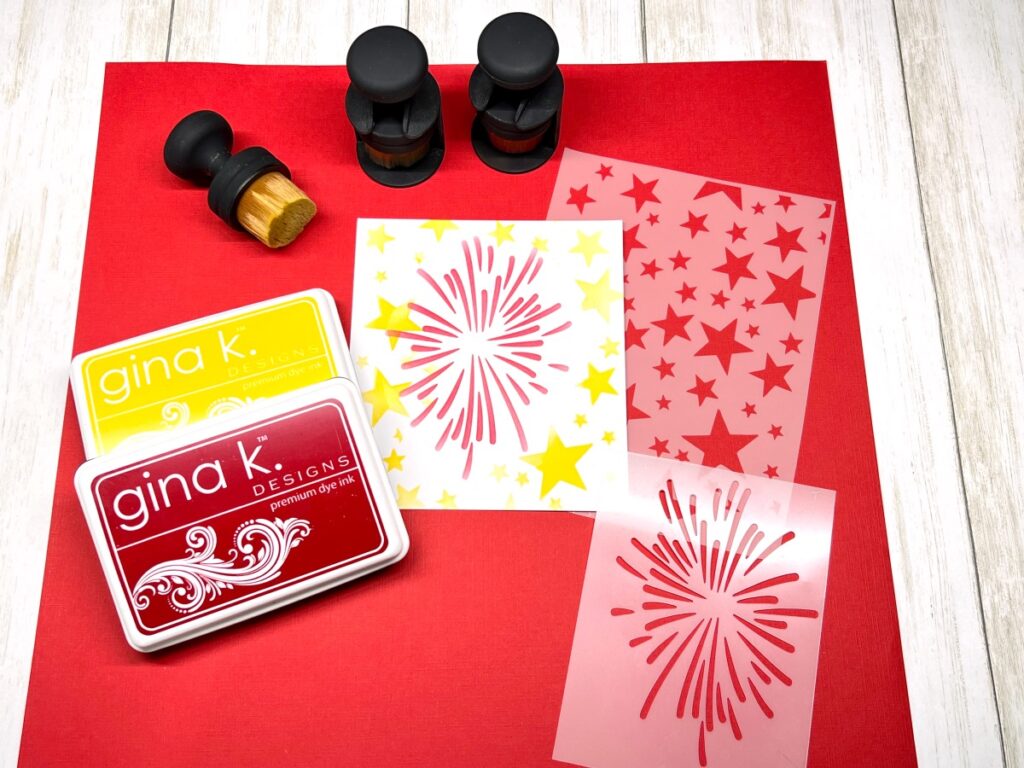
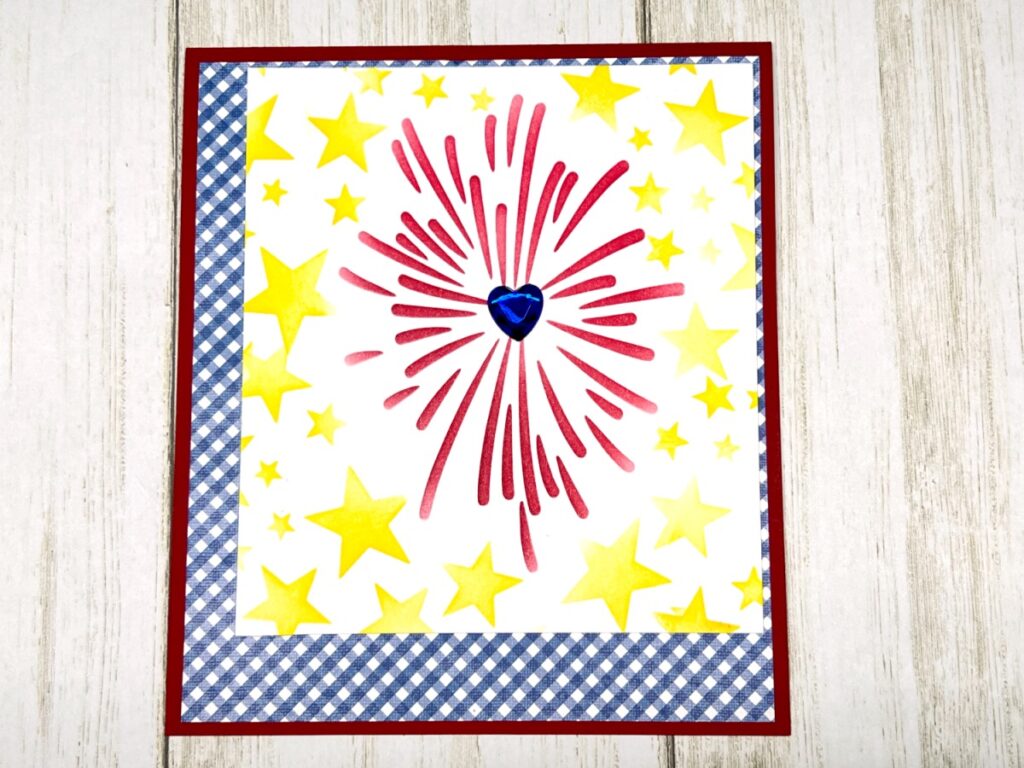
Cut your papers as follows~ Card Base- red cardstock 5″W x 5 3/4″H, blue checkered 4 3/4″W x 5 1/2″H (for card front), white cardstock 4 1/4″W x 4 3/4″H (for card front), white cardstock 4 3/4″W x 5 1/2″H (for inside, cut 2), blue checkered 4 1/2″W x 5 1/4″H (for inside) and blue star 4 1/2″W x 5 1/4″H (for inside).
On white cardstock, use the red and yellow inkpads and blending brushes to stencil the burst and stars.
Adhere the checkered paper and the stenciled piece to the front of the card base. Add a heart gem to the center as shown.
Steps Four, Five, Six:
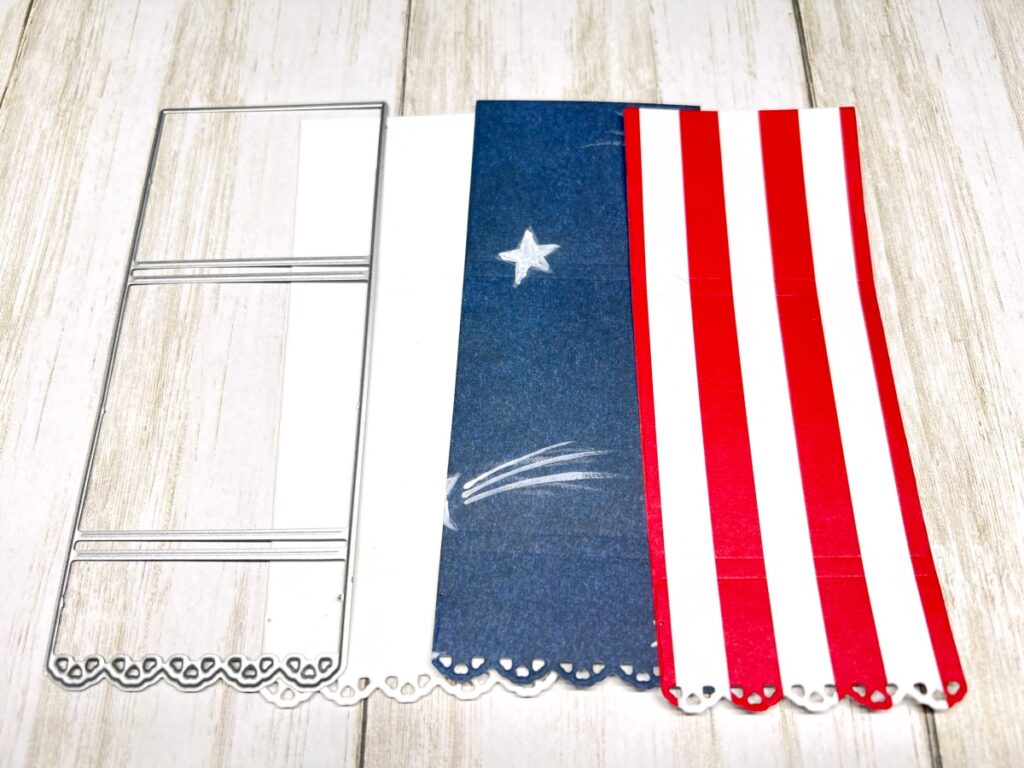
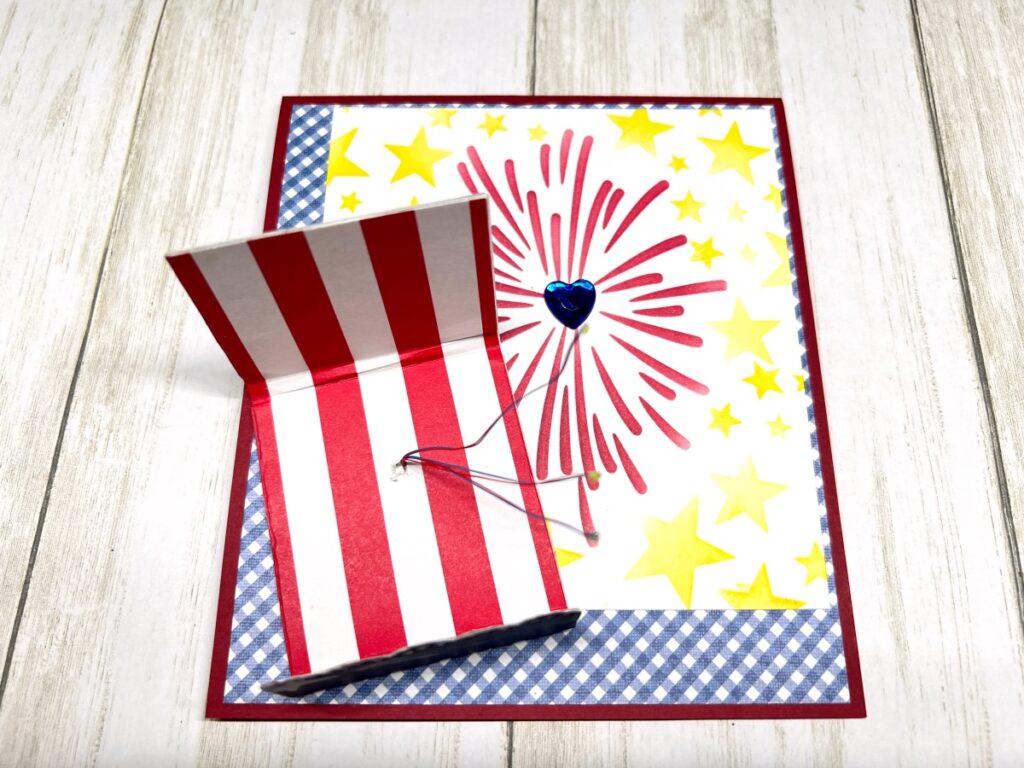
Die cut the matchbook cover from white cardstock, blue star paper and the red striped paper. Adhere them together with the white cardstock in the center and the patterned pieces front and back.
Cut a hole in the matchbook cover as shown. Use a pencil to mark the card base and make a hole. Open the card base and run the lights through the card base and the matchbook cover as shown.
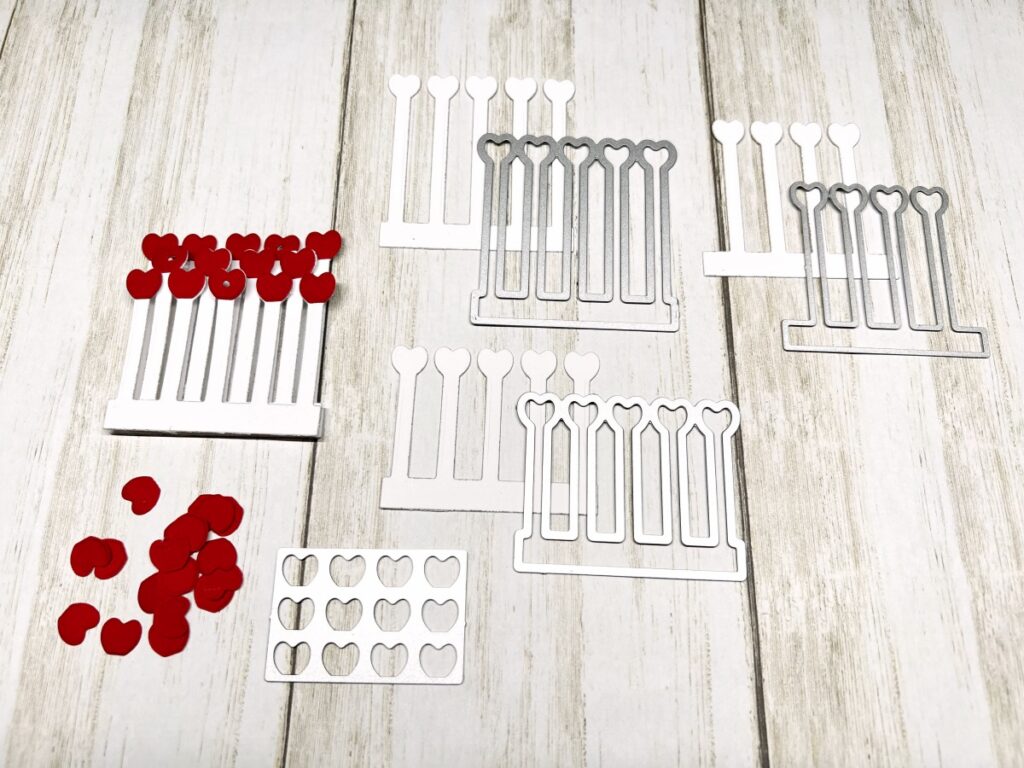
Die cut the matches from white cardstock. Die cut the match heads from red cardstock and adhere to the matches. Adhere the back and middle pieces together with foam tape and add the front piece with glue.
Steps Seven, Eight, Nine:
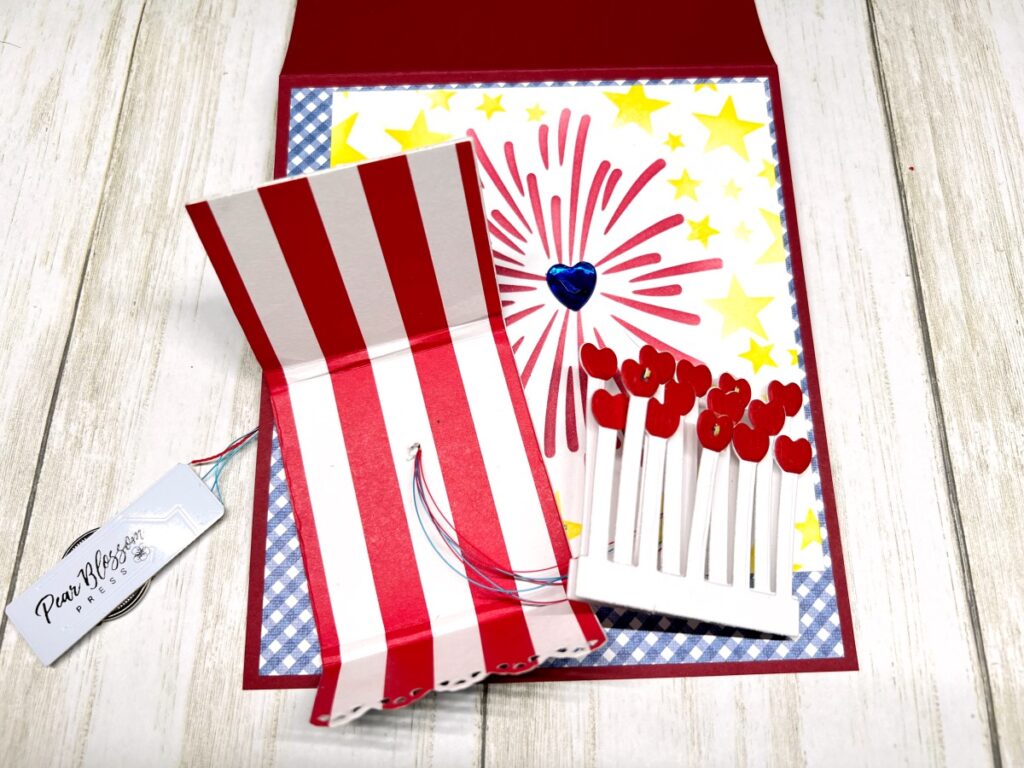
Choose one match from each layer and make a hole. Add a light in each hole and place a piece of tape to the backs to hold the lights in place. Pull all of the wires through the matchbook cover and the card base. Next, adhere the matches to the matchbook cover, and then to the card base.
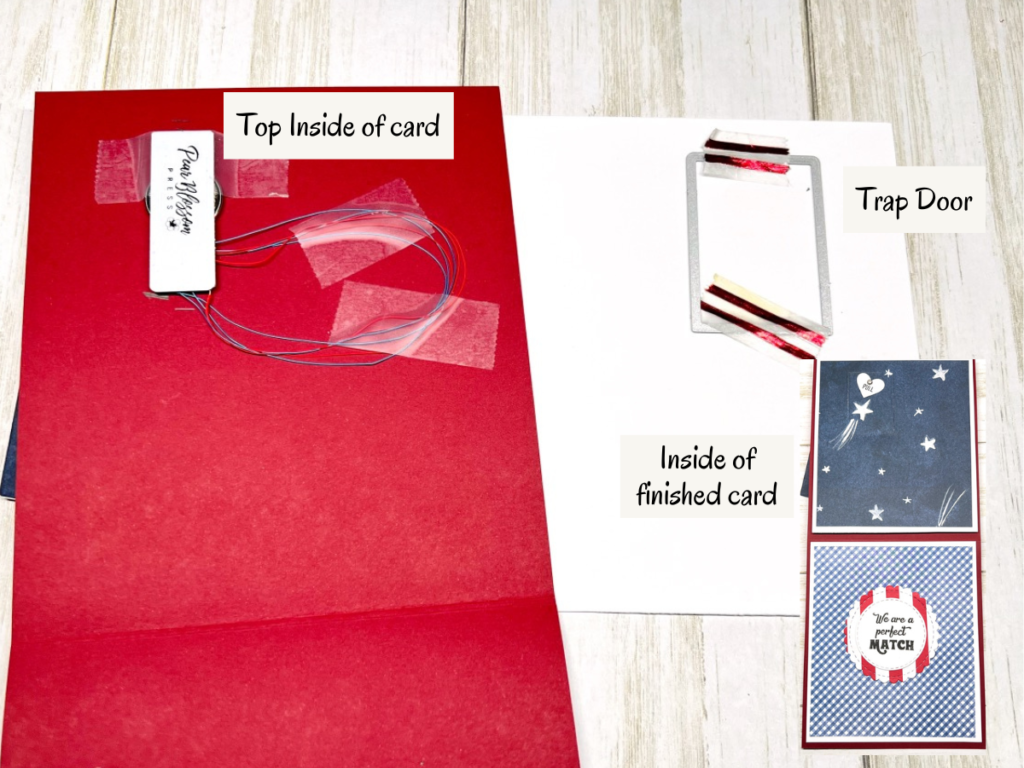
Tape the lighting unit and wires to the top inside cover making sure the units button is where you want it. Adhere the white cardstock to the patterned papers for the inside of the card. Adhere one piece to the bottom part of the card. Turn the second piece over and die cut the rectangle making sure it lines up with the lighting unit. Apply form tape avoiding the trap door and attach it to the card base.
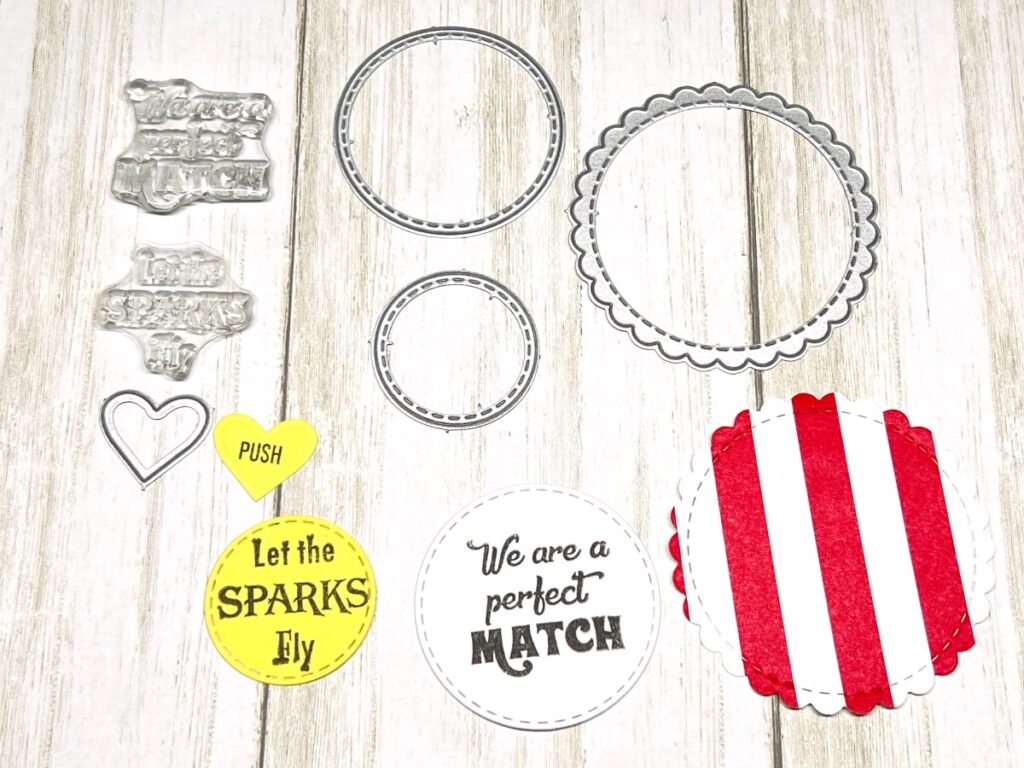
Die cut and stamp the pieces as shown in photo #9 and adhere them to the front and inside the card. Create a small hole in the top of the trap door. Die cut a heart shape from white cardstock and stamp “Pull” on it. Attach it to the trap door with a small brad (see photo of inside the card in photo #8). Attach the rhinestone trim to the front of the card as shown in the finished photo.
Sparks Fly Lighted Card
- Cardstock: Red, White
- Patterned Papers
- Ann Butler Designs Stencils, Americana #1 and #2 by StencilGirl
- Premium Dye Inkpads: Cherry Red, Wild Dandelion by Gina K Designs
- Amalgam Inkpad, Obsidian by Gina K Designs
- Rhinestone Trim
- Heart Rhinestone, Blue
- Small Brad
- Twinkle Light by Pear Blossom Press
- Nuvo Glue
- The World’s Best Foam Tape by Pear Blossom Press
- Oval Die Set by Newton’s Nook Designs
- Matchbook Die and Stamp Set by KSCraft
- Interactive Die and Stamp Set by Pear Blossom Press
- Blending Brushes by Pink and Main
- Awl
- Paper Trimmer
- Big Shot Die Cutting Machine by Sizzix
One more PIN of the (Project Name) to share
