This metal panel is a perfect choice into sublimation for beginners and Artesprix has all the products you need to get started!
Please note: This post contains affiliate links. If you use these links and make a purchase, we earn a commission at no extra cost to you…
The metal panel I created is only the second time I have ever played with sublimation, and I’m hooked! I hope you come along with me on my decorative journey with sublimation as I learn new things and share just how easy it really is to do. Artesprix is the amazing company that helped me get started. Check out their products and give this project a try. Trust me…you’ll love it! Have fun! Lisa~
PS~ Here’s the link for the video from my first project~ Sublimation Fun with Artesprix This is the link for my blog post with written instructions~ Sublimation Keychain and Magnet
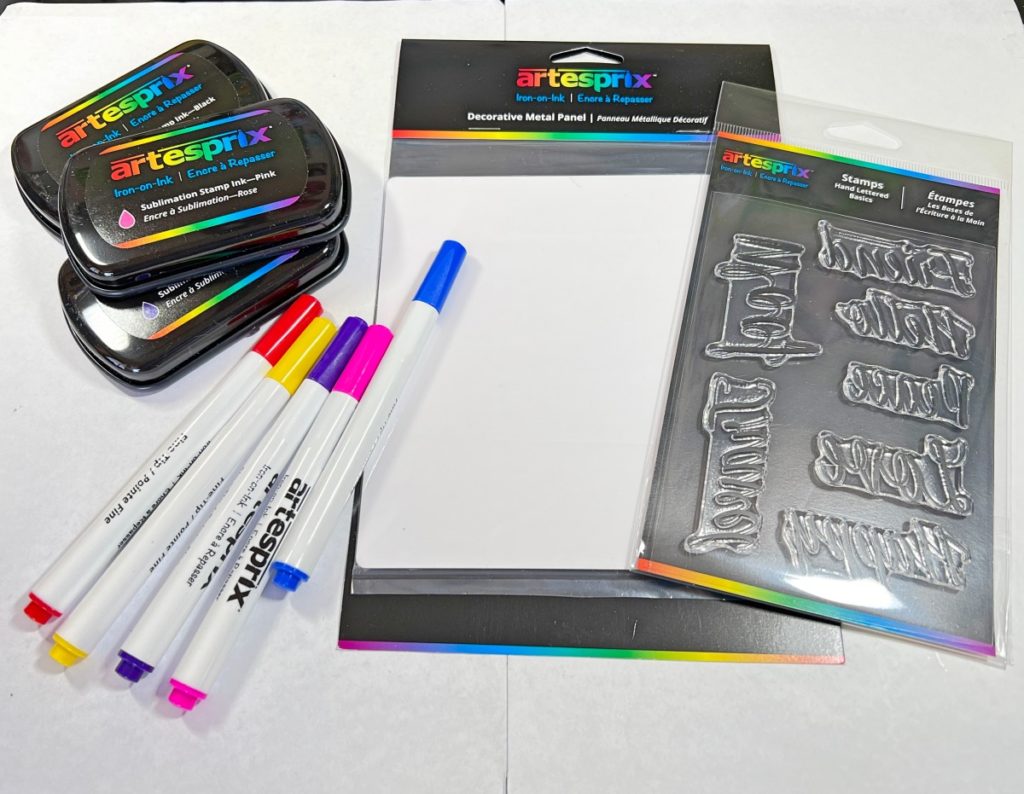
Supplies for Hello Friend Sublimation Panel
Check out the full list of supplies at the end of this post.
Step One:
Place the metal panel on top of a piece of plain printer paper. Trace around the metal panel with a pencil. Do not worry about the pencil markings because they will not transfer to your design.
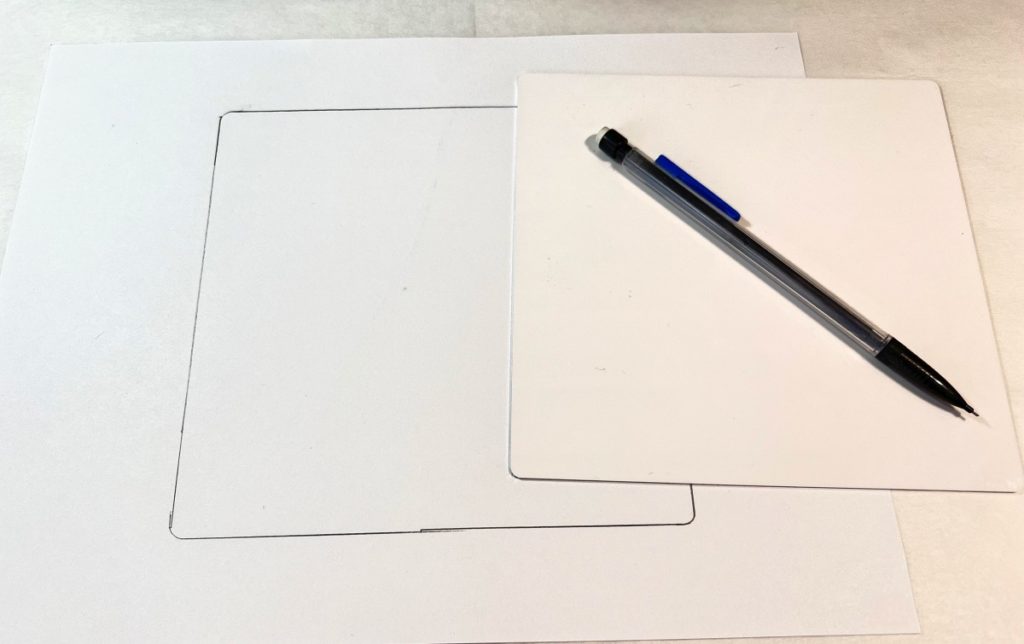
Step Two:
Using a black inkpad, stamp the gnome image on a piece of Masking Magic and cut it out.
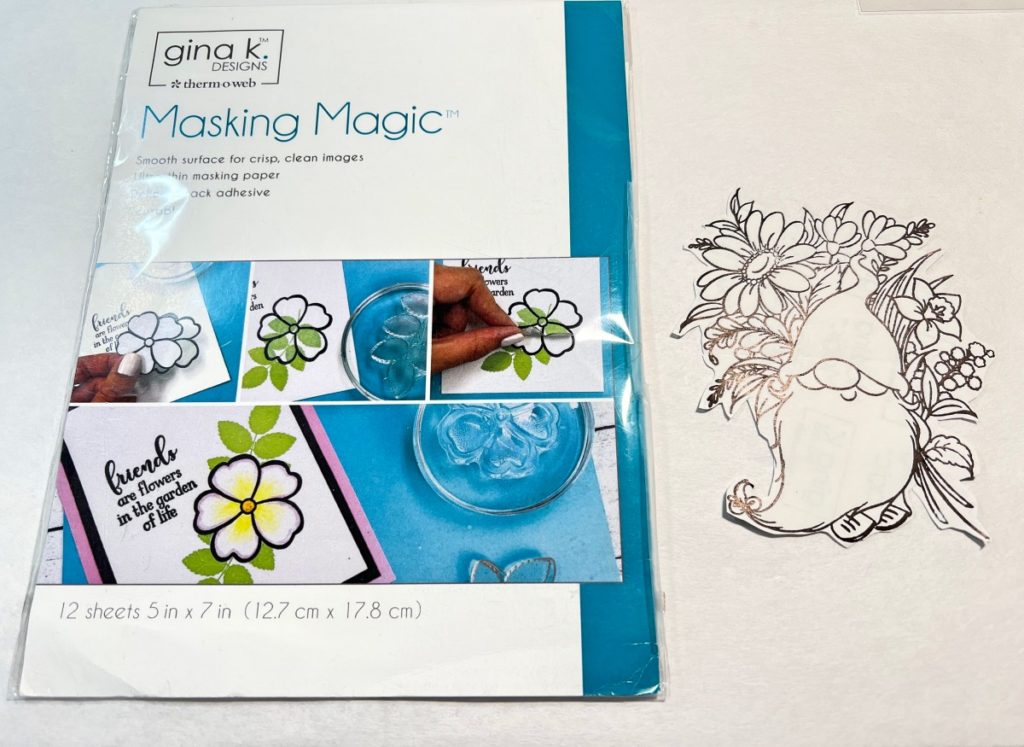
Step Three:
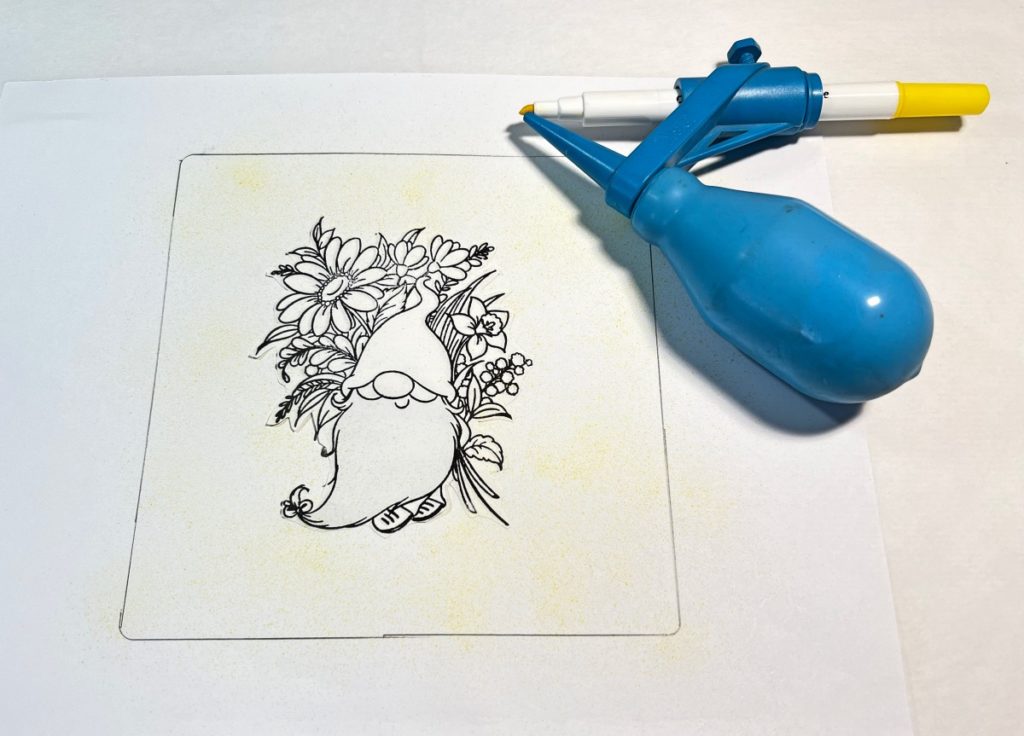
Stamp the gnome image in the center of the printer paper with the black sublimation inkpad. Peel the paper from the back of the Masking Magic piece from step 2 and place it over the stamped image. Place a yellow sublimation marker into the air blower and apply the ink to the design. Once done, remove the mask.
NOTE: The ink air blower that I used is a tool I have had for many years. You can find an updated version on the Amazon website and Ranger also sells one. They work a little differently but achieve the same results.
Step Four:
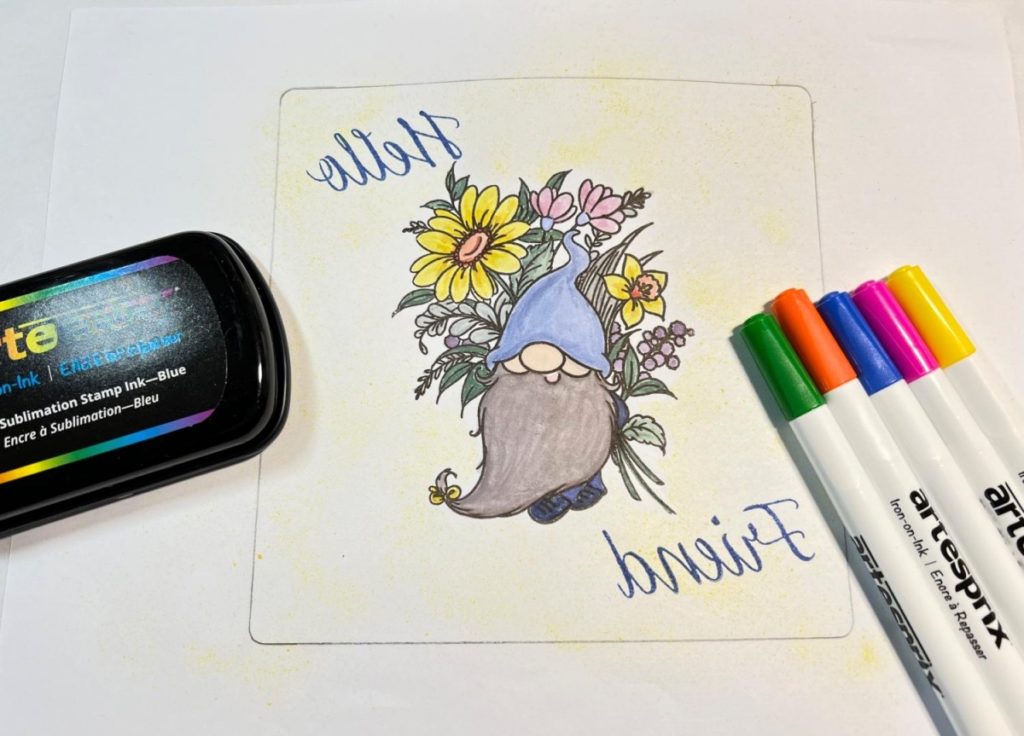
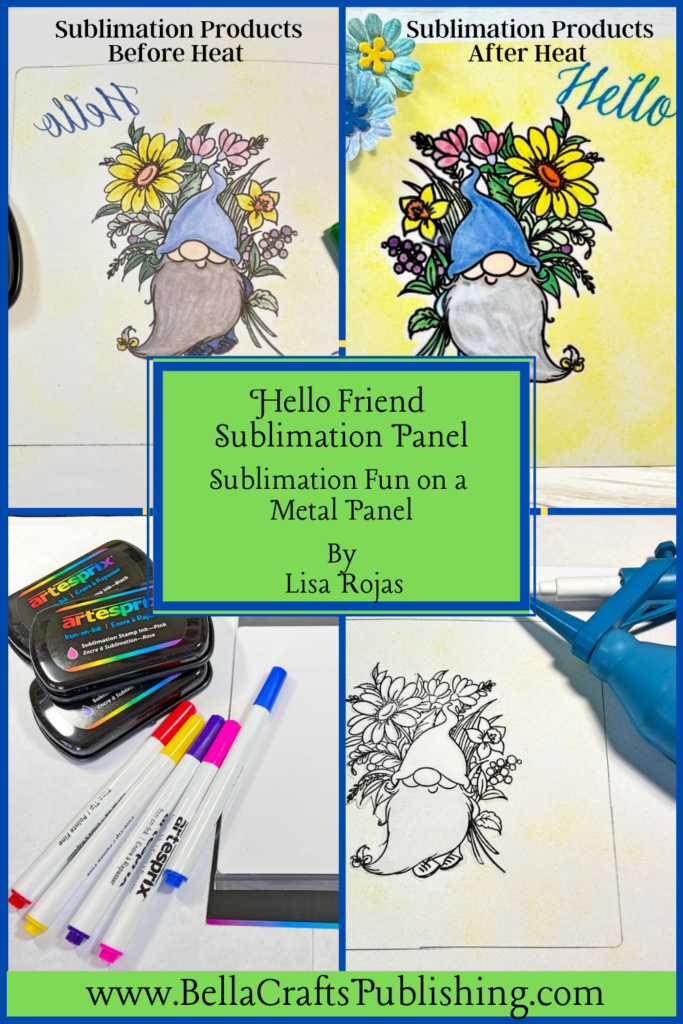
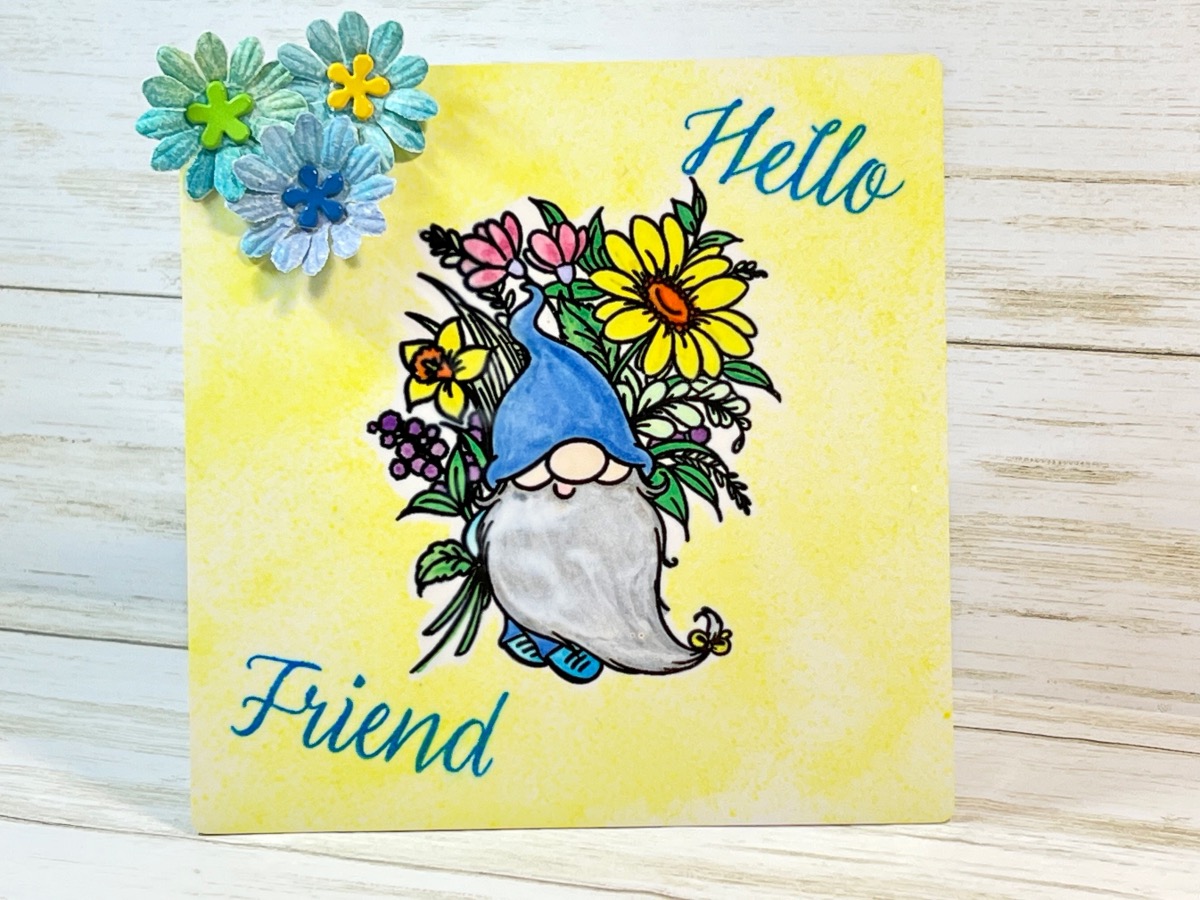
Color the image with sublimation markers. You can color directly onto the image or scribble the markers on a acrylic block and pick the colors up with a paintbrush and water, like you would with watercoloring. You will get two different results. With watercoloring, the results will be lighter. Next, use the sublimation stamps, Hello & Friend on the design with a blue sublimation inkpad as shown. The main thing to remember when working with sublimation is the images are always backwards. You can use any stamps you have with sublimation, except wording. The word stamps I used are sublimation stamps, but there are videos showing different ways to add wording without the specialty stamps.
NOTE: When working with sublimation inkpads and markers, the colors will appear muted and this is normal. But, once they are heated, the colors will be very vibrant! You can see the difference in the PIN below.
Step Five:
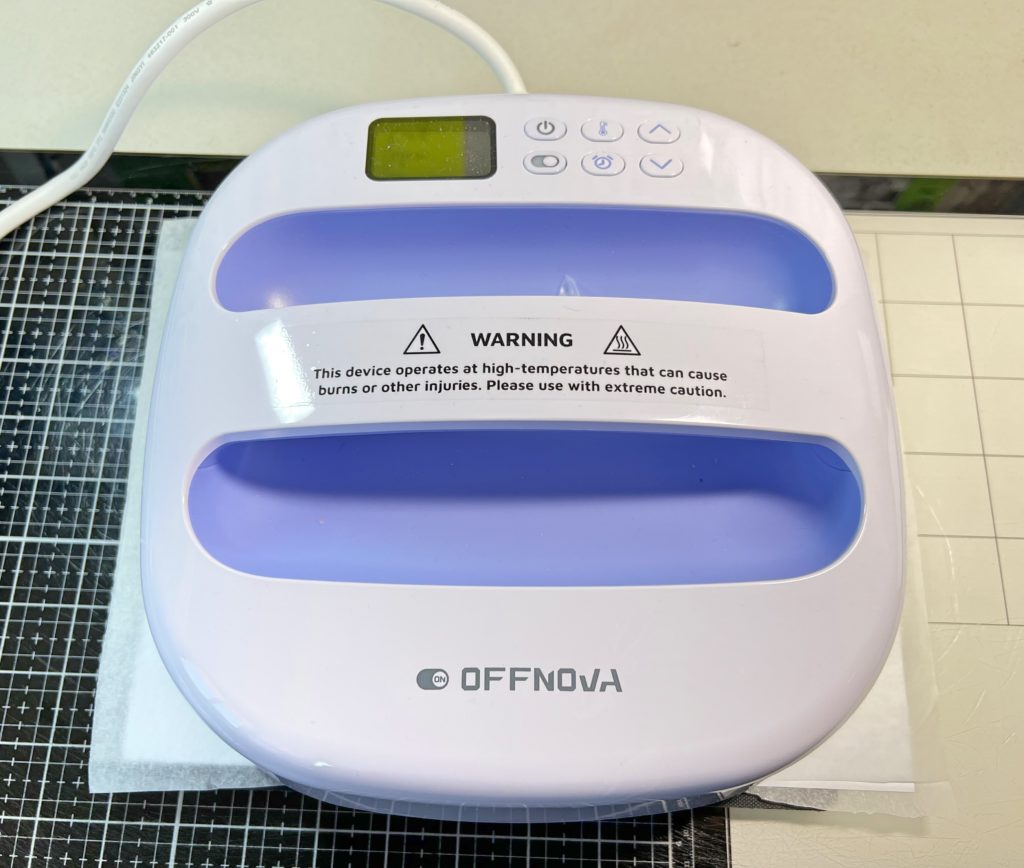
Cut two pieces of protective paper slightly larger than the design on the printer paper. Lay the design paper face up and then lay the metal panel on top of the design with the white side face down. Secure the metal panel on the design paper with the Heat Resistant Tape. Just like die cutting you’re going to make a “sandwich” from materials, starting from the bottom as follows- Protection Project Mat, one piece of Protective Paper, the design paper with the metal panel, and then the second piece of Protective Paper. Set the heat press at 400 degree for 90 seconds. Once it’s ready place it on top of the “sandwich” and hold it in place until it’s done. Remove the heat press and *carefully remove the “sandwich” from the Protection Project Mat to cool down.
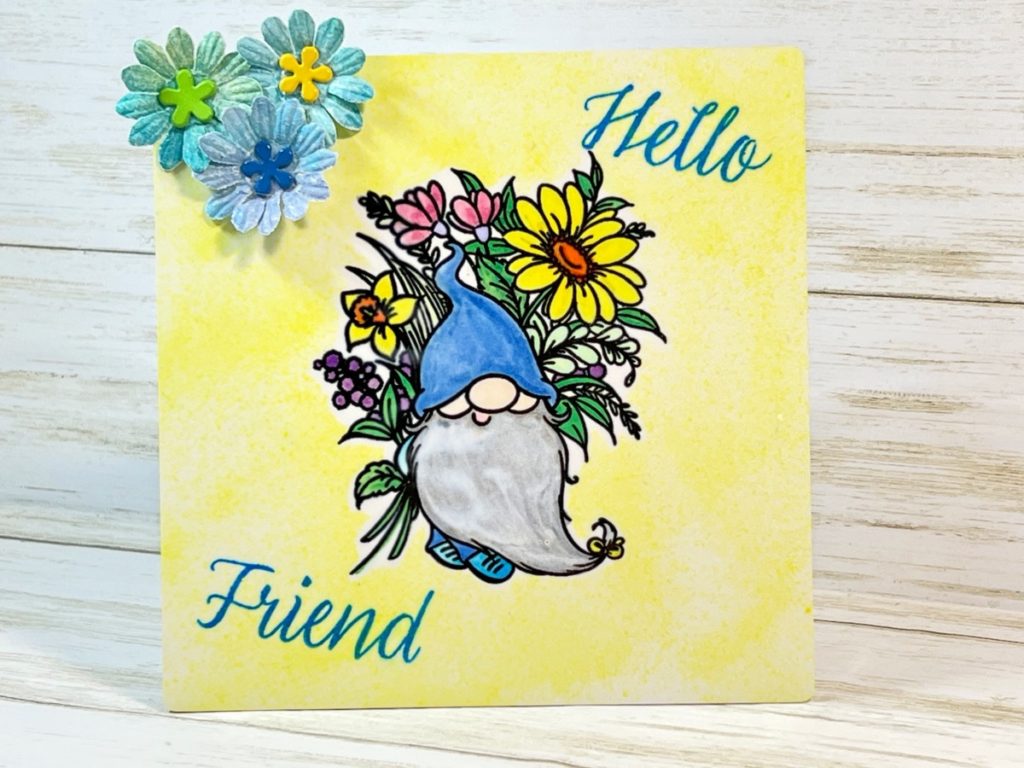
To finish the project~ remove the design paper from the metal panel to reveal the finished project. Attach the brads to the paper flowers and adhere them with foam tape. Place the easel that comes with the metal panel on the back.
*IMPORTANT NOTE: The heat press and the metal panel will be extremely hot! Please use caution with handling them.
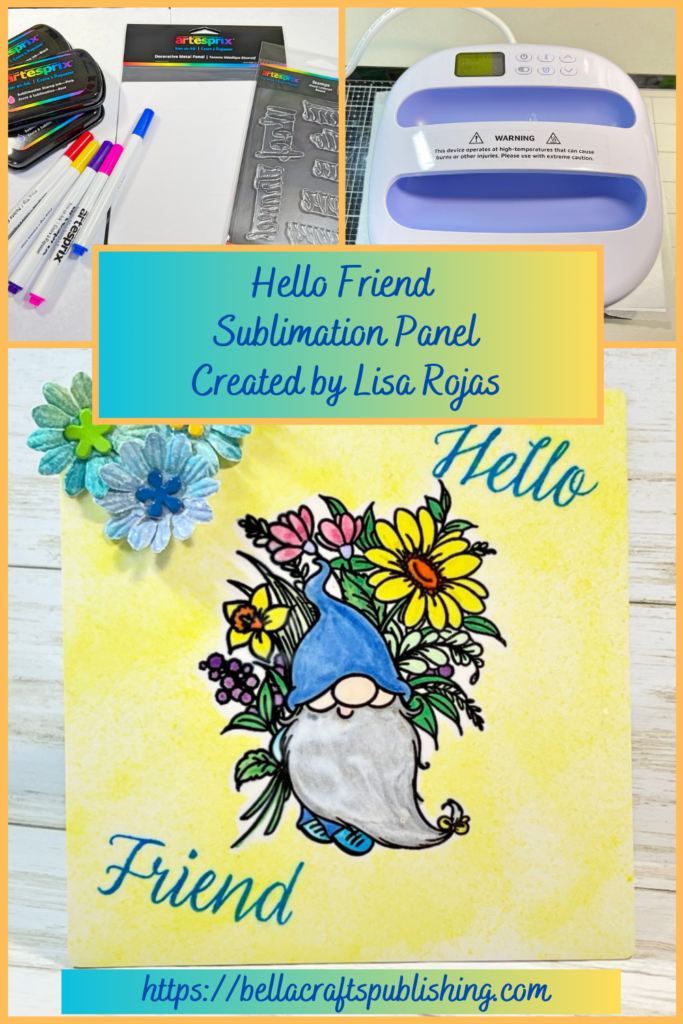
Hello Friend Sublimation Panel
Here’s Another PIN For You To Share!
Supplies for Hello Friend Sublimation Panel
- Printer Paper
- Gnome Rubber Stamp by Trinity Stamps
- Sublimation Decorative Metal Panel by Artesprix
- Sublimation Marker Sets by Artesprix
- Sublimation Inkpads: Black, Blue by Artesprix
- Heat Tape by Artesprix
- Protective Project Mat by Artesprix
- Protective Paper by Artesprix
- Paper Flowers, (3)
- Flower Brads, (3)
- Foam Tape
- Masking Magic by Gina K. Designs
- Ink Air Blower
- Paintbrush, Optional
- Heat Press
Also, If you are making a living through crafts then you should come to h+h americas – June 21-23, 2023 in Rosemont. The place where creativity meets business. h+h americas is your wholesale marketplace where the crafts industries are united. It’s a marketplace for retailers – mostly independent retailers like you – to: Source products + Discover trends + Take classes + Network with the industry + Be inspired!Click HERE to be directed to the registration page of h+h americas. It is a must see show!

Trackbacks/Pingbacks