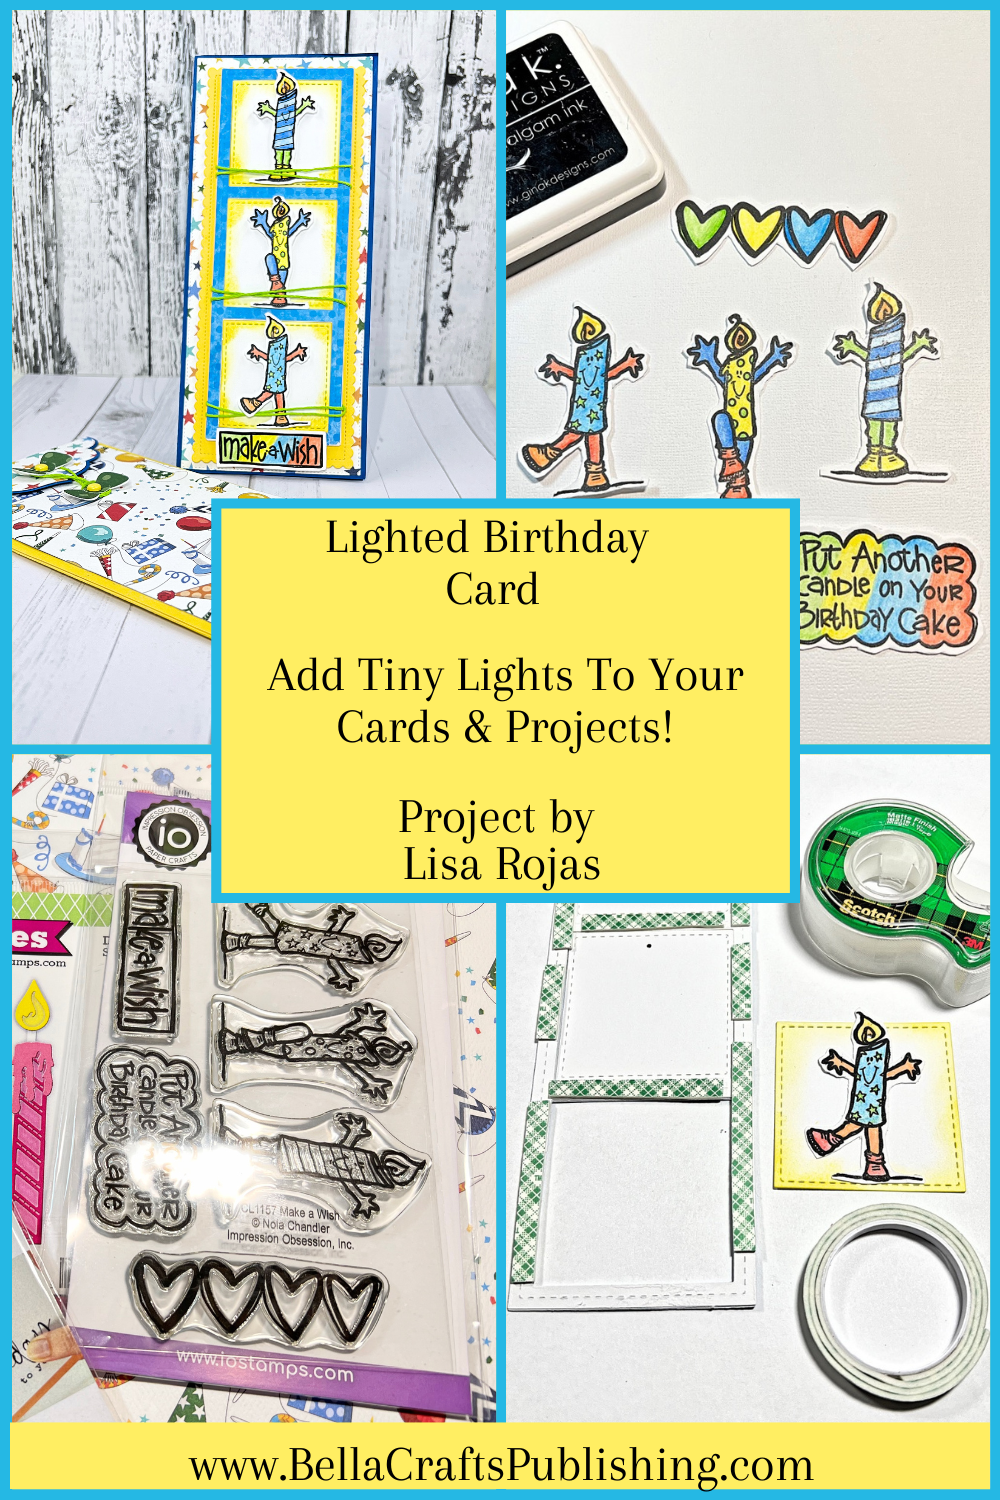
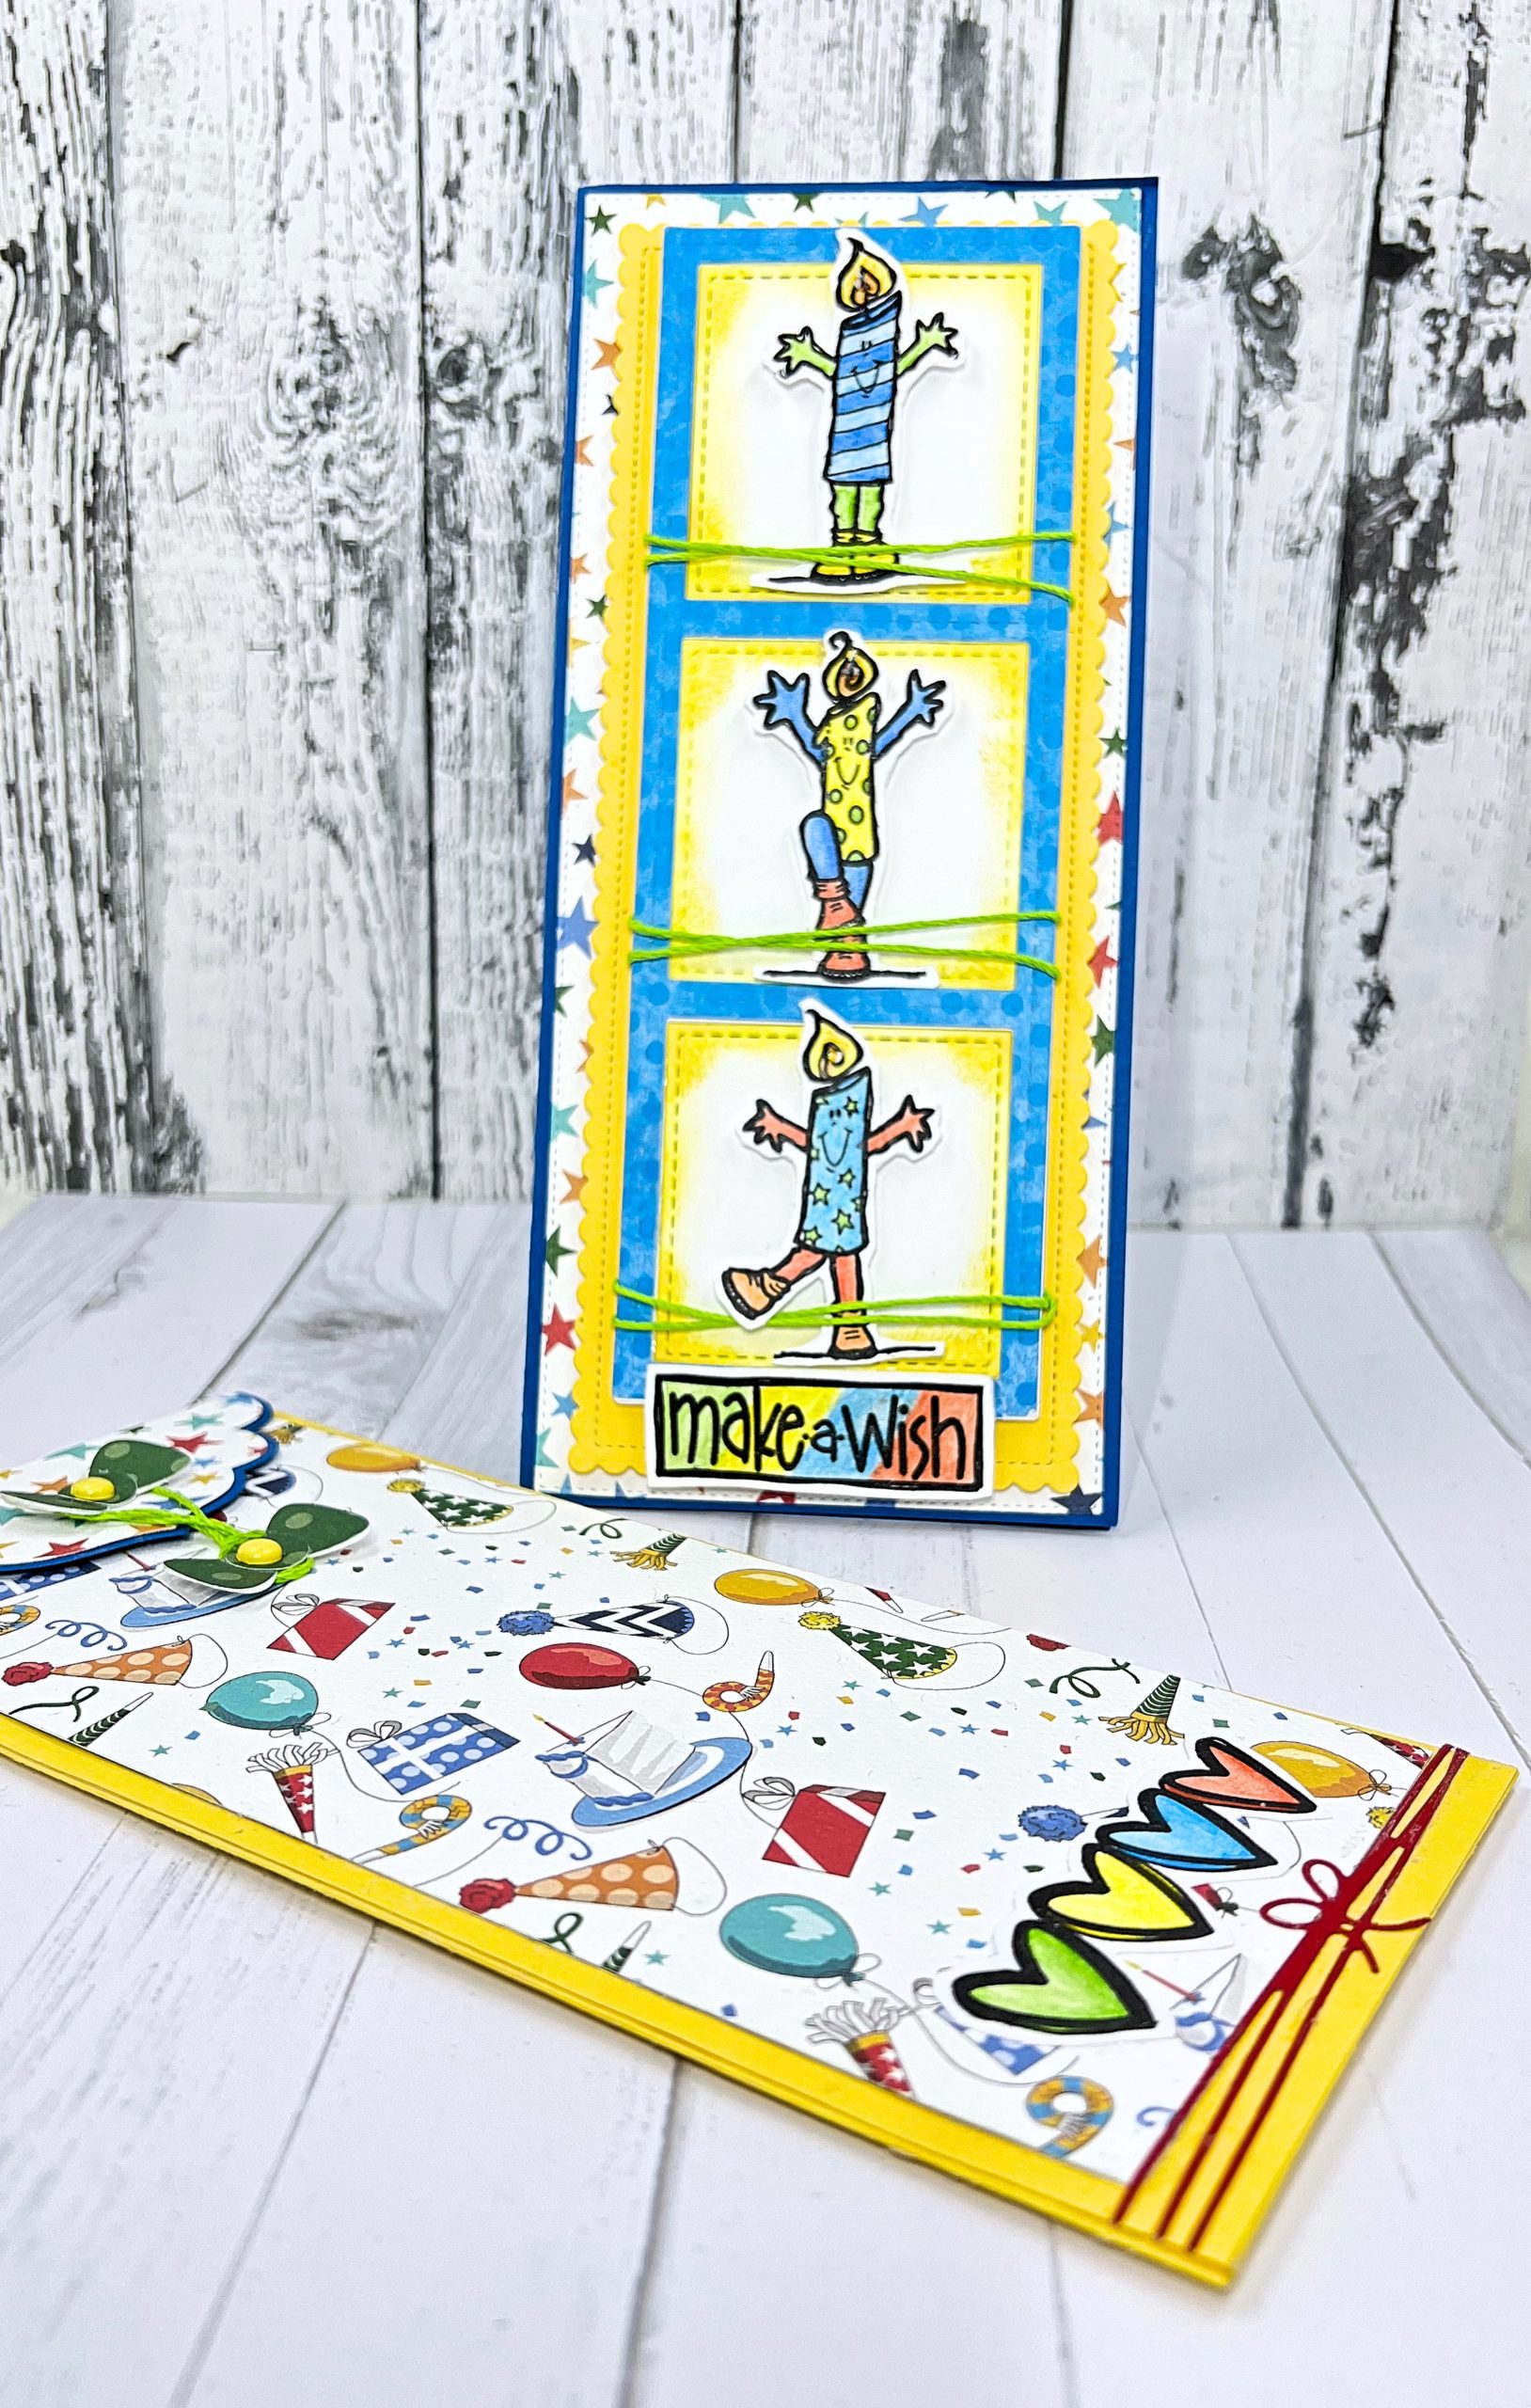
Add some fun with a Lighted Birthday Card! This card has three tiny lights tucked inside the candles. When you press the button they light up!
Please note: This post contains affiliate links. If you use these links and make a purchase, we earn a commission at no extra cost to you…
This Lighted Birthday Card is such a fun project to make and it’s super easy too! The tiny lights are from Pear Blossom Press. Use them with the adorable stamp set from Impression Obsession to give the card’s recipient hours of fun! I hope you give this card project a try.
Have fun! Lisa~
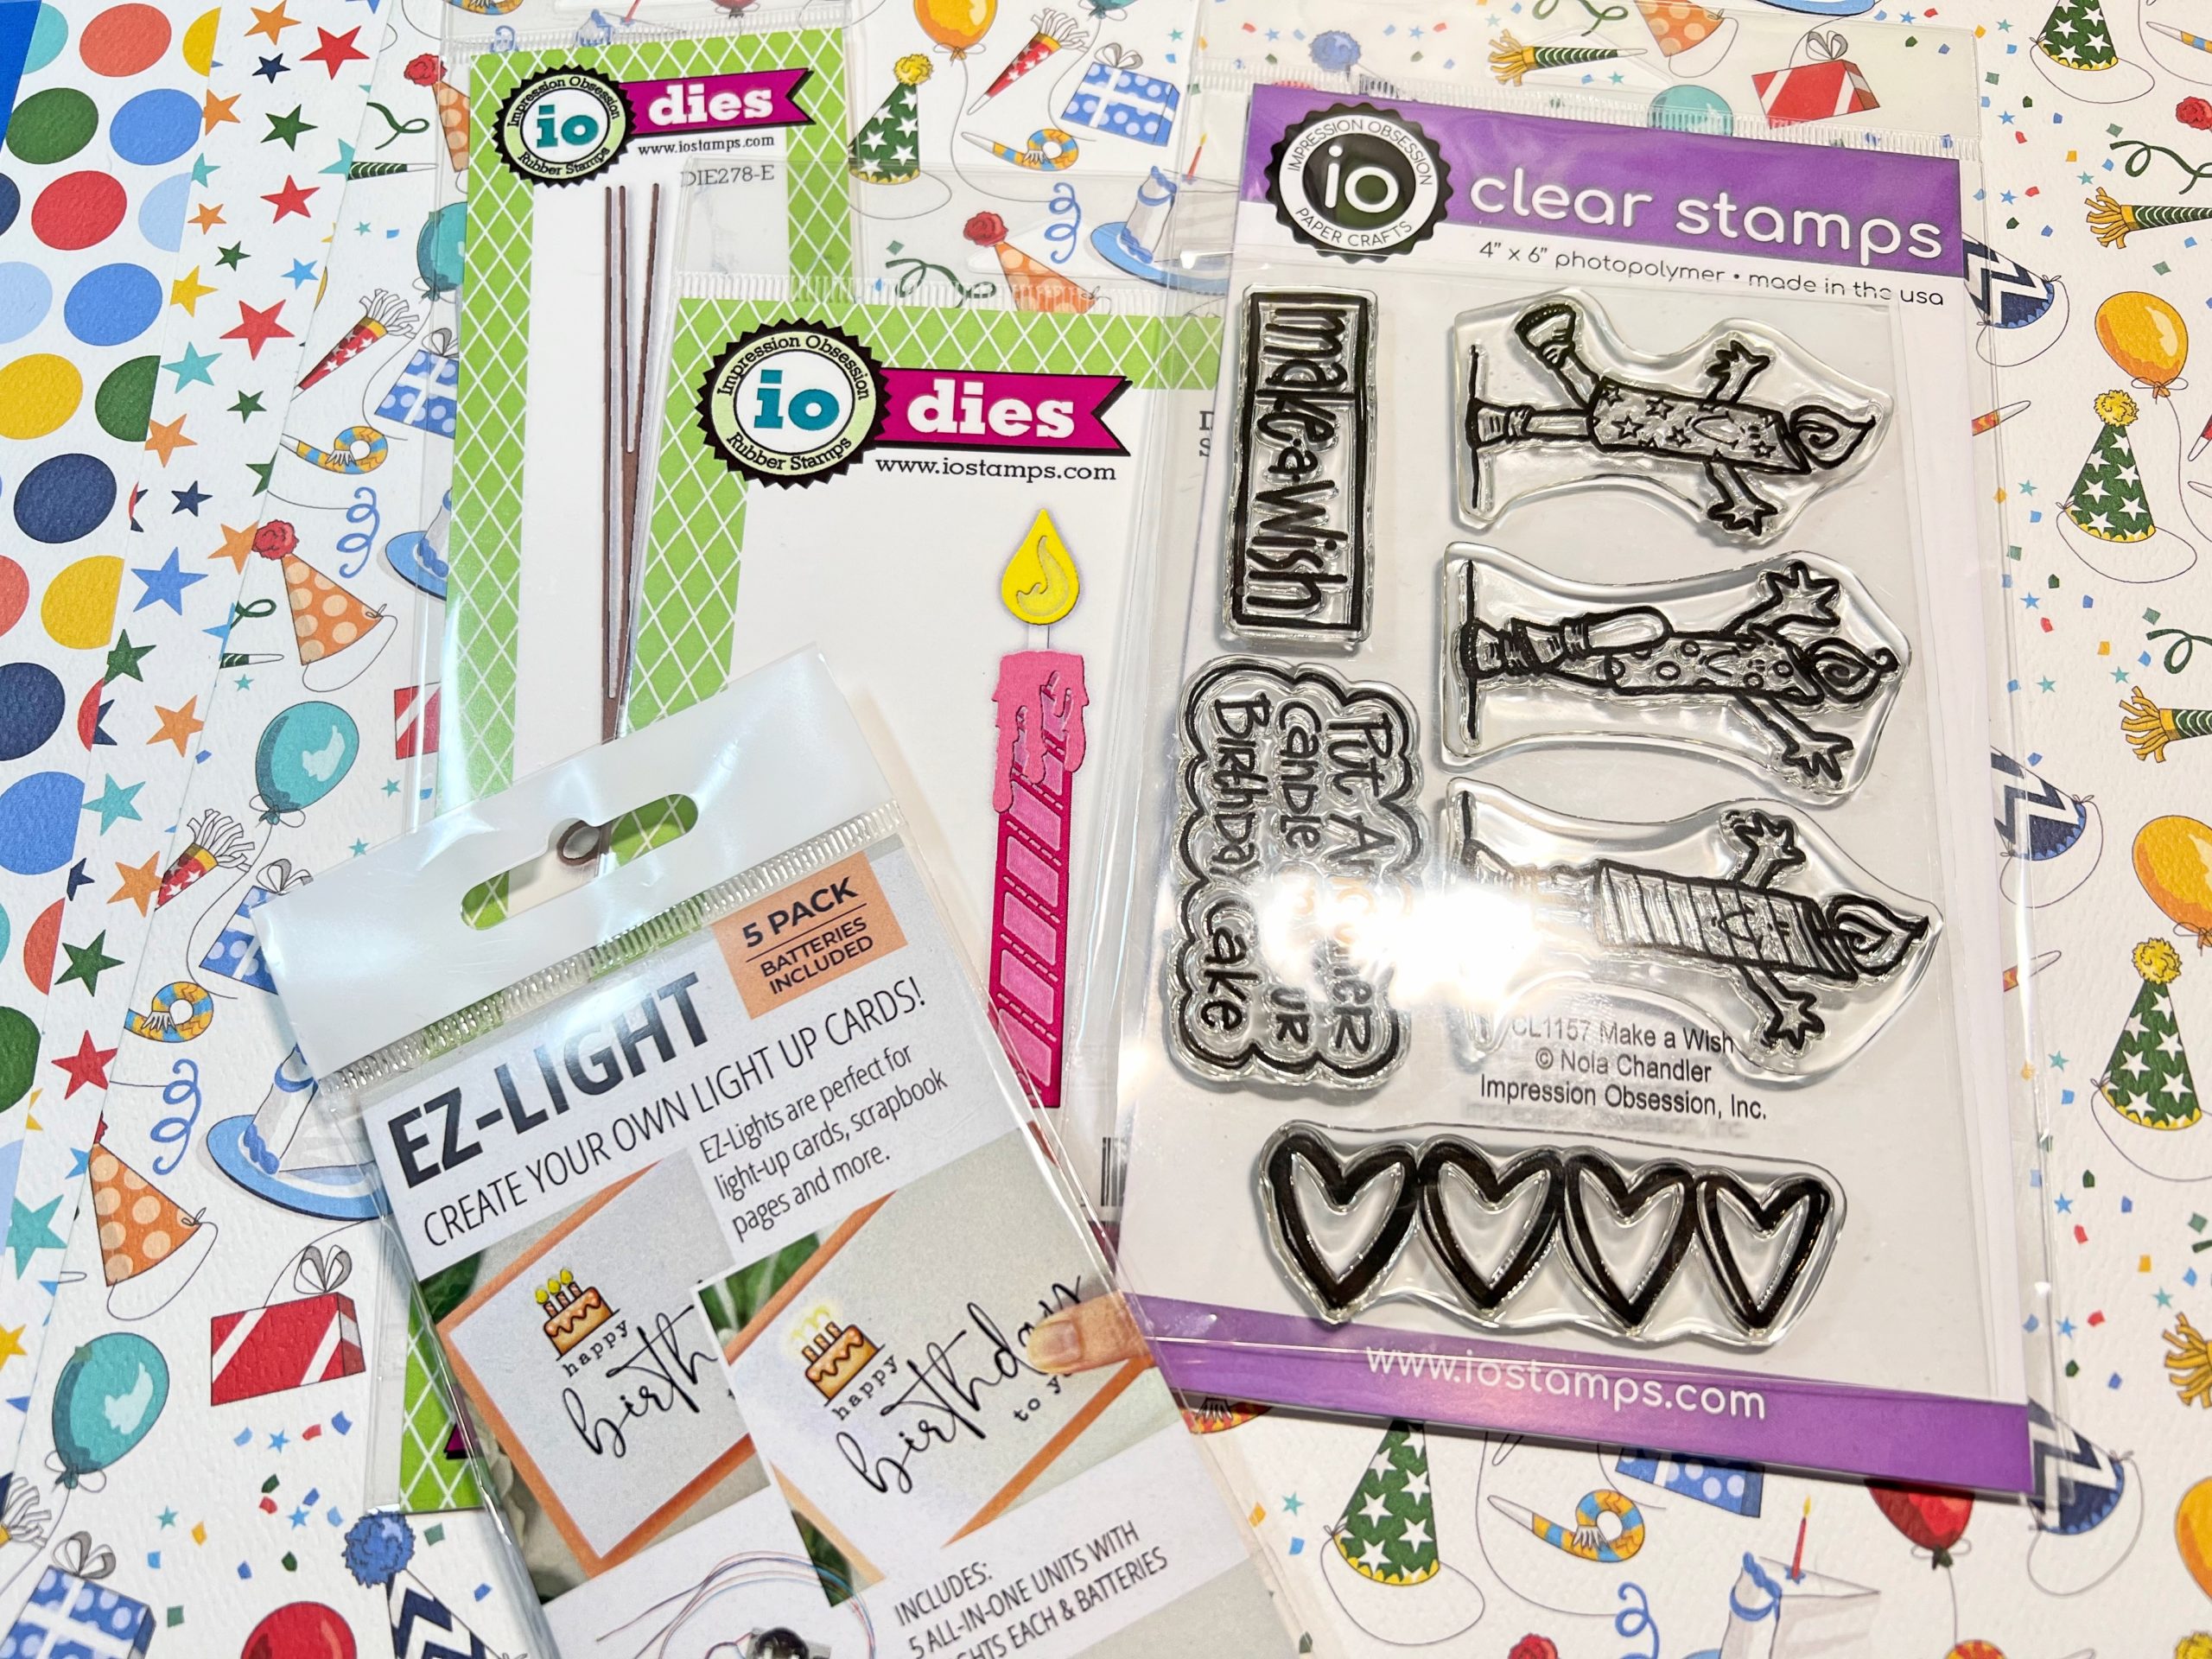
Supplies for Lighted Birthday Card
See Below for Complete List
Steps One, Two, Three:
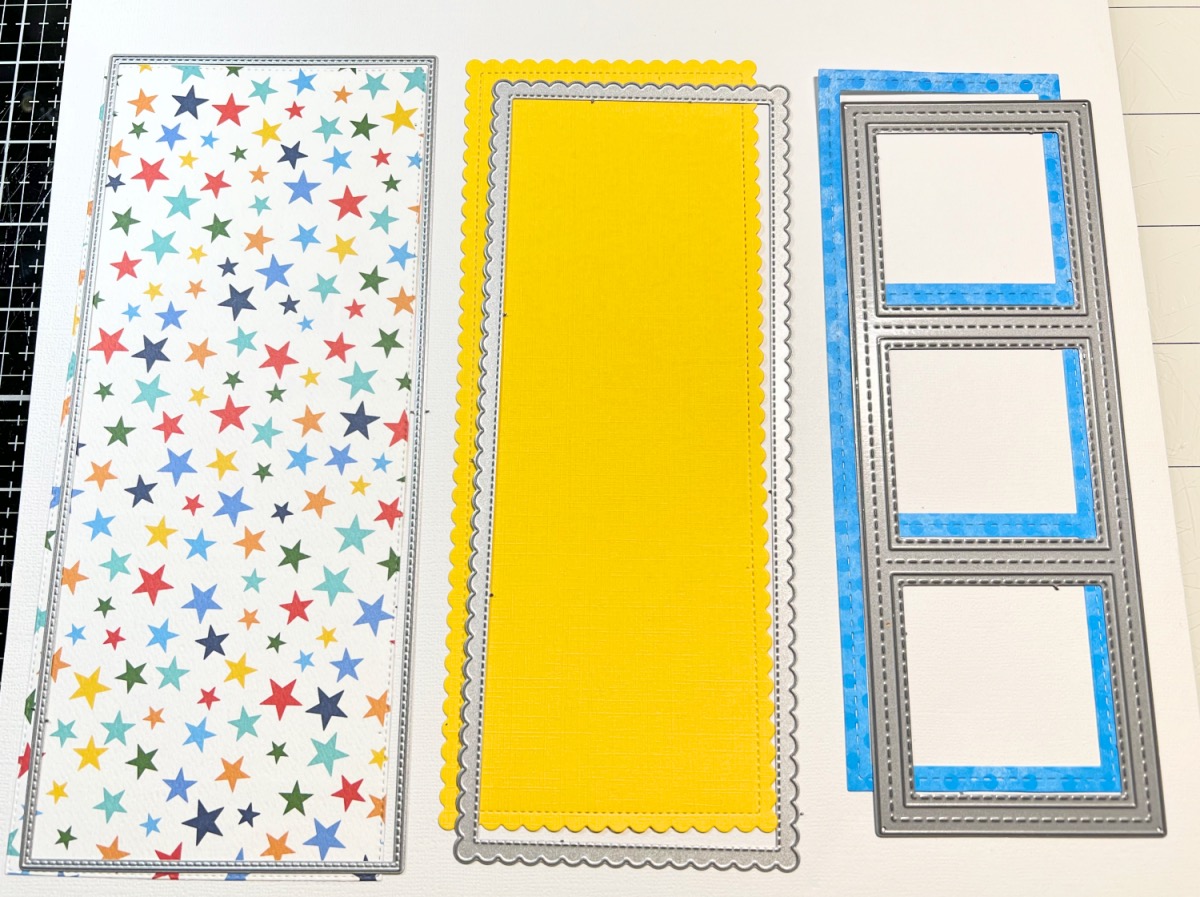
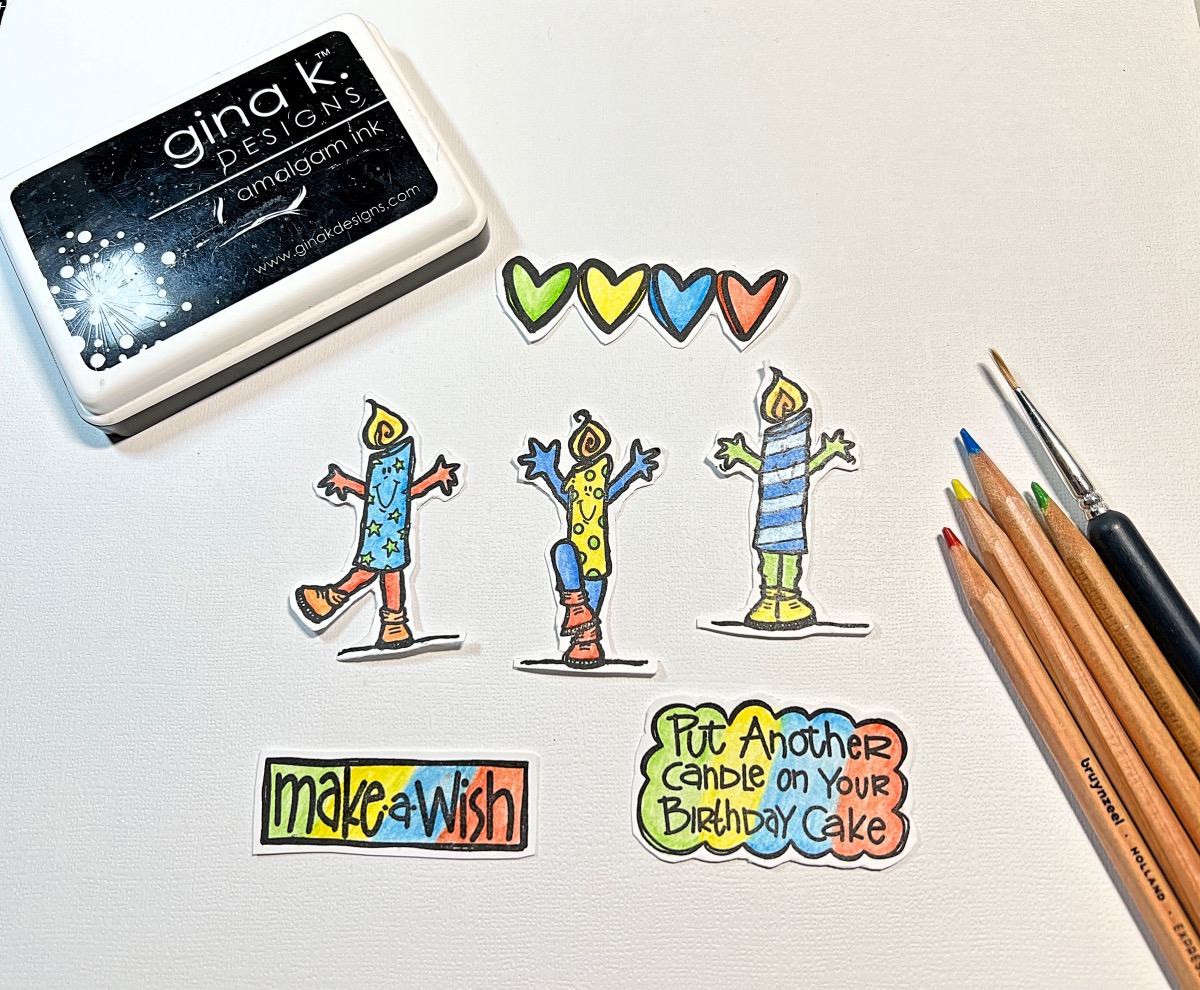
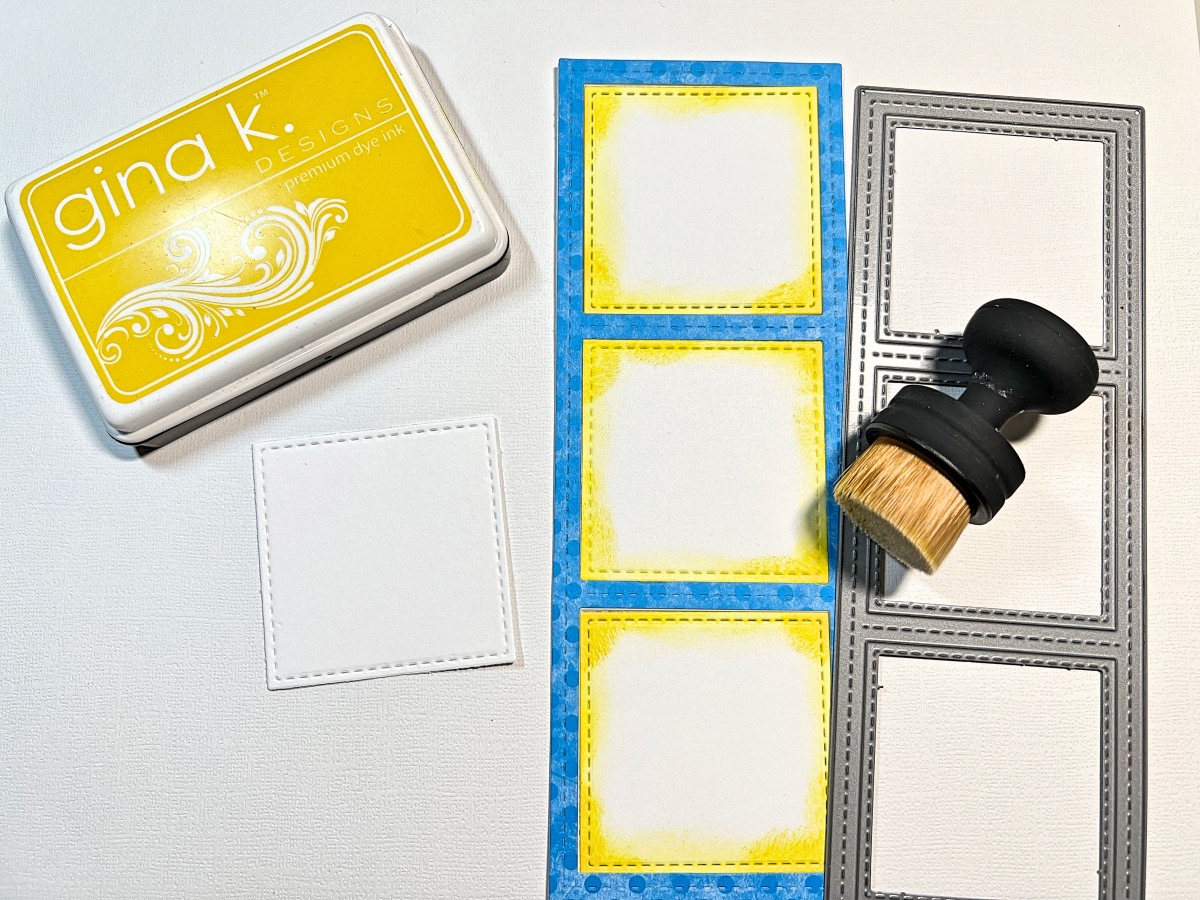
Die cut the layers as shown, and then die cut two pieces of white cardstock from the three panel die. This will help give stability to blue patterned paper. Using a black inkpad, stamp the images on white cardstock. Color the images and cut them out. Add some color around the squares with a blending brush.
Note: I did not use the larger sentiment on my finished card~
Steps Four, Five, Six:
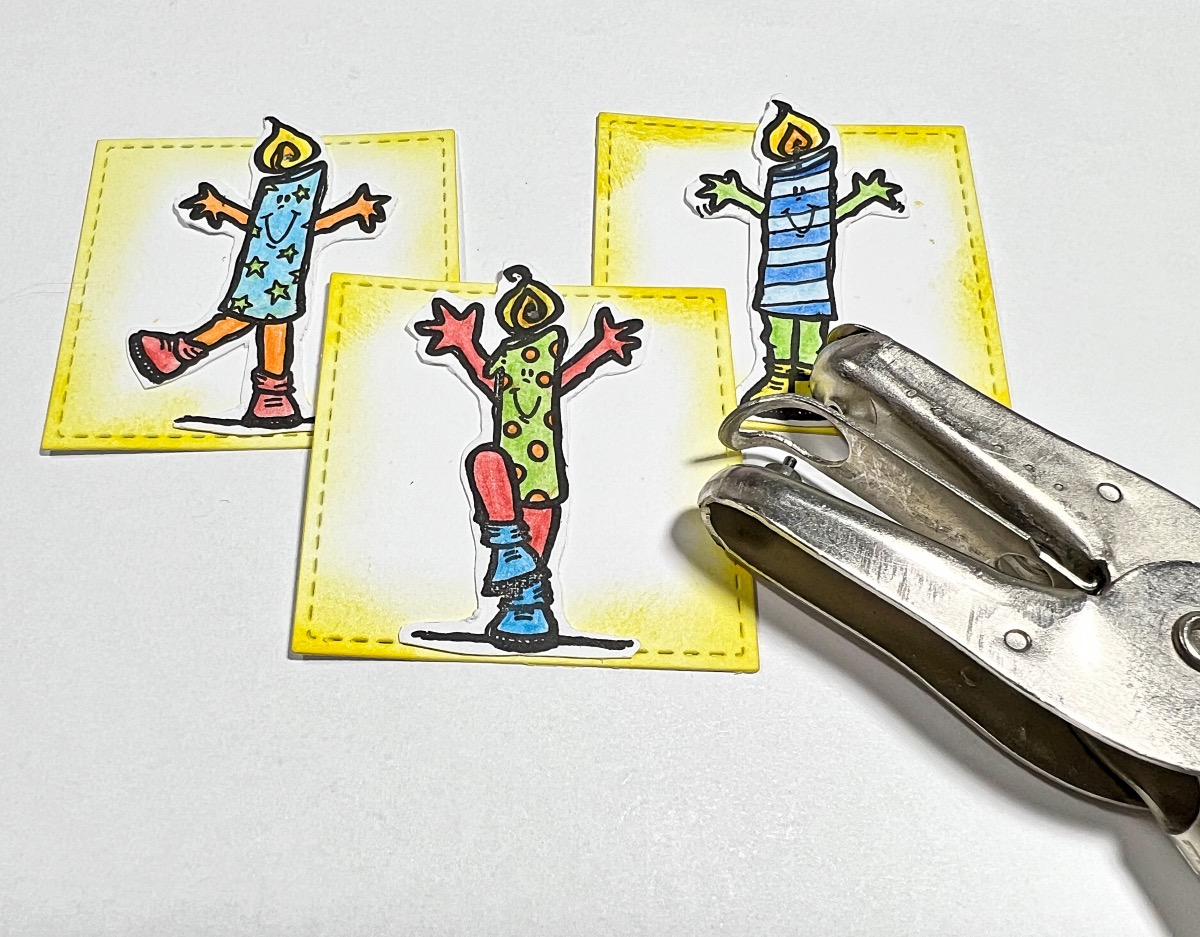

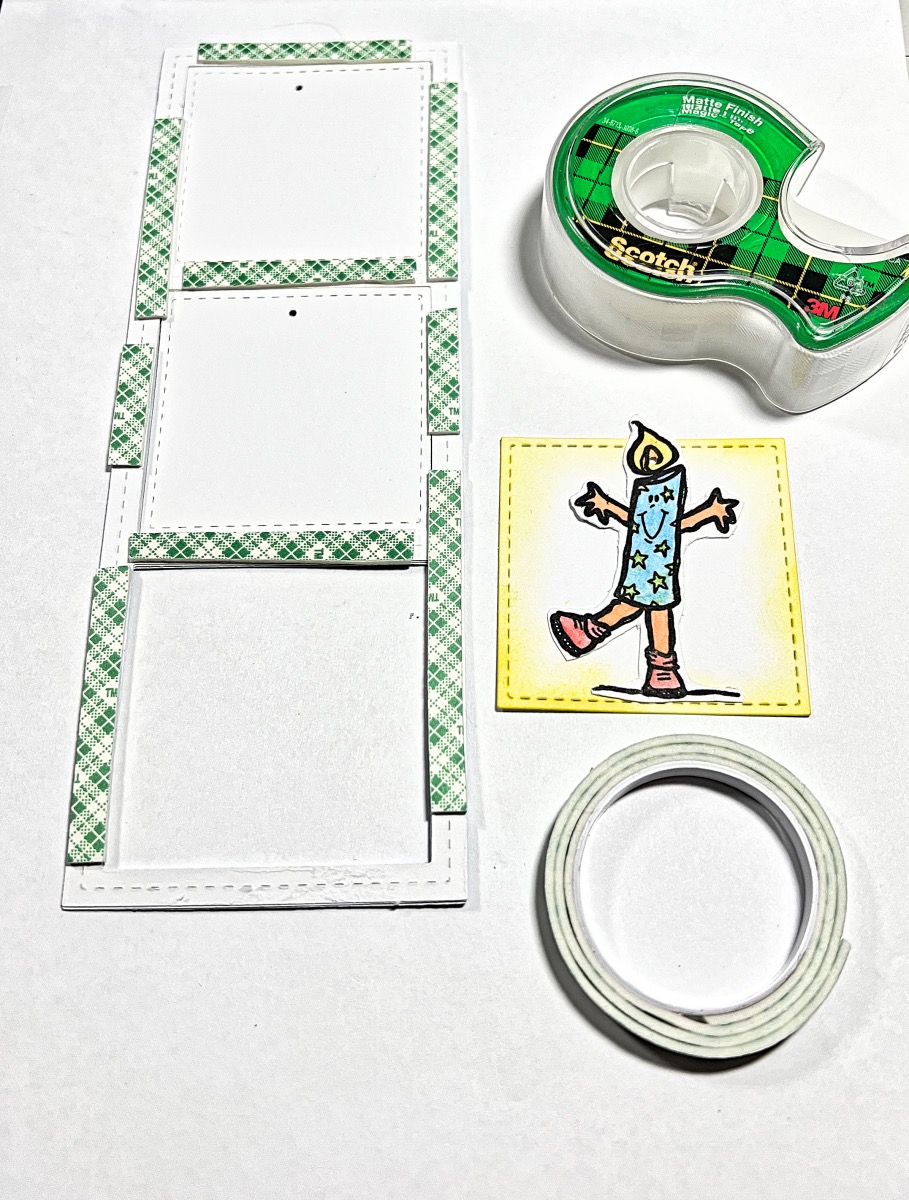
Adhere the candles to the squares. Use a 1/8″ hole punch and punch each candle flame. Cut a piece of blue cardstock 7 3/4″W x 8 3/4″H and fold in half to create card base. Adhere the star paper to the card base. Next, add foam tape to the yellow cardstock and adhere it to the card base. Add the squares to the back frame with scotch tape and then apply foam tape as shown in step six.
Steps Seven:
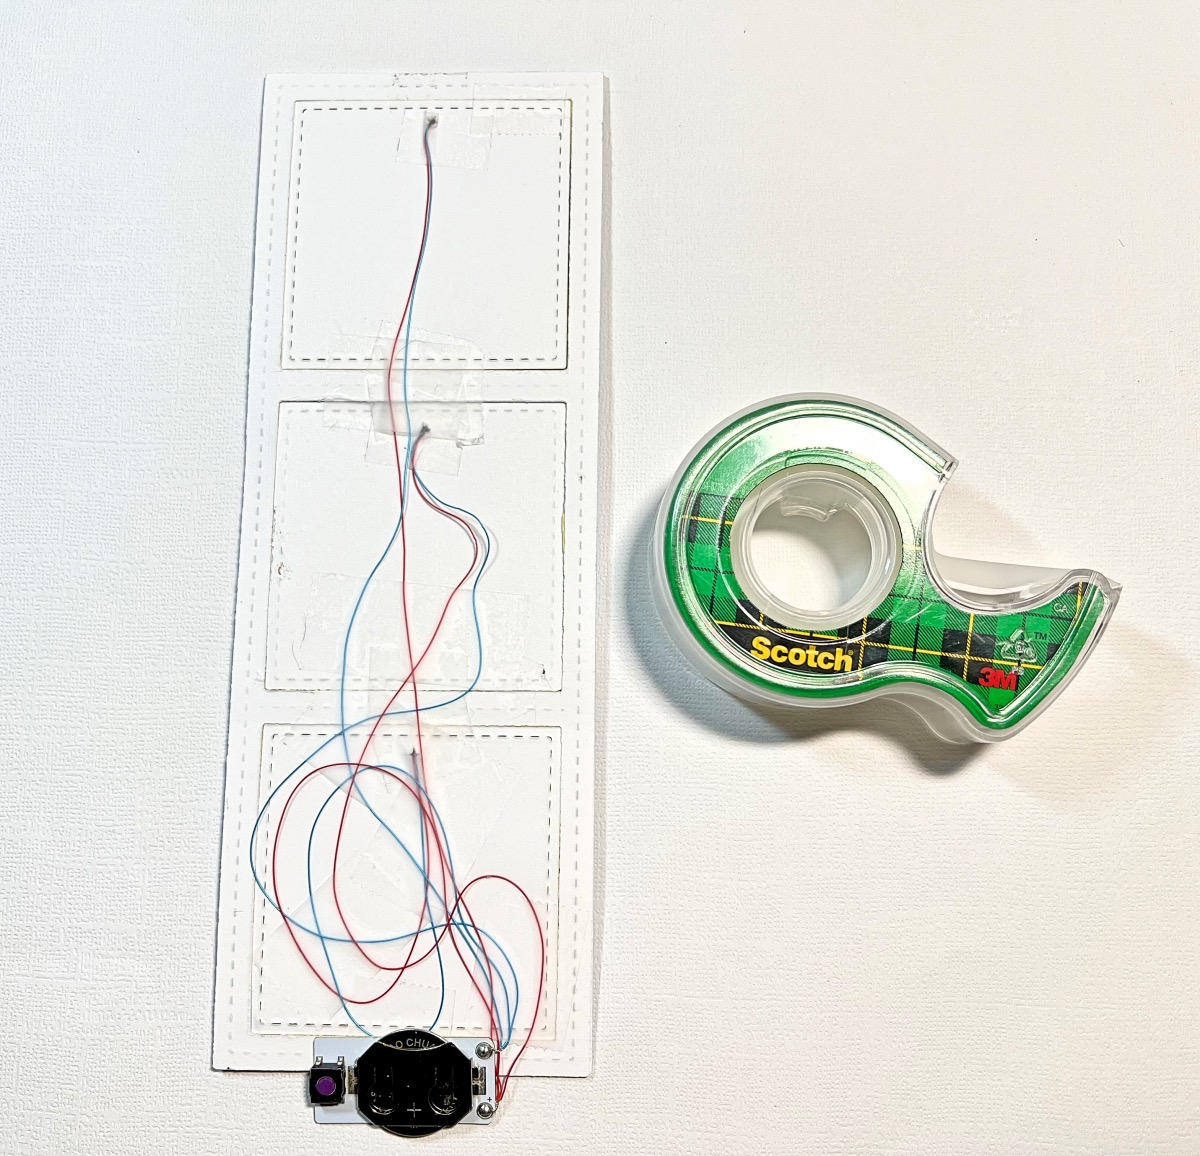
Push the lights through the holes and tape them down with scotch tape. Next, use the tape to attach the wires and the switch as shown. Before adhering to the card base, cut three pieces of green hemp cord 11″ long and wrap each piece around panel as shown in finished card. Once the card is put together, use a piece of double-sided tape to attach the “Make A Wish” sentiment to the bottom of the card to cover the switch.
Note: I took the photo above before I added the foam tape. You can do it either way.
For the Envelope~

Die cut two pieces of yellow cardstock, two pieces of patterned paper, one of blue cardstock, one piece of star paper, one piece of smaller yellow cardstock, two pieces of patterned paper for the bows and two for the circles. Assemble the envelope. Adhere the patterned papers to the front and back, and then adhere the small circles to the bows. Punch two holes for the bows and attach them to the envelope with two brads. Add a piece of green hemp cord and wrap around the bows. Adhere the heart image to the envelope.
Lighted Birthday Card
- Cardstock: Blue, Yellow, White
- Birthday Themed Patterned Papers
- Make A Wish Stamp Set by Impression Obsession
- E-Z Light by Pear Blossom Press
- Envelope Die Set (I bought mine on Amazon)
- Slimline Frame & Window Die by Newton’s Nook
- Amaglam Inkpad, Obsidian, Wild Dandelion by Gina K Designs
- Watercolor Pencils by Royal Talens
- Hemp Cord, Green
- Brads, (2)
- Zip Dry Paper Glue by Beacon Adhesives
- Foam Tape
- Scotch Tape
- Double-Sided Tape
- Big Shot Die Cutting Machine
- Scissors
- Hole Punch, 1/8″
- Blending Brush by Pink and Main
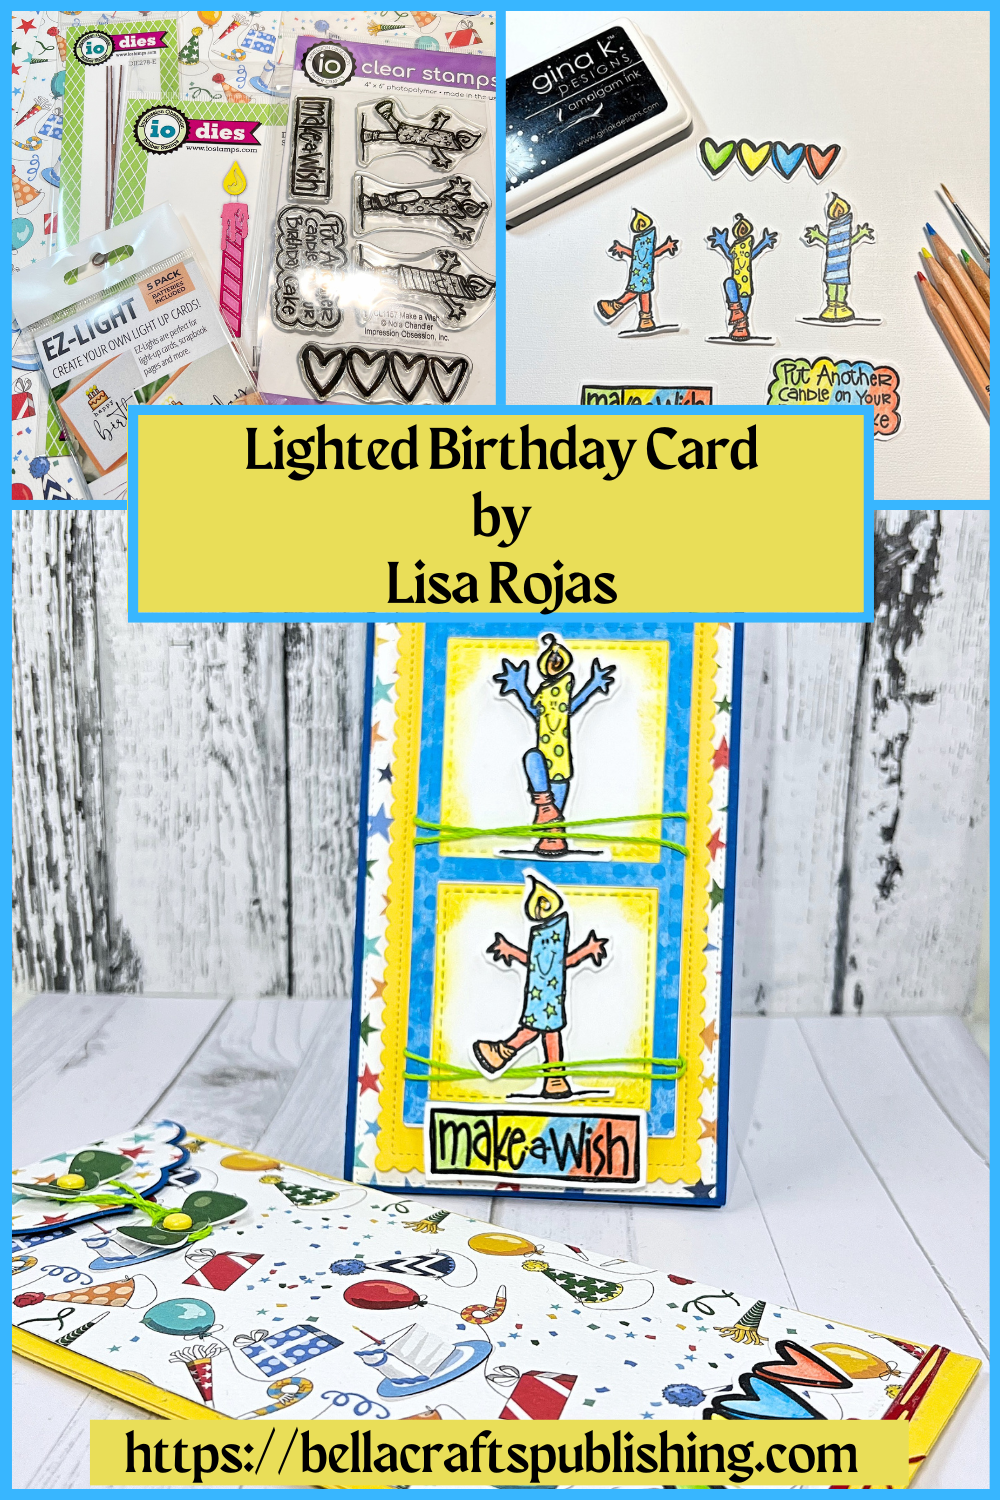
One more PIN of the Lighted Birthday Card to share