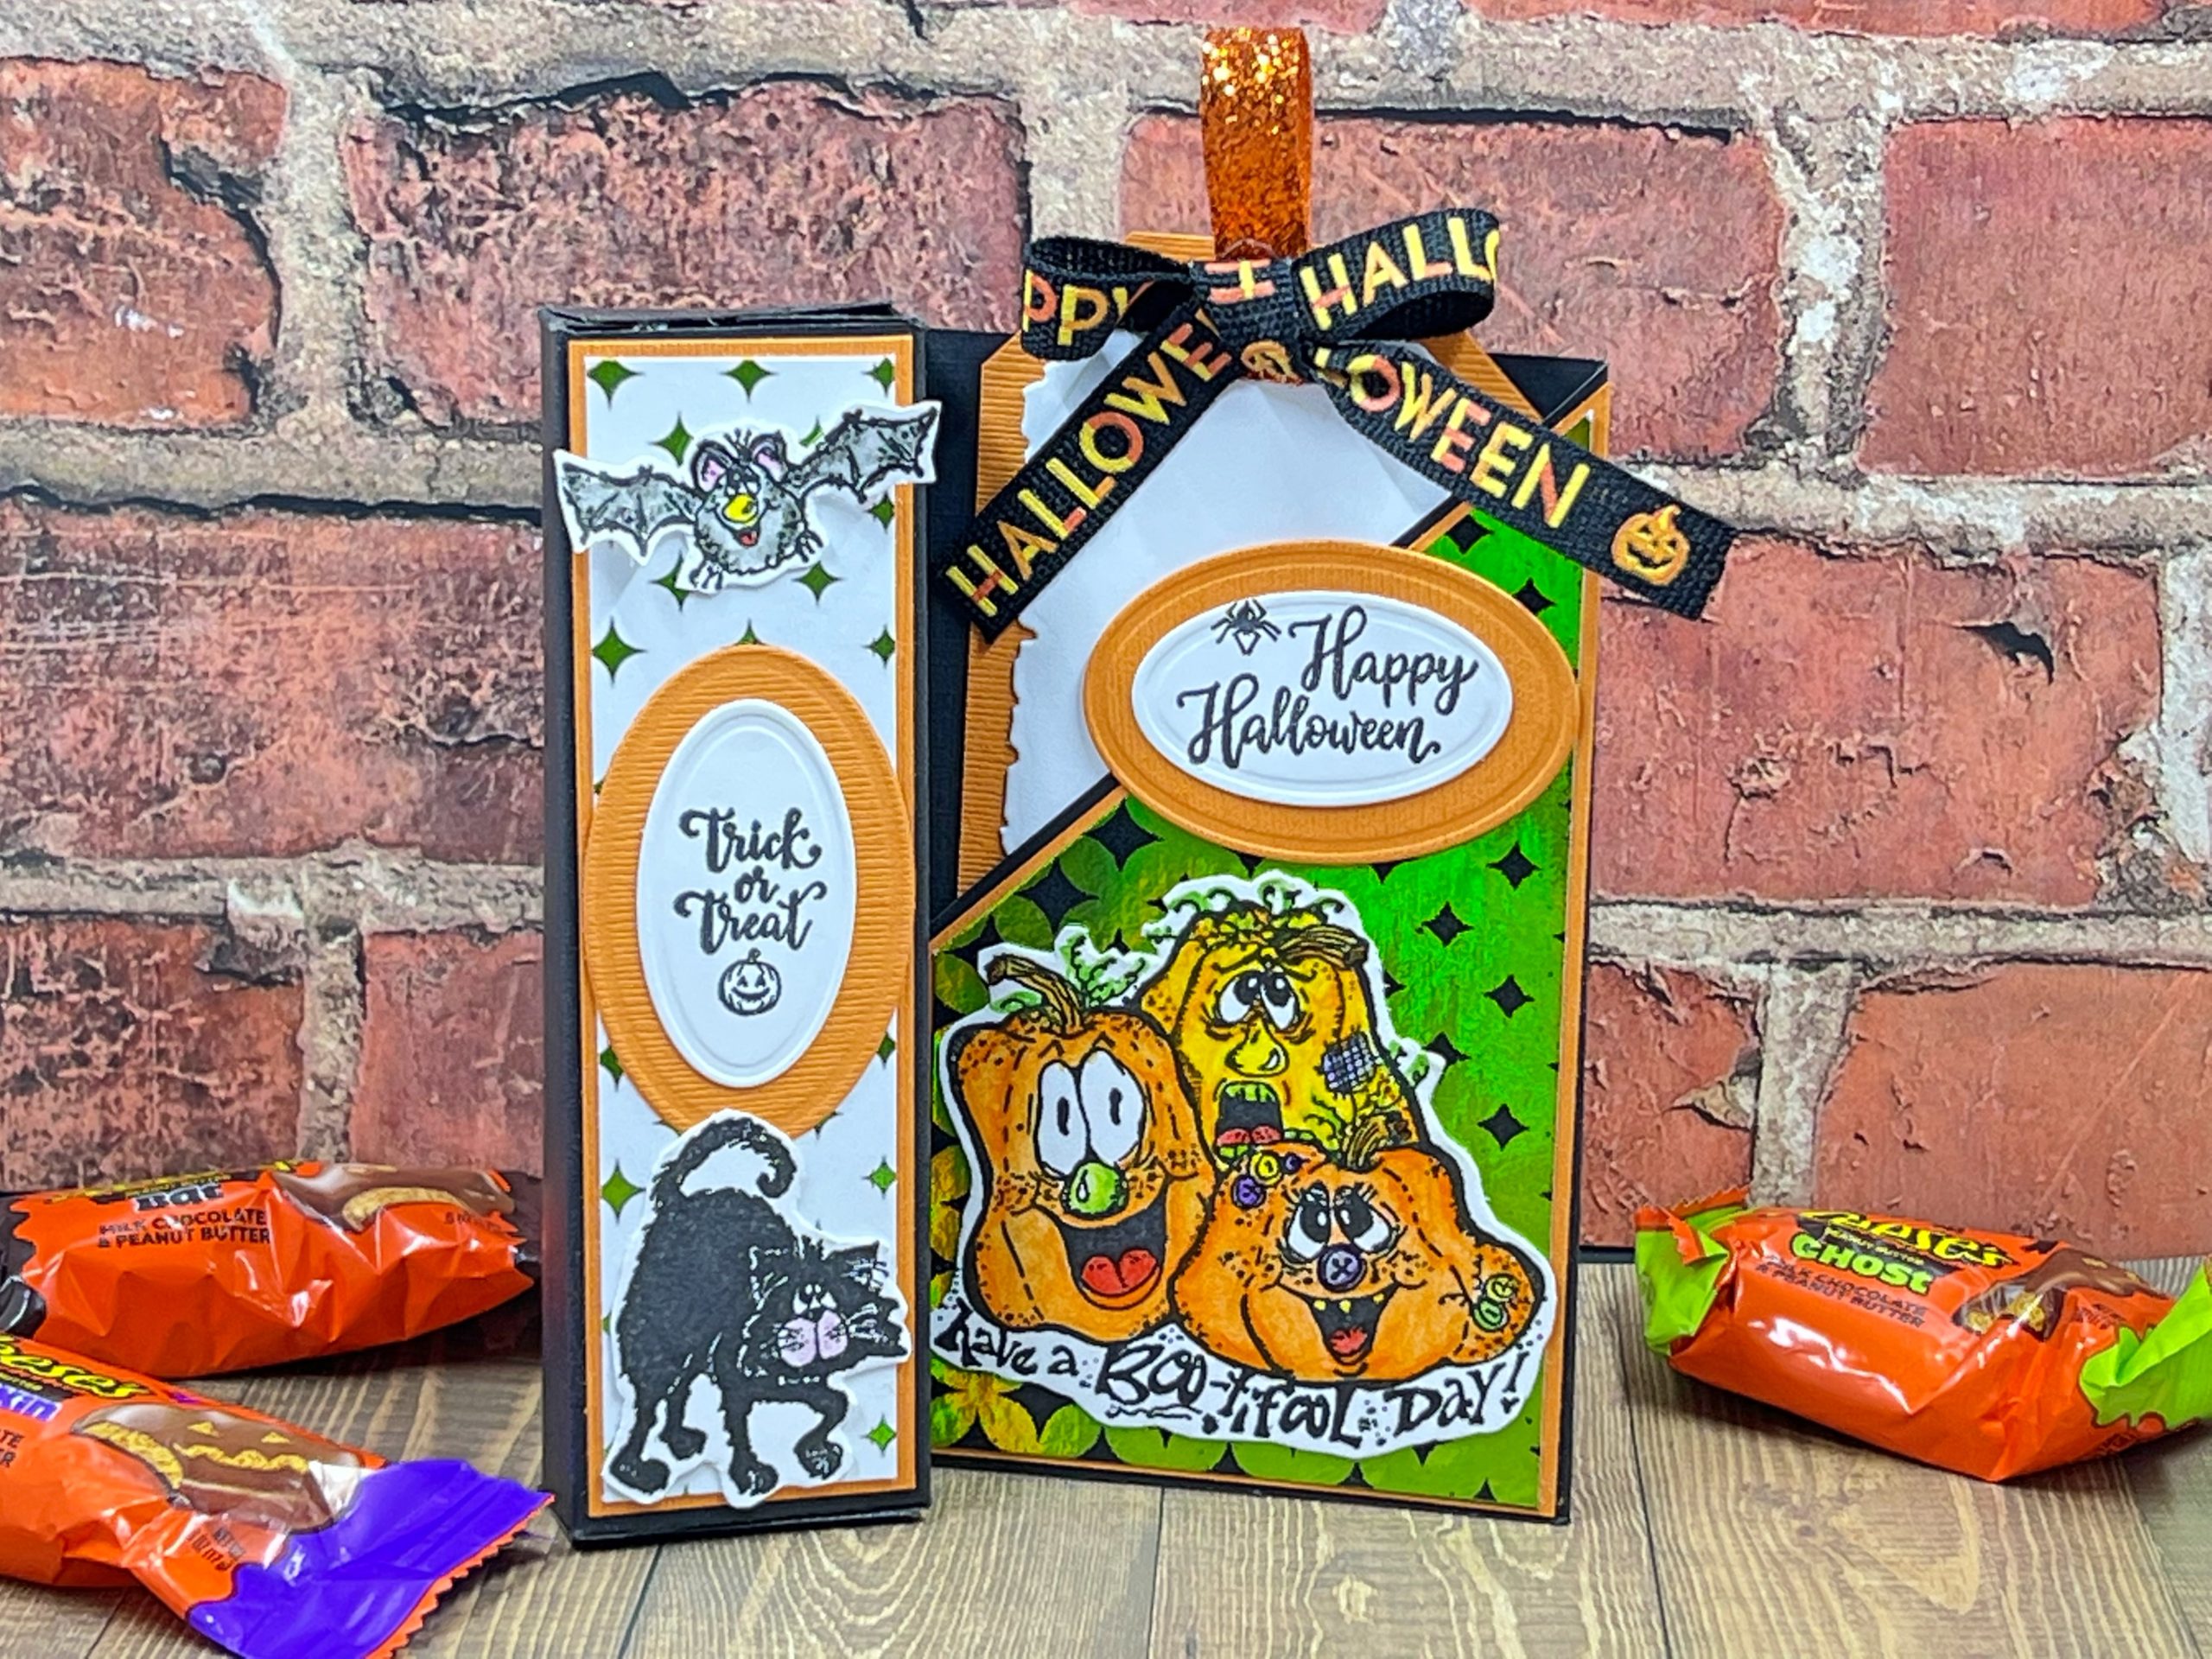
What a fun way to give out candy! Your trick or treaters will love getting this Halloween Treat Card!
Please note: This post contains affiliate links. If you use these links and make a purchase, we earn a commission at no extra cost to you…
For this project, I wanted to create my own background paper instead of the typical patterned papers. I used some awesome toner papers from Ann Butler Design and fabulous Deco Foil from Therm O Web to create my Halloween Treat Card and I just love the results! I hope you give it a try. Have fun! Lisa~
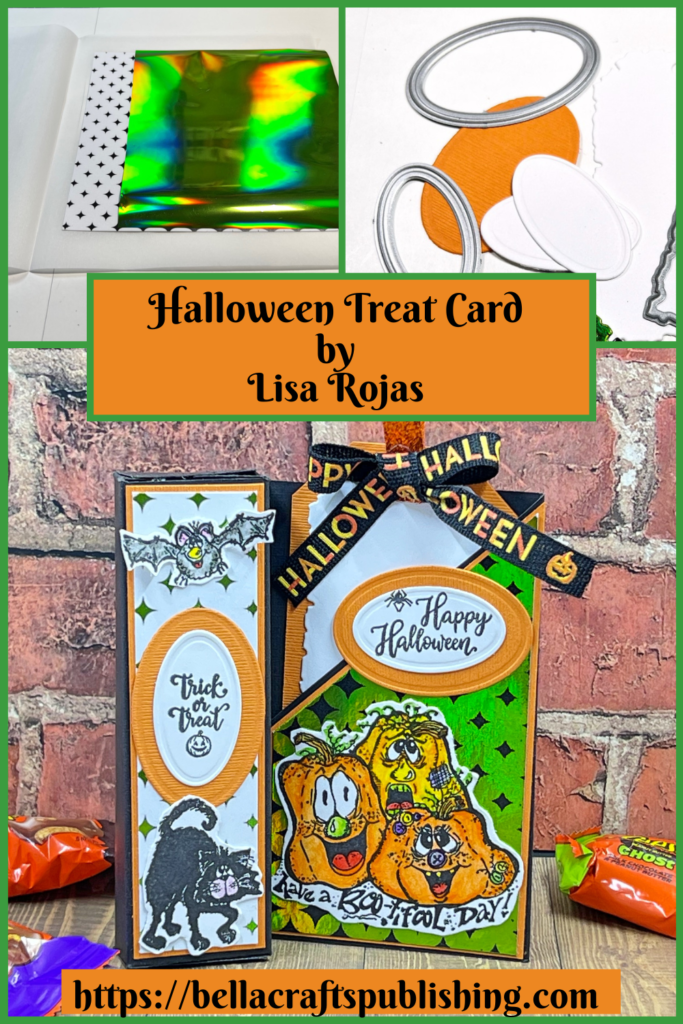
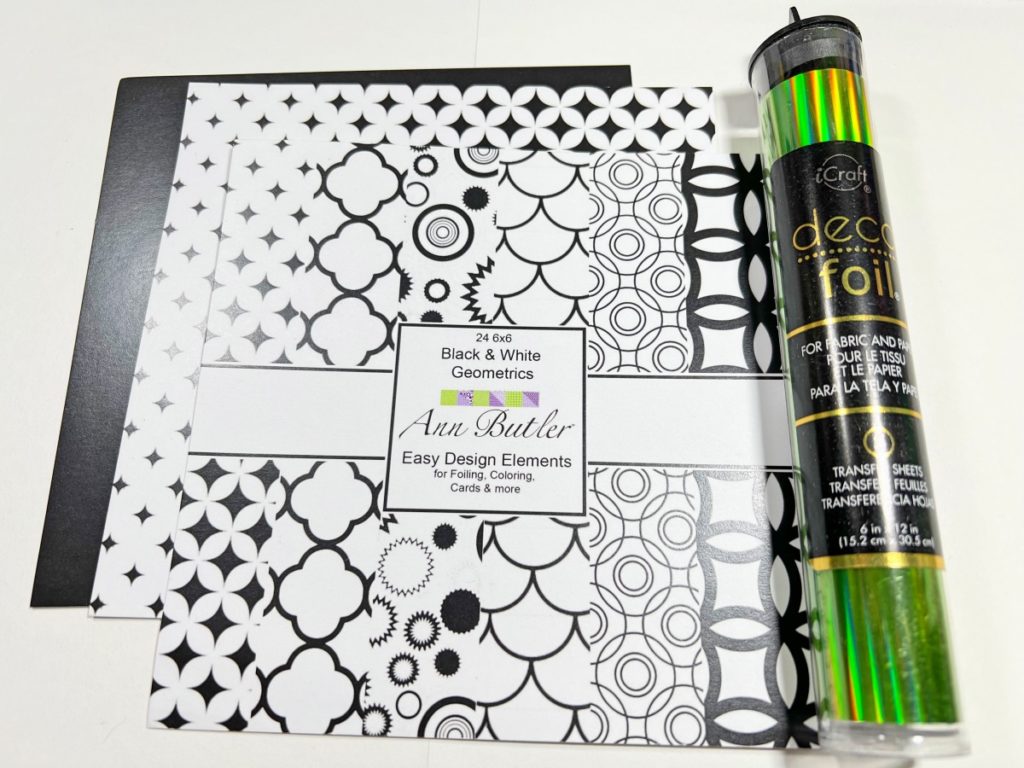
Supplies for Halloween Treat Card
Check out the end of this post for a full supplies list
Steps One, Two, Three:

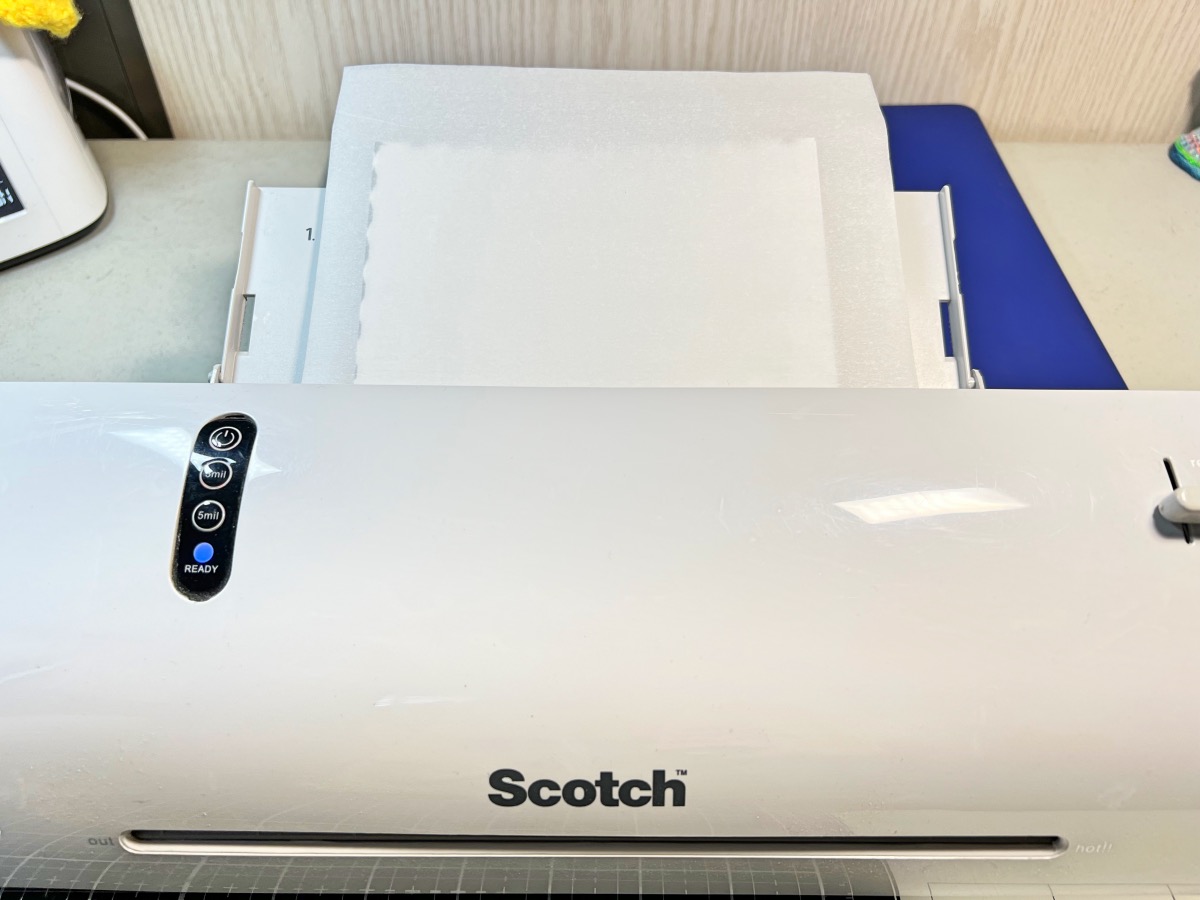

Lay a piece of Deco Foil on top of the patterned toner paper.
Place inside a piece of parchment paper and run it through a hot laminator. Remove the foiled papers from the laminator and peel the foil off.
Repeat steps one and two with a solid black toner paper. You will now have two pieces of foiled papers.
Steps Four, Five, Six:

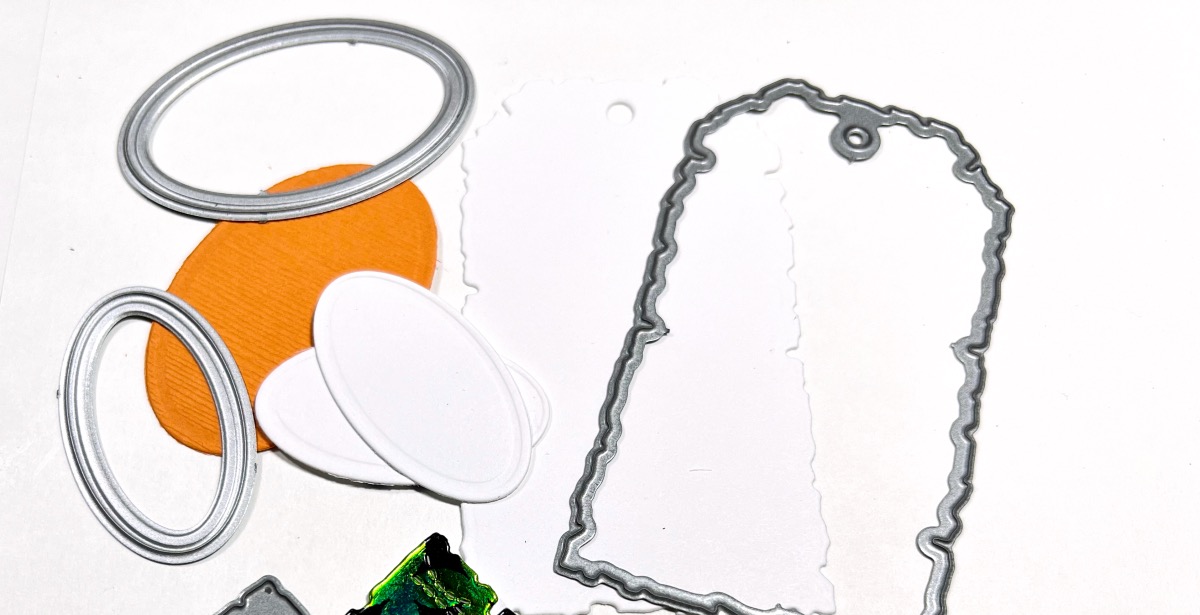
Cut the papers as follows: black cardstock- 11″W x 7″H, orange cardstock- 1 3/8″ x 4 7/8″ and 2 7/8″ x 4 7/8″. Foiled papers- 1 1/4″ x 4 3/4″ and 2 3/4″ x 4 3/4″. white cardstock for tag- 2 1/4″ x 4″ and orange cardstock for tag- 2 1/4″ x 4″.
Use scrap pieces of orange cardstock and white cardstock and die cut two ovals from each color. Die cut the tag from white cardstock.
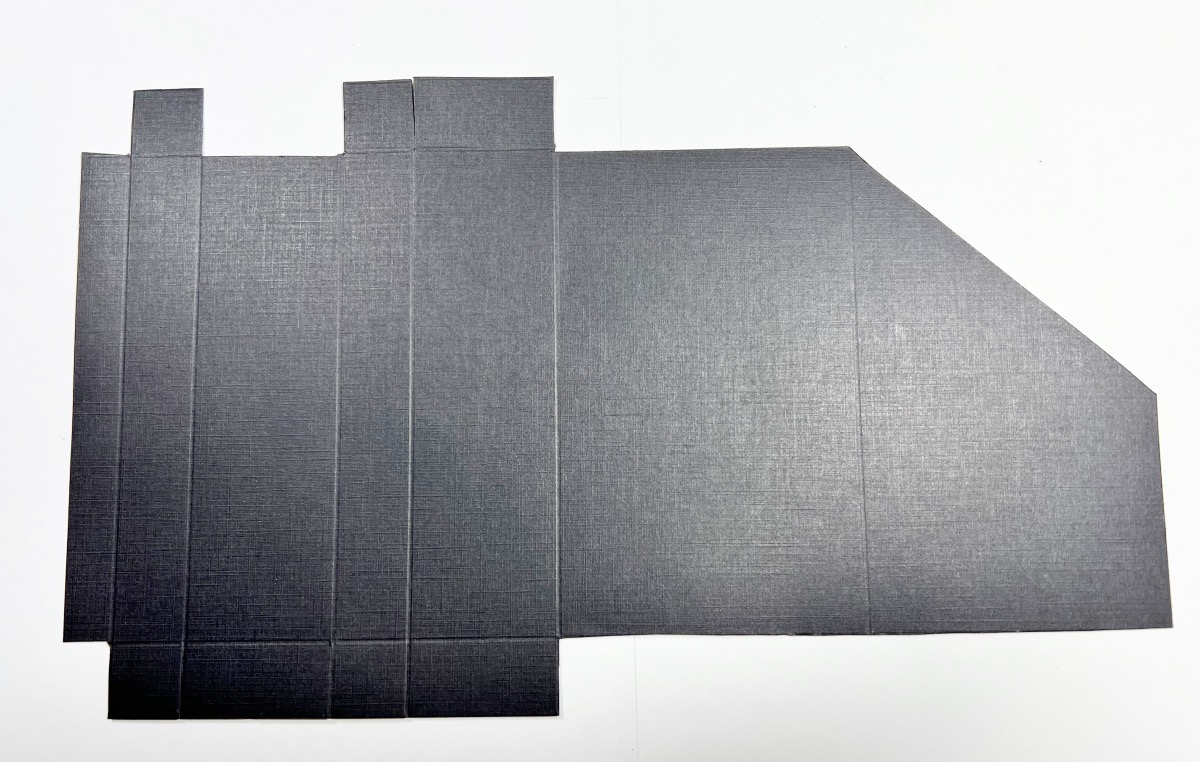
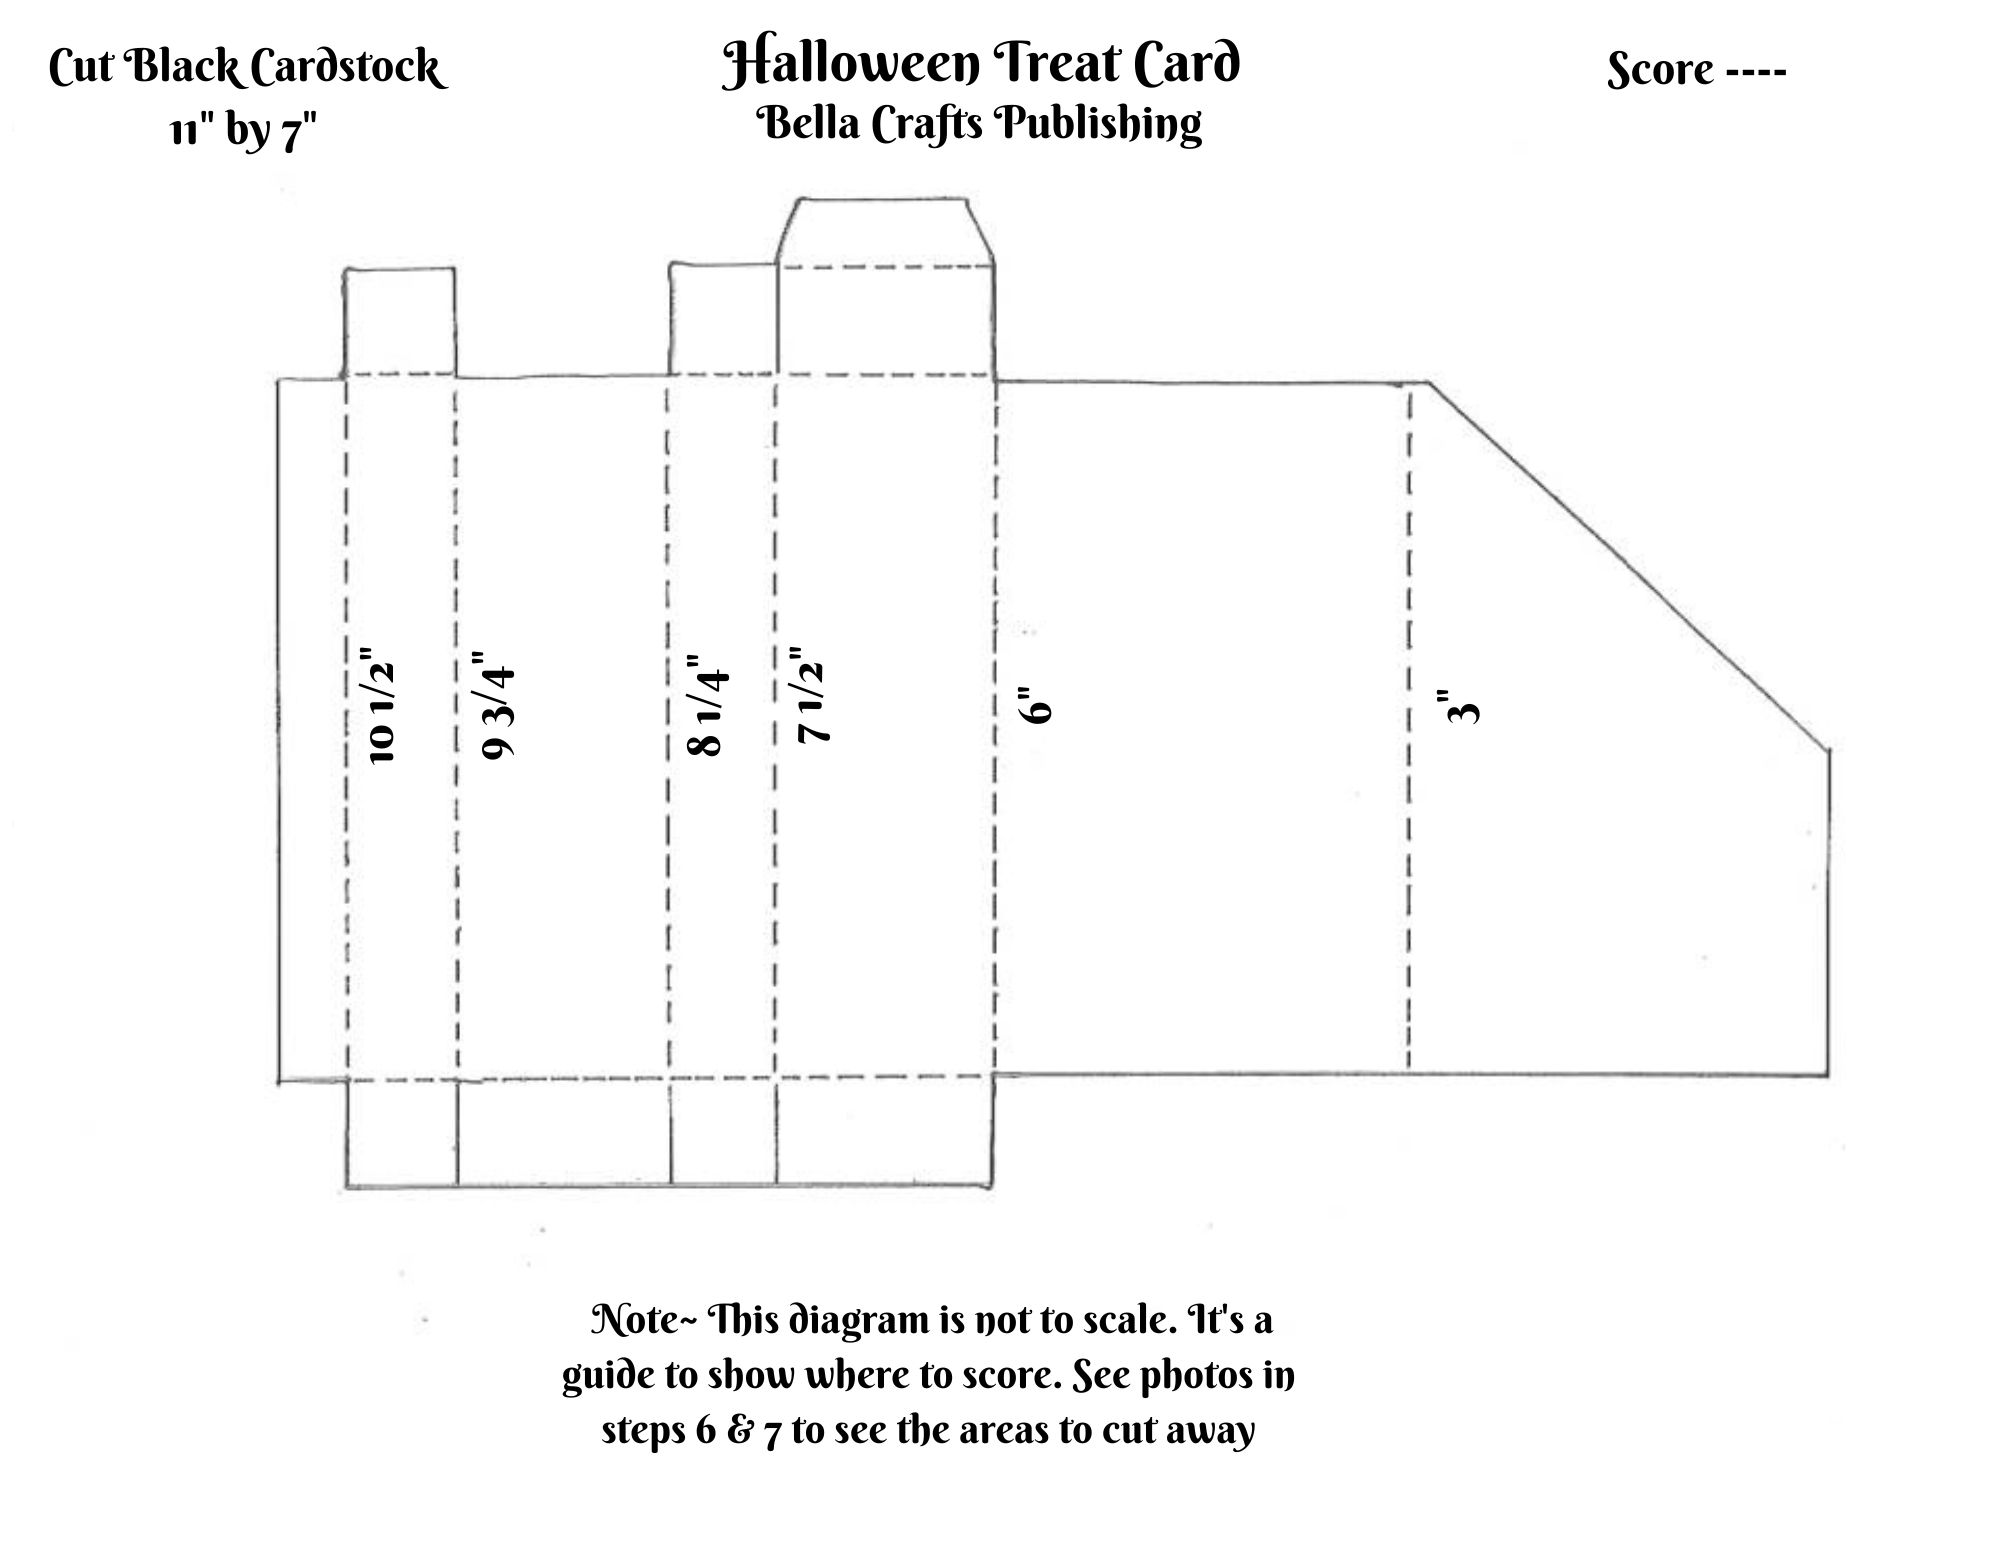
Starting from the ride side, score the long side of the black cardstock as follows: 3″, 6″, 7 1/2″, 8 1/4″, 93/4″ and 10 1/2″. Score the shorter piece-1/2″, 1 1/4″ and 6 1/4″. See photo and diagram if needed.
Steps Seven, Eight, Nine:
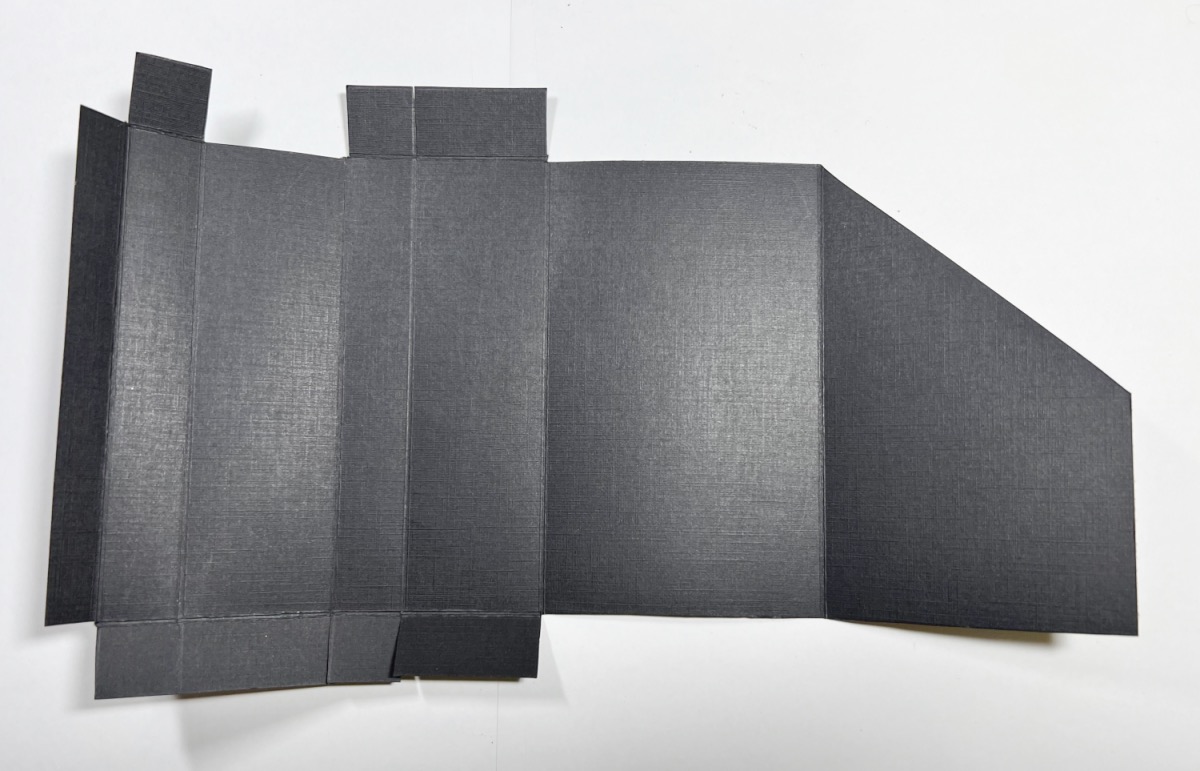

Using the diagram below to see what areas to cut away and fold the cardstock along score lines. Assemble and adhere the box portion of the card. Fold the right side of the cardstock and adhere the bottom and side to form the tag pocket.
Cut a diagonal from the orange cardstock and green foiled paper and then cut each piece 1/8″ smaller to layer the tag pocket.
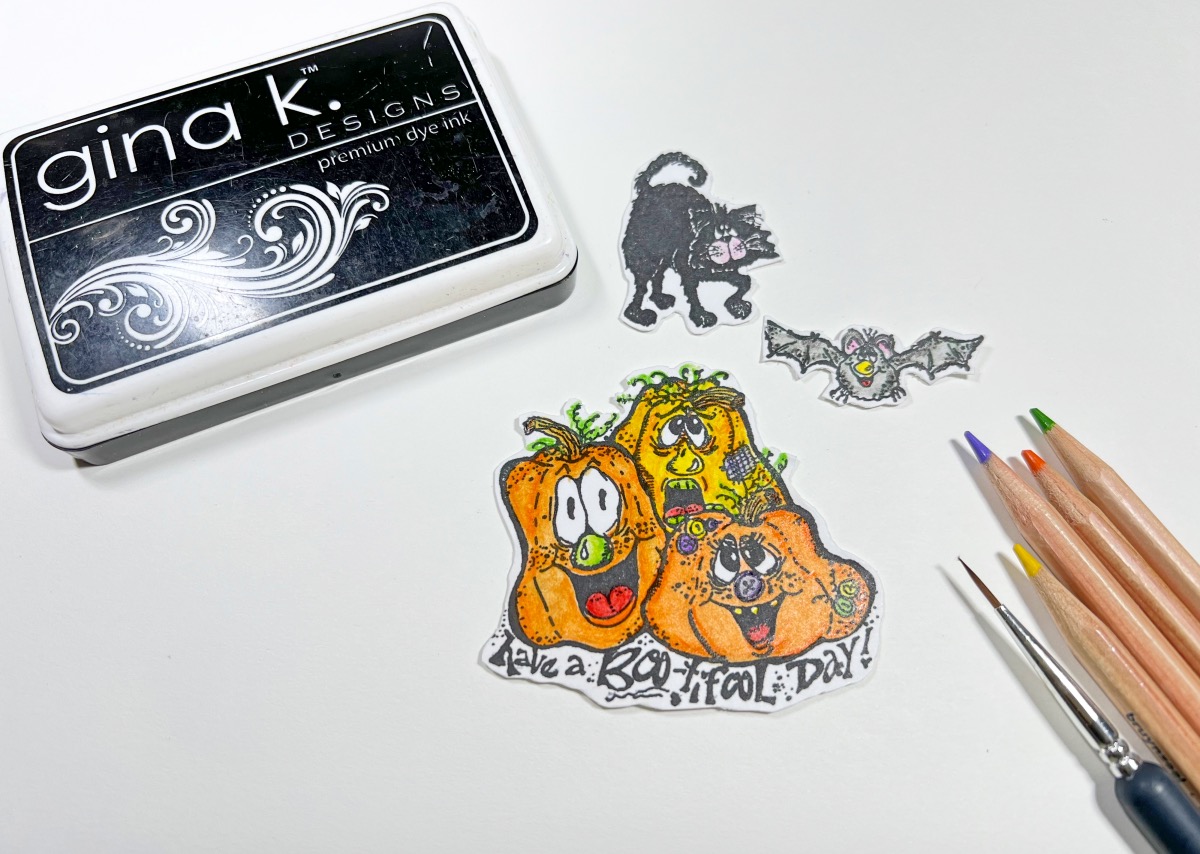
Stamp the images on white cardstock with a black inkpad. Color the images with watercolor pencils and cut them out. To finish the card, layer and adhere the foiled papers to the black cardstock. Stamp the sentiments on the white oval and adhere them to the orange ones. Attach the stamped images to the card. Cut the orange cardstock into a tag shape and adhere it to the white tag. Adhere the ribbons to the tag. Add some candy inside the box and you’re done!
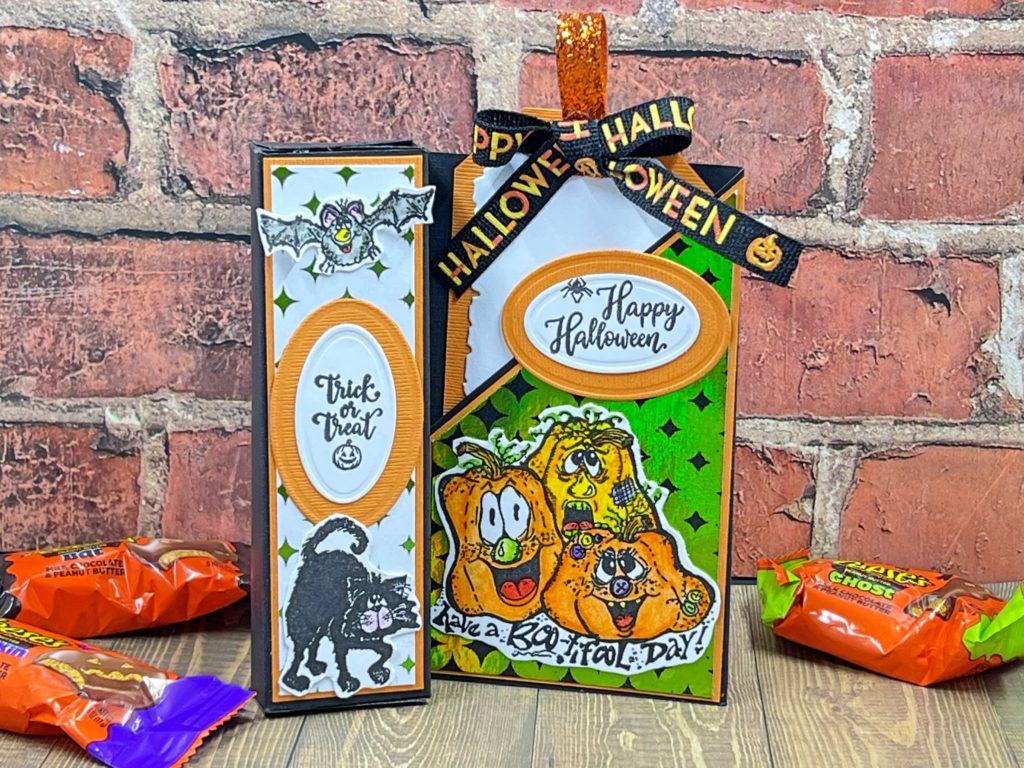
Halloween Treat Card
- Diagram
- Candy
- Cardstock: Black, White, Orange
- Black & White Geometrics Toner Paper by Ann Butler Designs
- Black Toner Sheets by Ann Butler Designs
- Deco Foil, Lily Pad by Therm O Web
- Parchment Paper
- Amalgam Inkpad, Obsidian by Gina K. Designs
- Watercolor Pencils by Royal Talens
- Halloween Stamps
- Ribbons
- Zip Dry Paper Glue
- Oval Dies
- Tag Die
- Die Cutting Machine
- Scissors
- Paper Trimmer
- Hot Laminator Machine
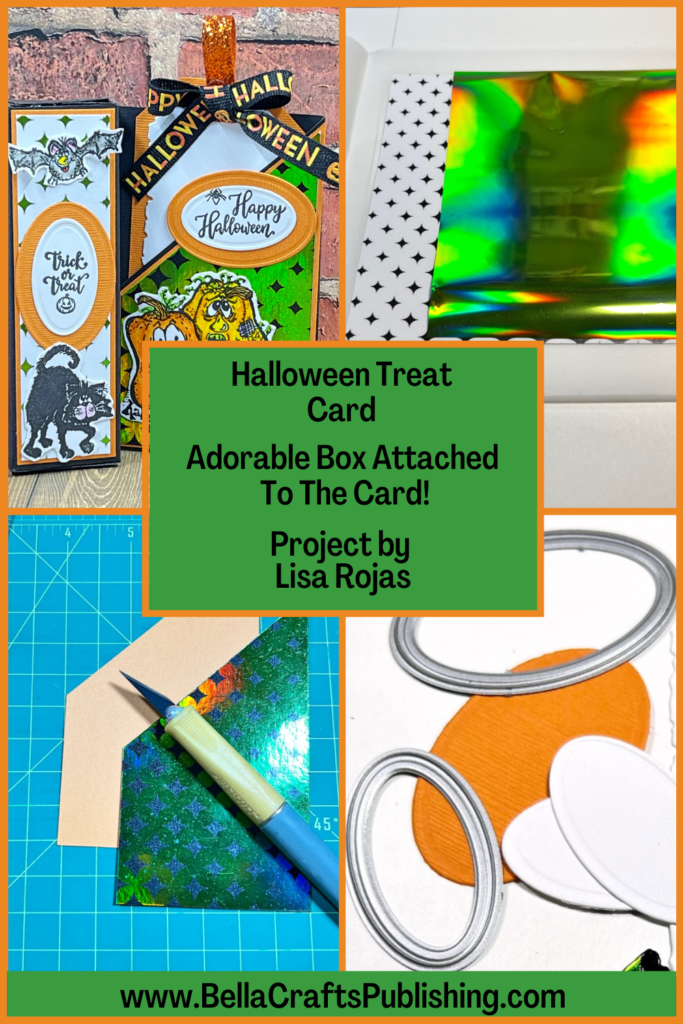
One more PIN of the Halloween Treat Card to share

Trackbacks/Pingbacks