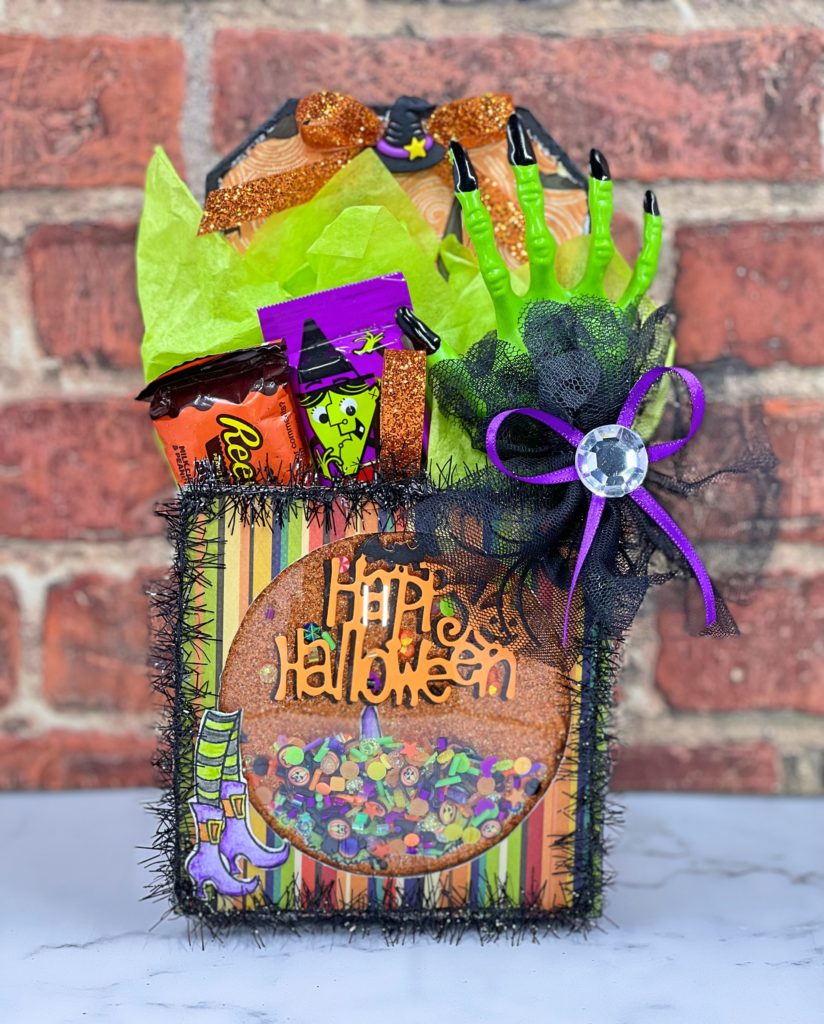
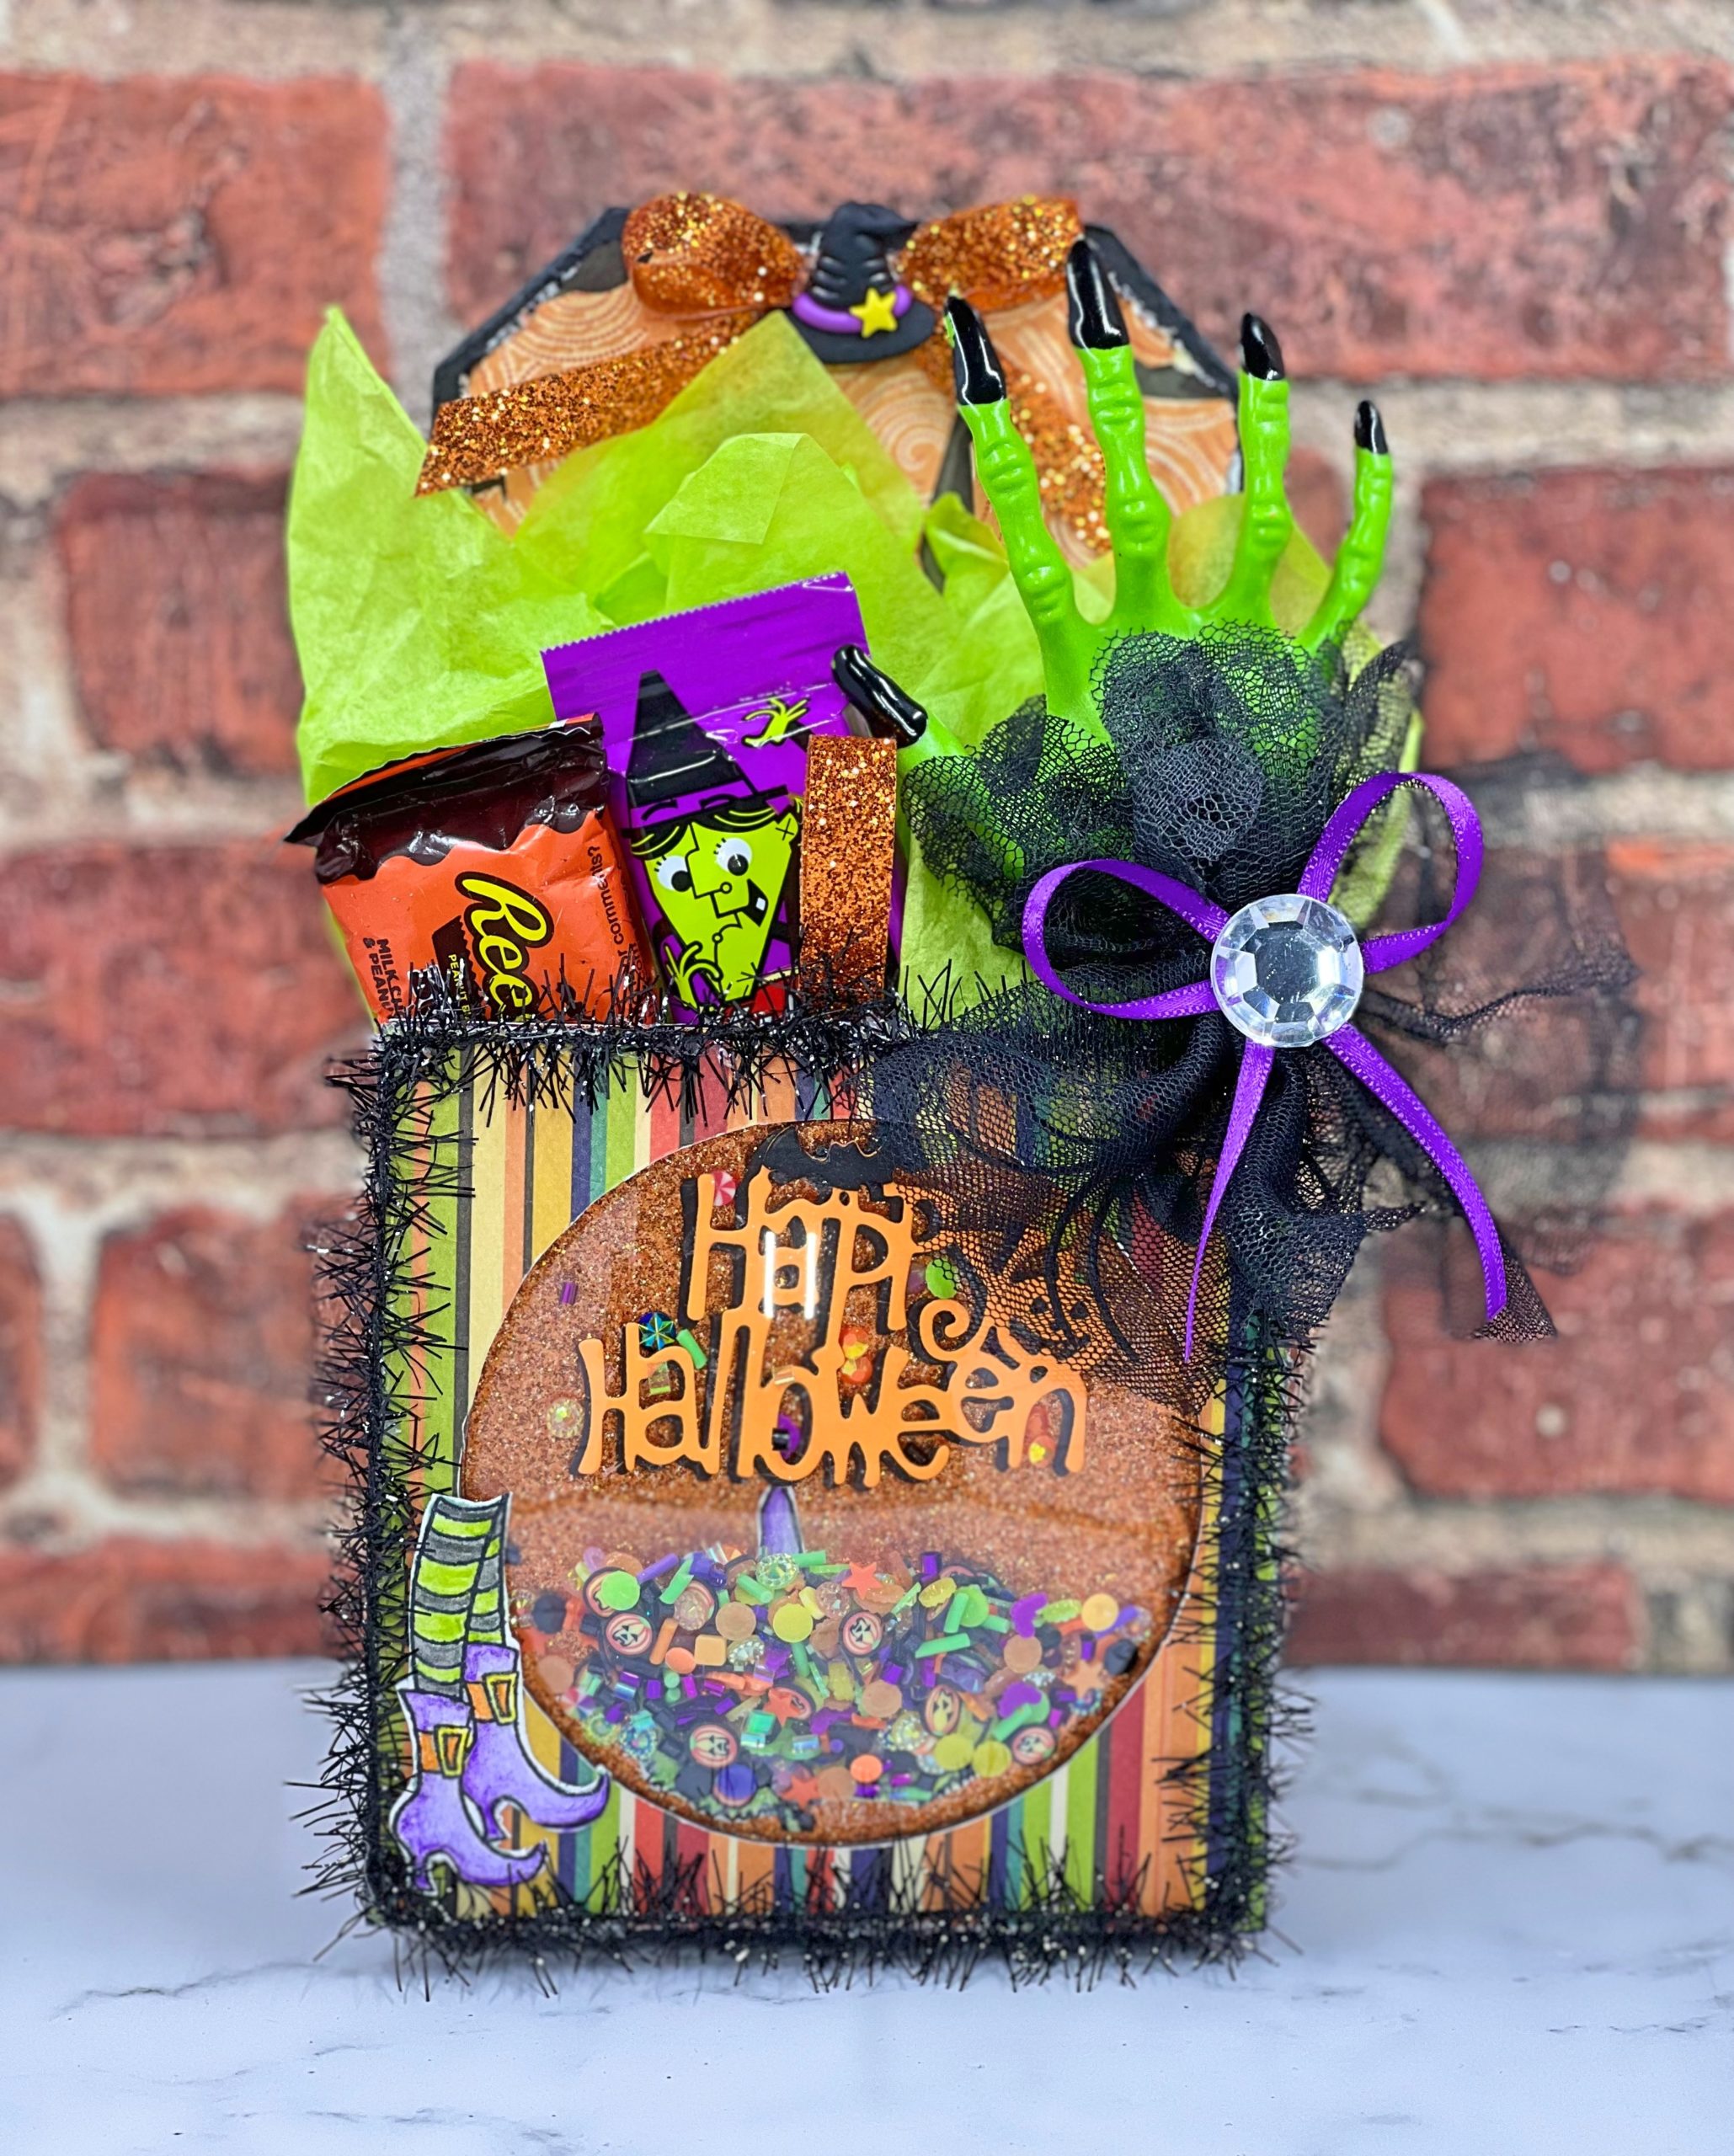
This Halloween Shaker Tag Box is a perfect project to create for all of the Trick or Treaters in your life!
Please note: This post contains affiliate links. If you use these links and make a purchase, we earn a commission at no extra cost to you…
Every Halloween I like to create something fun to put goodies inside for my grandkids. Since I have two teenagers and two younger ones, I wanted to make something that they all would love. The tag box is great to put small gifts, candy and money which my teenagers would like and the detachable shaker element is super fun for my younger grandkids to play with or hang up in their bedrooms. The awesome embellishments from Buttons Galore and More were absolutely perfect for the shaker!
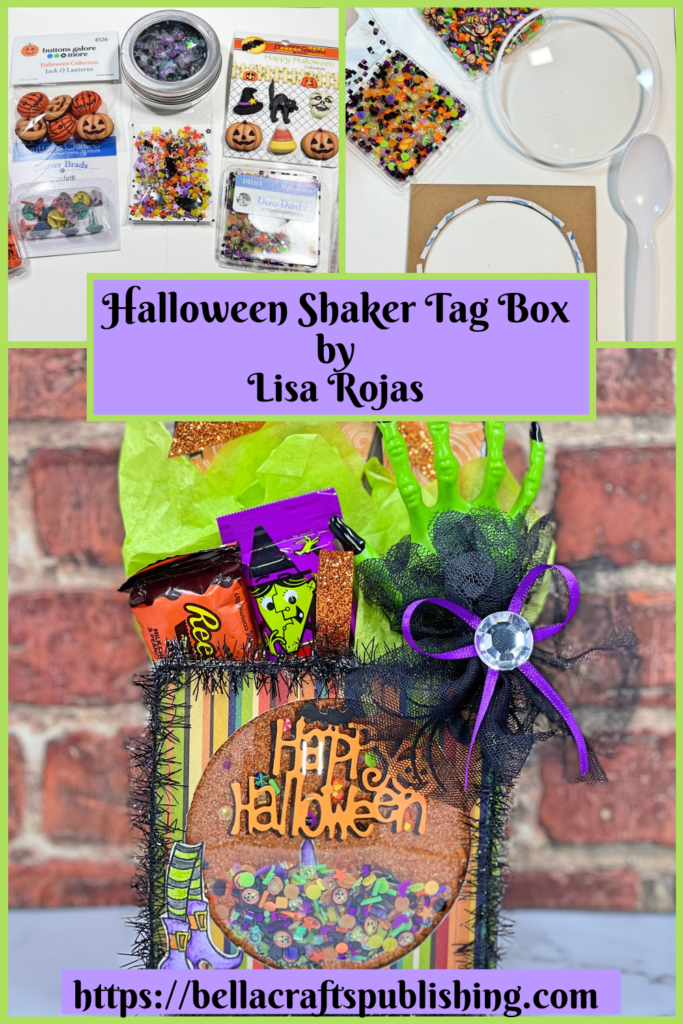
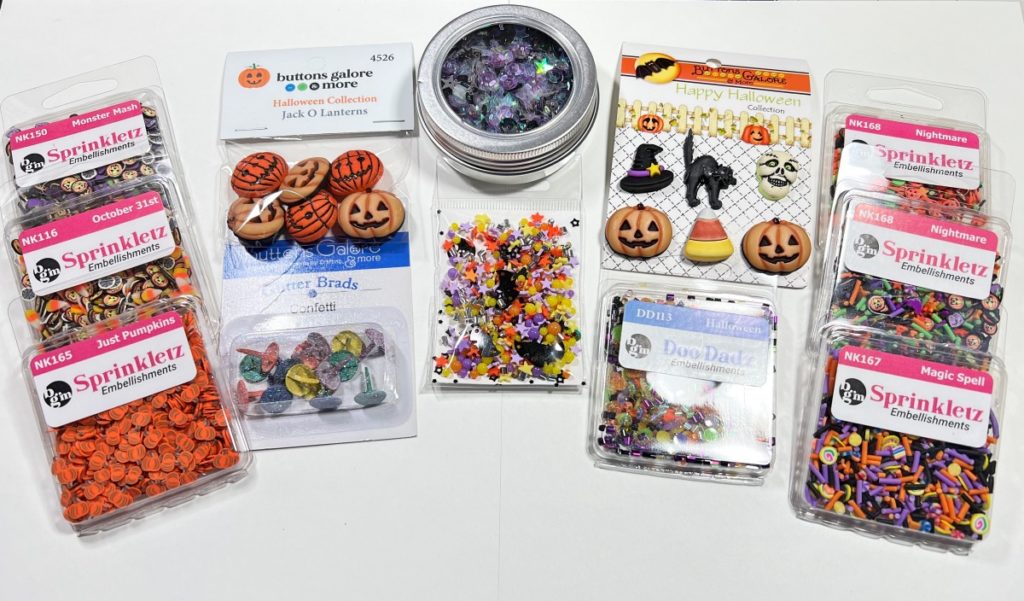
Supplies for Halloween Shaker Tag Box
See the complete list of supplies at the end of this post.
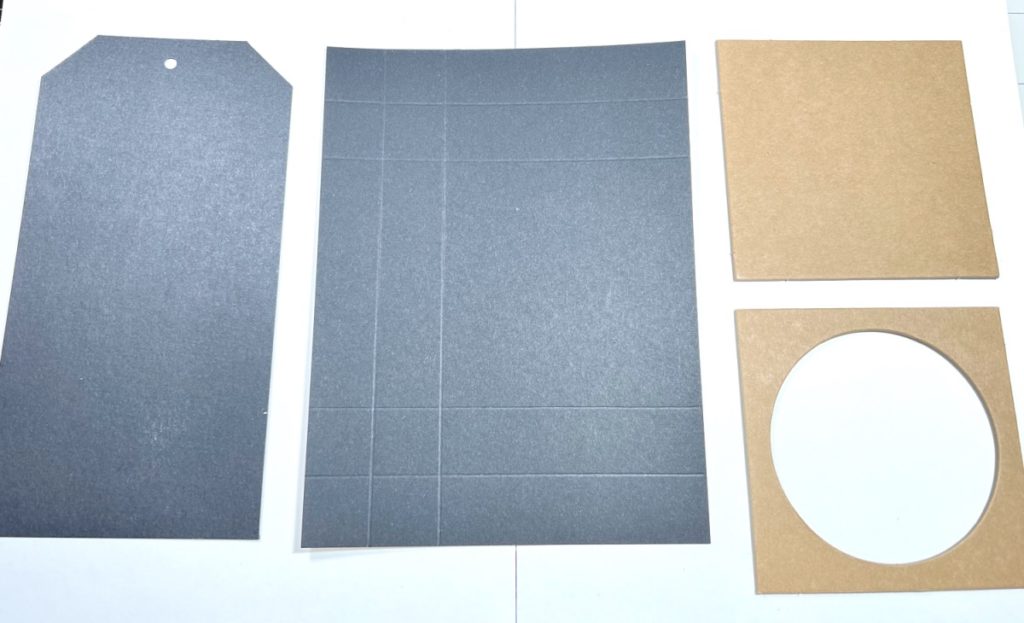
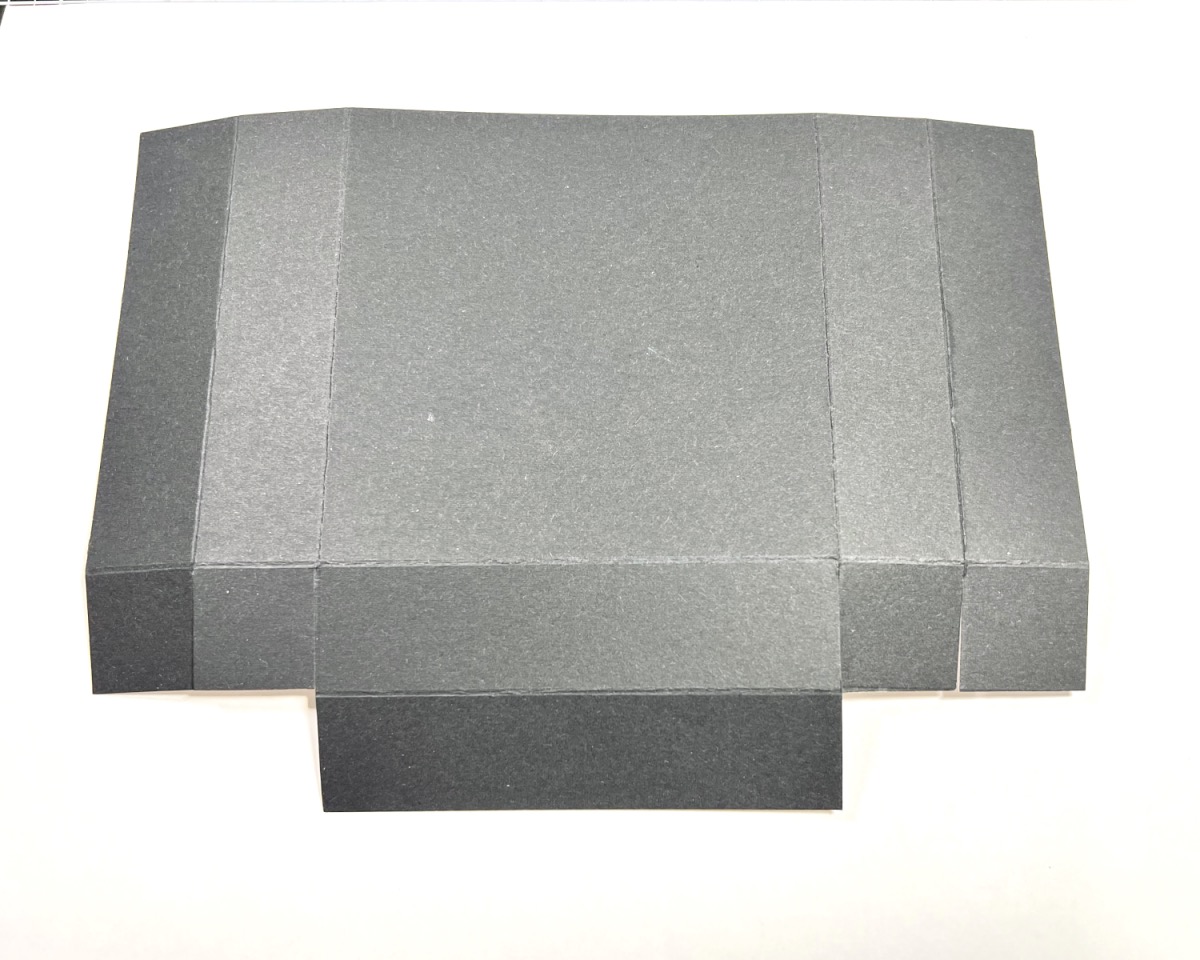
Steps One, Two, Three:
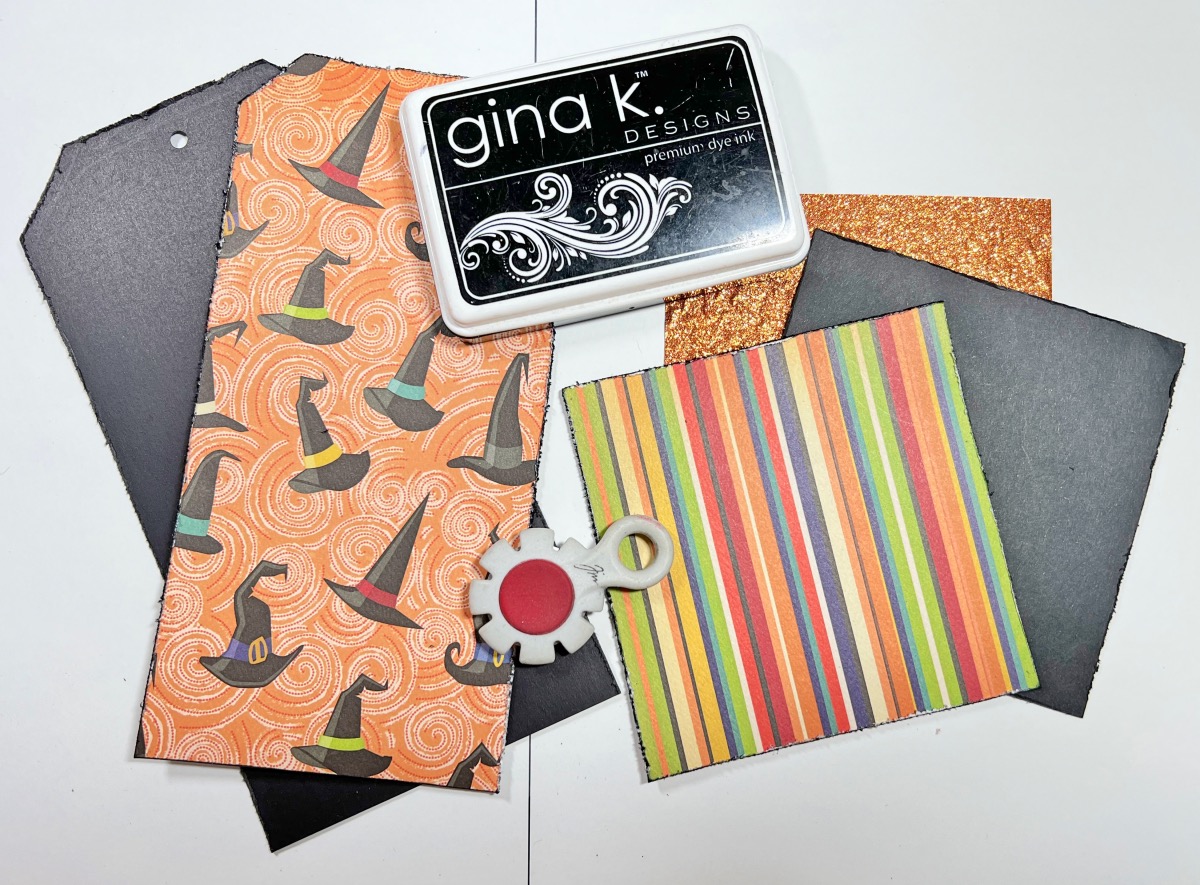
Tag Box- Cut black chipboard 8″ x 4 ” and cut into tag shape. Cut another piece of black chipboard “8 x 6″. Score at 1″, 2″, 4″, 5″ and 6″ and then score at 4″ and 5″ across the bottom. Fold score marks and cut off the bottom two squares. Make a slit on the two bottom squares that are left to the score mark. Assemble the box. Cut patterned paper for tag, 7 3/4″ x 3 3/4″. Cut striped patterned paper, black cardstock and orange glitter papers 4 1/4″ x 4 1/4”. Destress and add ink around the edges with black inkpad.
Steps Four, Five, Six:
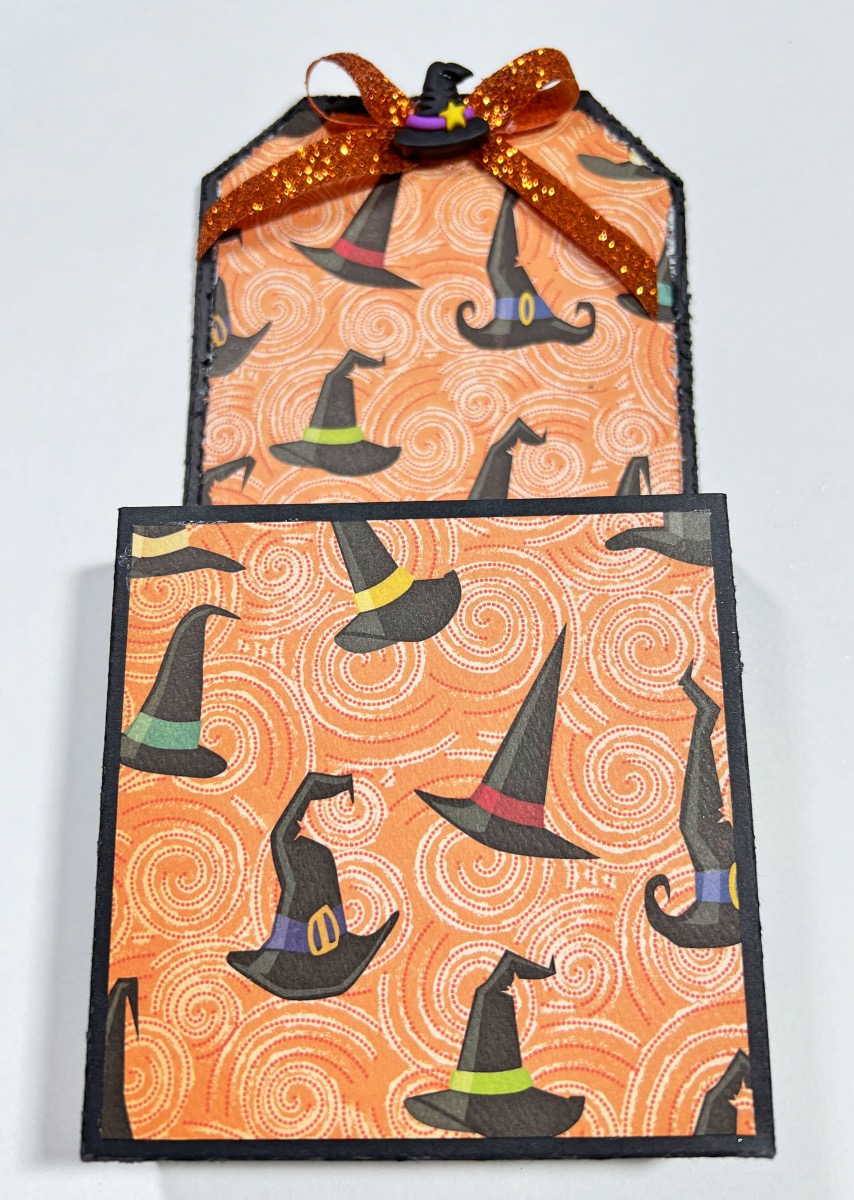
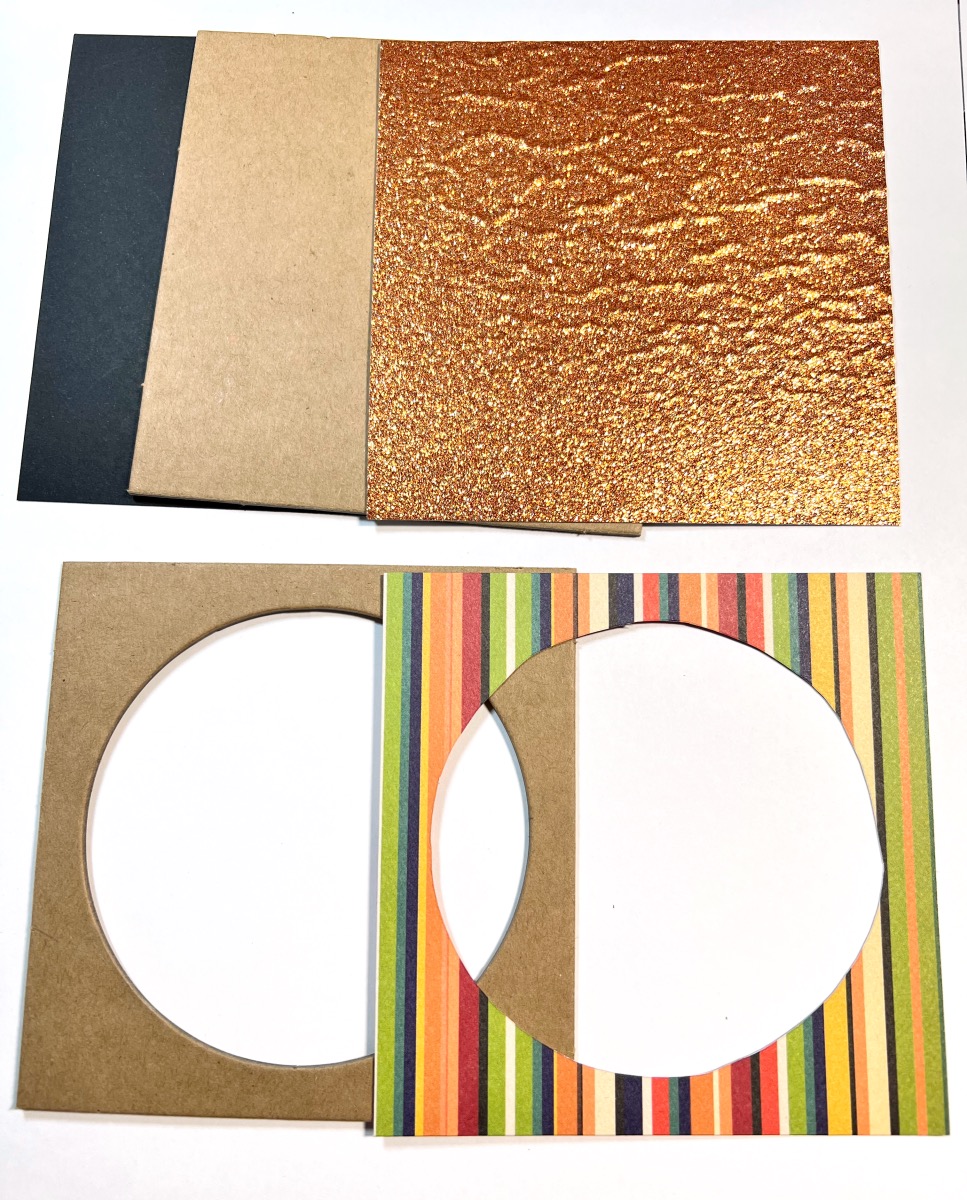
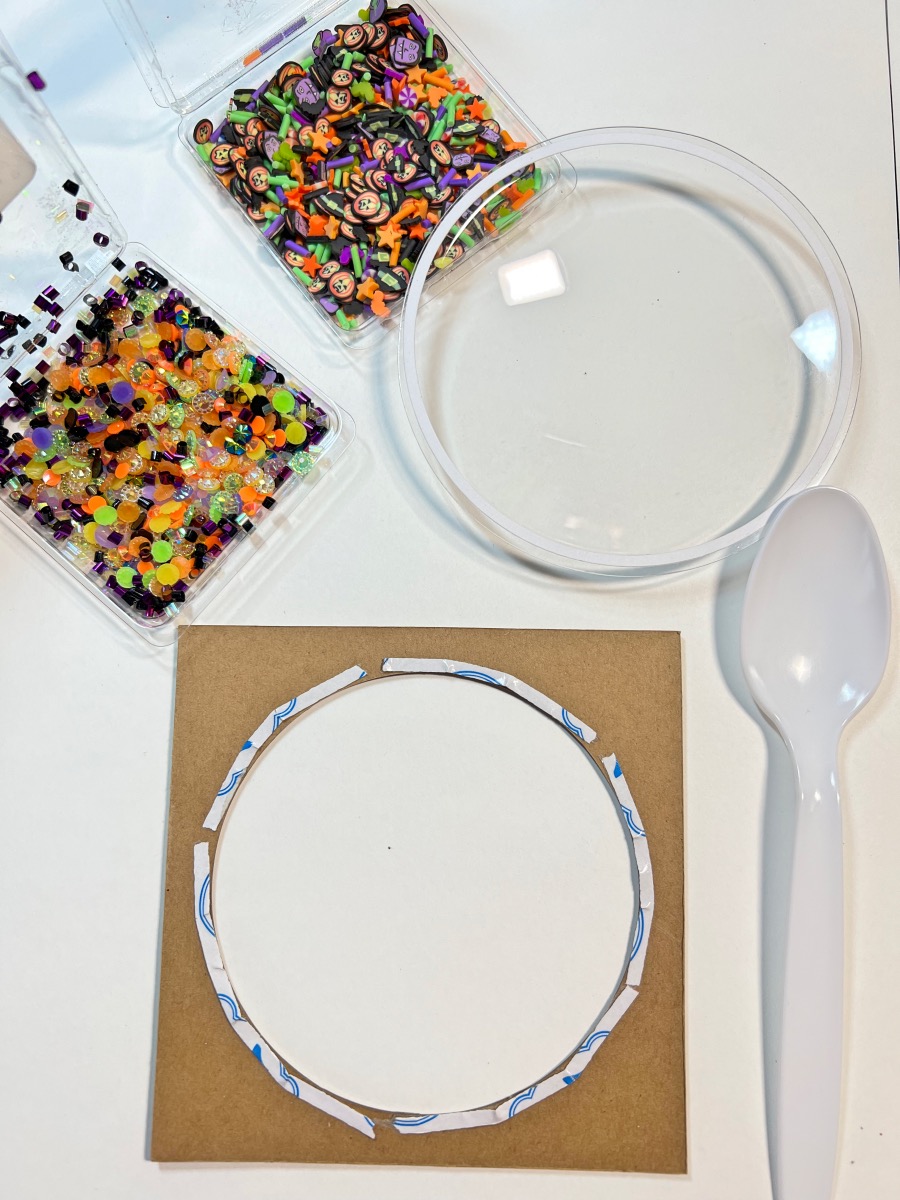
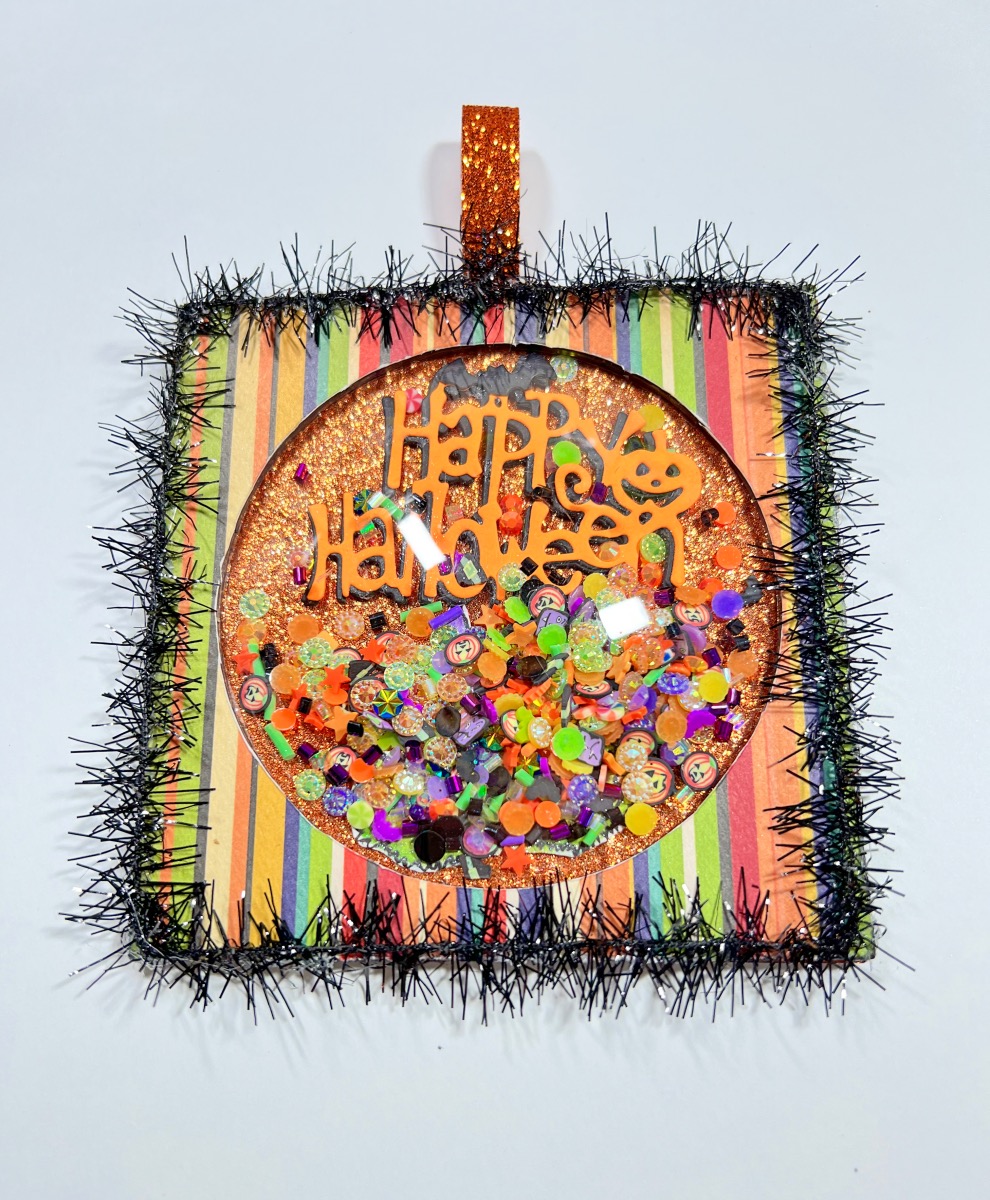
Cut another piece of patterned paper 3 3/4″ x 3 3/4″. Adhere the papers to the tag and box front. Add a glitter bow and button. For the shaker, cut two cardboard pieces 4 1/4′ x 4 1/4″. Cut a 3 1/2″ circle from one cardboard piece and patterned paper. Adhere black cardstock and glitter paper to the solid piece of cardboard, and then adhere the patterned paper and cardboard as shown in step five. Apply double-sided tape along the back of the circle piece and attach the shaker dome. Use a spoon to add embellishments inside the shaker dome. Set aside.
Steps Seven, Eight, Nine, Ten:
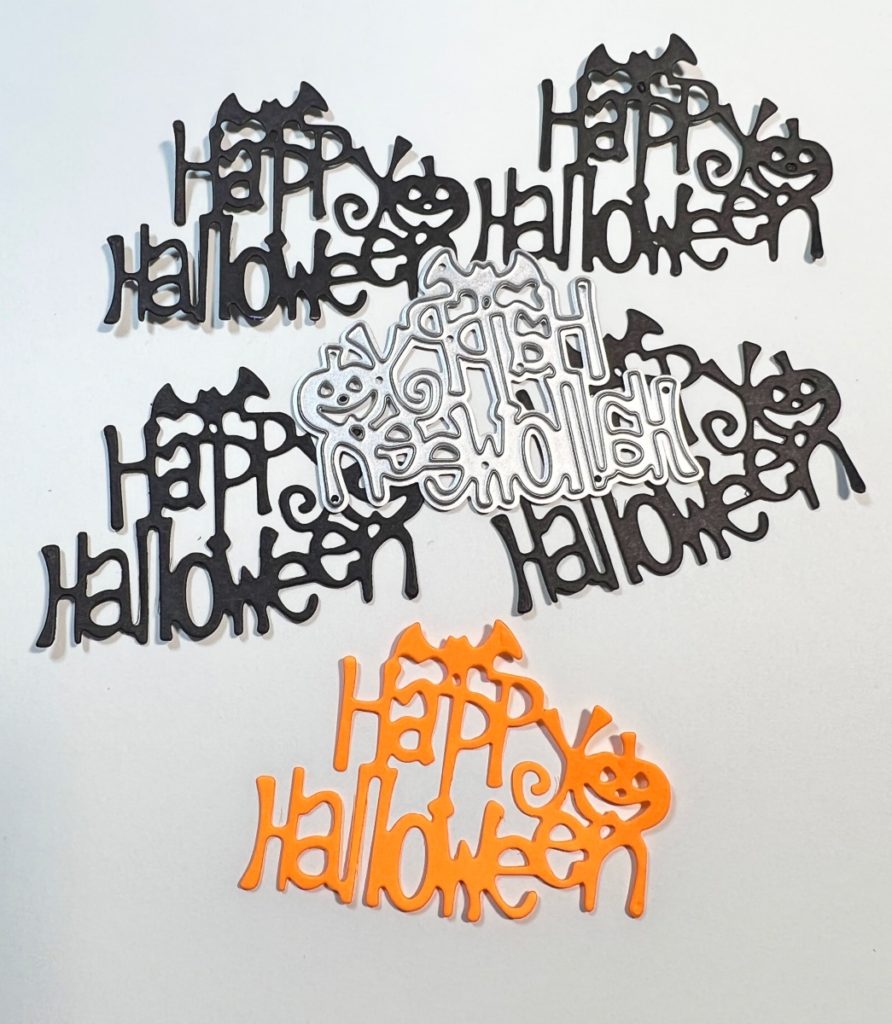
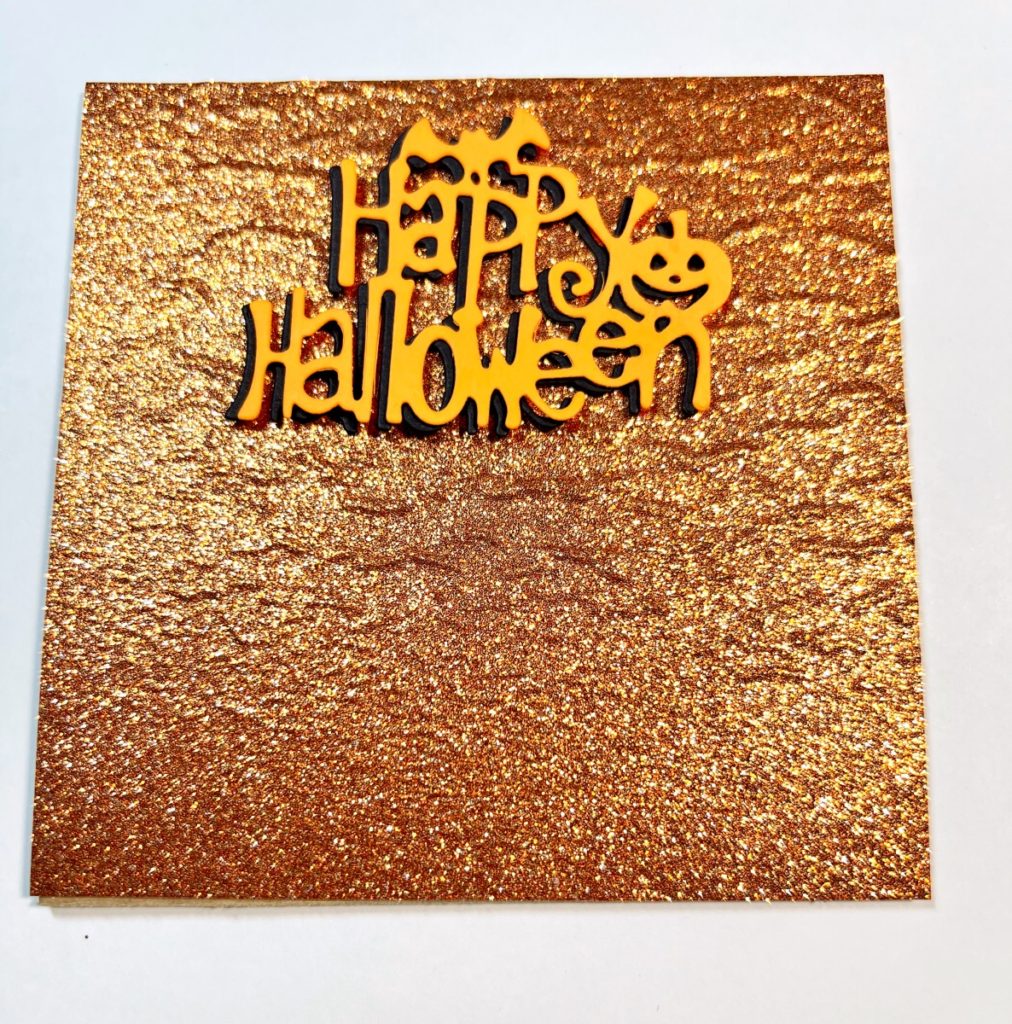
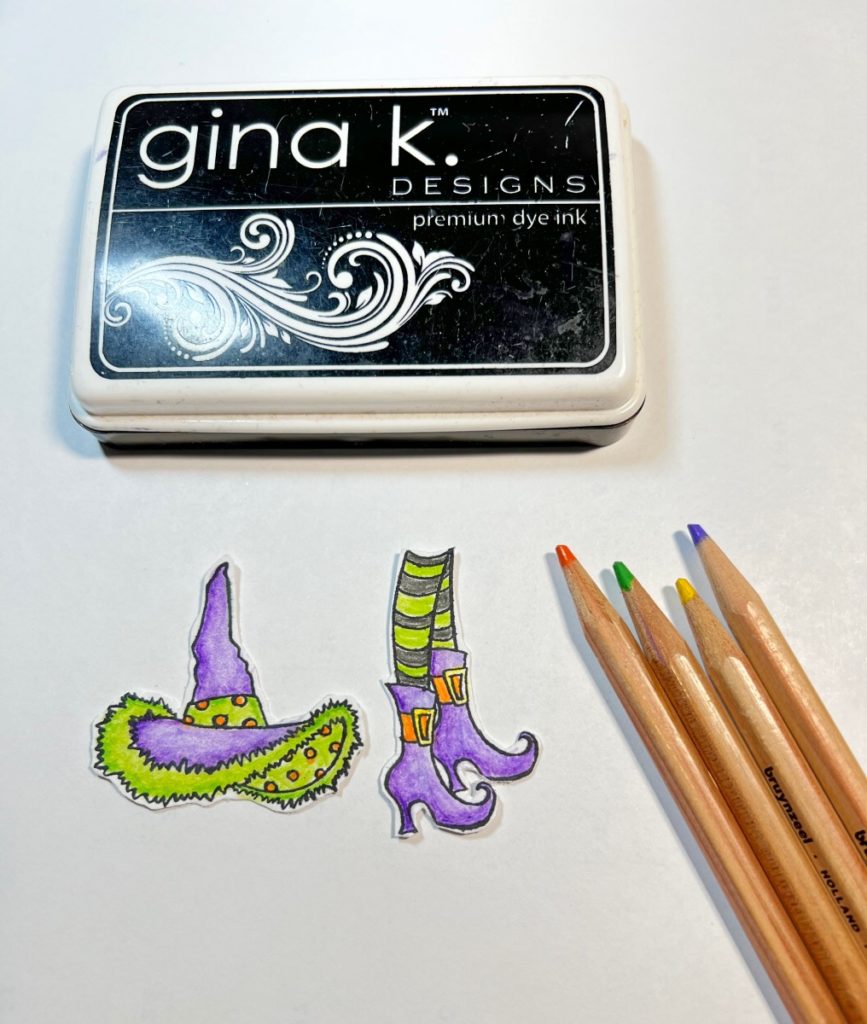
Die cut Happy Halloween four times with black cardstock and one time with orange. Attach the layers together and offset the orange cardstock just a little to the right side of the black cardstock. Adhere the layers to the orange glitter paper. Use a glue gun to attach all of the shaker pieces together. Add the black trim along the outside of the shaker and attach a small piece of orange ribbon for the hanger. Stamp images on white cardstock, apply color with watercolor pencils and cut out. Add the images to the front of the shaker*. Apply two pieces of Velcro to the back of the shaker and the front of the box. Attach shaker to the box.
*Note- The witch’s hat was added after the final photo and adhered to the right side of the shaker dome.
Halloween Shaker Tag Box
Supply List
- Chipboard, Black
- Cardstock: White, Black, White
- Patterned Papers
- Cardboard
- Witchy Legs Stamp Set by Stampendous
- Shaker Dome
- Ribbon, Orange Glitter
- Fringe Trim, Black
- Witch Hat Button by Buttons Galore and More
- Sprinkletz Embellishments, Nightmare by Buttons Galore and More
- Doo Dadz Embellishments, Halloween by Buttons Galore and More
- Watercolor Pencils by Royal Talens
- Paintbrush
- Zip Dry Paper Glue by Beacon Adhesives
- Glue Gun
- Double-Sided Tape
- Paper Trimmer
- Scissors
- Happy Halloween Die
- Big Shot Die Cut Machine
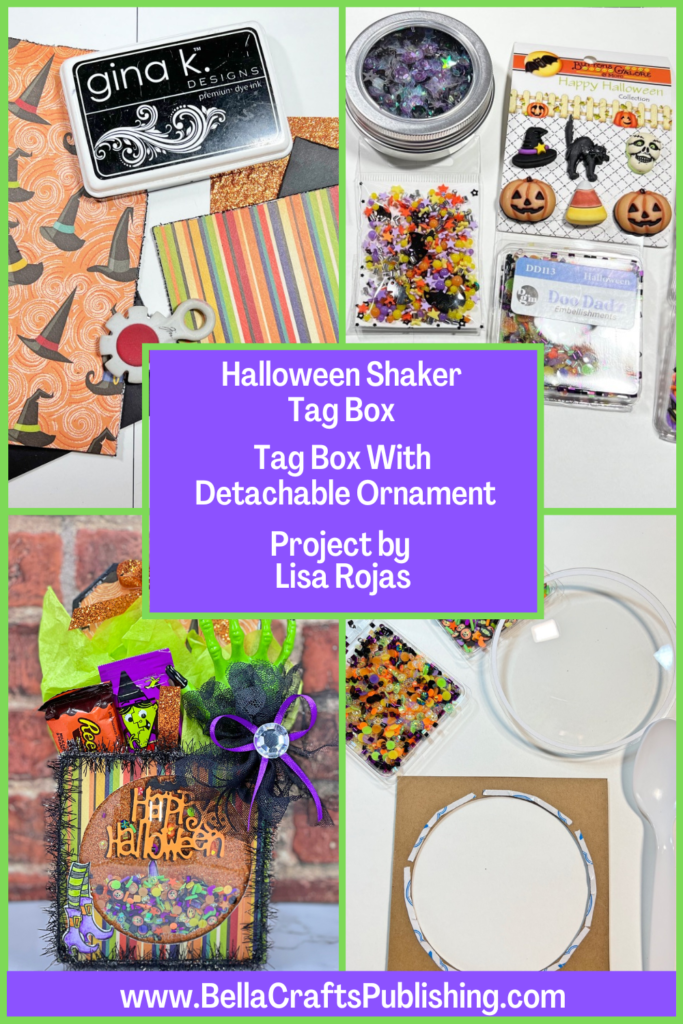
One more PIN of the Halloween Shaker Tag Card to share

Trackbacks/Pingbacks