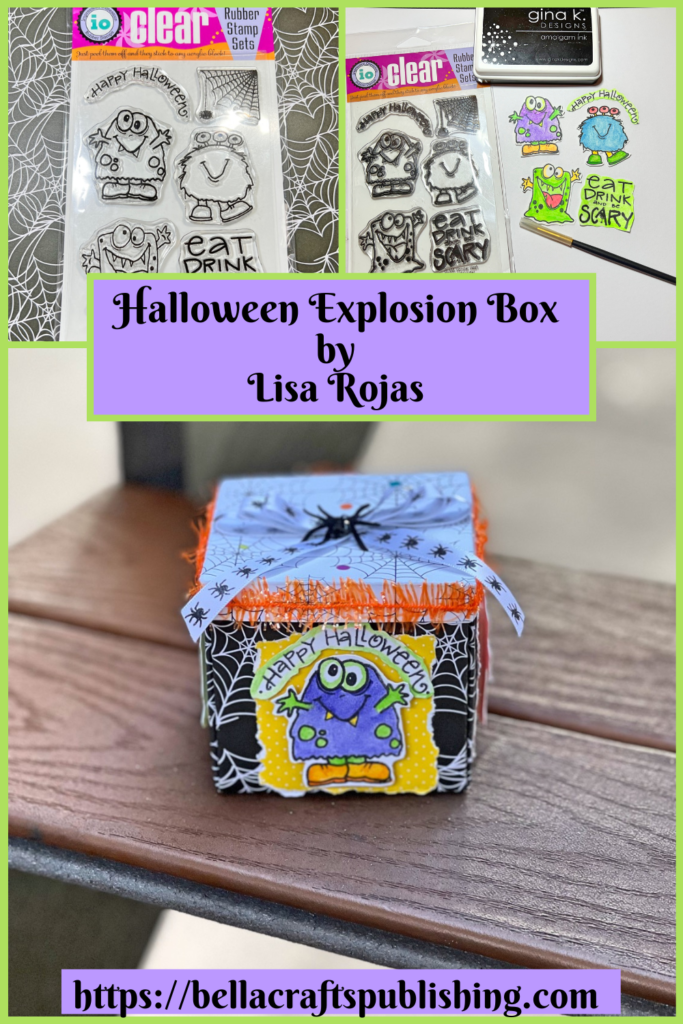
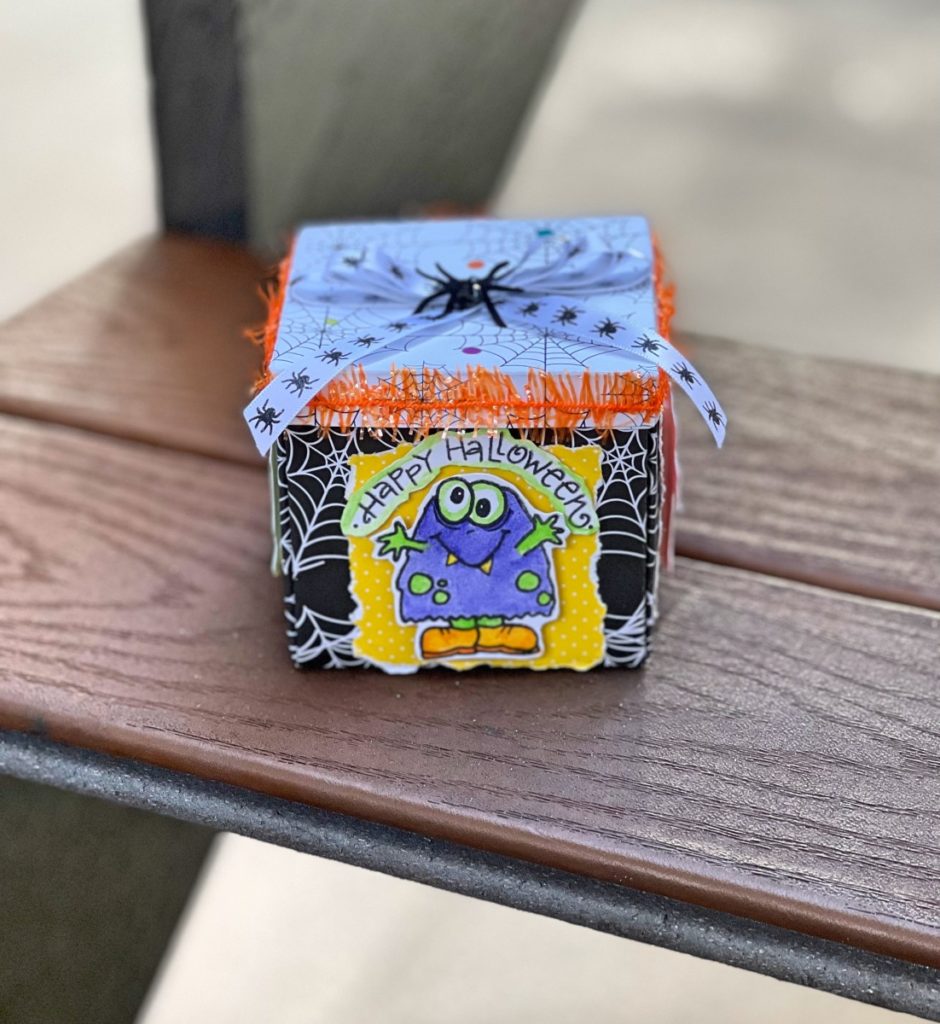
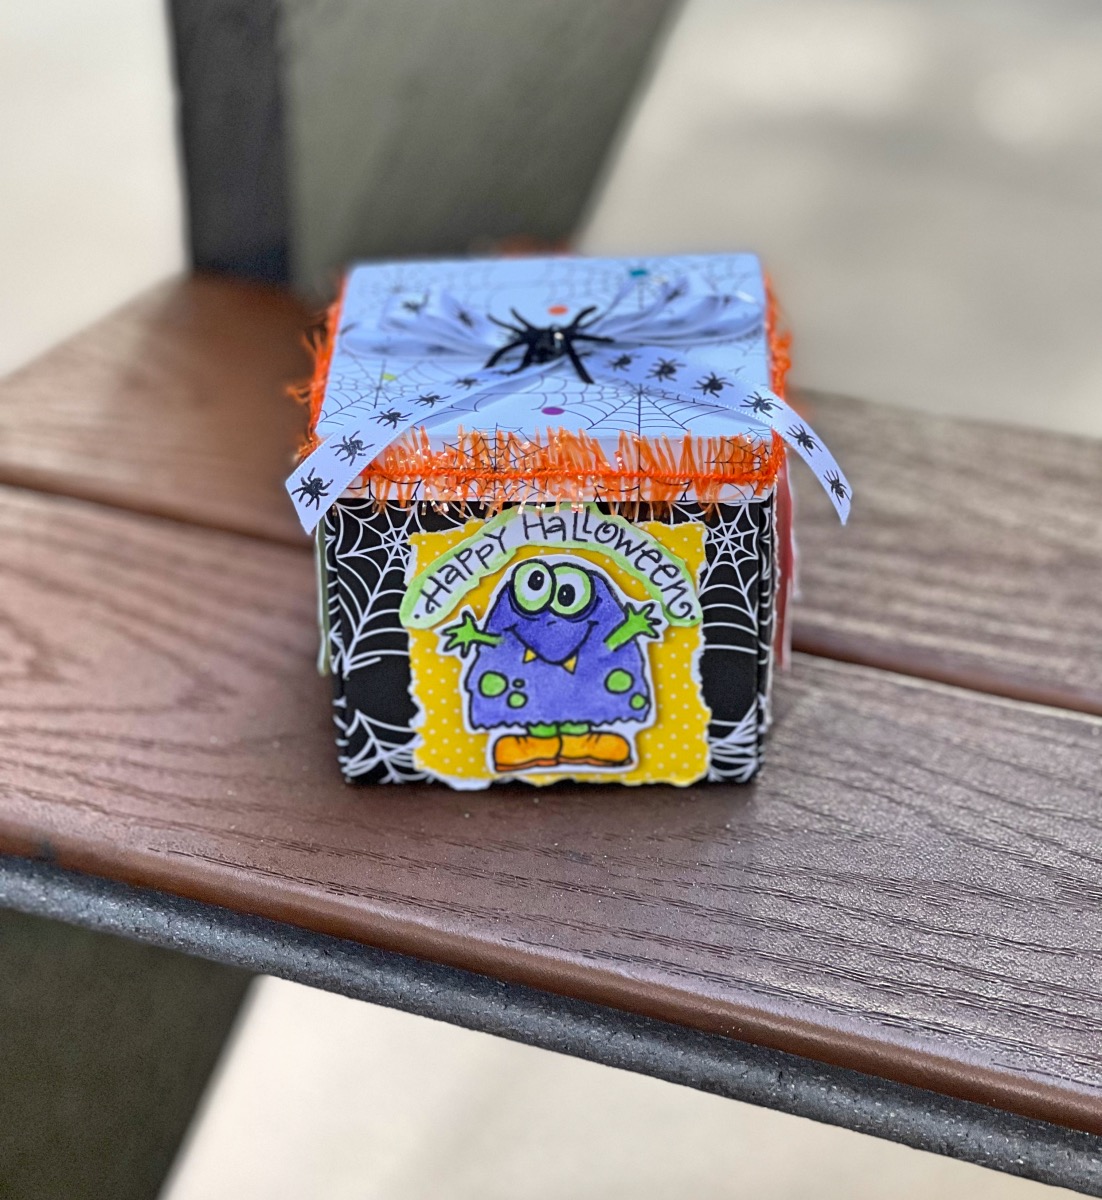
Instead of giving candy this year, try this Halloween Explosion Box! It’s so much fun to make and the kids in your life will love it!
Please note: This post contains affiliate links. If you use these links and make a purchase, we earn a commission at no extra cost to you…
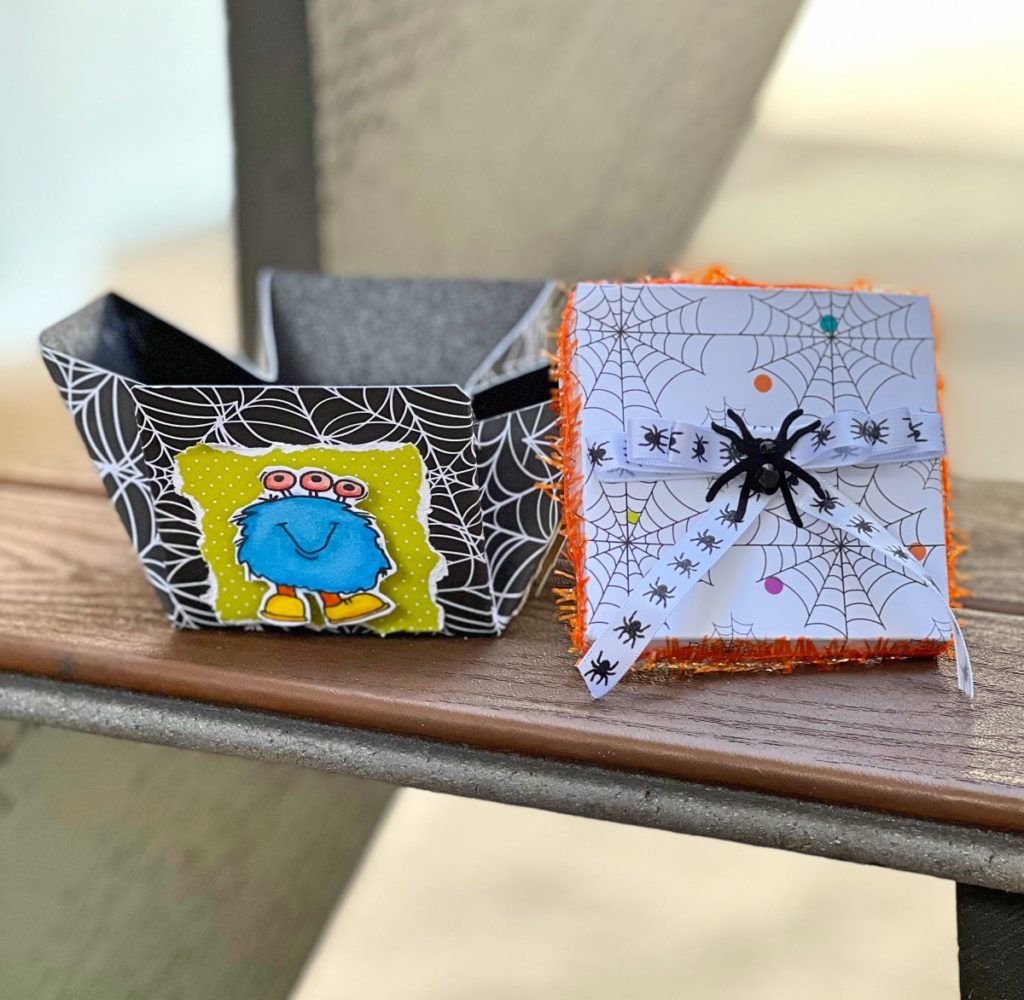
I love this box! It’s one of those projects that looks really hard to make but it’s not. If you’ve even created an explosion card, you can make this because it’s basically the same concept. You can make them any size that your paper is as long as you start with a square and then embellish them with your favorite stamps. This monster set from Impression Obsession is perfect! I hope you give it a try. Have fun! Lisa~
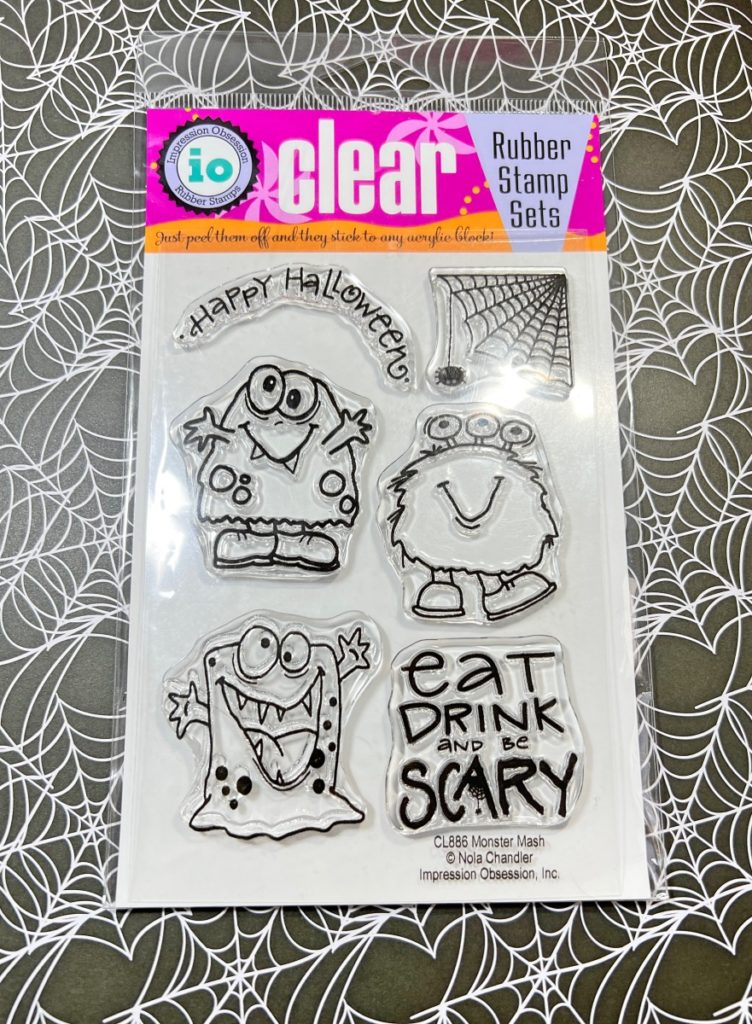
Supplies for
Check out the full list of supplies at the end of this post.
Step One:
Cut the papers as follows: Green Dotted patterned paper and Black Glitter cardstock- 9 1/2″ x 9 1/2″ and Striped patterned paper- 4 1/2″ x 4 1/2″.
Note: The patterned papers in the instructions are different than the finished photo.
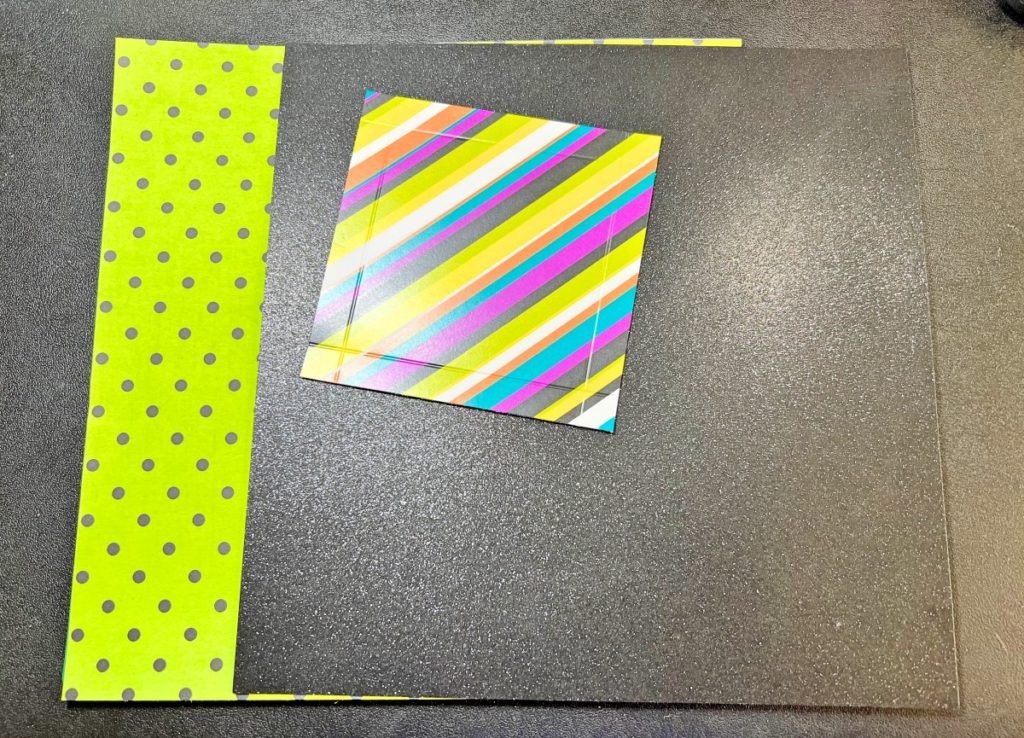
Step Two:
Adhere the Green Dotted patterned paper and the Black Glitter cardstock together with a spray adhesive. I did this to give the box more stability. Next, score them at 3 1/8″ all the way around.
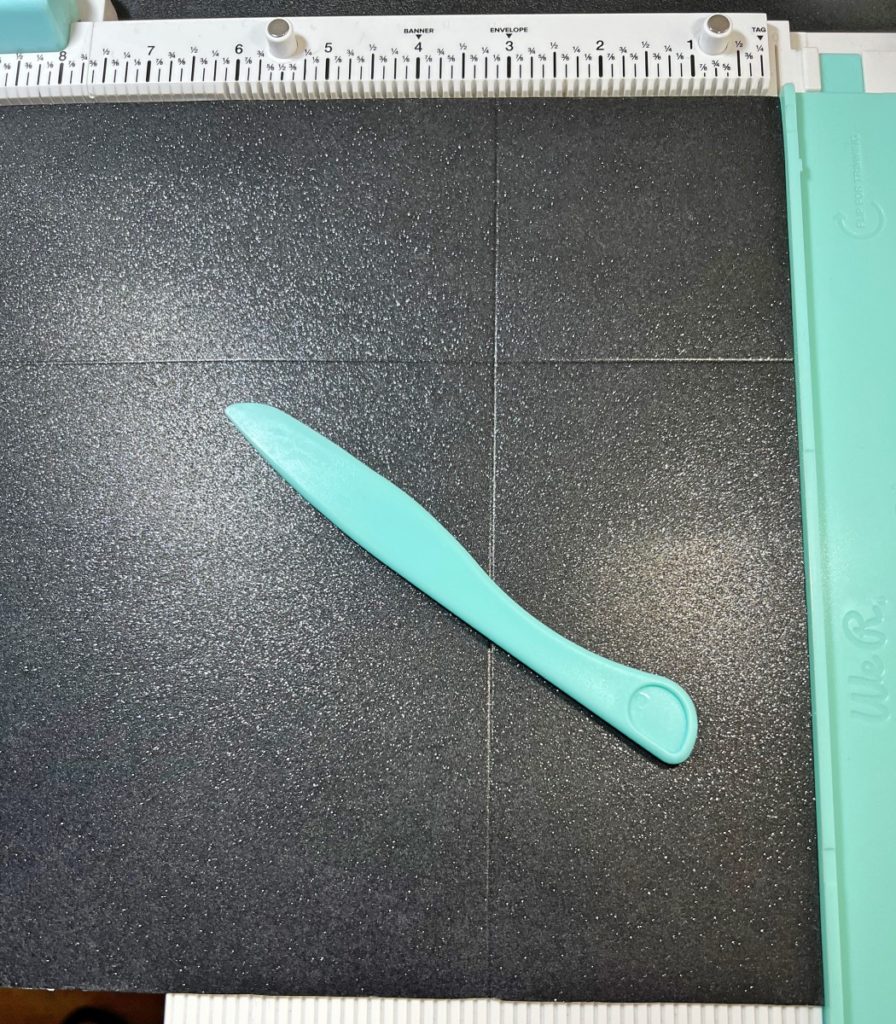
Step Three:
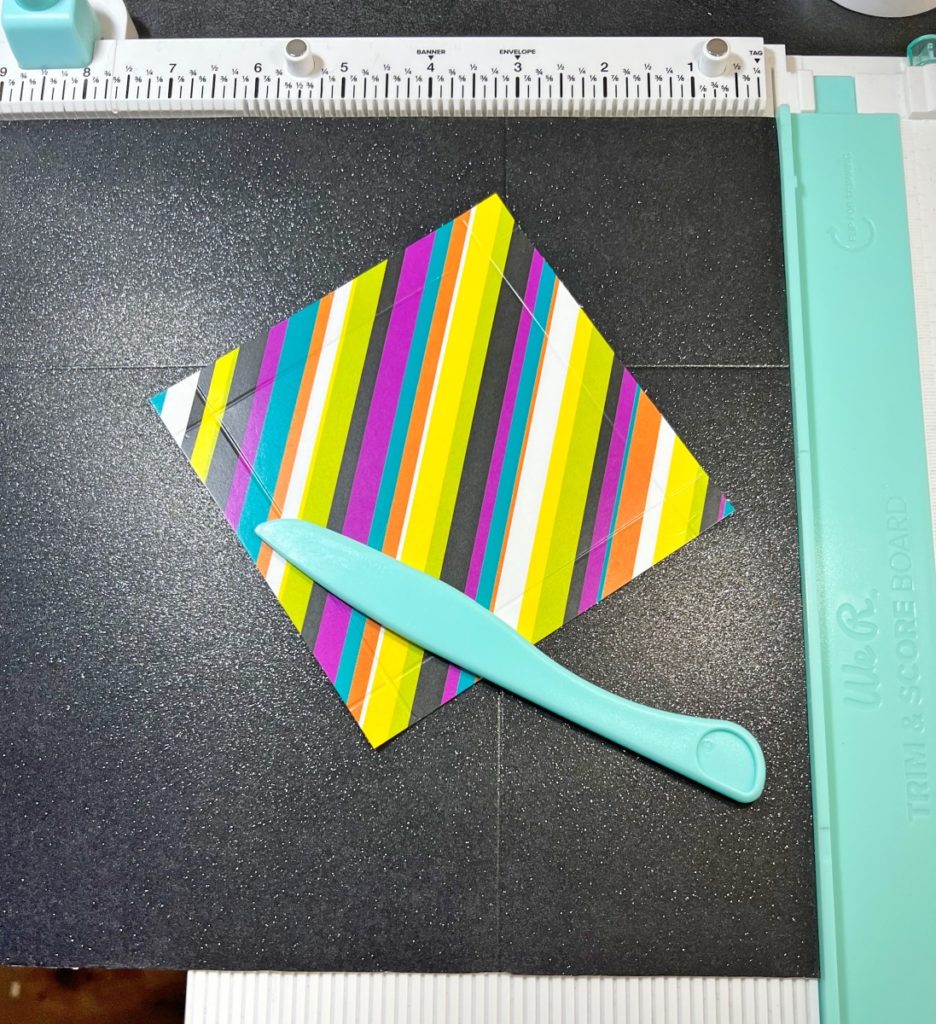
Score the Striped patterned paper 1/2″ all the way around and cut slits in each corner. Fold along each score line and glue the corners together to form the box lid.
Step Four:
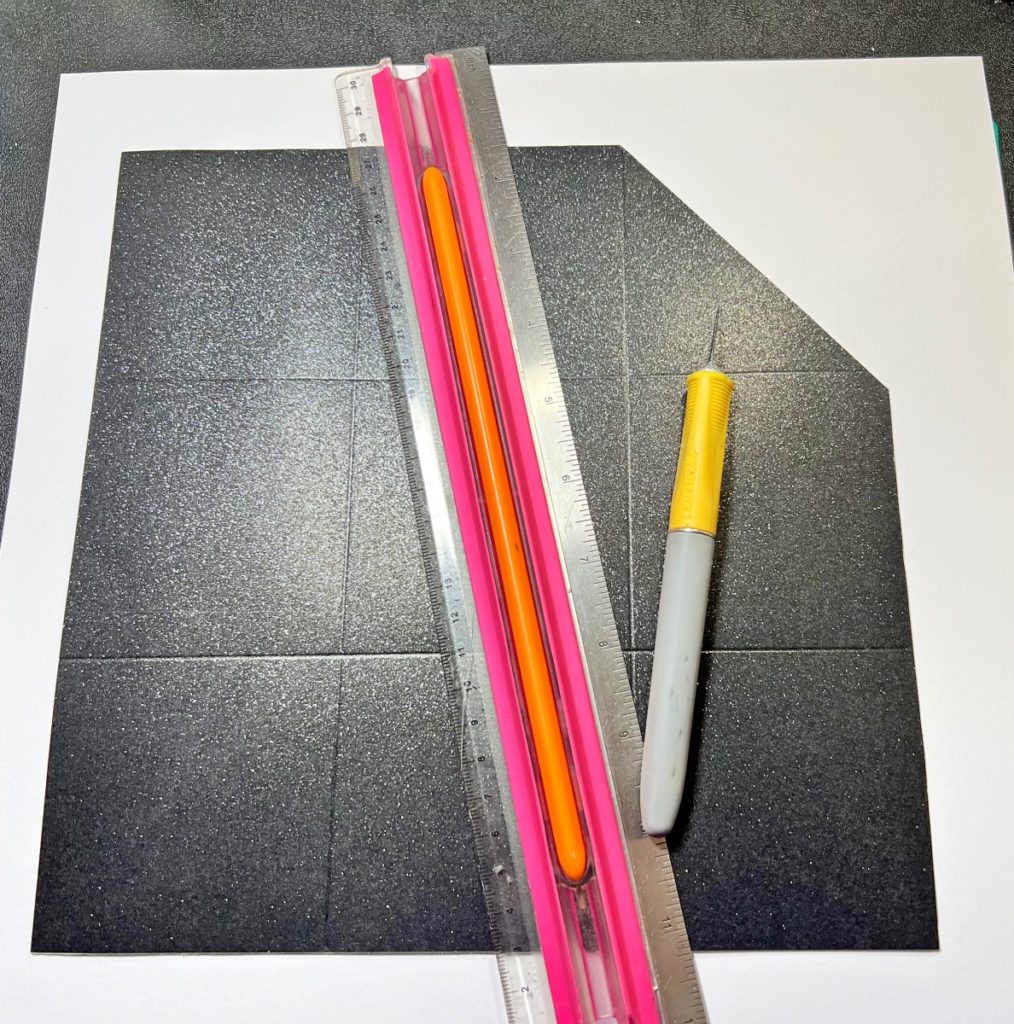
Once you have the papers scored, use a craft knife and ruler to cut the corner as shown. Repeat with the remaining three corners.
Step Five:
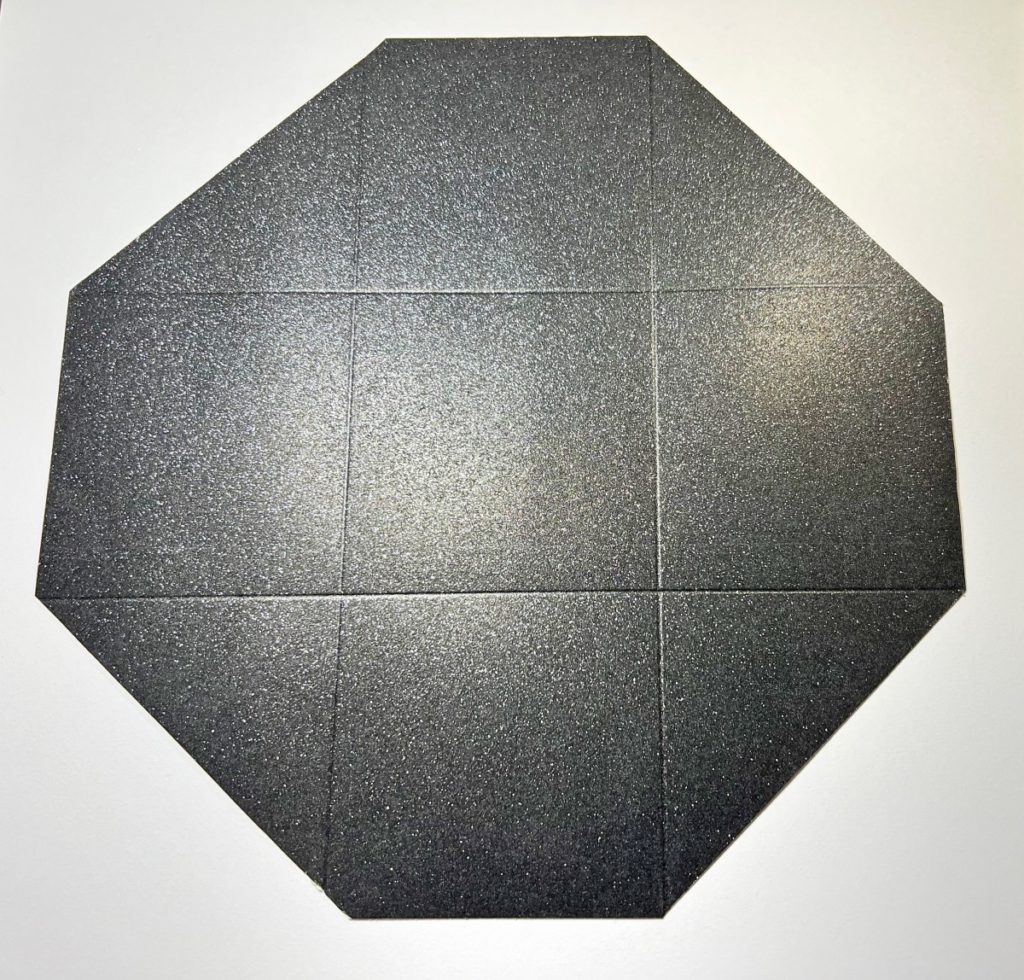
This is what the inside of the box looks like once you have cut the corners. Now, fold along all of the score marks. Pinch all four sides together where you cut the corners and fold them. You will not be gluing any part of the box. Run a bone folder over all of the folds.
Step 6:
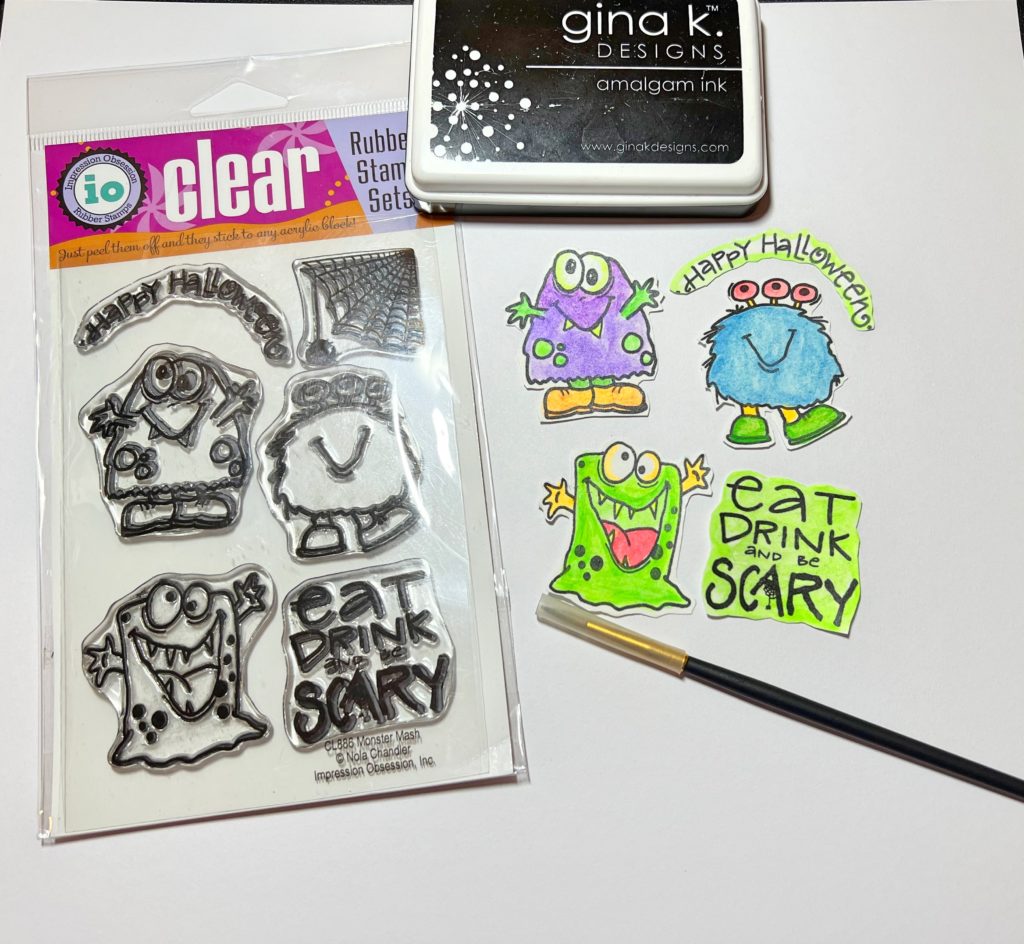
On a piece of white cardstock, stamp the monsters and word images with the black inkpad. Color them with watercolors and cut them out.
Step 7:
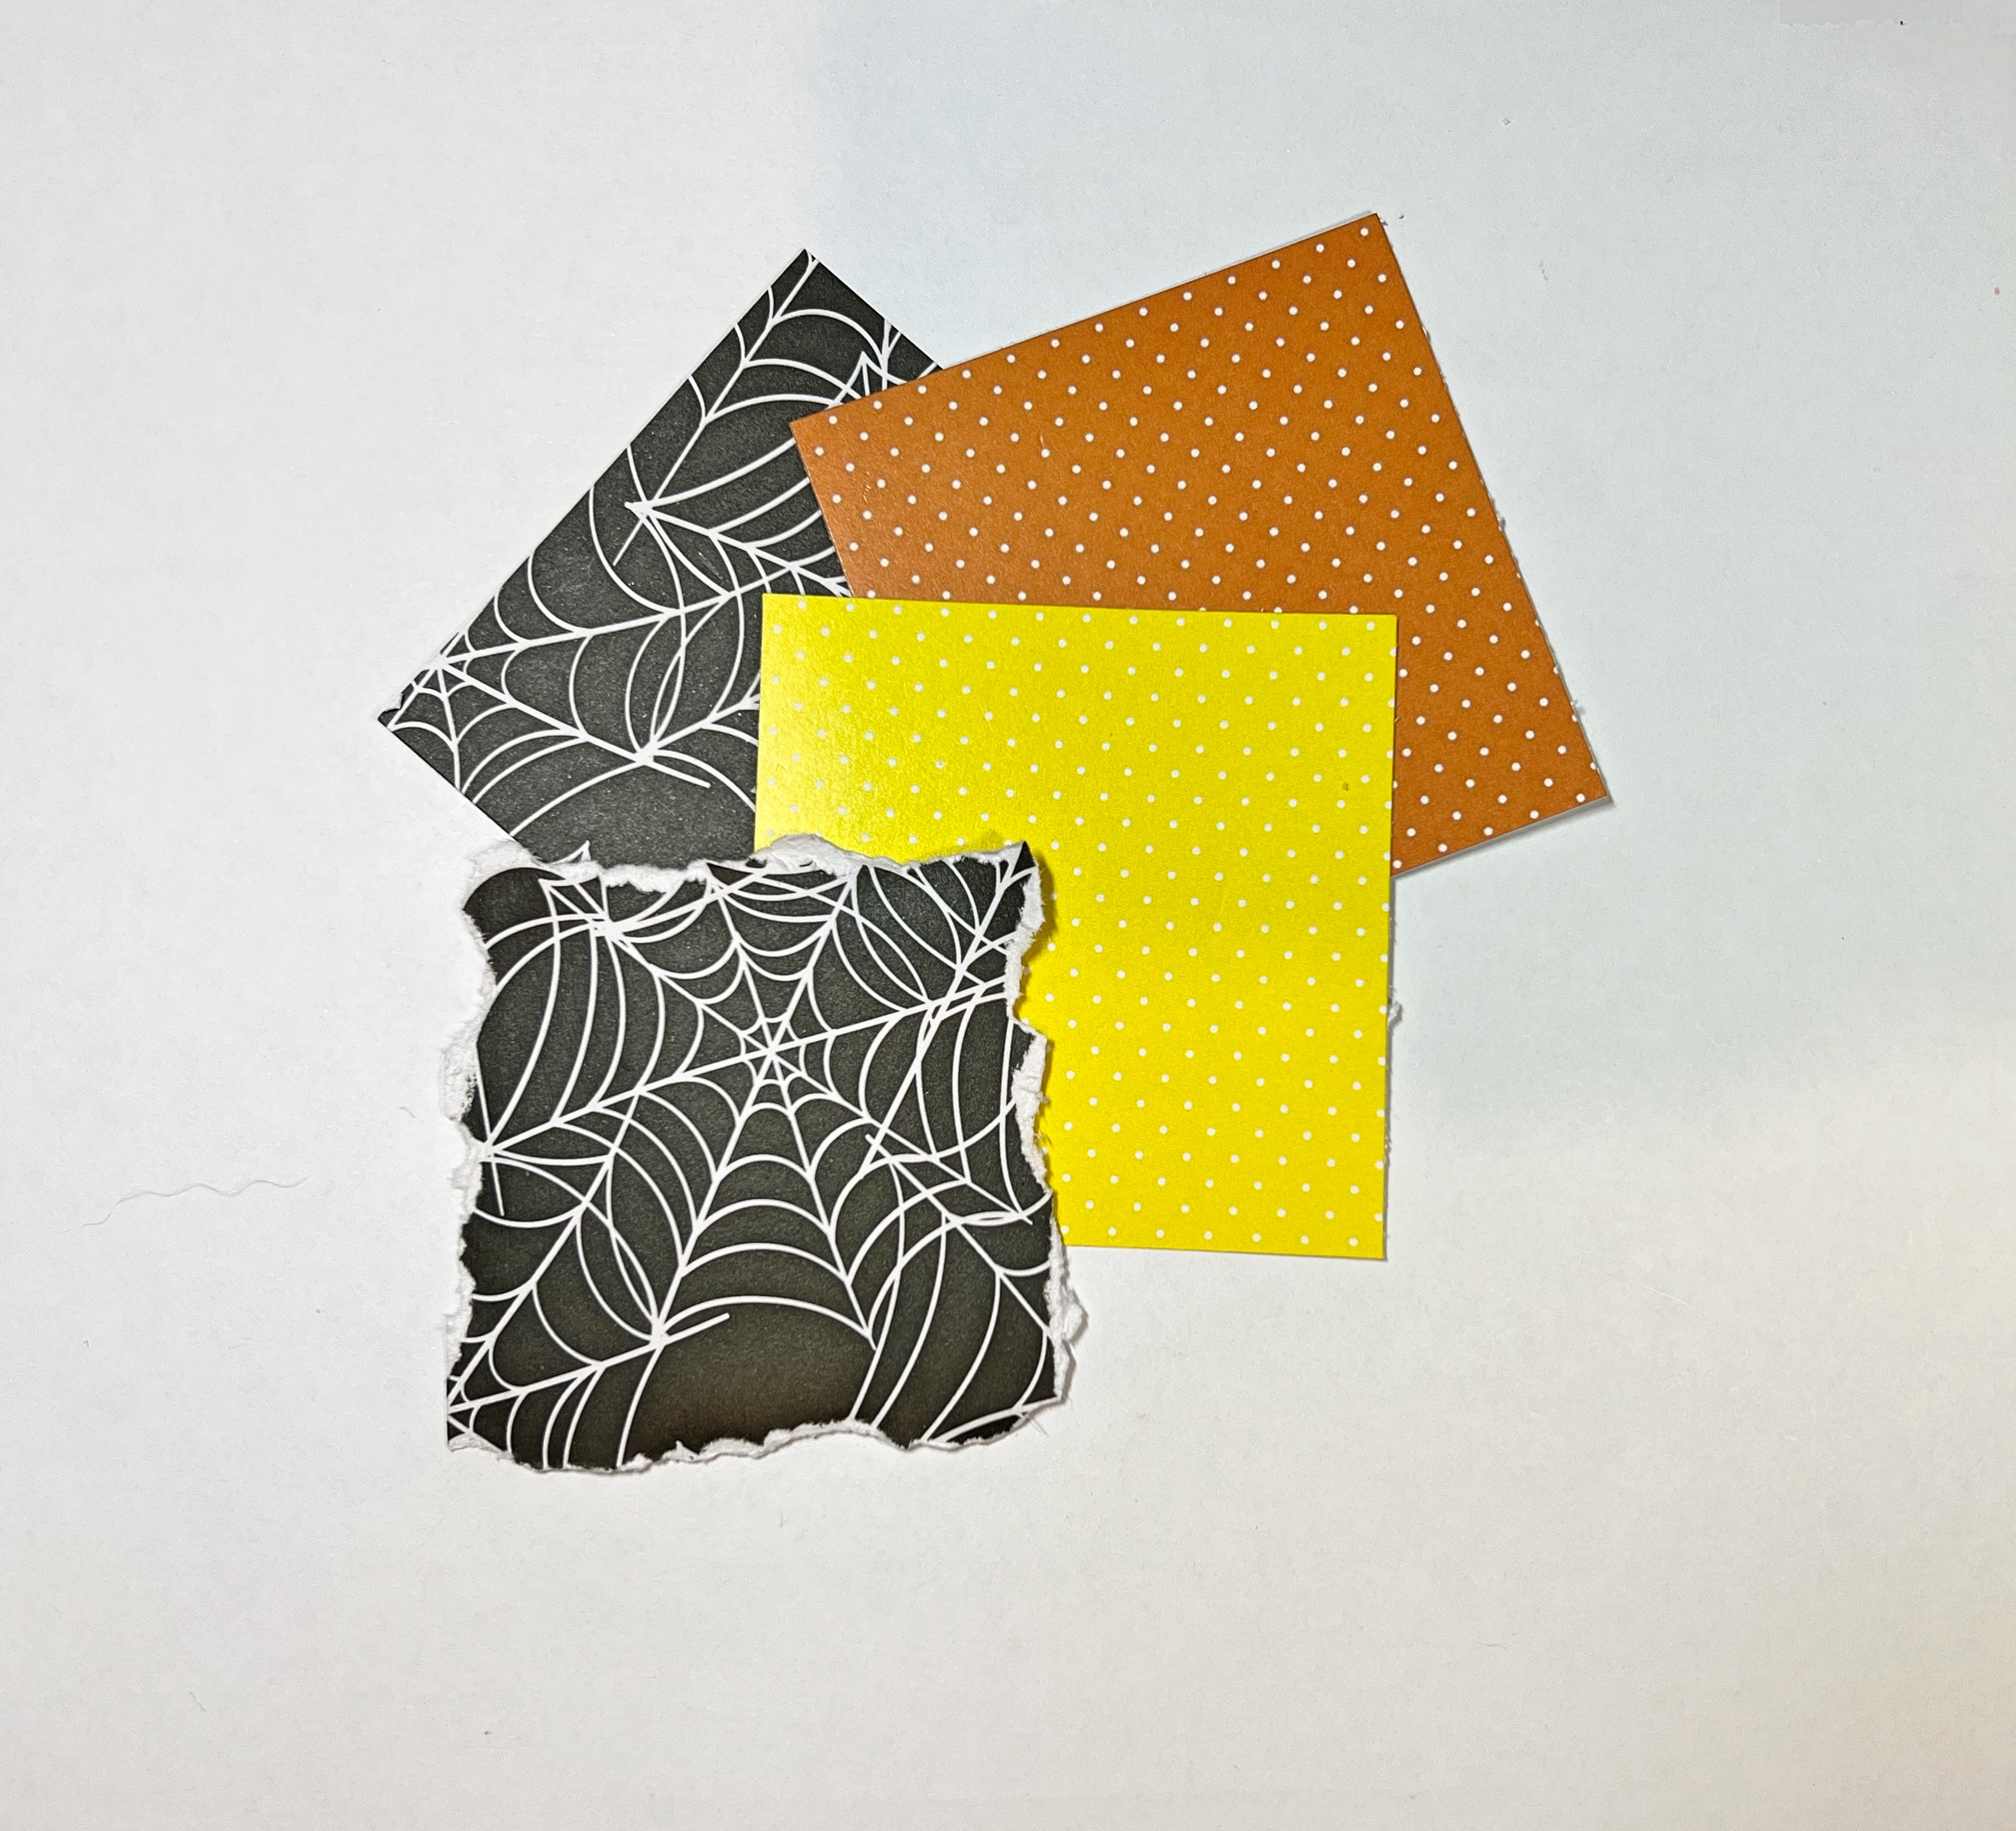
Cut four squares of patterned papers 2 1/2″ x 2 1/2″. Add a little bit of water along the edges and tear them as shown. To finish the box, apply foam tape to the stamped images and adhere them to the squares. Use Zip Dry Paper Glue to adhere the images to the four sides of the box. For the lid, apply the Orange fringe trim with Zip Dry. Make a bow with the Spider ribbon and attach to the box lid. Add the spider sticker on top of the bow.
Halloween Explosion Box
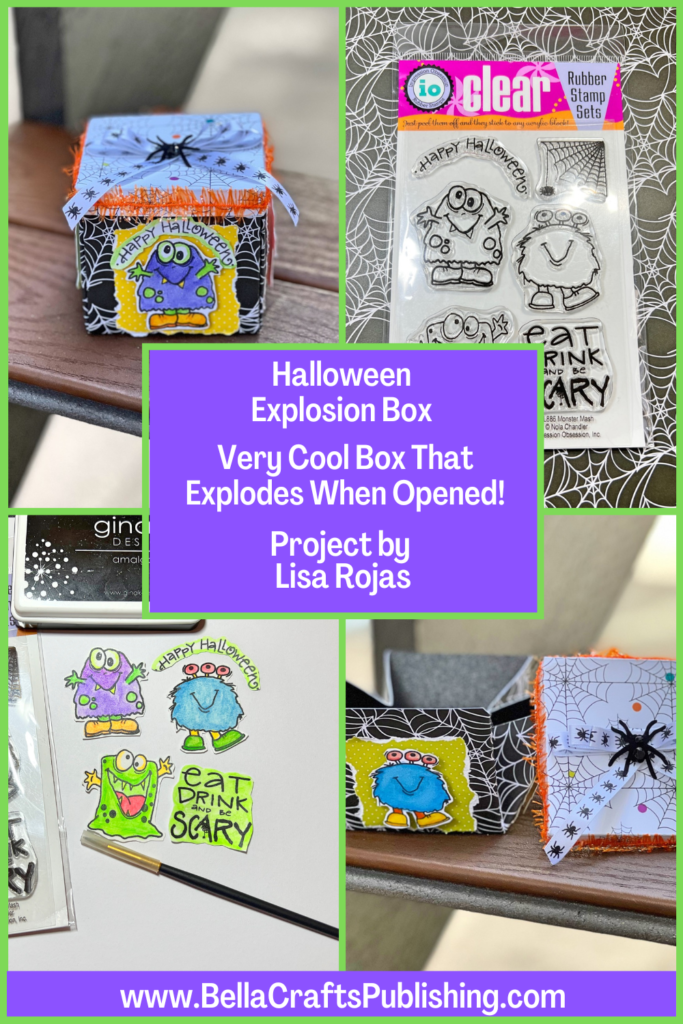
Here’s Another PIN For You To Share!
Supplies for Halloween Explosion Box
- Cardstock, White
- Glitter Paper, Black
- Halloween Themed Patterned Papers
- Inkpad, Obsidian by Gina K. Designs
- Monster Mash Stamp Set by Impression Obsession
- Watercolors
- Spider Sticker
- Spider Ribbon
- Fringed Trim, Orange
- Foam Tape
- Zip Dry Paper Glue by Beacon Adhesives
- Paintbrush
- Paper Trimmer
- Craft Knife
- Spray Adhesive

So cute. Doesn’t seem that difficult. I will have to give it a try! Great job. I love it!
Thank you so much! Let us see it when you create one!