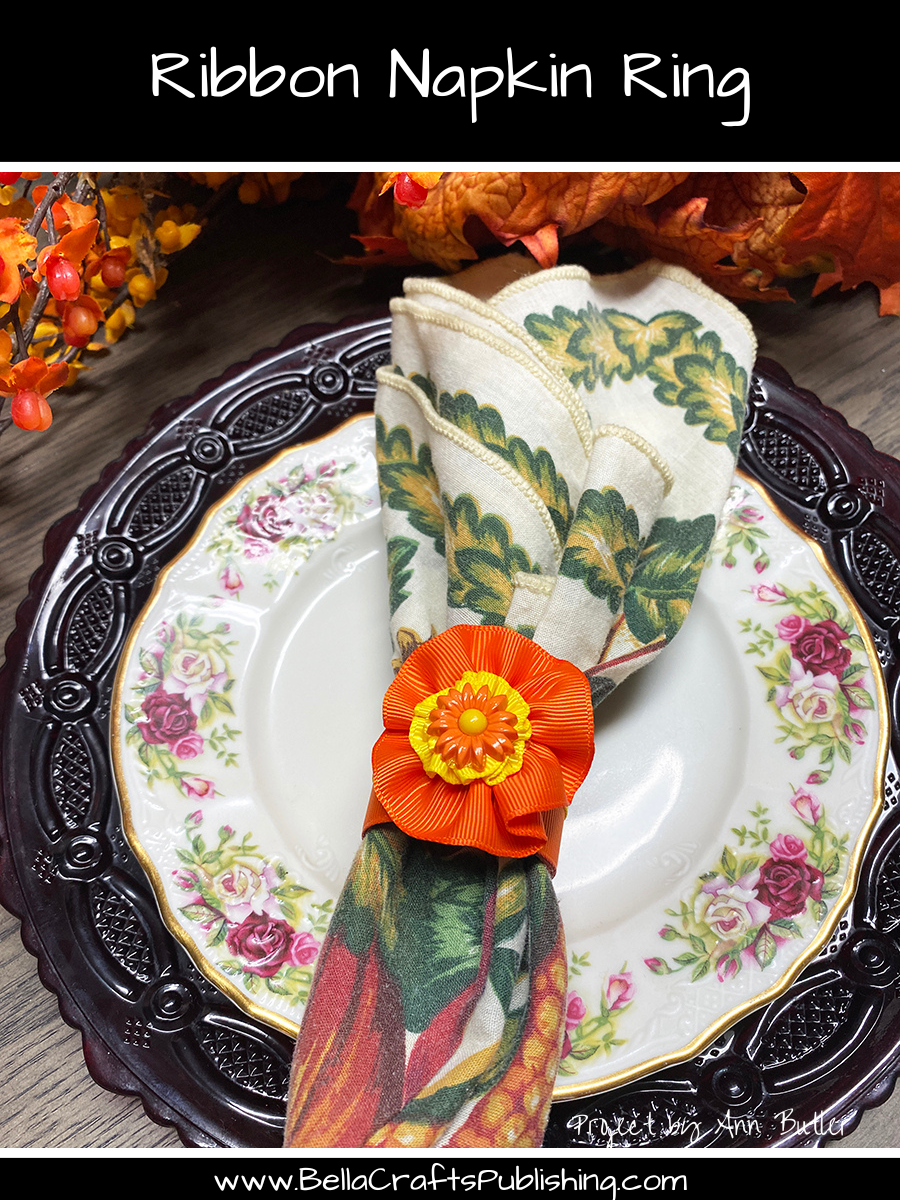
Create some Quick & Easy Upcycled Ribbon Napkin Rings to match any Season.
Please note: This post contains affiliate links. If you use these links and make a purchase, we earn a commission at no extra cost to you…
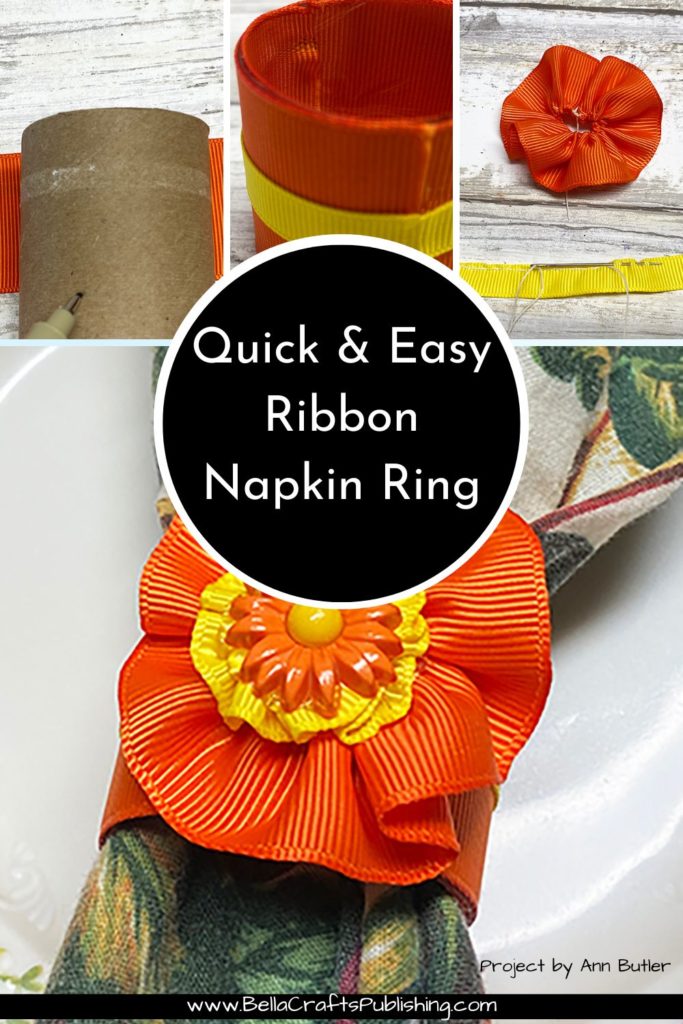
Steps One, Two, Three:
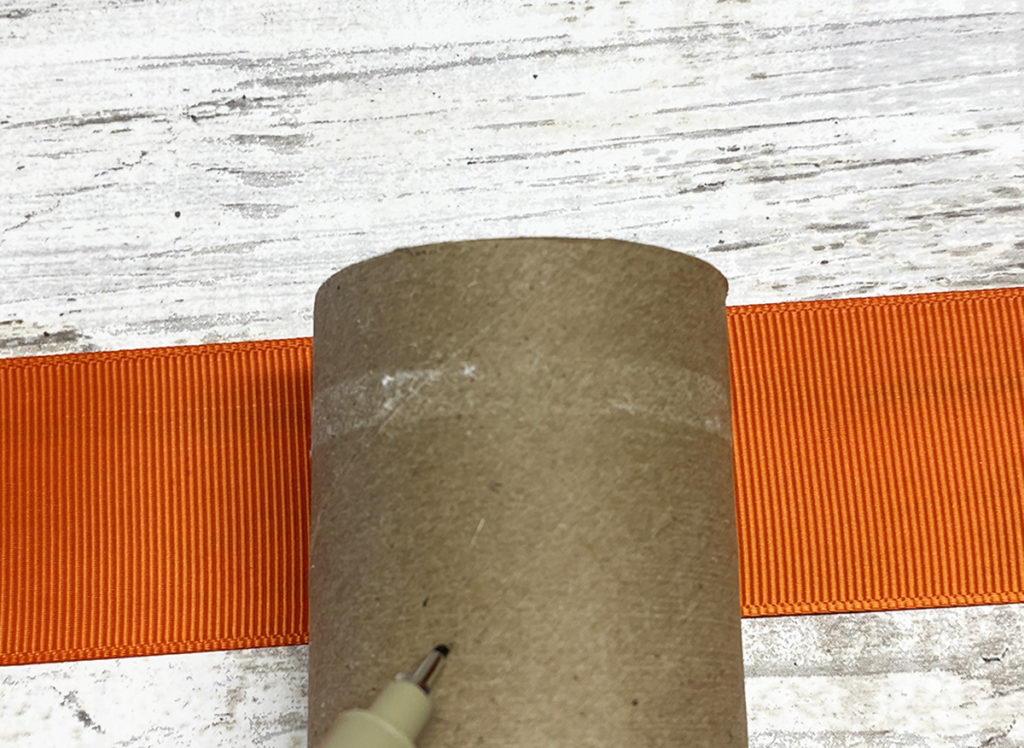
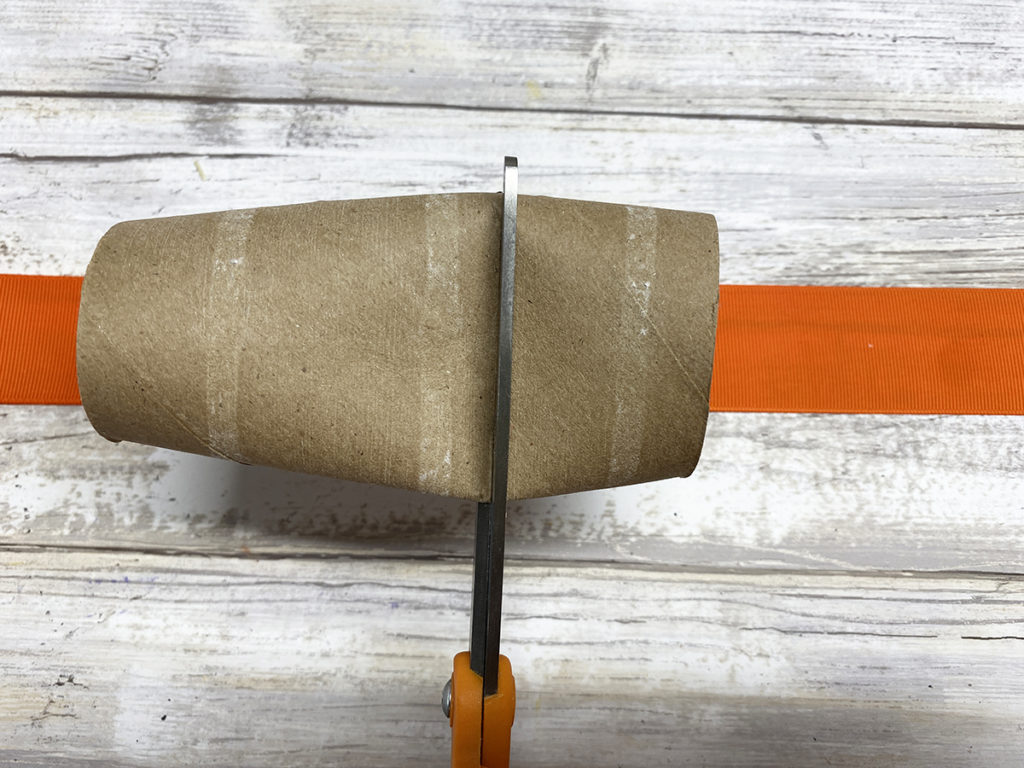
Place paper roll on ribbon and measure the height.
Cut the paper roll where it is marked.
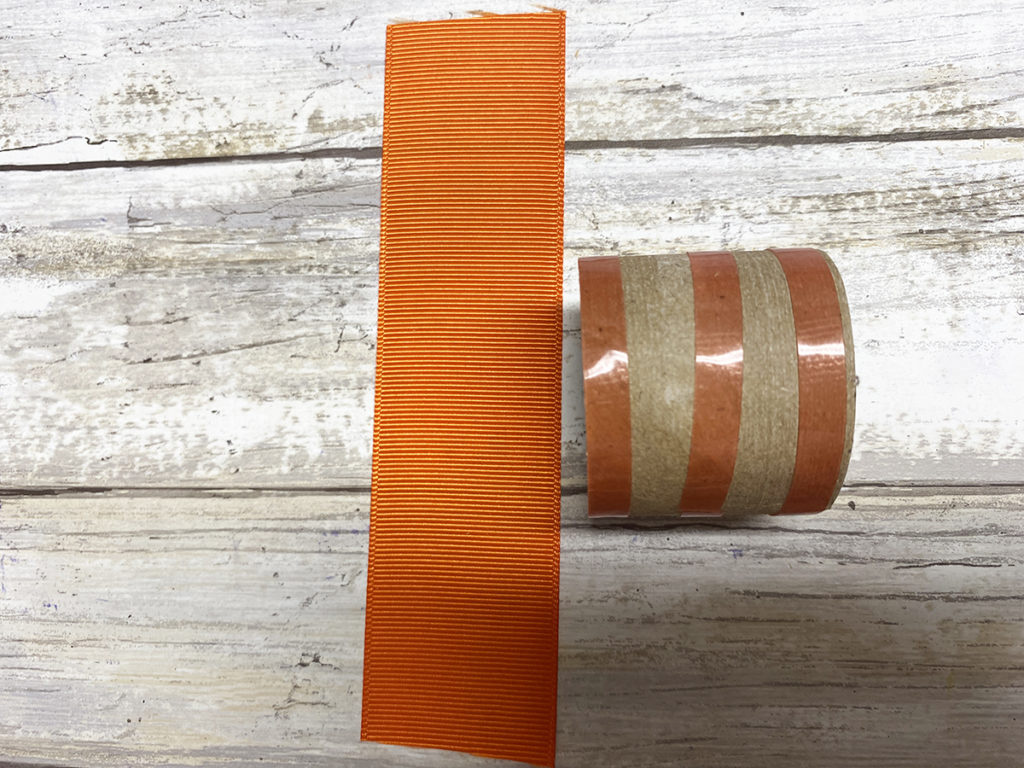
Add red line tape to each end and middle of the cut paper roll.
Steps Four, Five, Six:
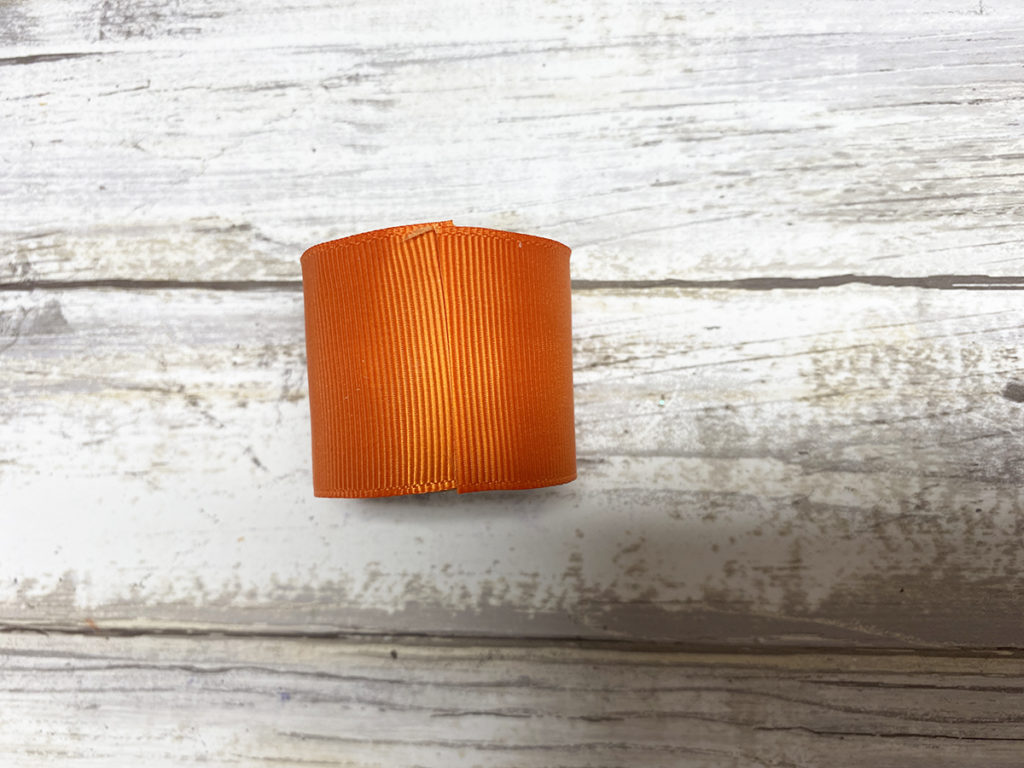
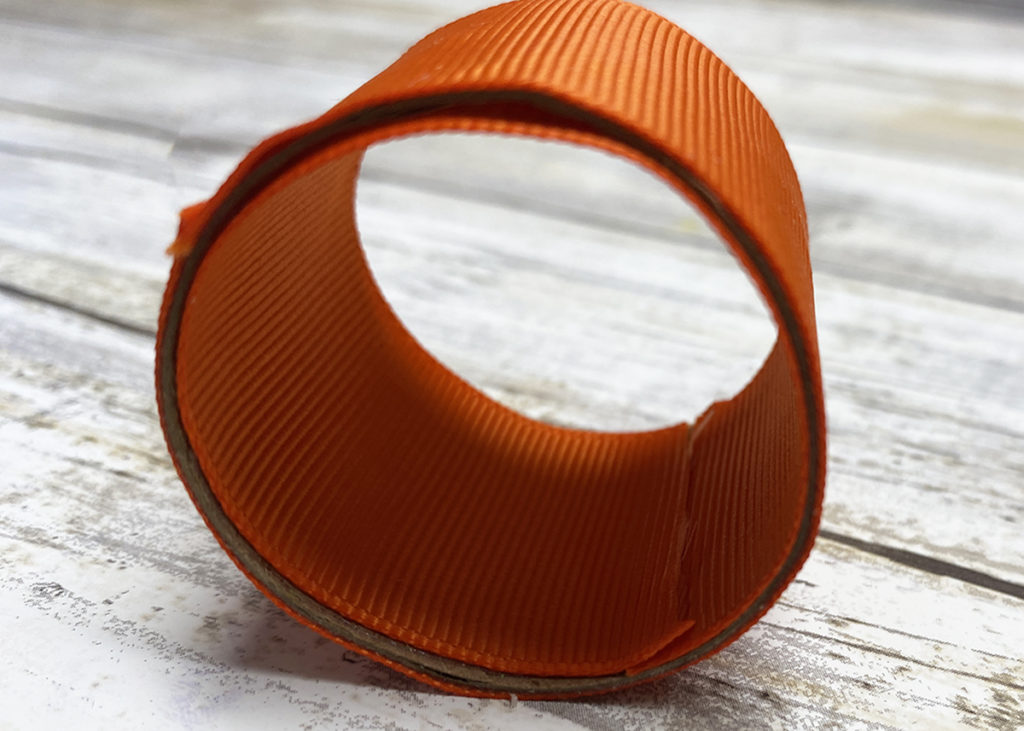
Remove the red layer off the red line tape and wrap orange ribbon around the cut paper roll.
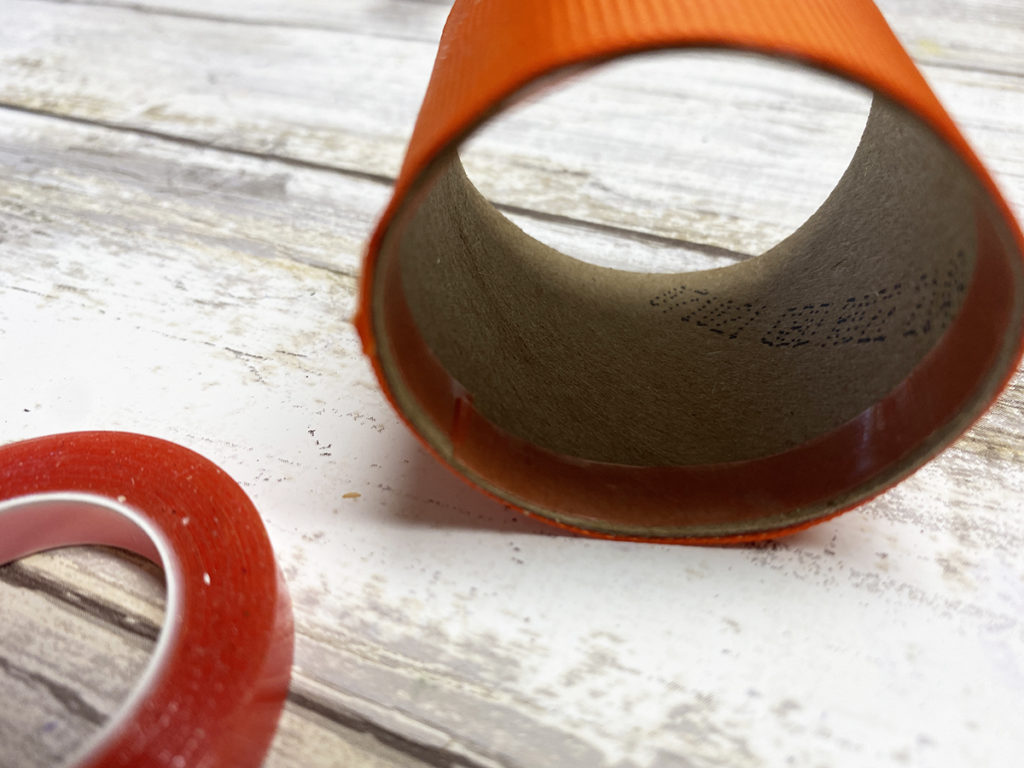
Apply the red line tape to the inside of the cut paper roll, on each end and in the middle.
Repeat step four on the inside of the cut paper roll.

Steps Seven, Eight, Nine:
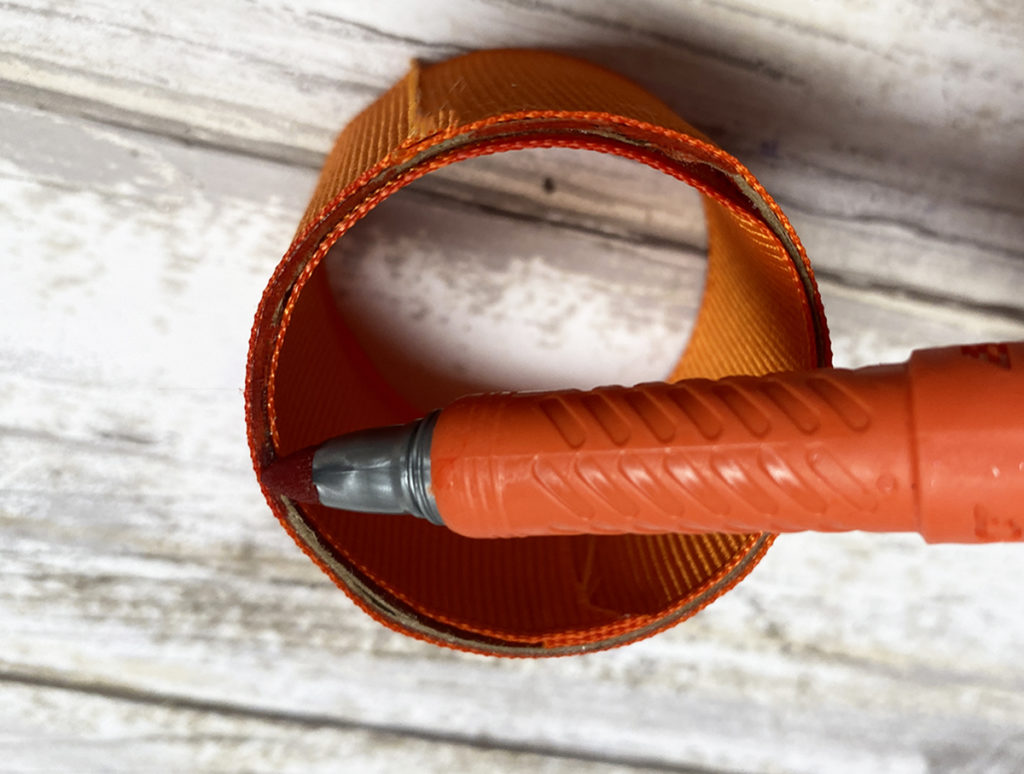
Use a marker to color the edges of the cut paper roll.
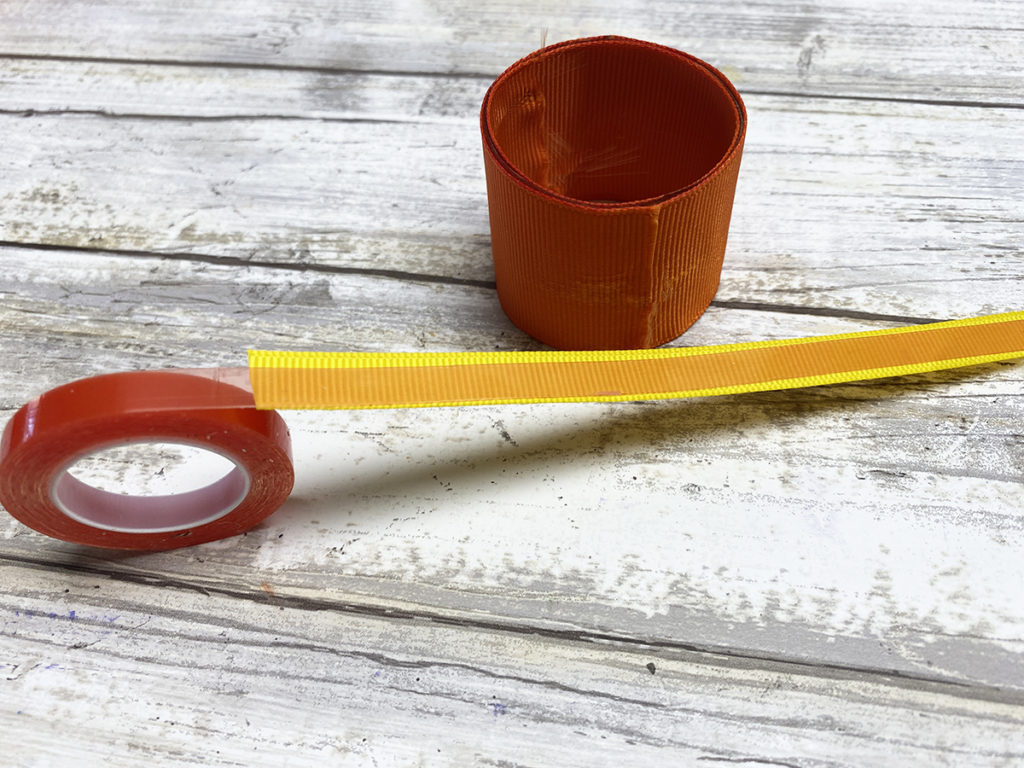
Measure yellow ribbon to fit around the cut paper roll, Place red line tape on one side.
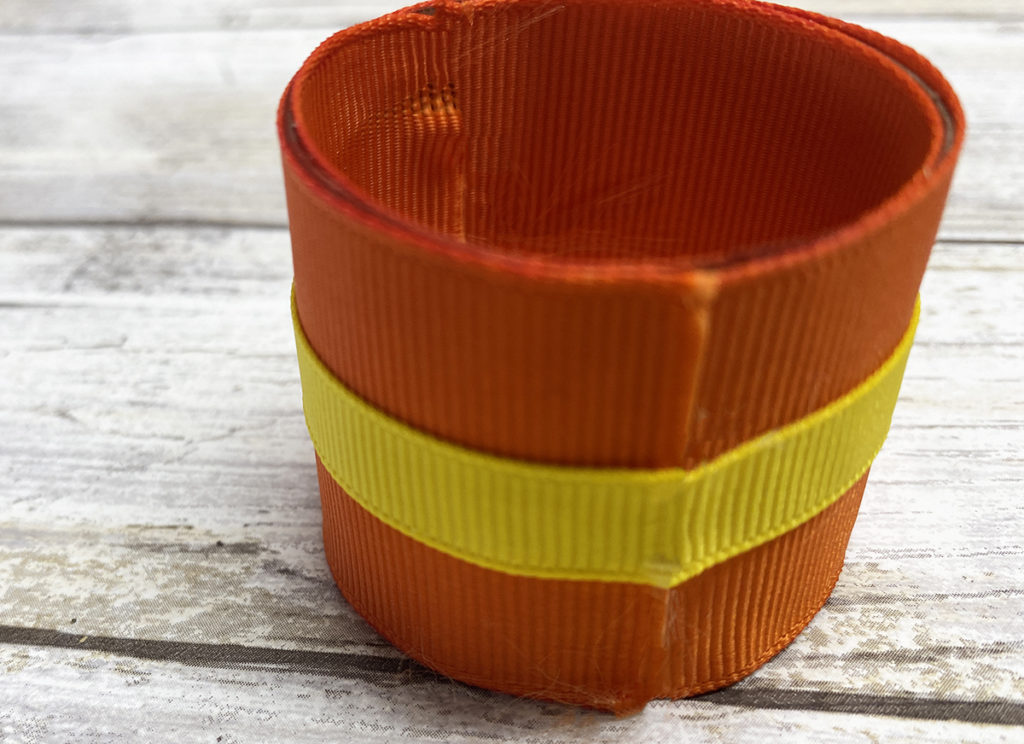
Next, remove the red layer off the red line tape and attach the ribbon to the center of the cut paper roll over the orange ribbon.
Steps Ten, Eleven, Twelve:
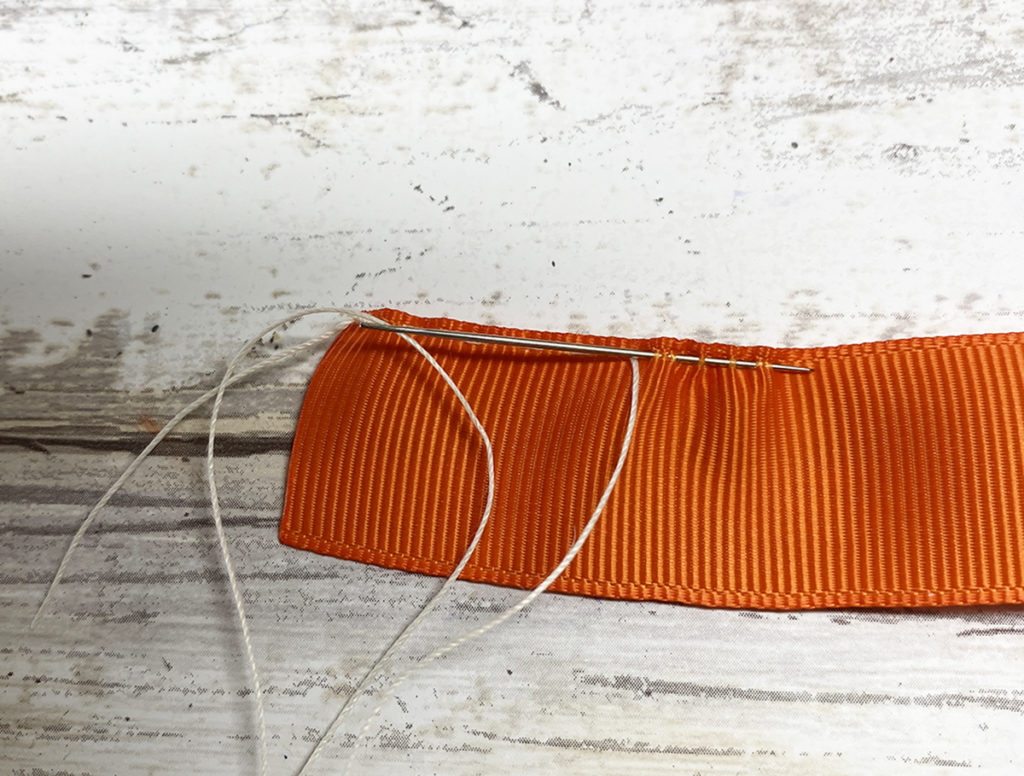
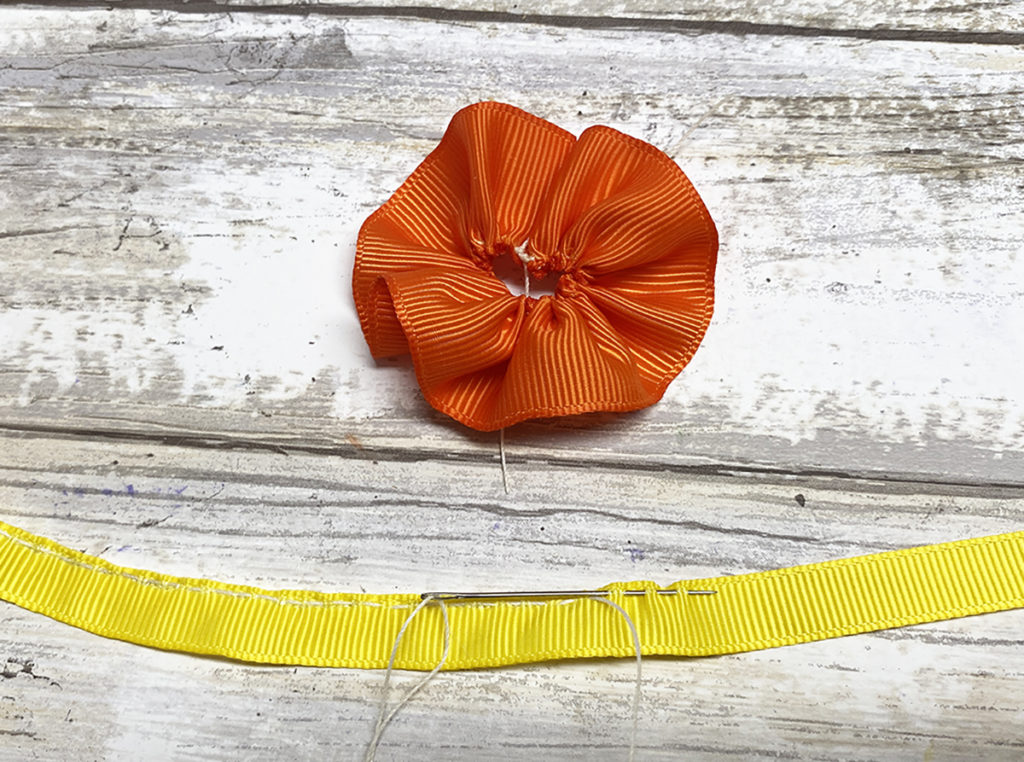
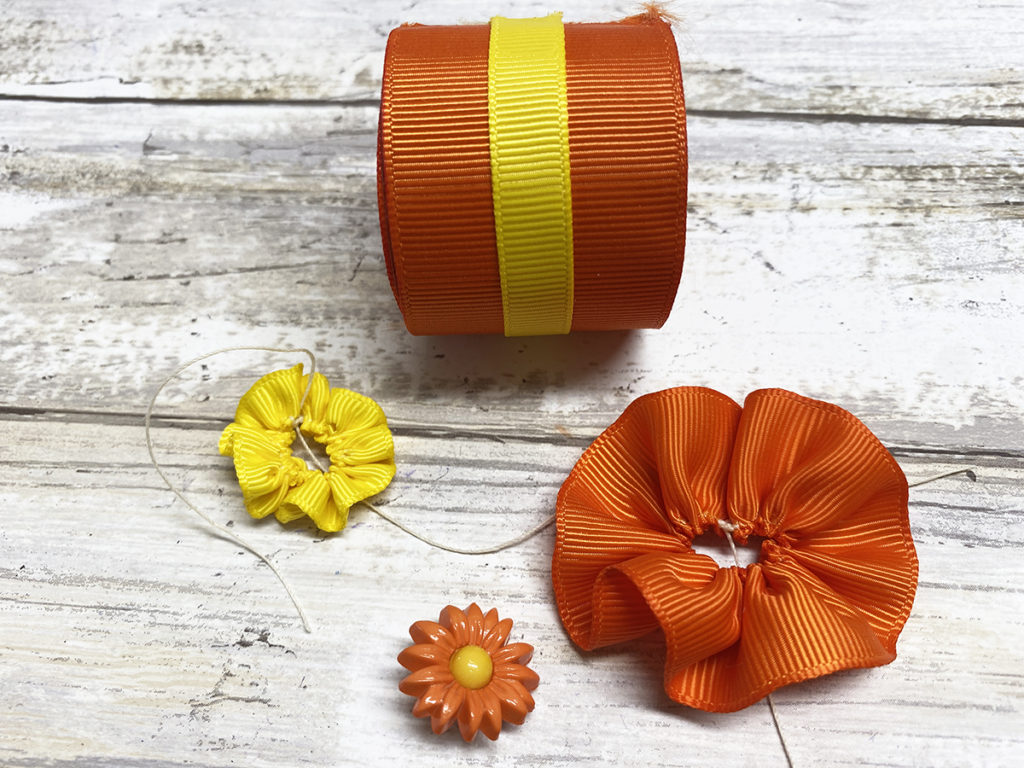
Gather along the top edge of seven inches of orange ribbon.
Tie off to create a gathered rosette flower. Repeat step ten with yellow ribbon.
If desired, glue edges of rosette flowers closed.
Steps Thirteen, Fourteen, Fifteen:
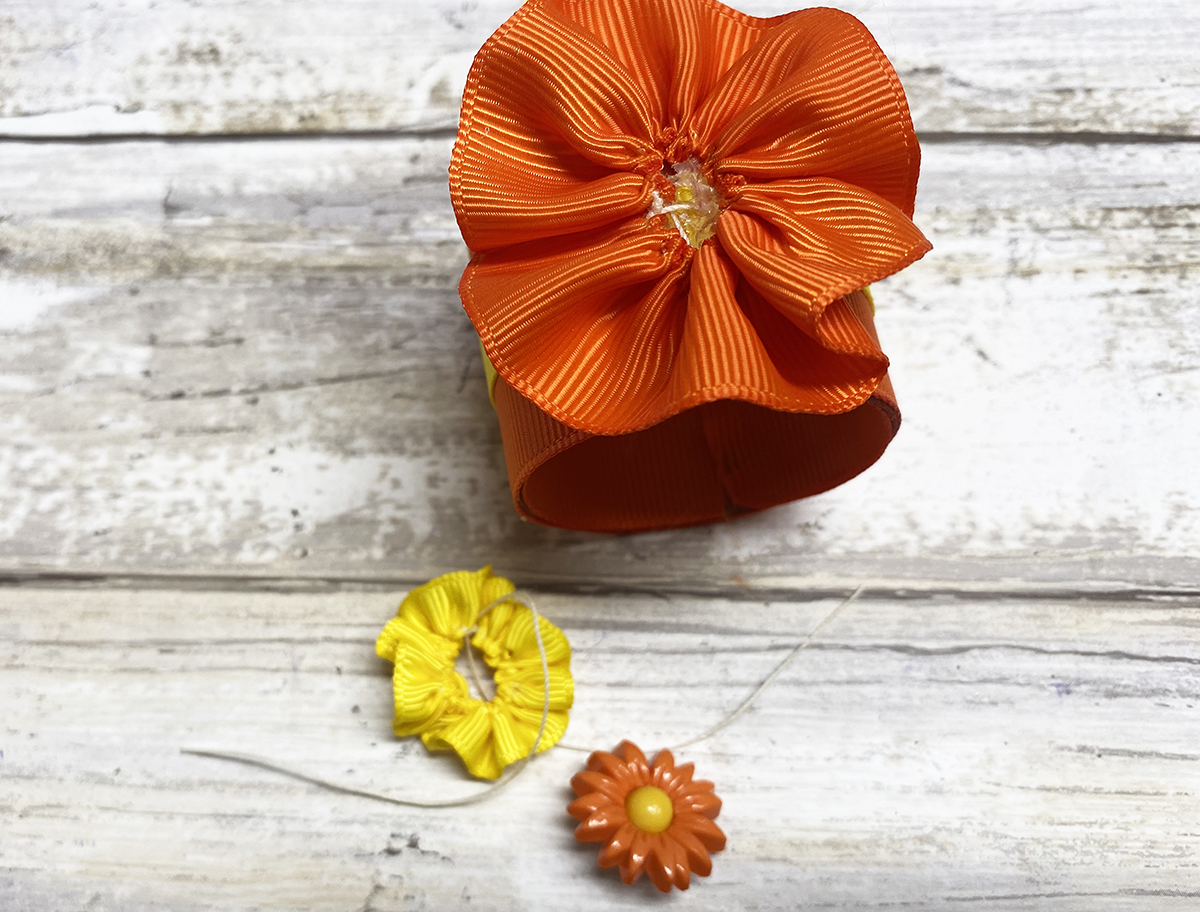
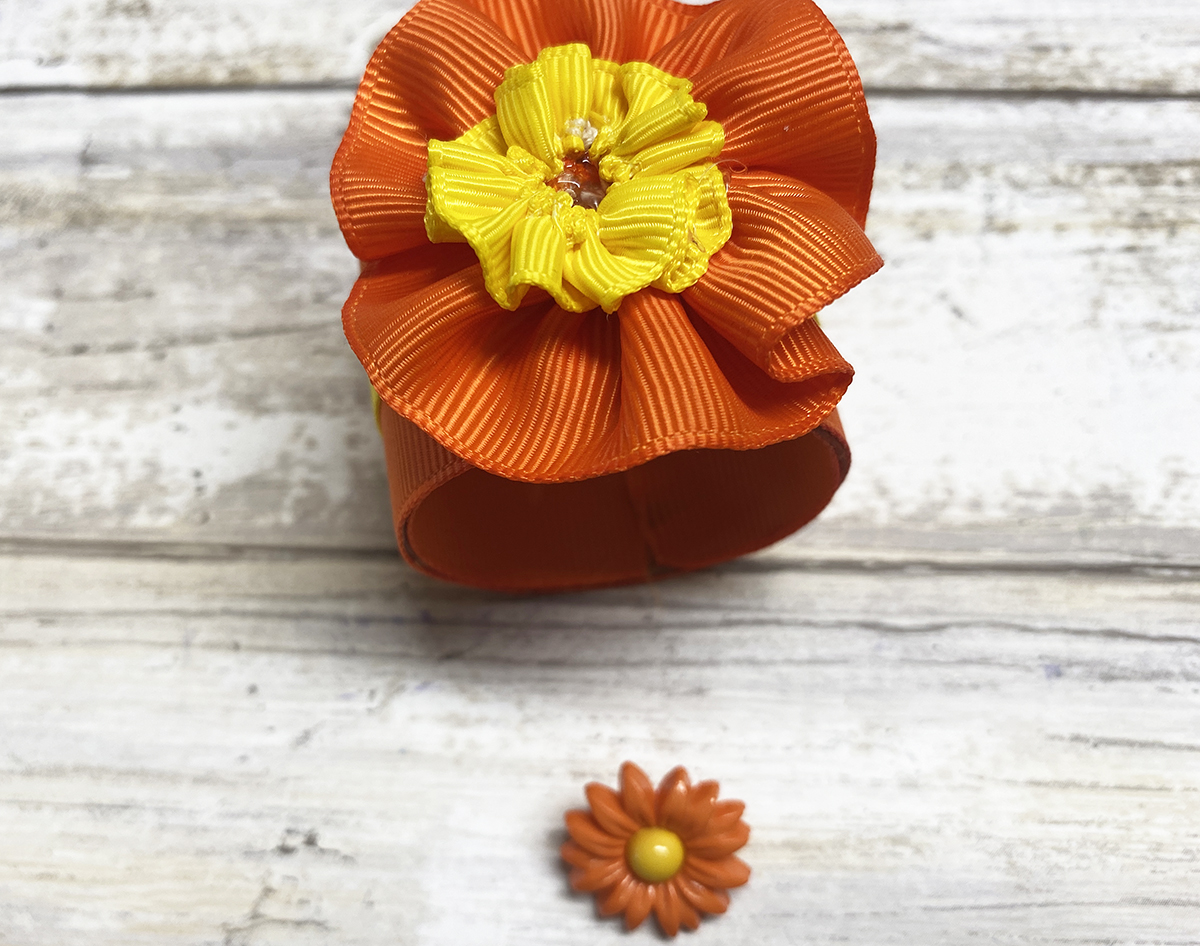
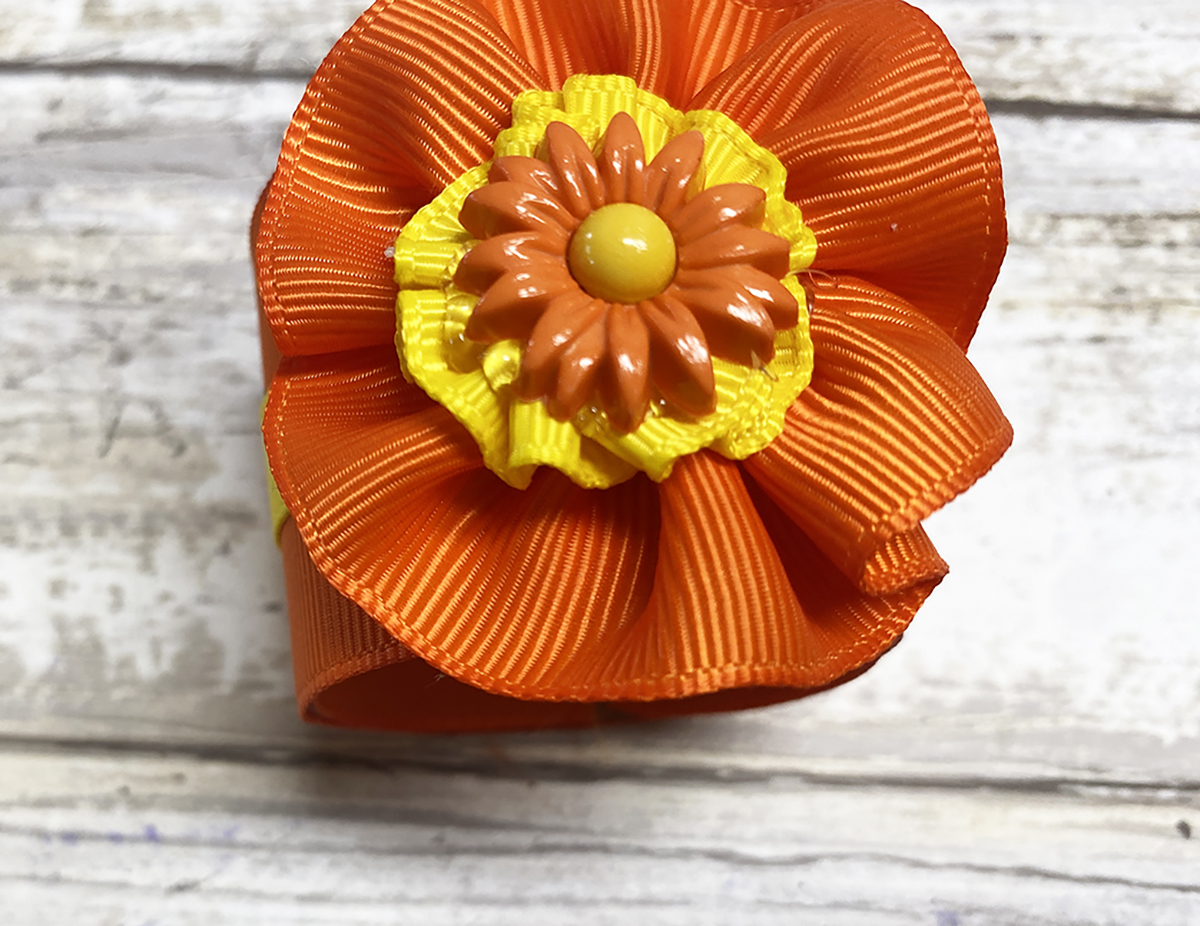
Glue orange rosette flower onto the napkin ring over the seam.
Attach the yellow rosette flower on top of the orange one.
Adhere the flower button to the center of the rosette flowers.
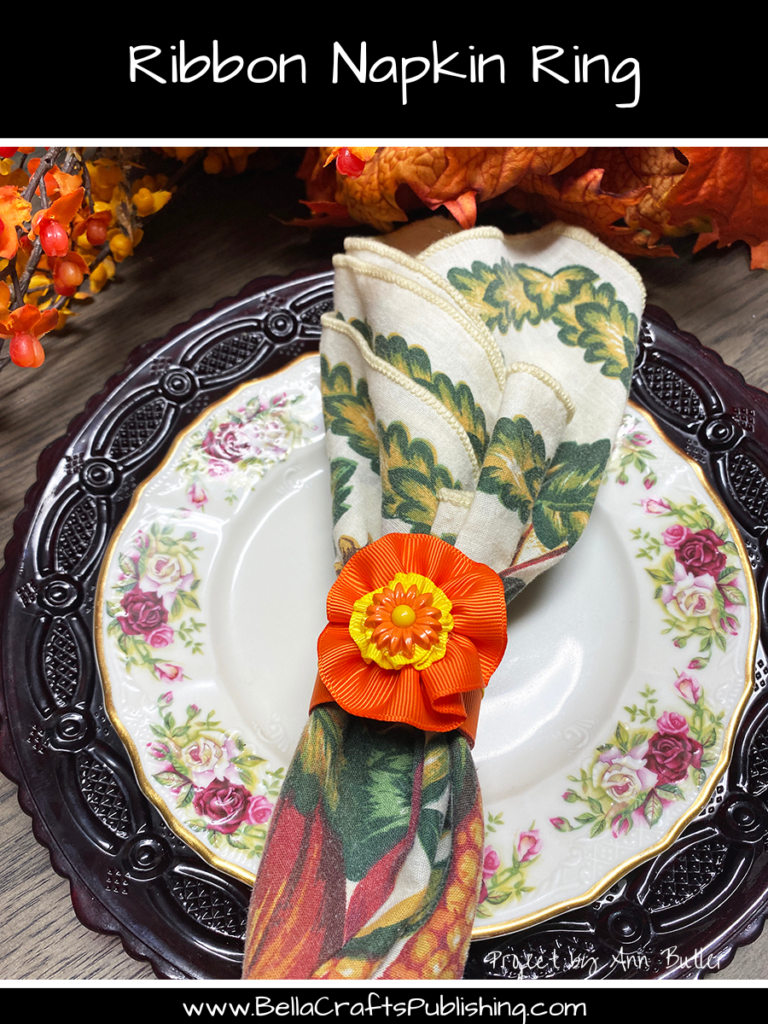
These Quick & Easy RUpcycled Ribbon Napkin Rings make a table setting look extra special. Change out the colors for every season and occassion.
Upcycled Ribbon Napkin Rings Supplies:
- Gwen Studios Ribbons, assorted
- Paper Roll, from toilet tissue, paper towel, wax paper, etc
- Red Line Tape
- Scissors
- Decorative Button
- Glue Gun
If your looking for more Crafty Projects the Summer 2022 issue of Bella Crafts is available to download FREE…to grab your copy sign up here! Then each issue will be sent right to your inbox when they are release
Find more ribbon projects on the Designer Craft Connection Blog.
