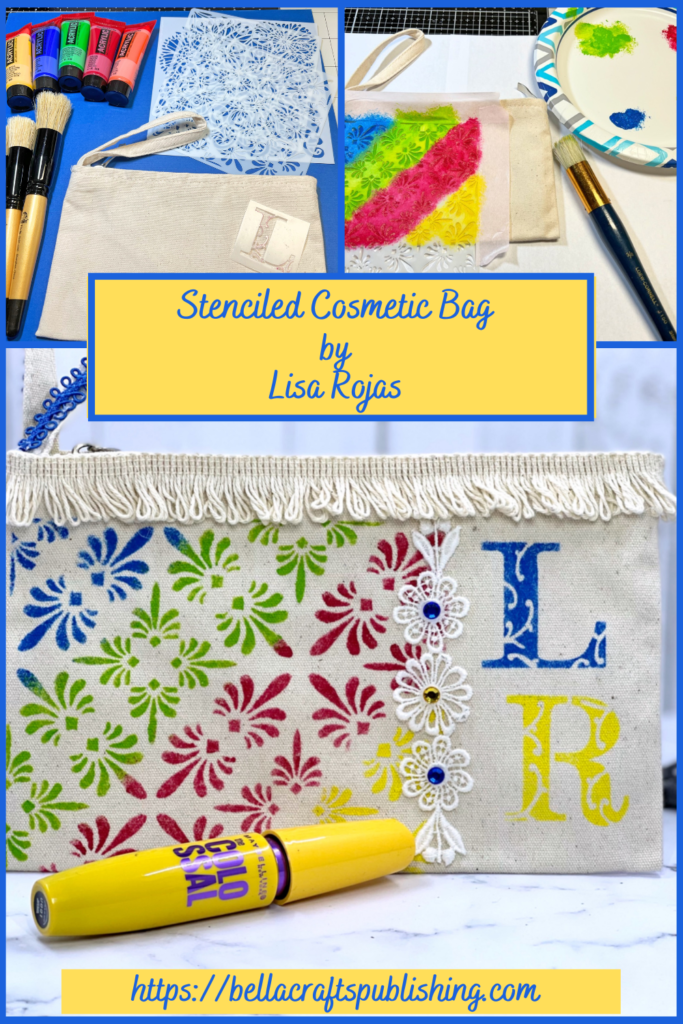
Don’t go around keeping your makeup in an ugly plastic bag, pull out some stencils and acrylic paint to create this Stenciled Cosmetic Bag!
Please note: This post contains affiliate links. If you use these links and make a purchase, we earn a commission at no extra cost to you…
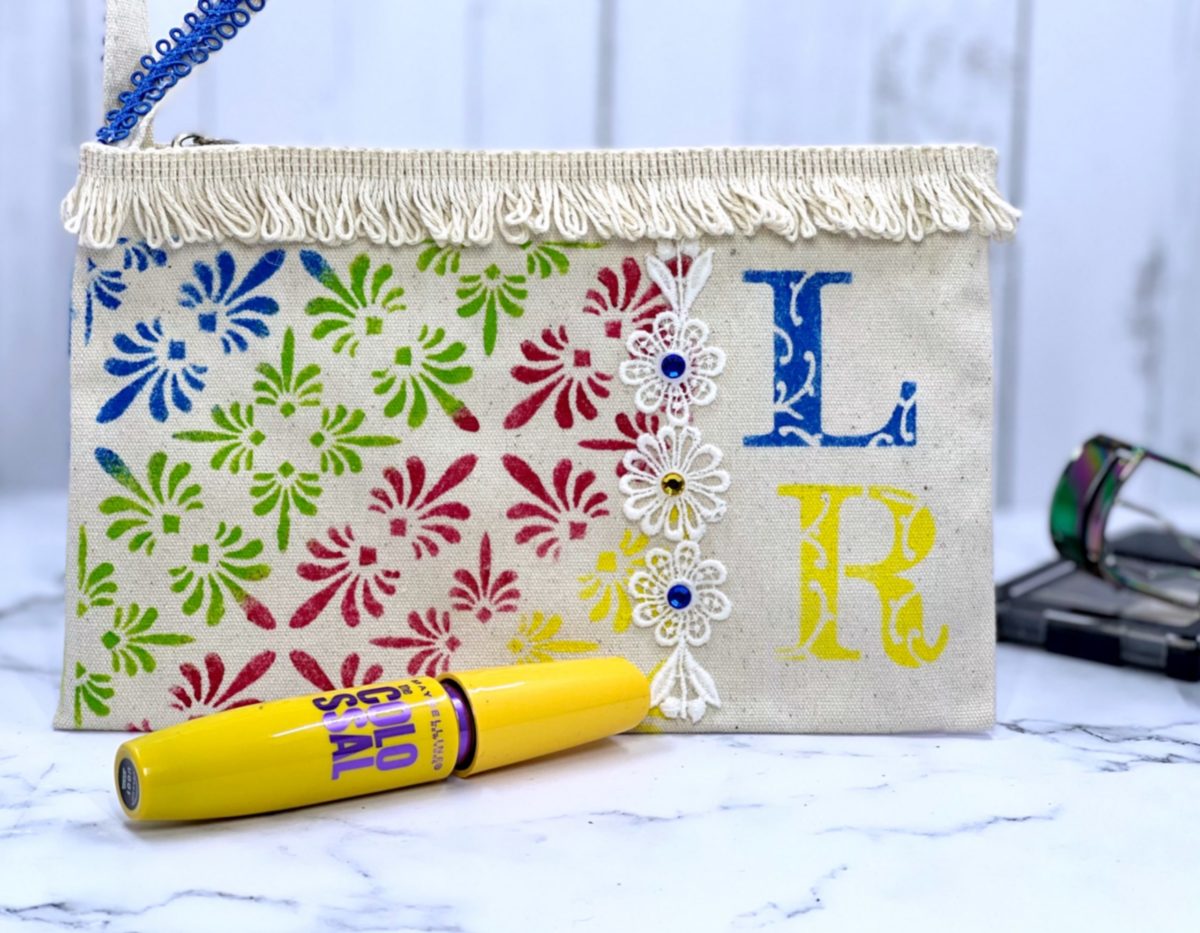
I’m a little embarrassed to admit it, but I was THAT girl that kept her makeup in a plastic bag! I was so tired of looking at it so when I received some acrylic paints from Royal Talens, I knew I wanted to make a stenciled cosmetic bag. I love bright colors and their Amsterdam paints are very bright and vibrant! So, with the vibrant paints and alphabet stencils designed by Ann Butler Designs for StencilGirl, I could create a cosmetic bag just for me! I hope you give it a try. Have fun! Lisa~
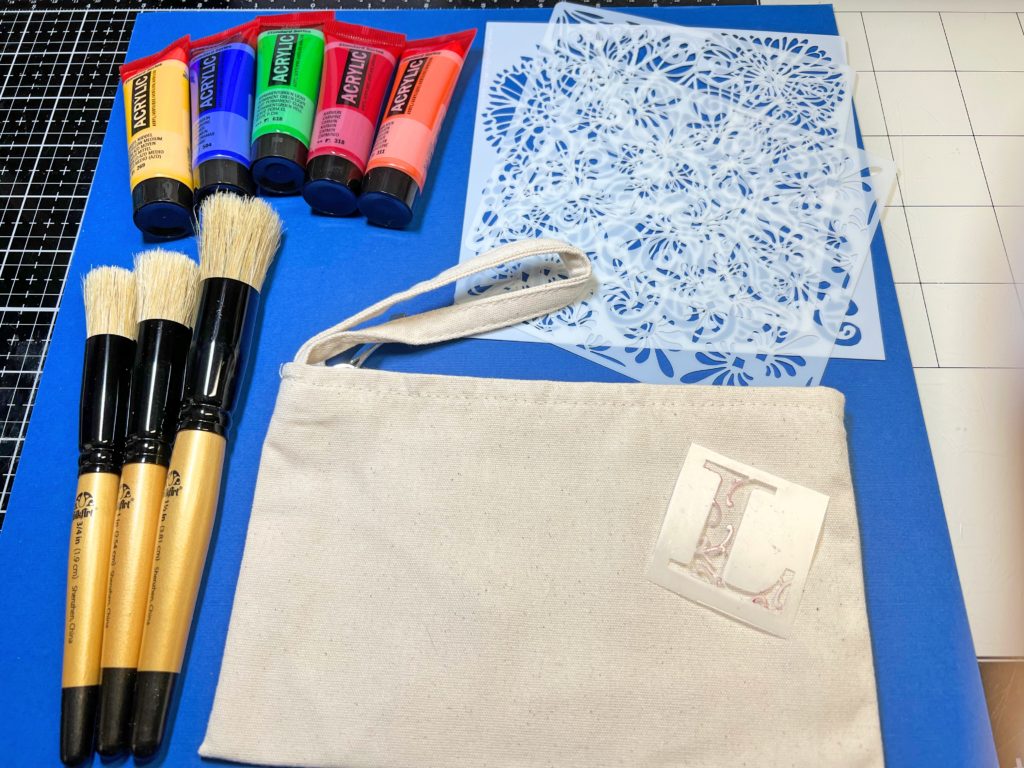
Supplies for Stenciled Cosmetic Bag
Check out the full list of supplies at the end of this post.
Step One:
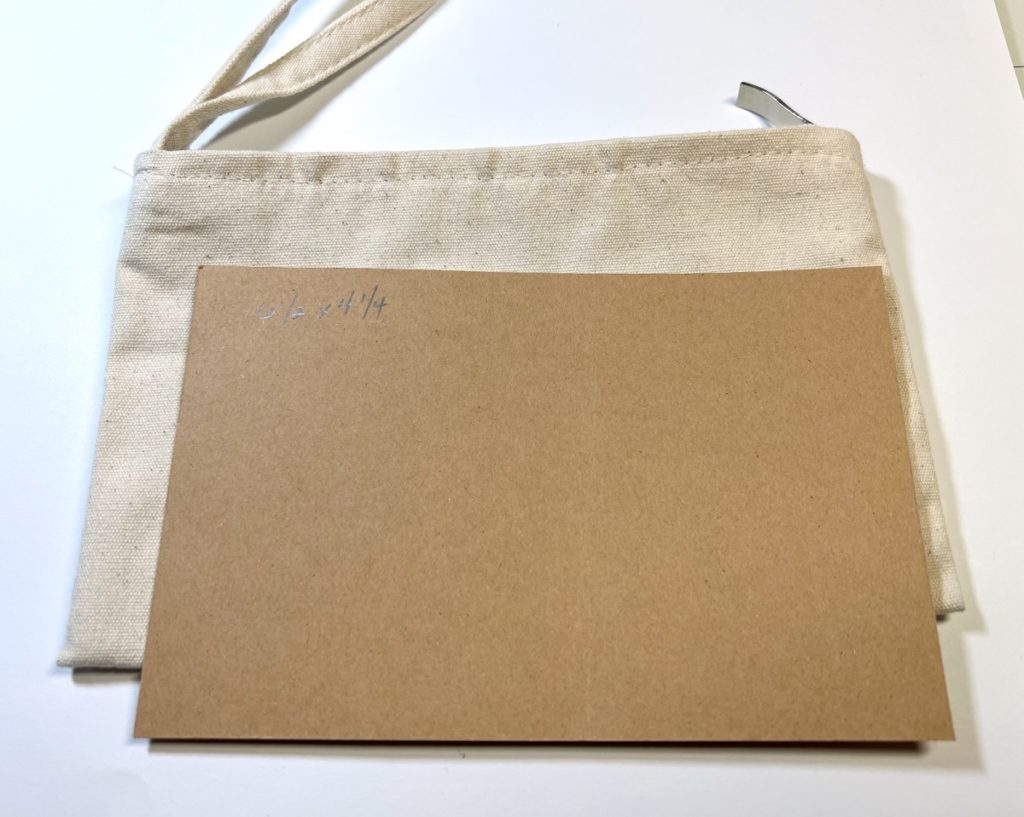
Cut a piece of cardboard a little smaller than the cosmetic bag. My bag is 7 1/’2″W x 4 3/4″H. The cardboard size is 6 1/2″W x 4 1/4″H. Place the cardboard into the bag.
Step Two:
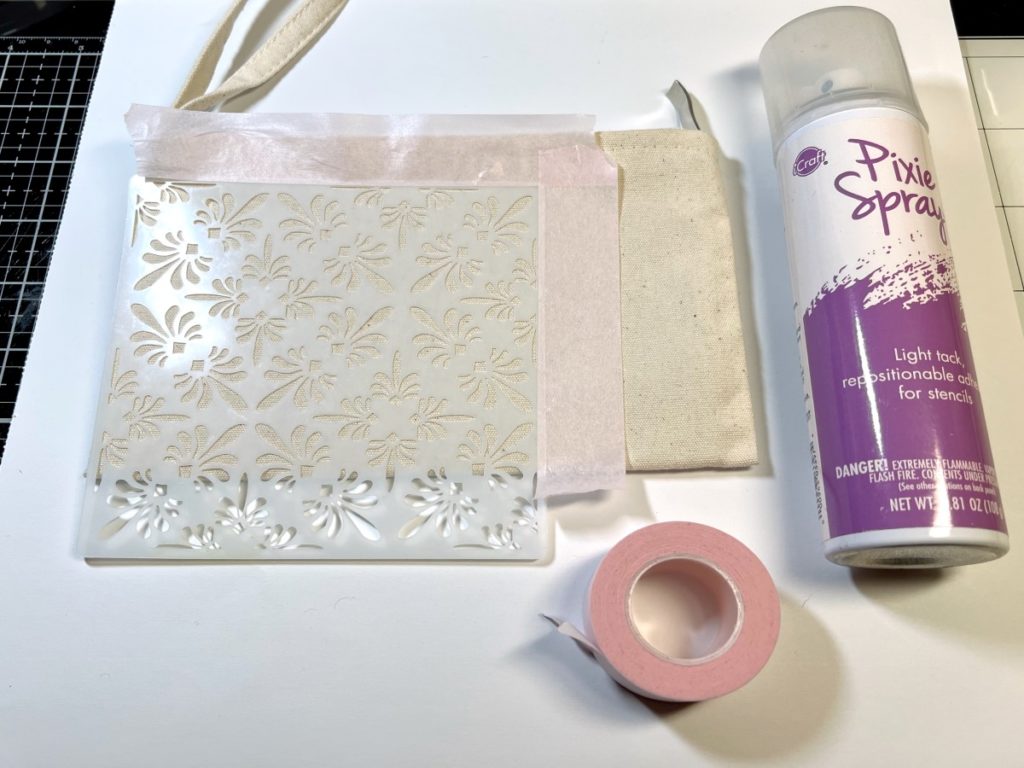
Spray the back of the stencil with Pixie Spray and lay on top of the bag. Use the Pixie tape to block off areas where you don’t want paint to go.
Step Three:
Add a dab of paint on a paper plate or paint pallet. The paints go a long way so you don’t need a whole lot. It’s better to add more paint then having to throw unused paint away.
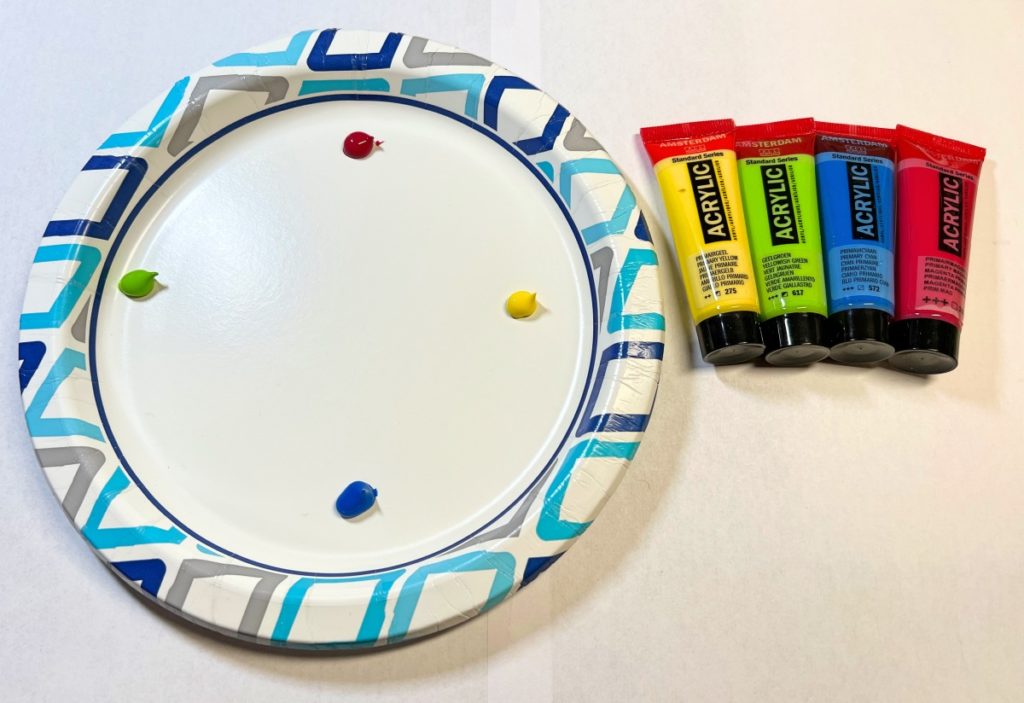
Step Four:
Dab a stencil brush into the paints to load the brush. Tap off the excess paint on the plate or a paper towel. Add the paint to the stencil by dabbing it on. Repeat with the different colors. Remove the stencil when you’re done.
Note: I used different stencil brushes for each color. It keeps you from having to clean the brush off between colors.
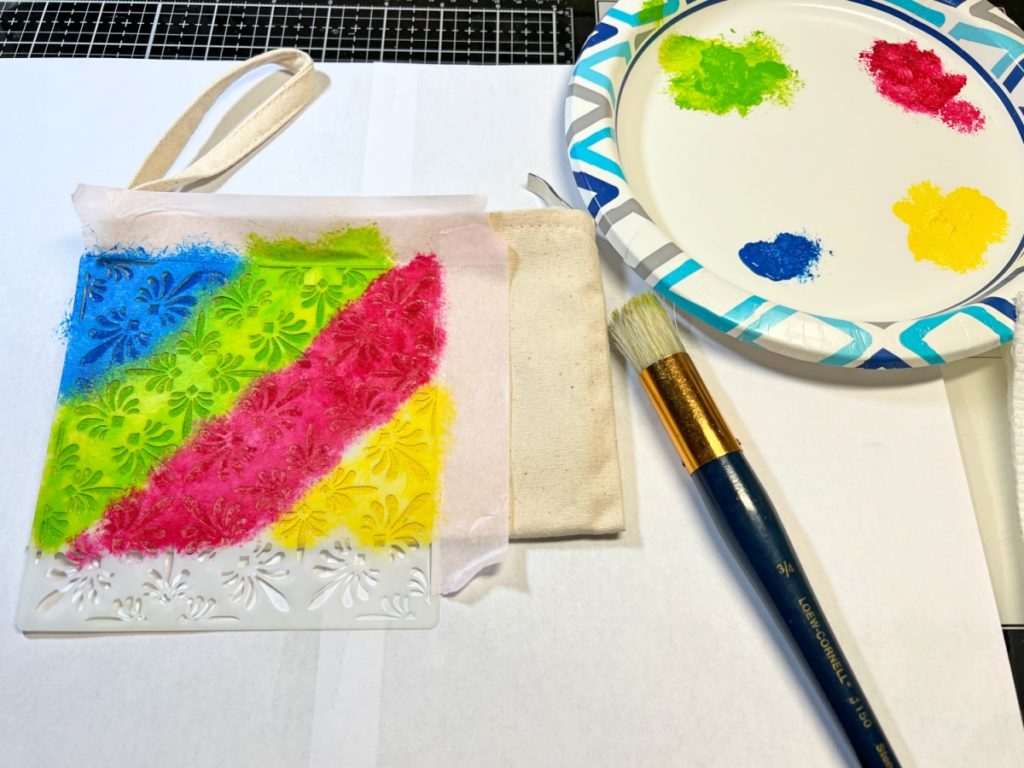
Step Five:
Repeat the process with the alphabet stencils. To finish the bag, apply different trims to the top, the handle and the front of the bag with a glue gun. Add three rhinestones to the trim on front of the bag. Use the finished photo for placement if needed.
Note: If you plan on washing the bag cover it with a piece of material and use an iron to heat set the paints. Also, instead of using a glue gun for the trims, use a liquid glue for fabrics.
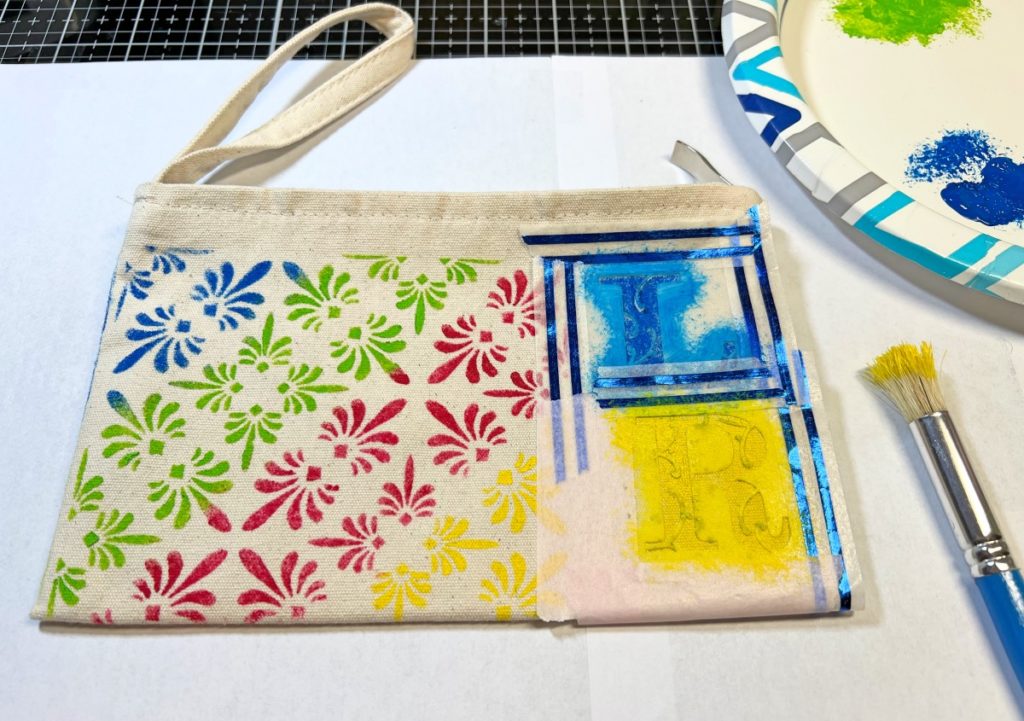
Stenciled Cosmetic Bag
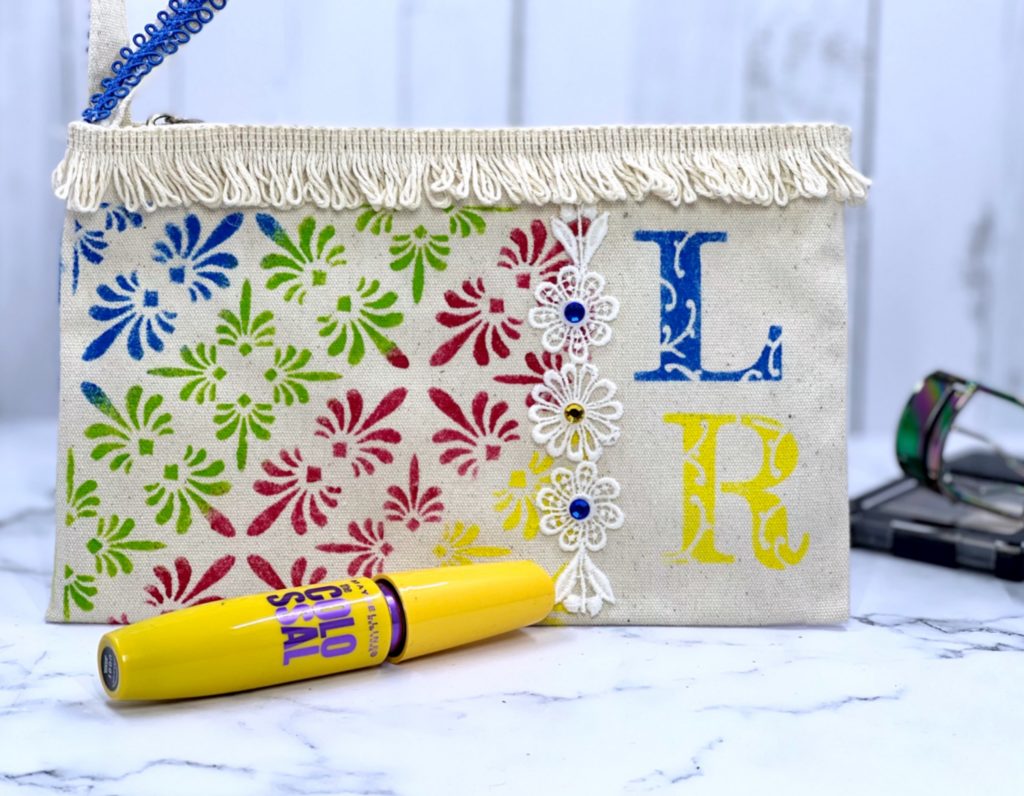
Here’s another PIN for you to share
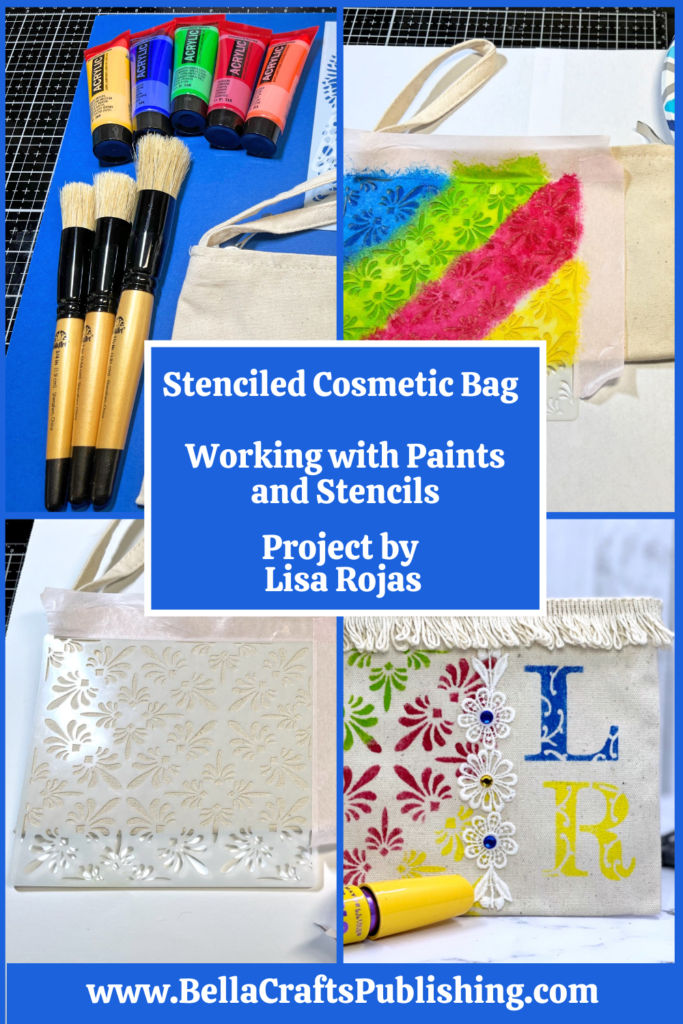
Supplies for Stenciled Cosmetic Bag
- Canvas Bag
- Amsterdam Acrylic Paints: Blue, Yellow, Pink, Green by Royal Talens
- Various Trims
- Colored Rhinestones
- Stencil Brushes
- Stencil of choice
- Flourish Uppercase Alphabet Stencils by Ann Butler Designs for StencilGirl
- Paper Plate
- Paper Towels
- Pixie Spray by Thermoweb
- Removable Pixie Tape by Thermoweb
- Glue Gun or Fabric Adhesive
- Cardboard

Great idea I love the stencil look. The tutorial was fabulous. Thank you