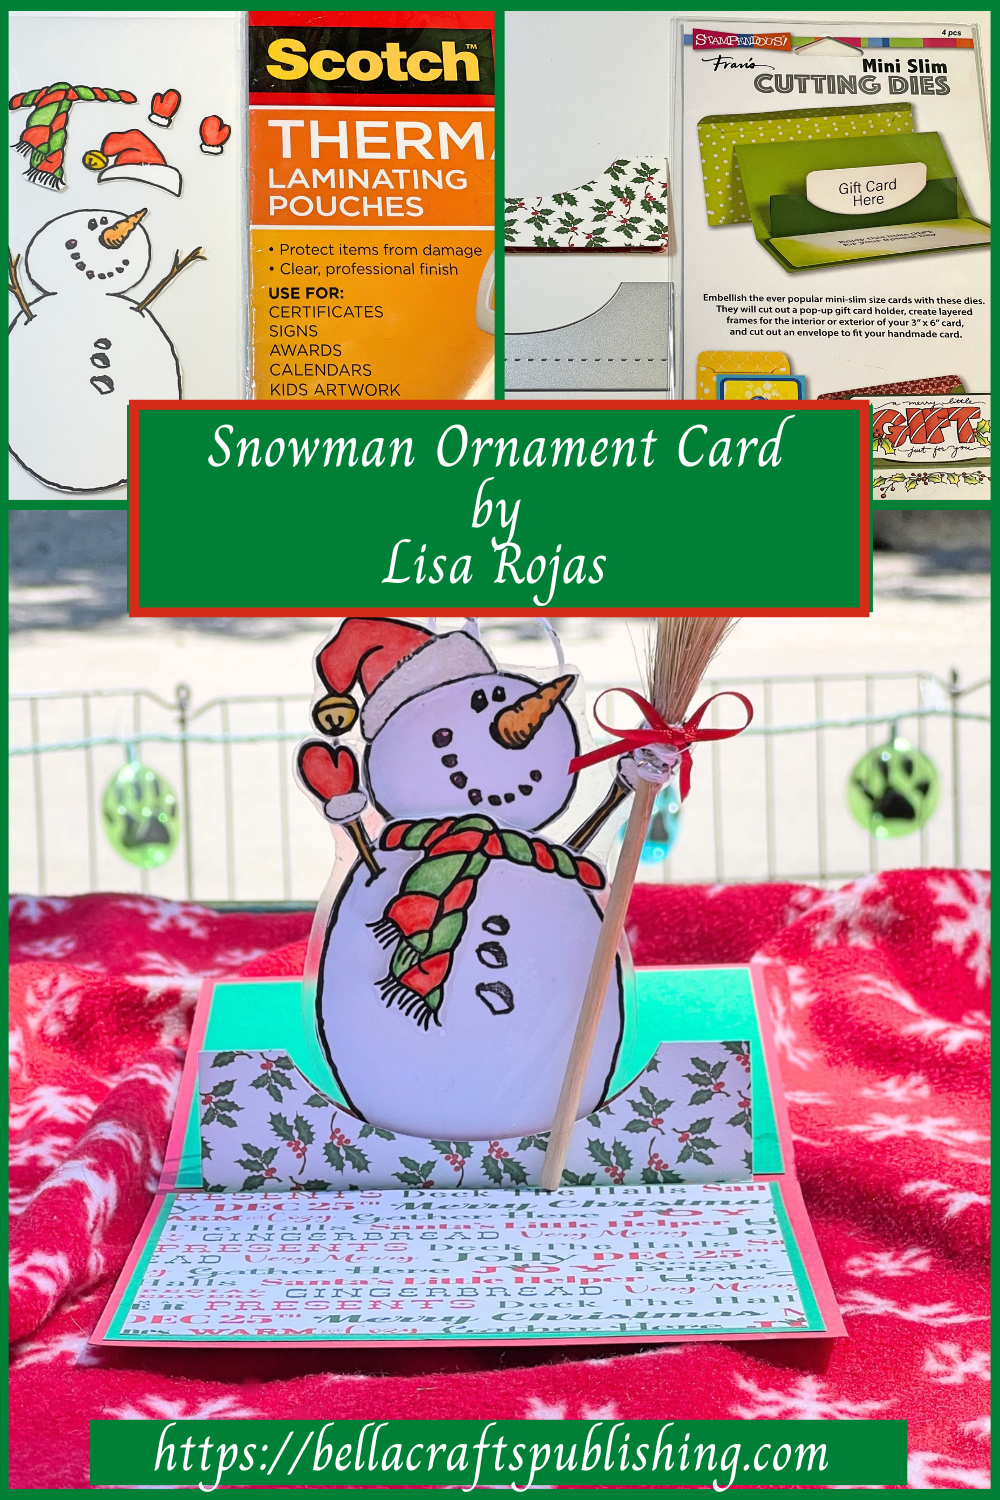
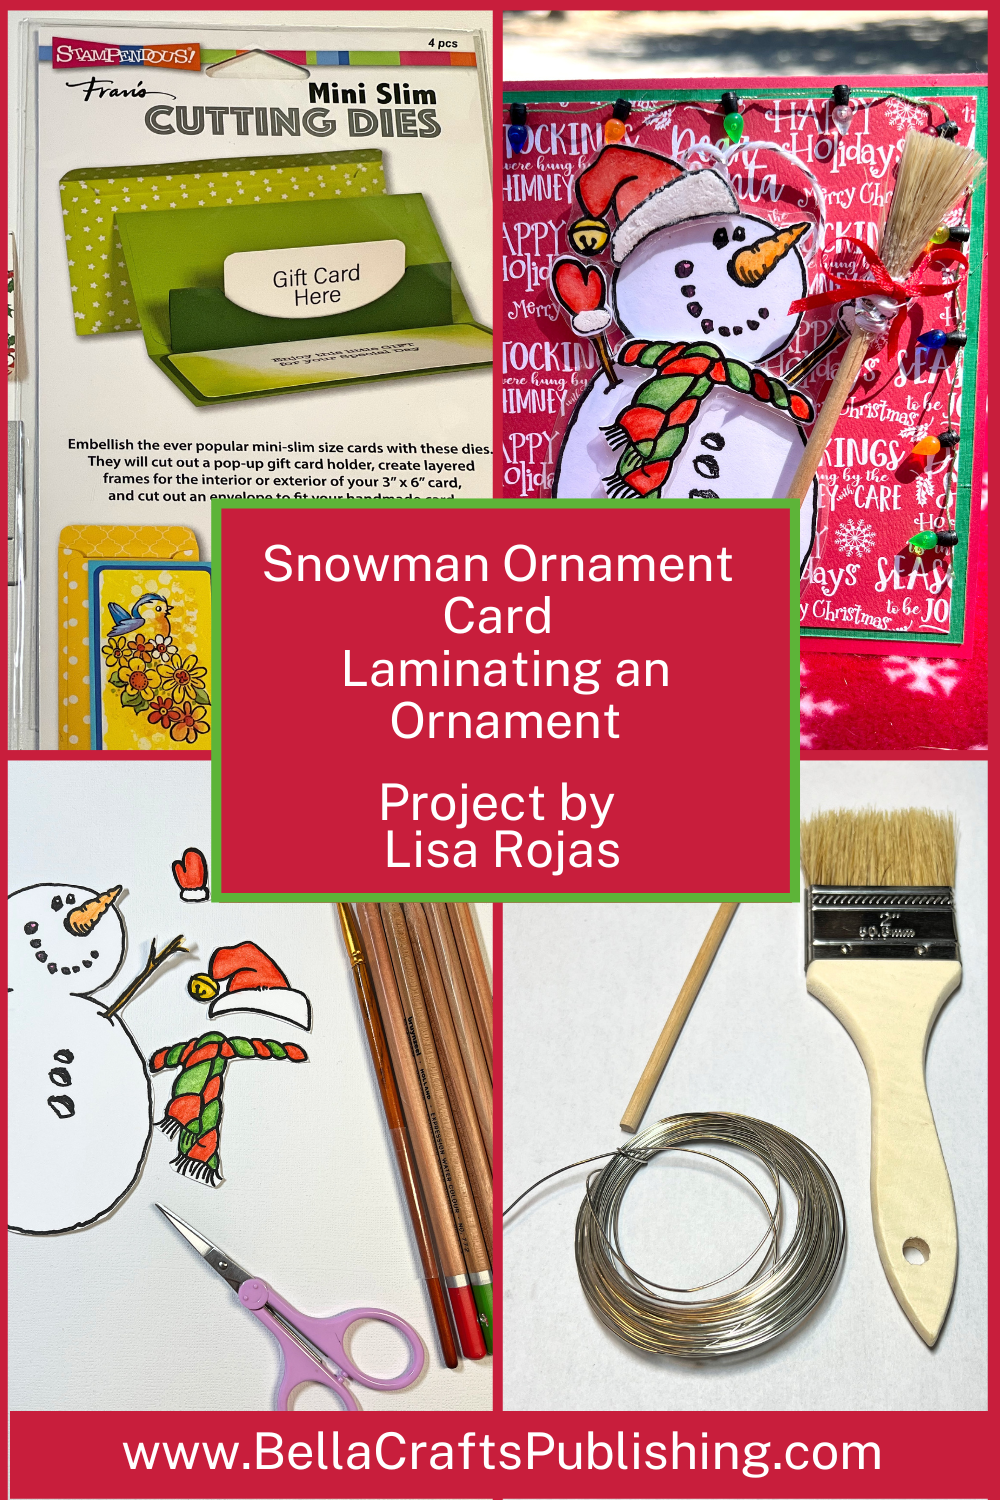
Get your Christmas cards and gifts started early with this adorable Snowman Ornament Card
Please note: This post contains affiliate links. If you use these links and make a purchase, we earn a commission at no extra cost to you…
I’m having some fun bringing you Christmas in July! I know, I know, it’s a little early but really if you think about it Christmas will be here before we all know it. So, let’s get a jump on things and create this Snowman Ornament Card. It’s quick and easy to make, even if you want to make multiples. I hope you give it a try. Have fun! Lisa~
Steps One, Two, Three:
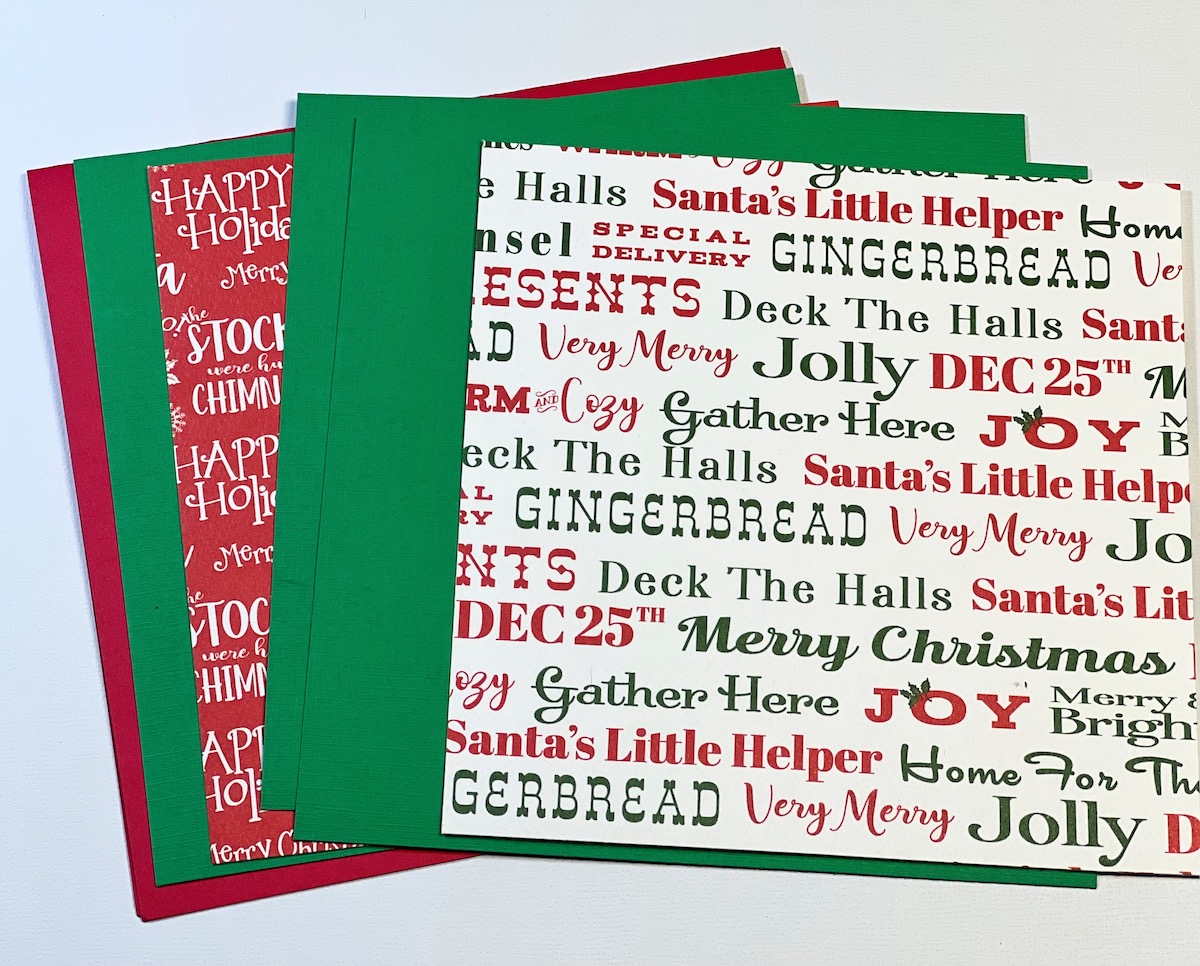
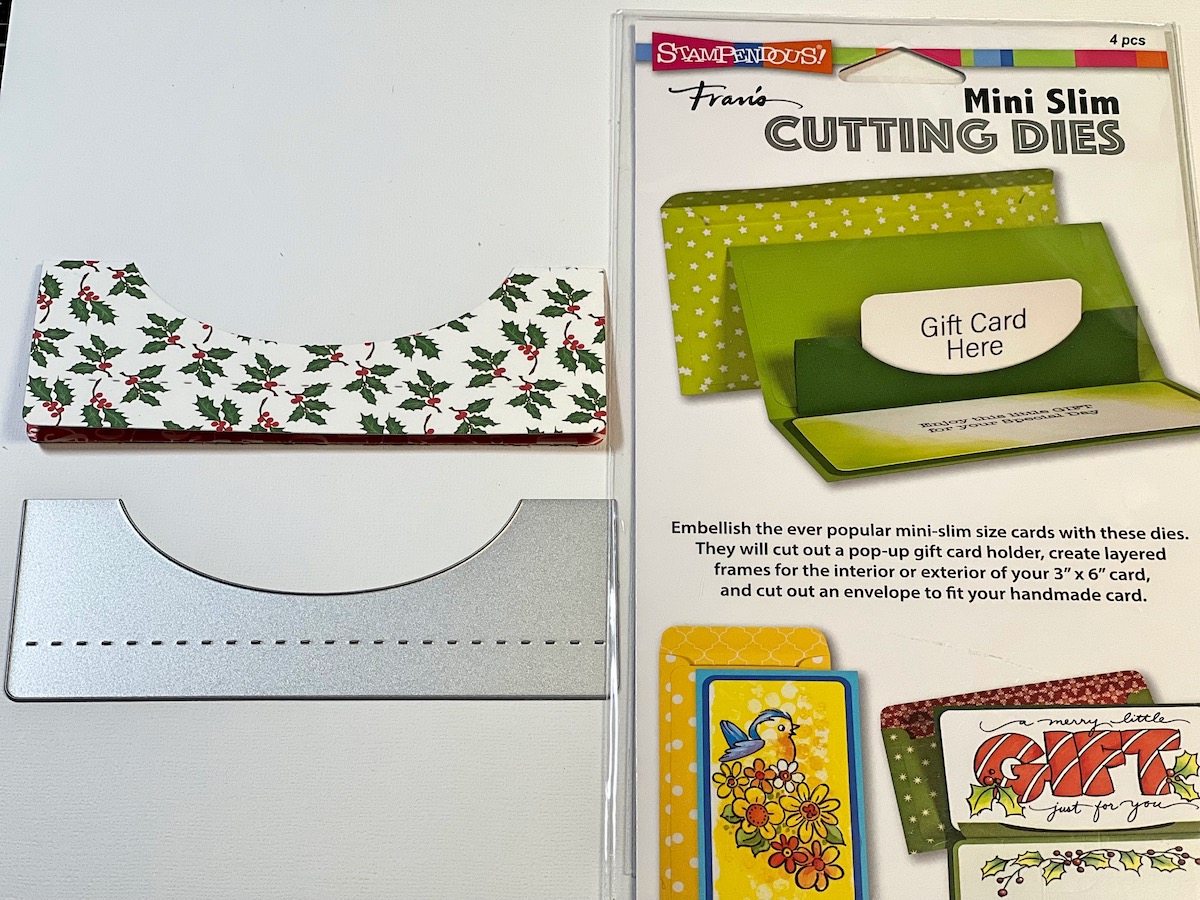
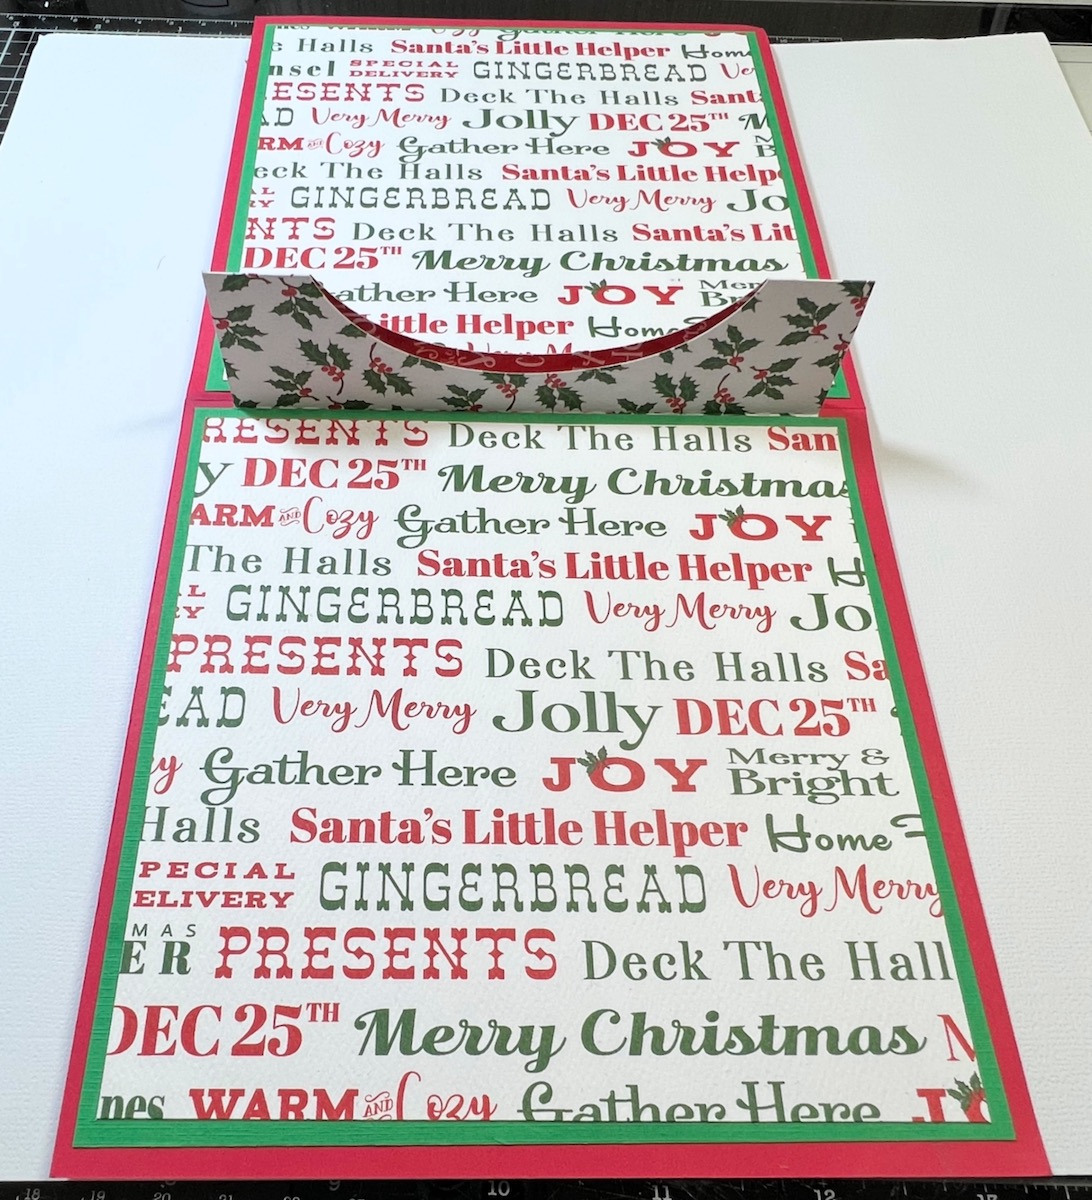
Cut the papers as follows: Red cardstock- 6″ x 12″ fold in half for a 6″ x 6″ card base. Green cardstock- 5 3/4″ x 5 3/4″ (3), Red patterned paper- 5 1/2″ x 5 1/2″ (1), Red & Green patterned papers- 5 1/2″ x 5 1/2″ (2). Cut Holly patterned paper 5″ x 4″ and score at 2″. Use the pop up die in the die set and run through a die cutting machine. Fold along the score lines and adhere to the center of the card base. Layer and adhere the papers to the inside and outside of the card base.
Steps Four, Five, Six:
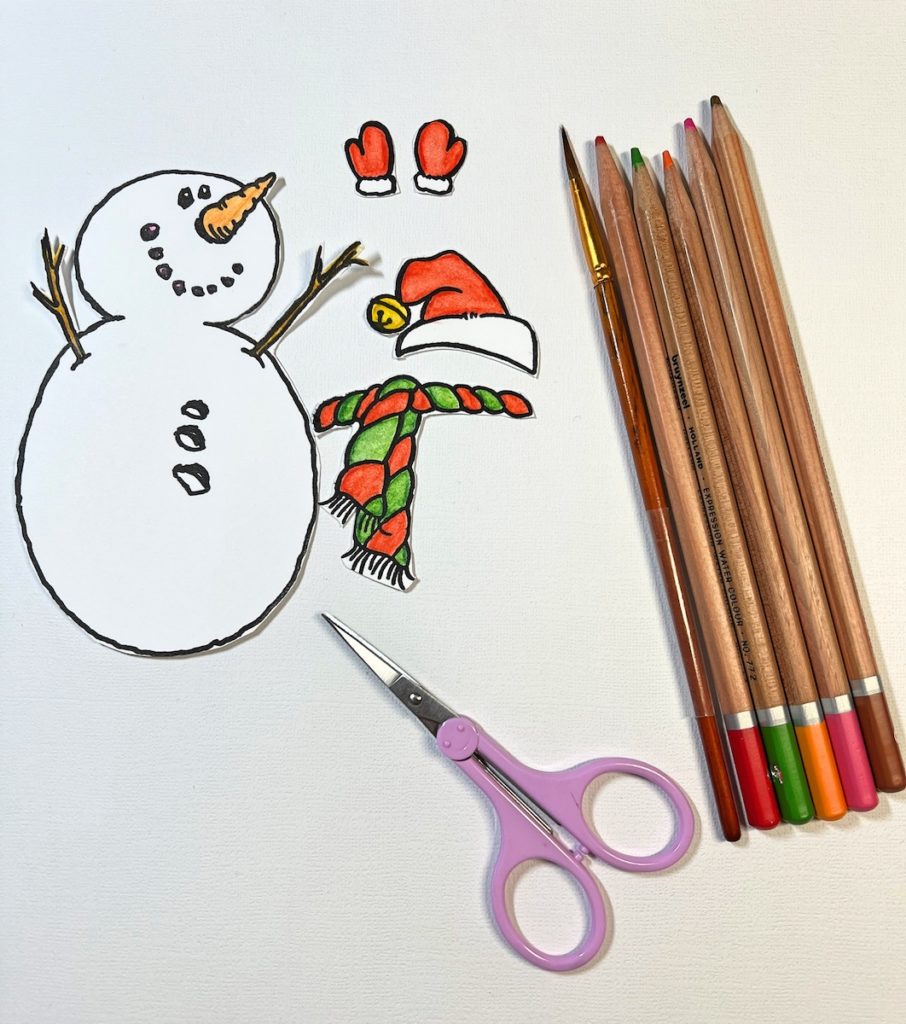
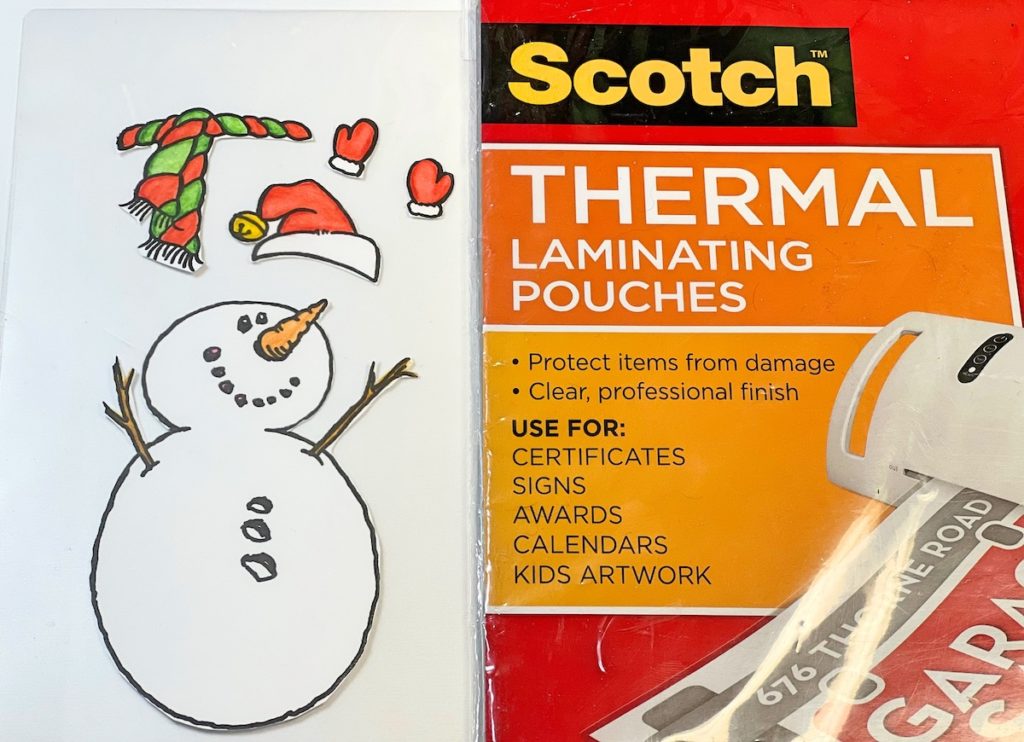
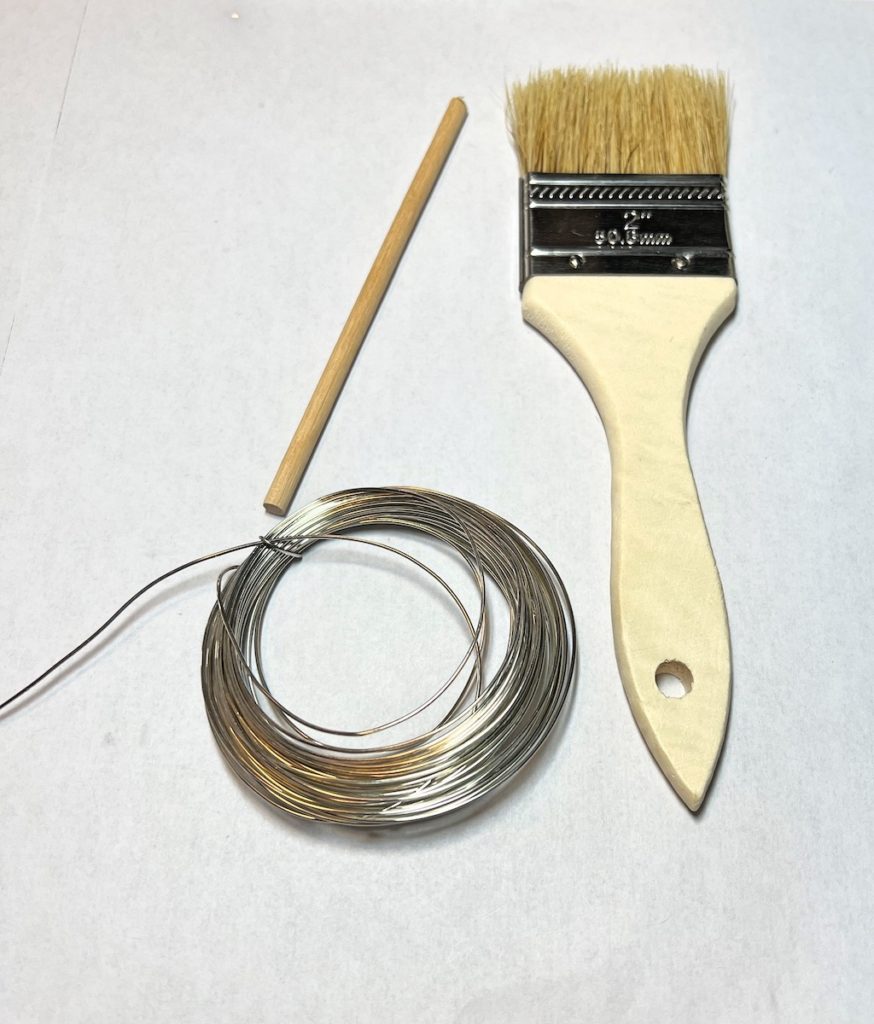
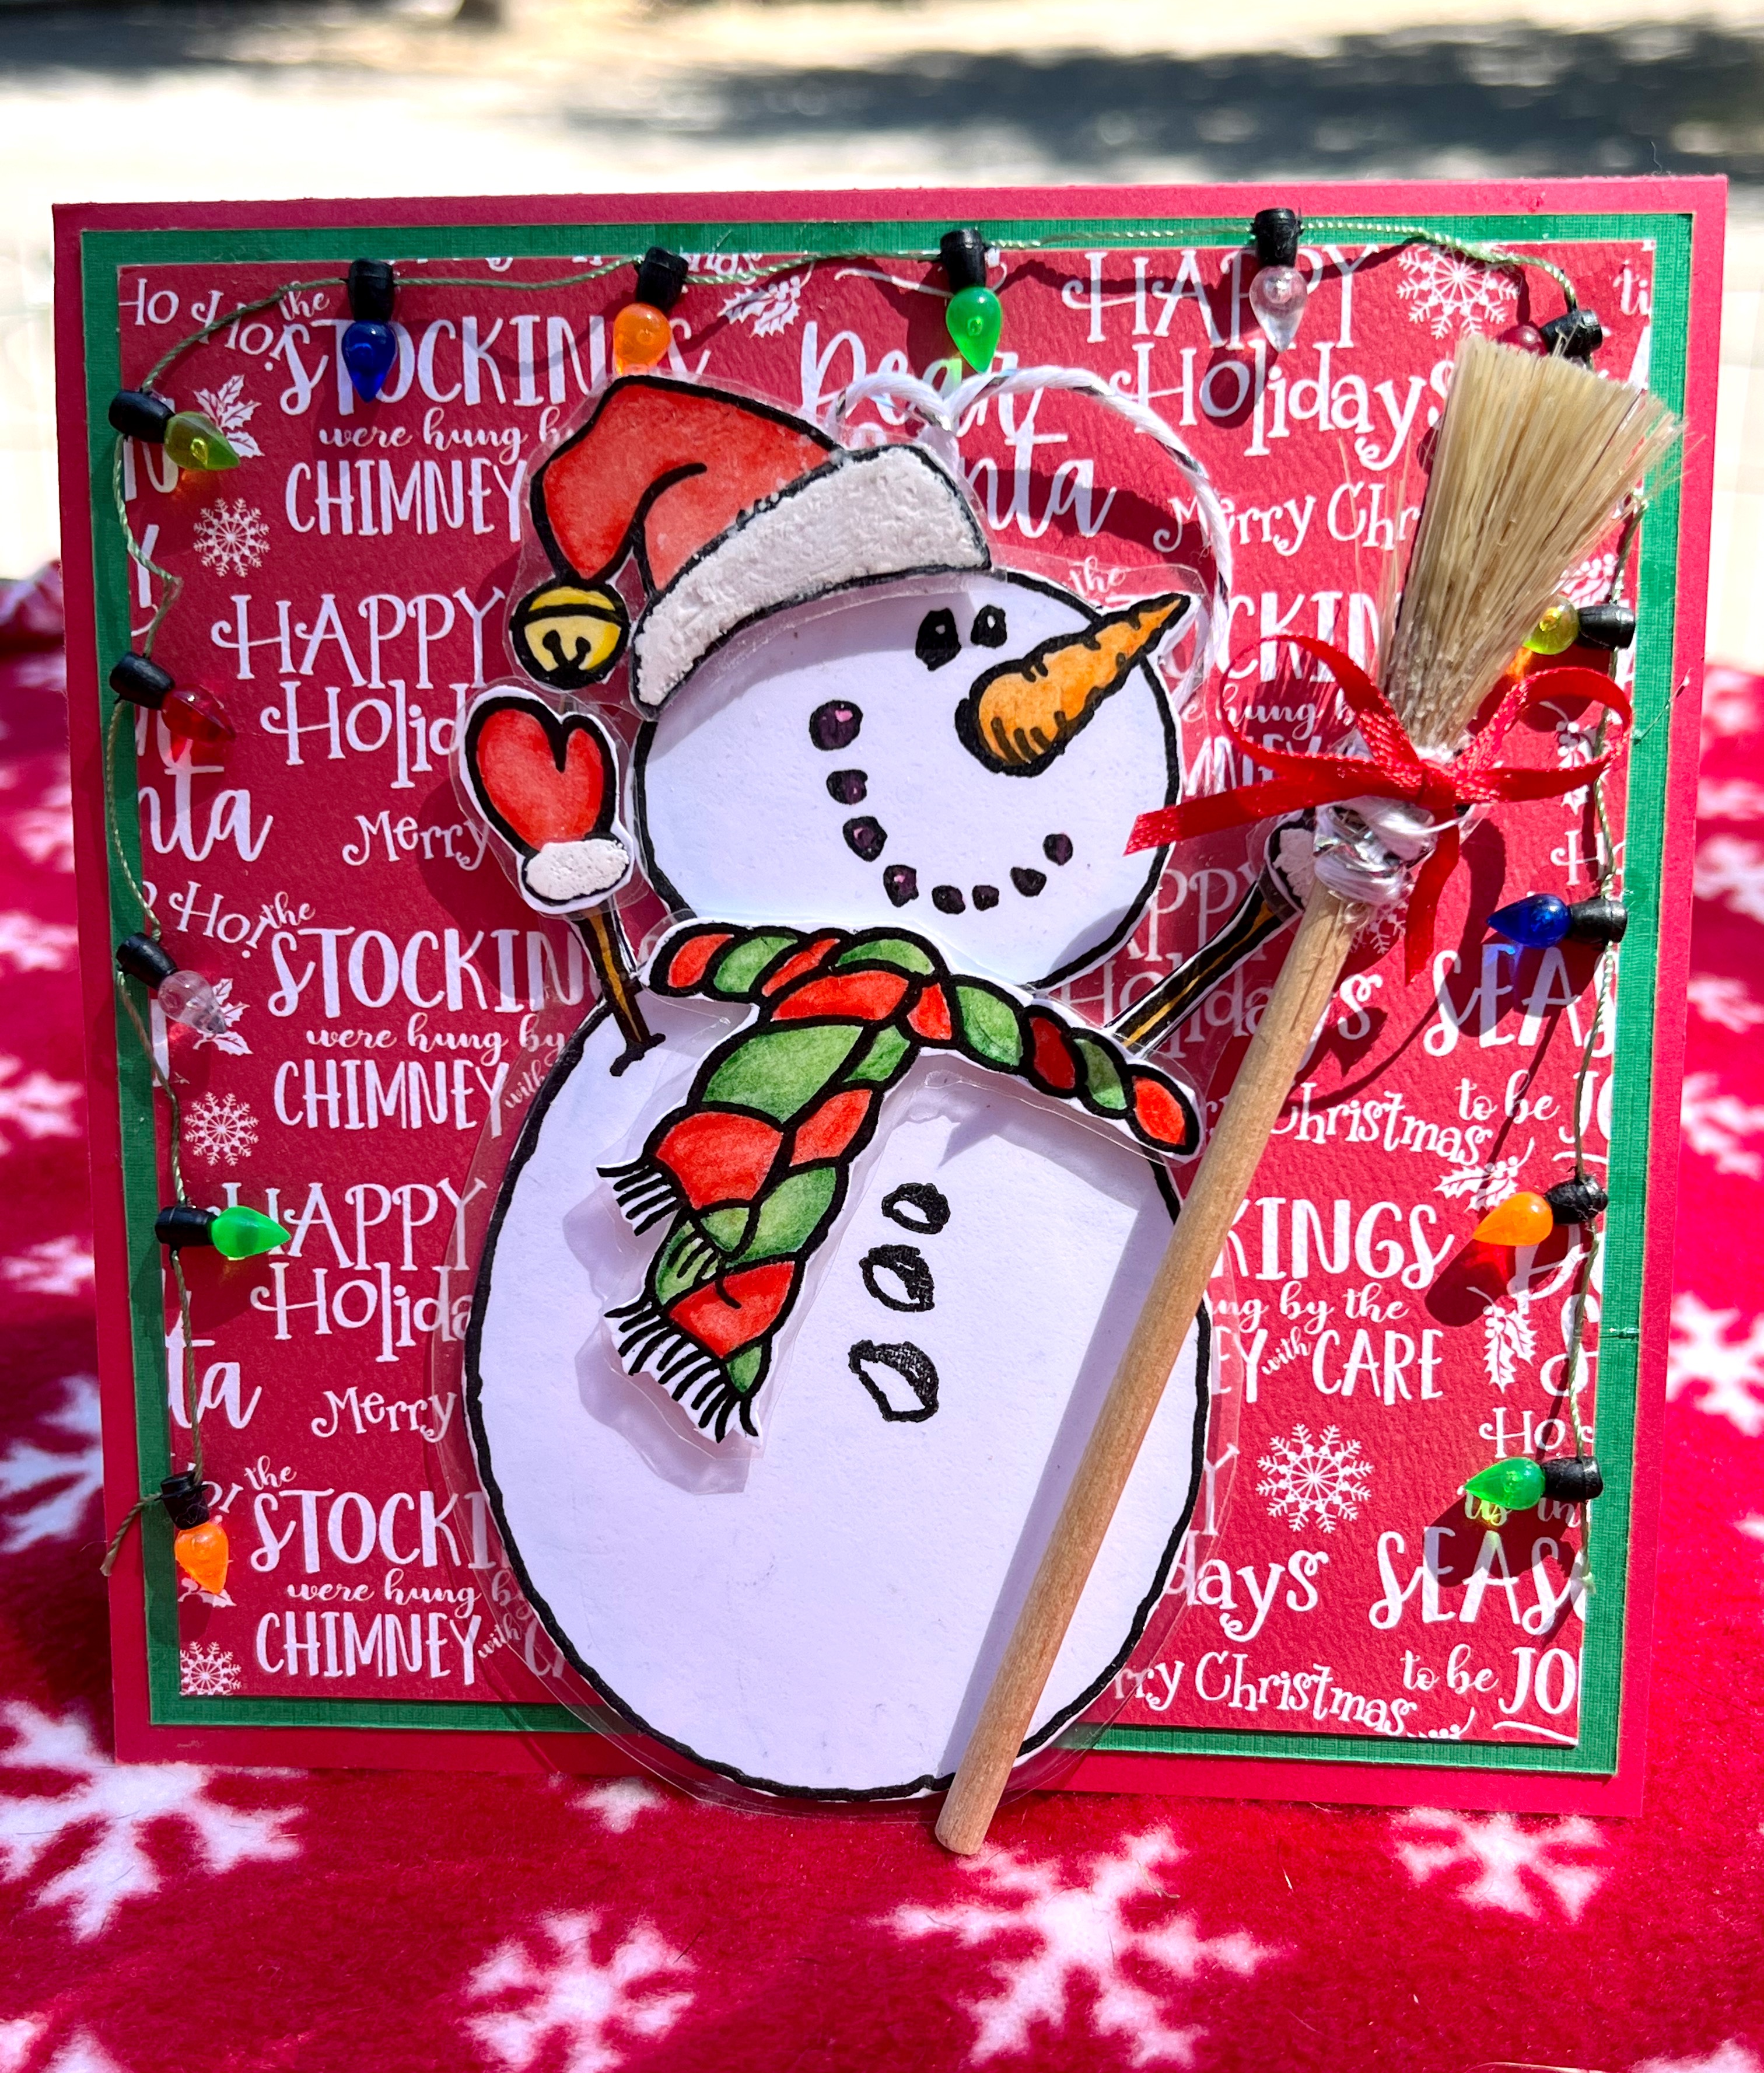
Using a black inkpad, stamp the snowman, hat, gloves and scarf. Color the images with watercolor pencils and cut out. Lay the pieces inside a laminating pouch and run through a hot laminator. Cut images out again leaving a 1/8″ edge. Apply foam tape to the hat, gloves and scarf and attach to the snowman. For the broom, section off approximately 3/4″ of the bristles on a cheap paintbrush. Apply Zip Dry glue around the section and let dry. Cut the bristles off through the glue so they’ll stick together while cutting them. Wrap wire around the bristles. Slide the dowel into the bristles and add a dab of glue. Wrap some white & silver string around the wire and add a red bow.
Note: You can use a skewer or toothpick and a smaller paintbrush, depending on the size of the broom you want to make.
Steps Seven:
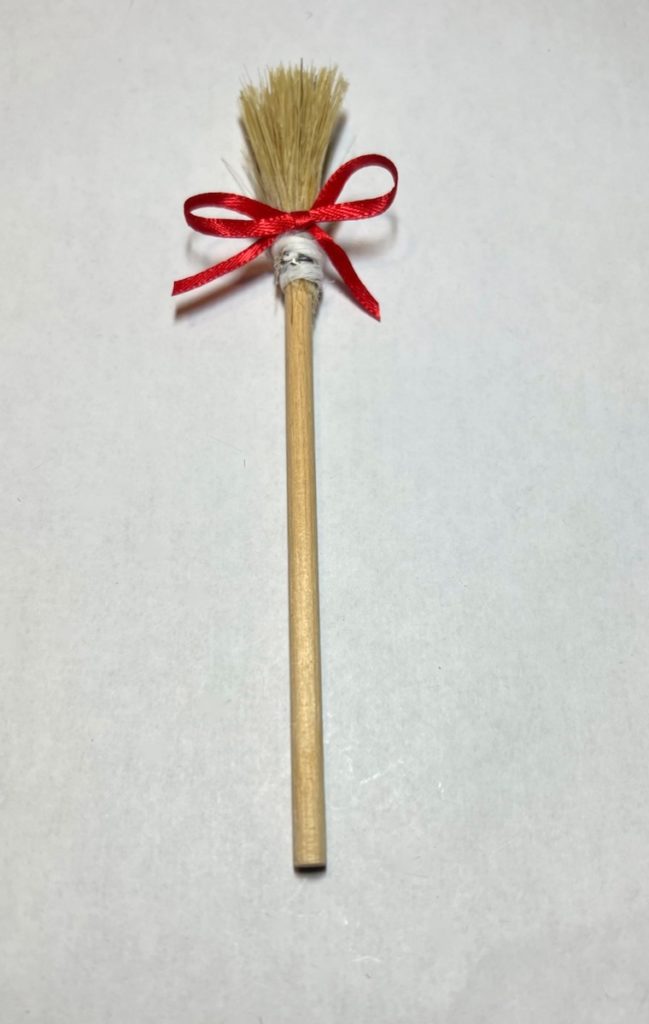
To finish, trim the bristles of the broom. Add some foam tape to the broom and adhere to the snowman. Adhere a piece of white & silver string to the back of the hat for a hanger. Attach some miniature lights around the card front. Place the snowman into the pop up inside the card.
Note: If you don’t want to create a pop up, you can add the snowman to the front of the card as shown in the second photo below.

Snowman Ornament Card
- FransFormer SnowPop Clear Stamp Set by Stampendous
- Mini Slim Cutting Dies by Stampendous
- Cardstock: White, Red, Green
- Patterned Papers
- Amalgam Inkpad, Obsidian by Gina K. Designs
- Laminating Sheet
- Inexpensive Paintbrush
- Wood Dowel, 1/4″
- White & Silver String
- Ribbon, Red
- Wire
- Miniature Lights
- Zip Dry Paper Glue by Beacon Adhesives
- Foam Tape
- Watercolor Pencils by Royal Talen
- Paper Trimmer
- Scissors
- Laminating Machine by Scotch
- Big Shot Machine by Sizzix
One more PIN of the Snowman Ornament Card to share
Trackbacks/Pingbacks