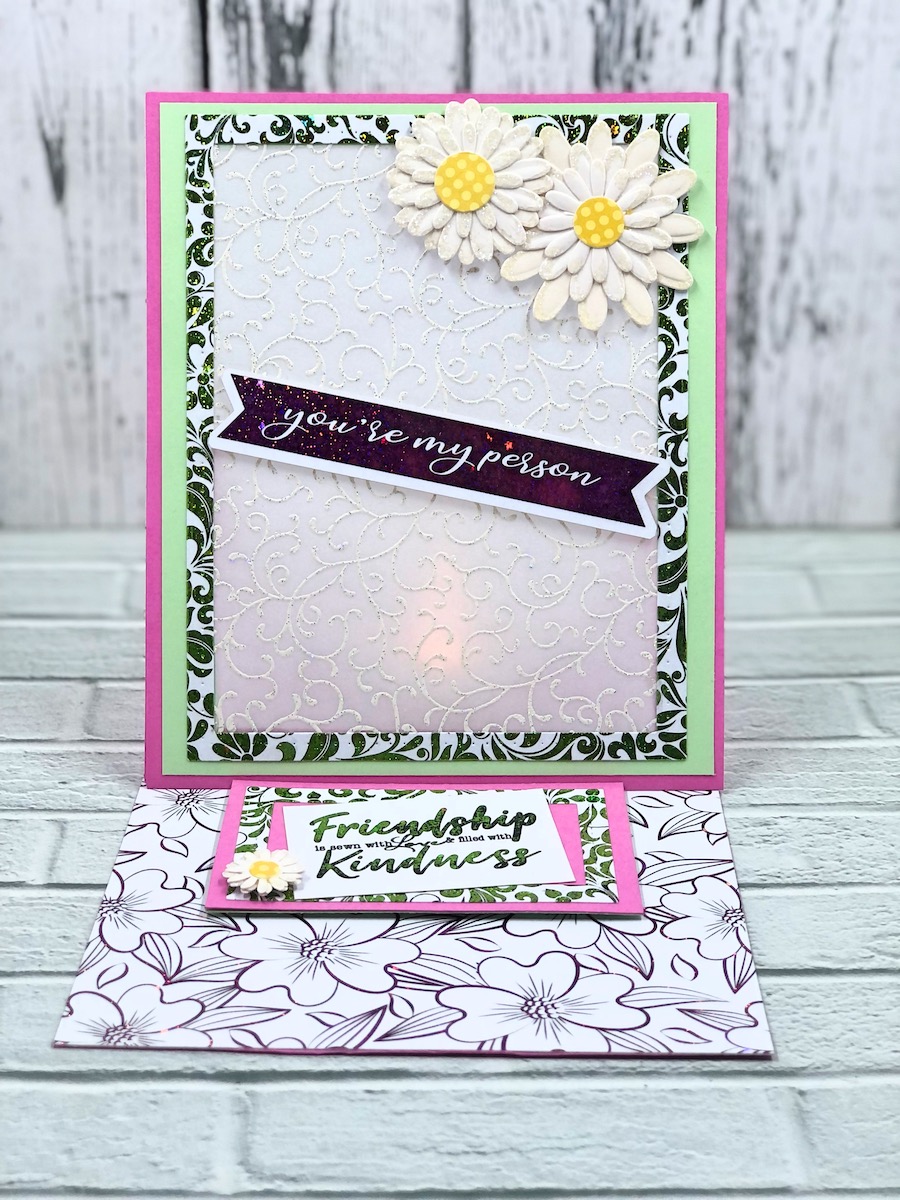
Have you ever created a card that lights up? If not, try this Lovely Lighted Card!
Please note: This post contains affiliate links. If you use these links and make a purchase, we earn a commission at no extra cost to you…
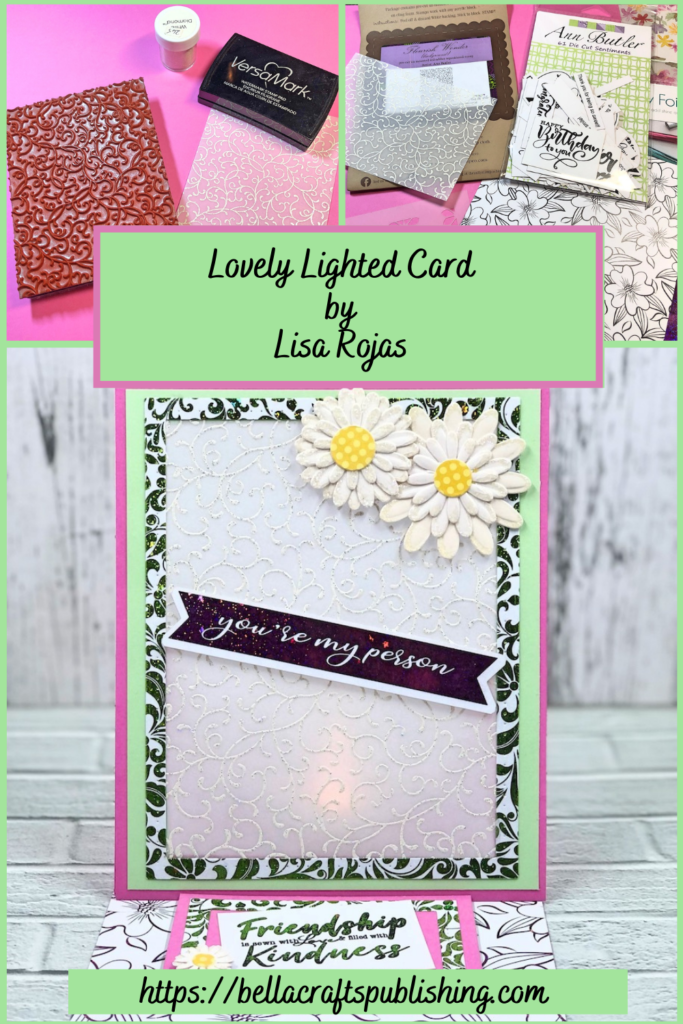
The Lovely Lighted Card that I made was so much fun! With most of the products used from Ann Butler Designs multiple product lines, I show you how to emboss on Vellum with her beautiful Flourish Wonder background stamp by Unity and also how to use her toner papers to foil! If you’ve never used foil in your projects, you have to give it a try. All of these fun techniques used to make this card and you top it all off with a battery-operated candle that sits behind the card to light it up. How much fun is all that? I hope to try it and see for yourself. Have fun! Lisa~
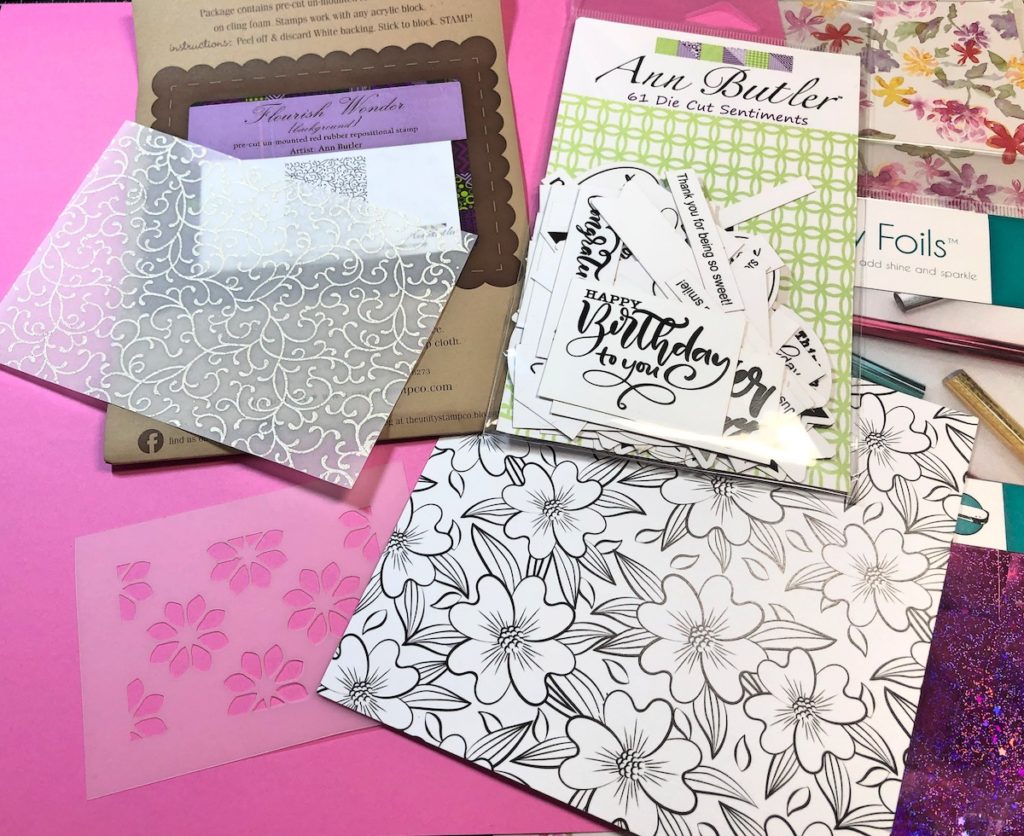
Supplies for Lovely Lighted Card
Steps One, Two, Three:
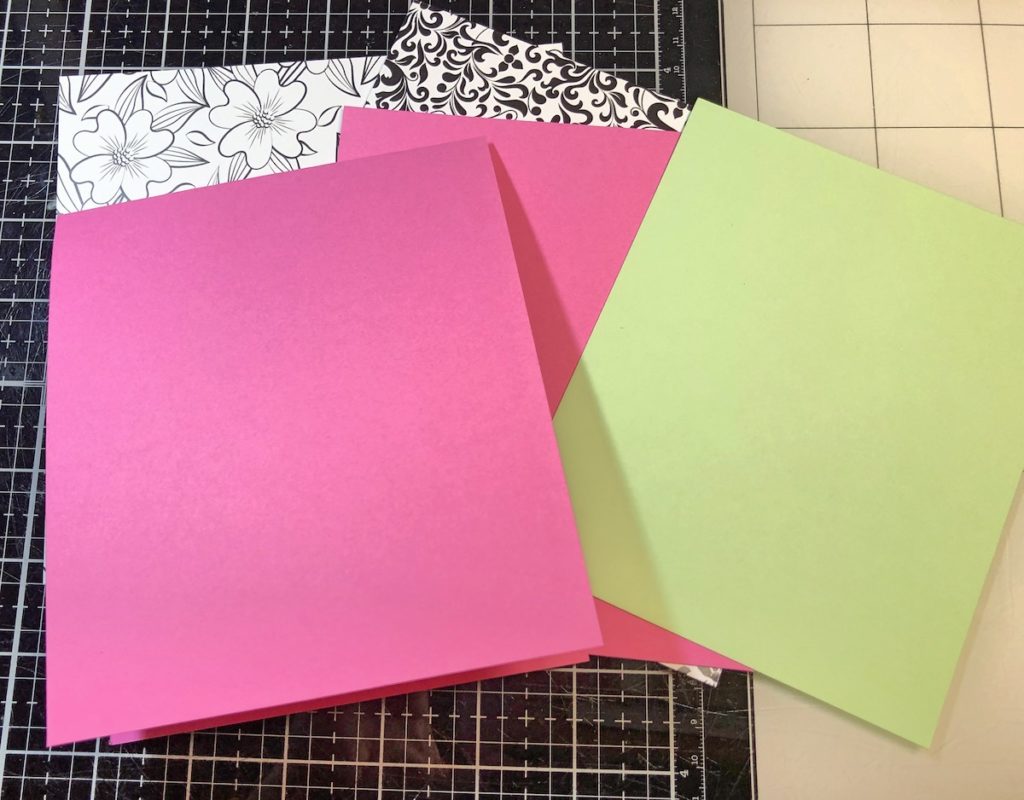
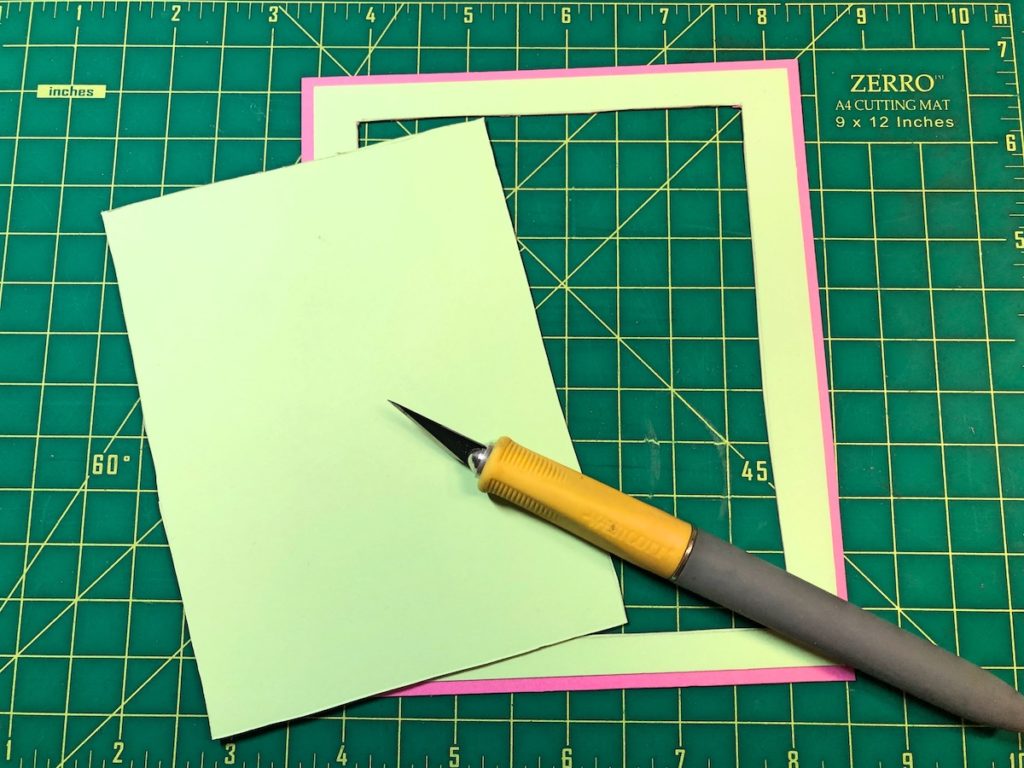
Cut the papers as follows: Base Card, Pink cardstock- 5″ x 12″ (Score at 6″ and 3″), Card Front, Pink cardstock- 5″ x 6″, Green cardstock 4 3/4″ x 5 3/4″, Vellum 4 1/4″ x 5 1/4″.
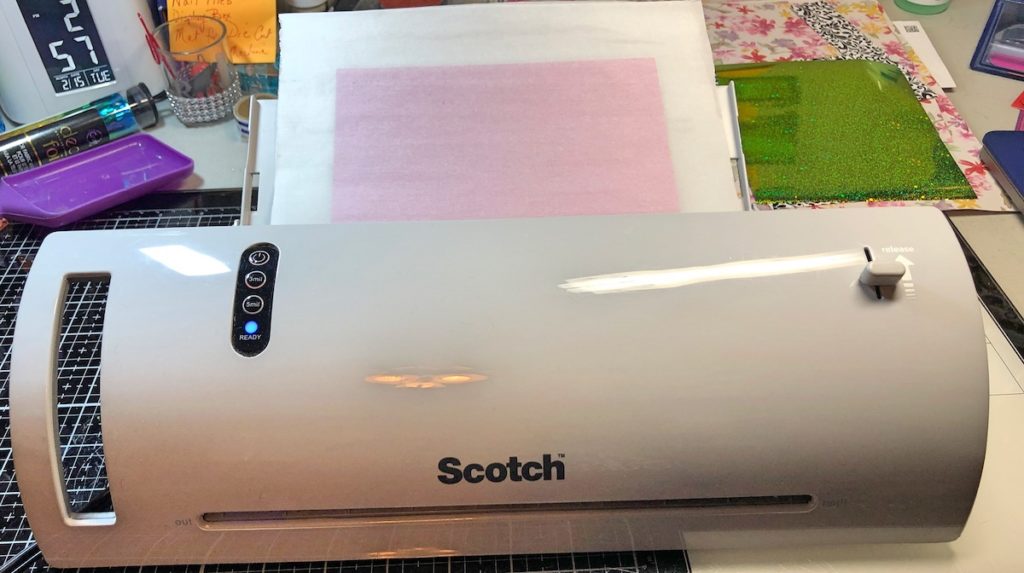
Next, run the floral toner paper through the hot laminator with pink glitter foil and then the flourish toner paper with green foil. Peel the foil from the toner papers. Cut the pink foiled paper 5″ x 6″ and the green foiled paper 4 3/4″ x 5 3/4″.
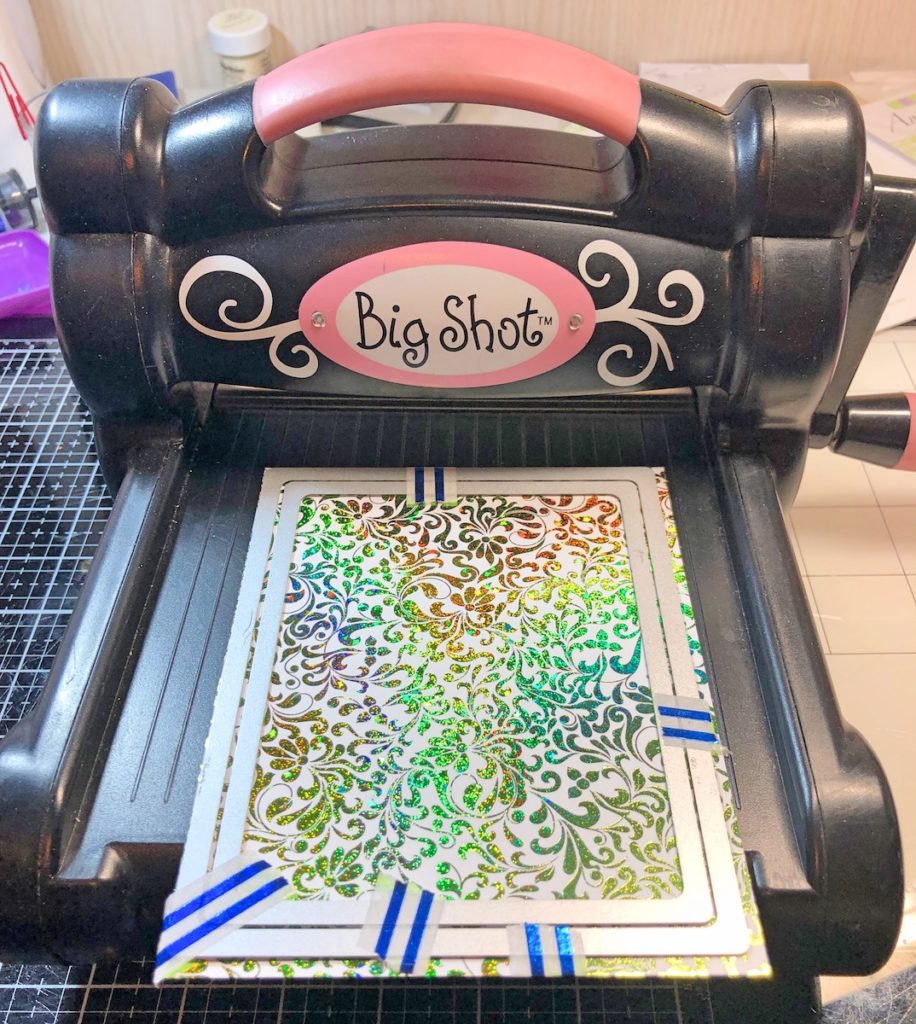
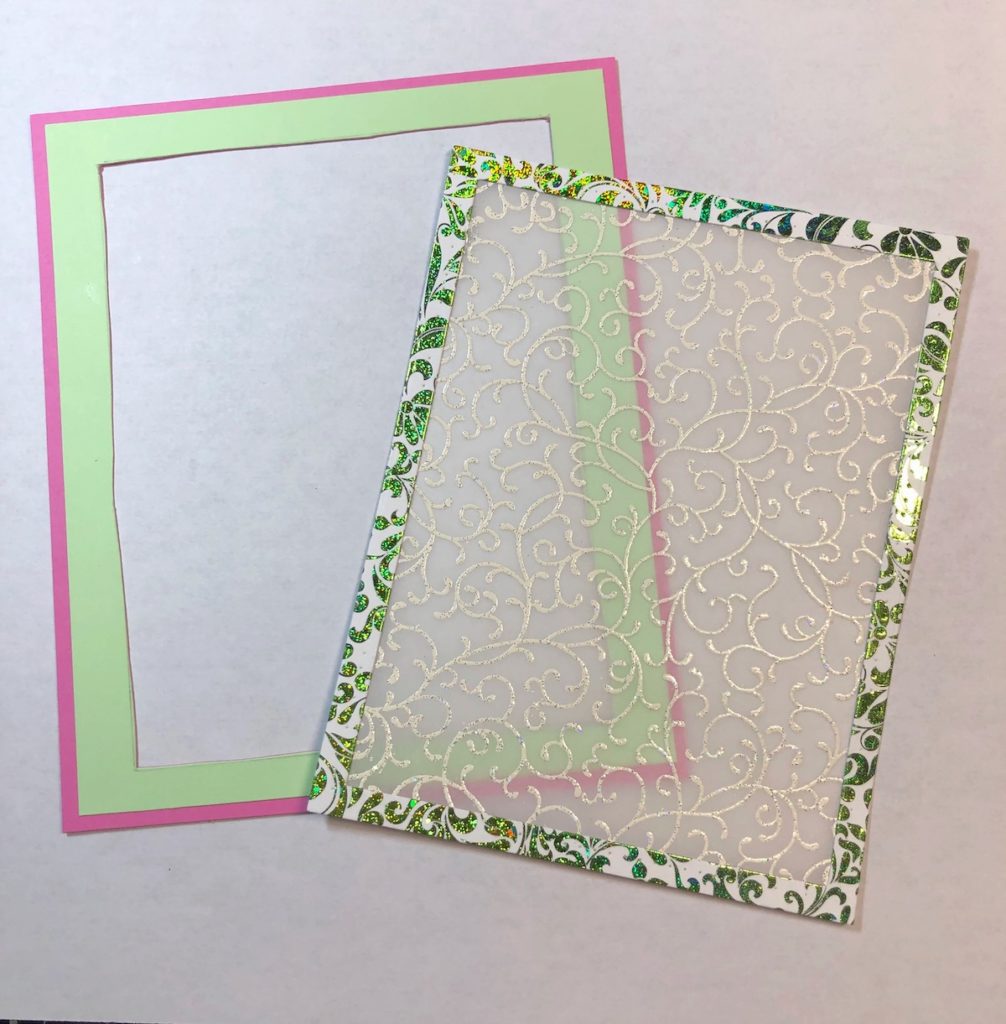
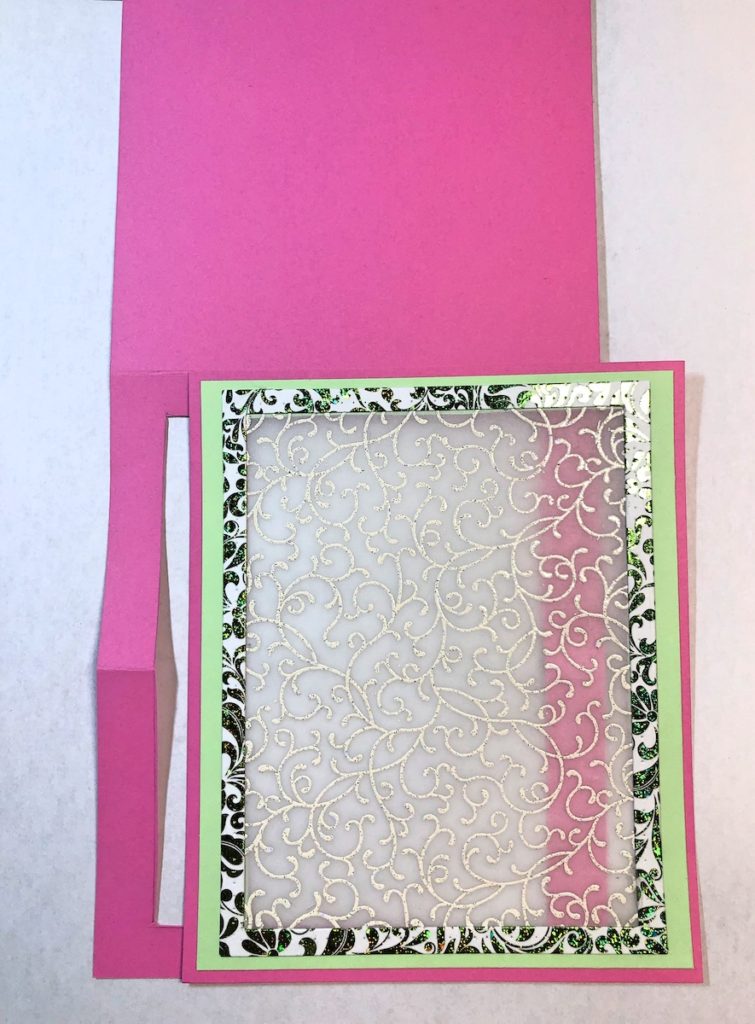
Using two rectangle dies, 4 1/2″ x 5 3/4″ and 4″ x 5 1/4″, nestled together and place through die cutting machine with green foiled paper. When finished you’ll have the frame for the vellum.
Note: Save the center piece of the frame for the last step.
Steps Four, Five, Six:
Adhere green and pink cardstock together. Cut the center opening 4″ x 5″.
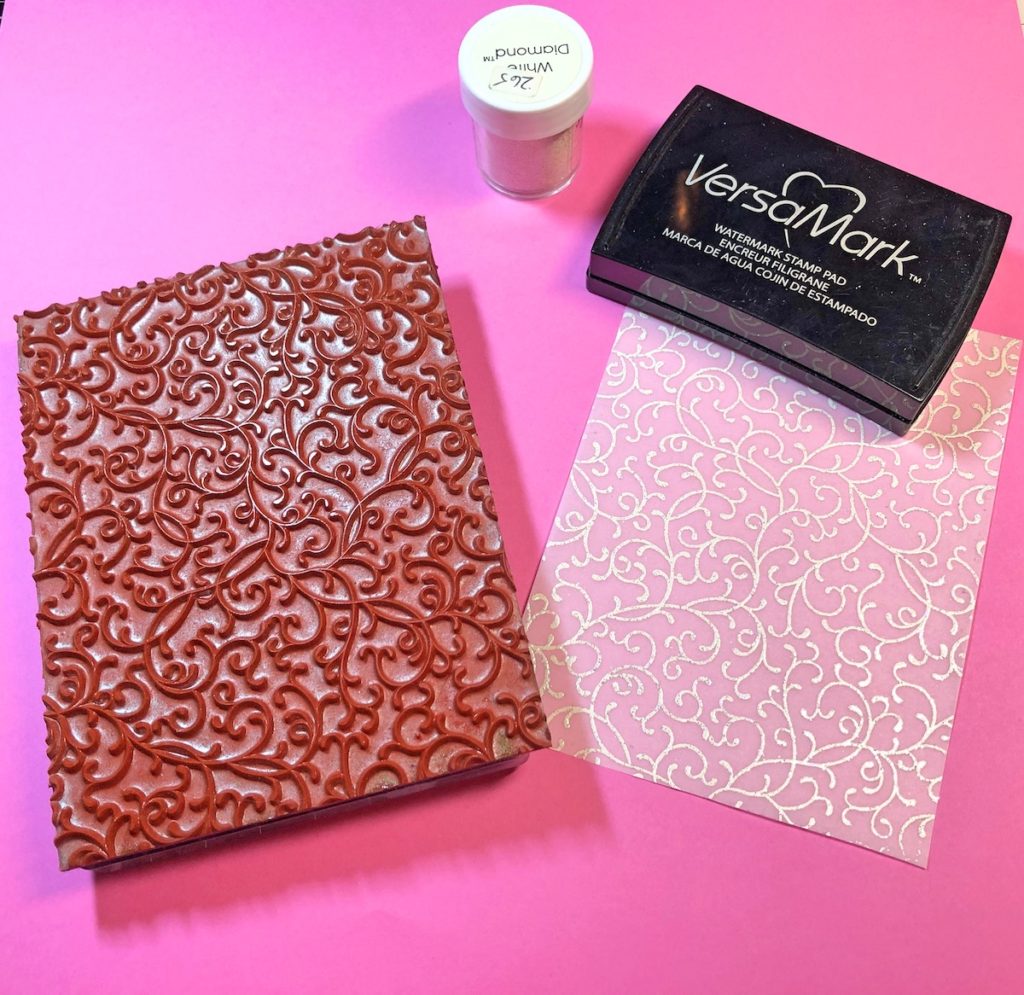
Use VersaMark inkpad with flourish stamp. Stamp onto the Vellum, sprinkle white/glitter embossing powder over image, shake off the excess and heat set.
Adhere the Vellum to the back of the frame and then attach to the card front.
Steps Seven, Eight, Nine:
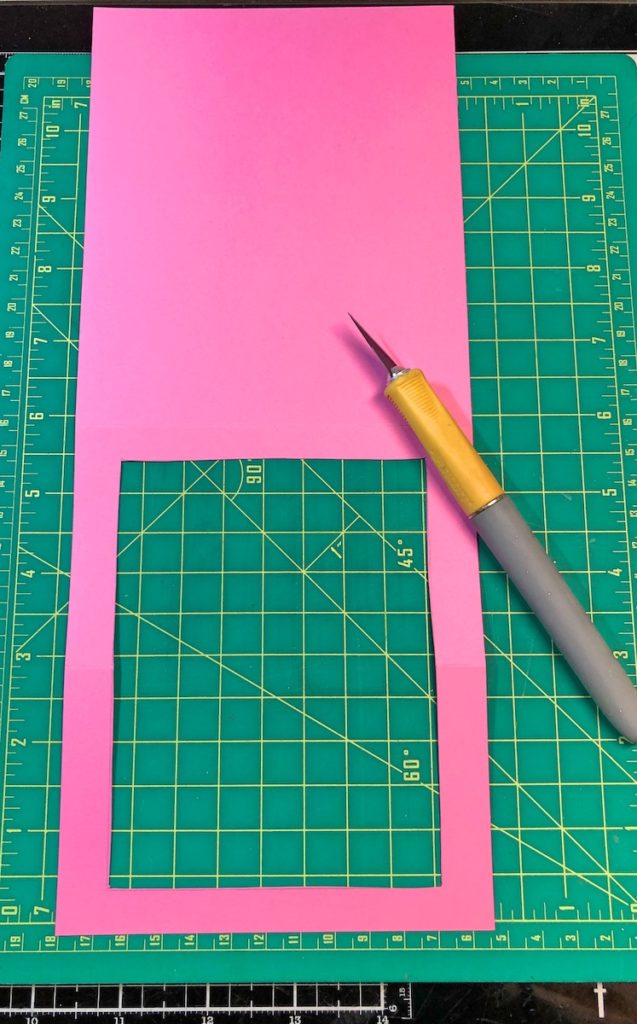
Cut the center from the card base 4″ x 5″, on the side with the score marks.
Adhere the bottom portion of the card front to the bottom of the card base only.
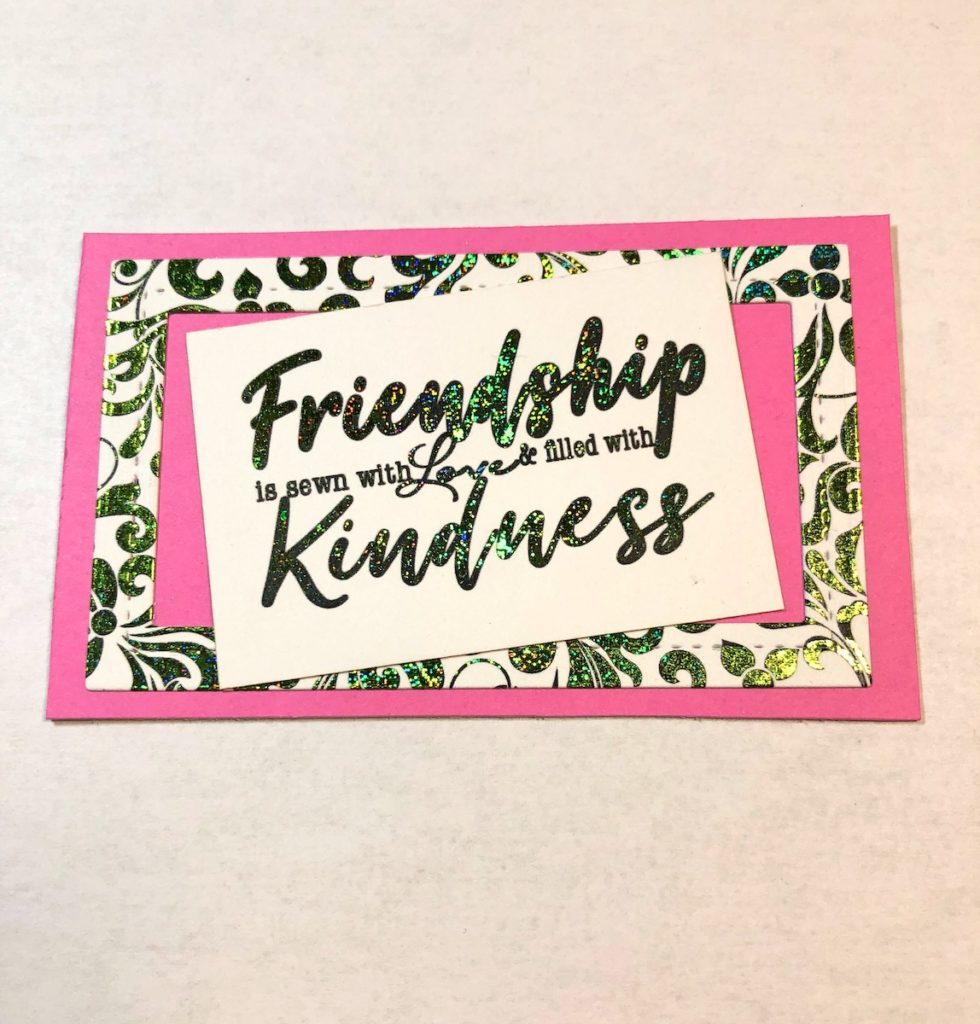
On the inside of the card base, adhere the floral foiled paper (see finished photo below). Cut a piece of pink cardstock 3″ x 2″. From the center of the green foiled paper that you saved from step #3, die cut with rectangle dies 1 1/2″ x 2 3/4″ and 2″ x 3 1/4″ nestled together to create the frame. Use two toner paper sentiments from the package and foil them the same way as in step #2 (green foil for inside of card and pink for card front). Adhere the papers together and attach to the inside of the card with foam tape.
Place the other sentiment on the front of the card and attach floral stickers. Once the card is opened it sits up like an easel. Place a battery-operated candle to the opening on the back of the card.
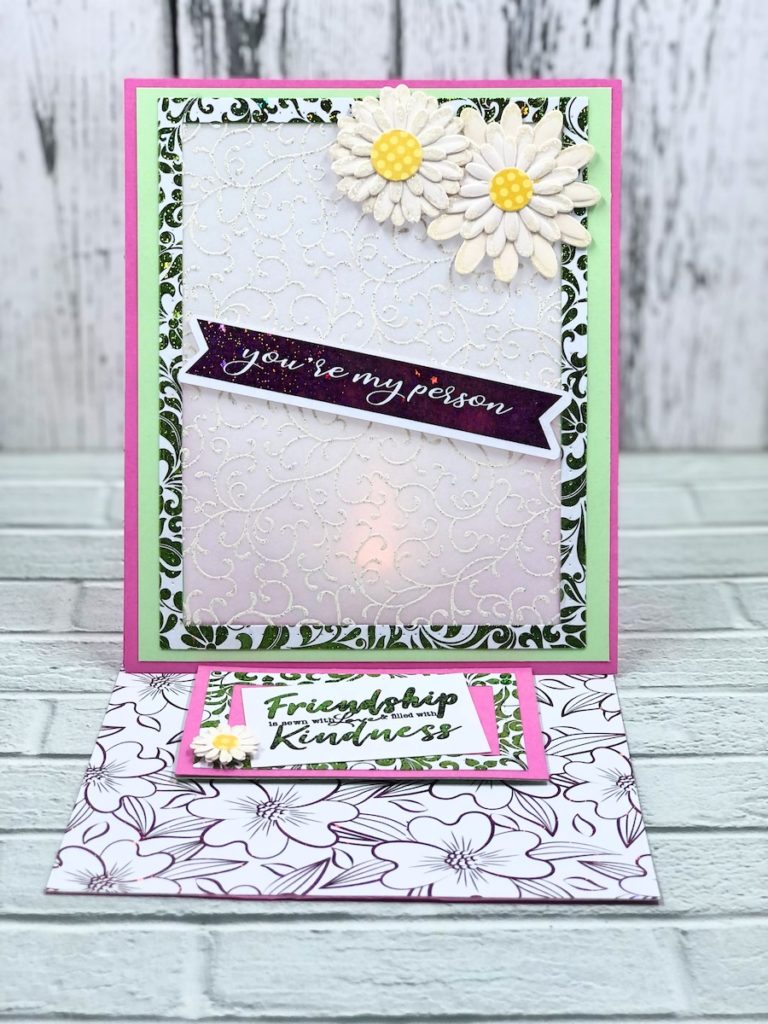
Lovely Lighted Card
- Cardstock: Pink, Green
- Vellum
- Black & White Floral Toner Paper Pack by Ann Butler Designs
- Die Cut Toner Sentiments by Ann Butler Designs
- Ann Butler Designs Flourish Wonder Background Stamp by Unity Stamp Co.
- Gina K. Designs Fancy Foils: Glittering Green, Twinkling Pink by Therm O Web
- White Glitter Embossing Powder
- Floral Stickers
- Foam Tape
- Zip Dry Paper Glue by Beacon Adhesives
- Rectangle Dies
- Paper Trimmer
- Hot Laminator
- Big Shot Die Cutting Machine by Sizzix
- Heat tool
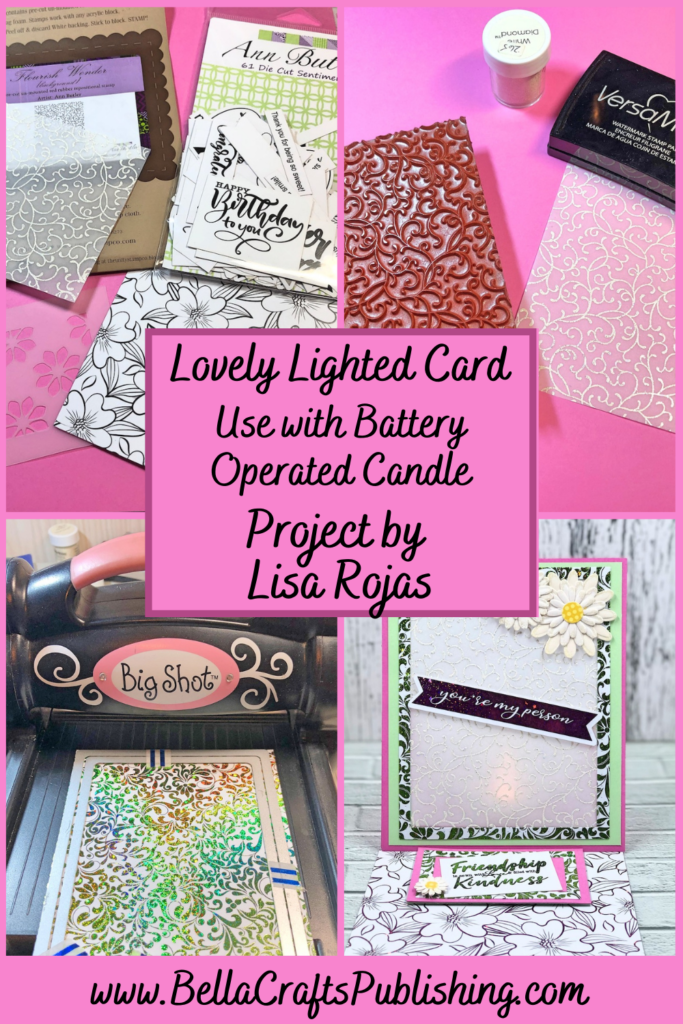
One more PIN of the Lovely Lighted Card to share

Trackbacks/Pingbacks