Learn to Make Easy Ribbon Shamrocks that can be used in a variety of ways to celebrate St. Patricks Day!
Please note: This post contains affiliate links. If you use these links and make a purchase, we earn a commission at no extra cost to you…
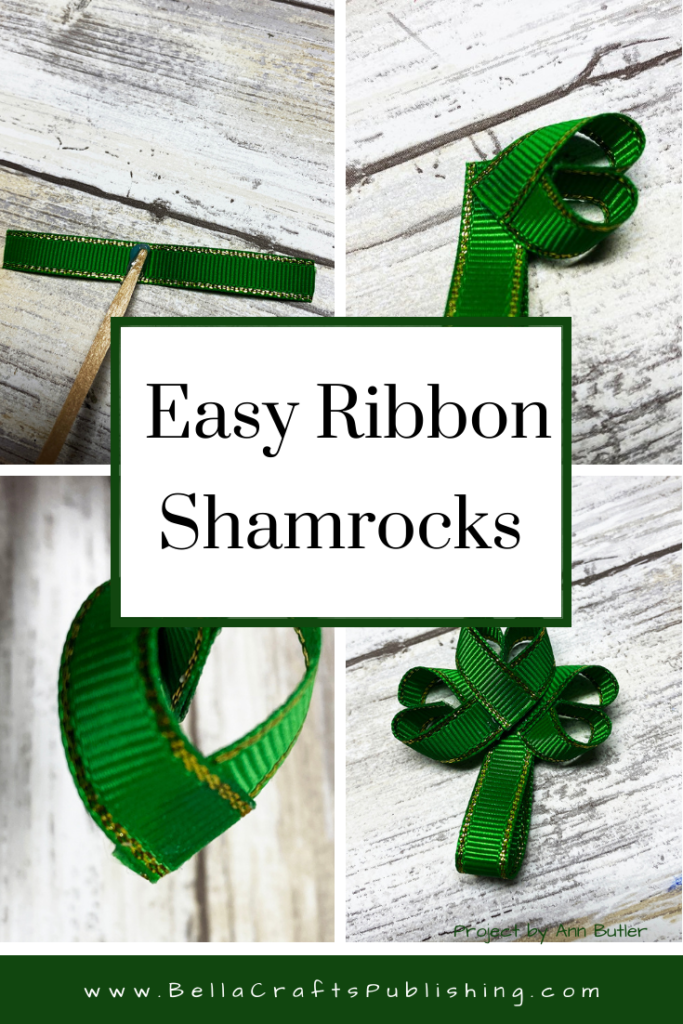
Steps One, Two, Three:
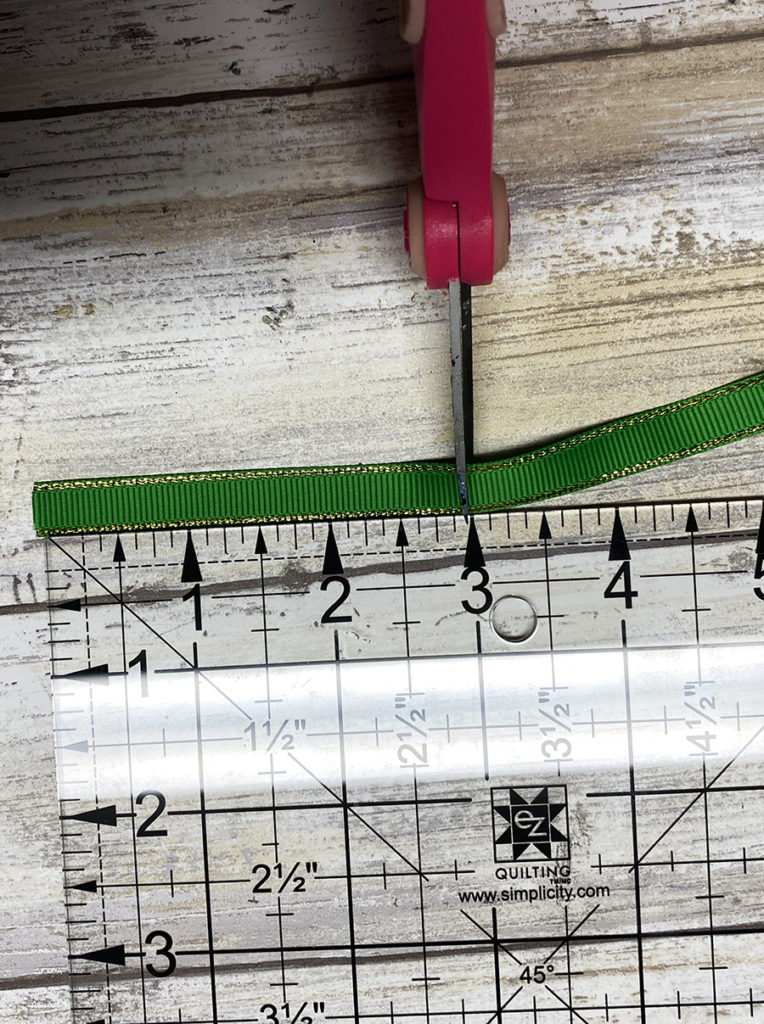
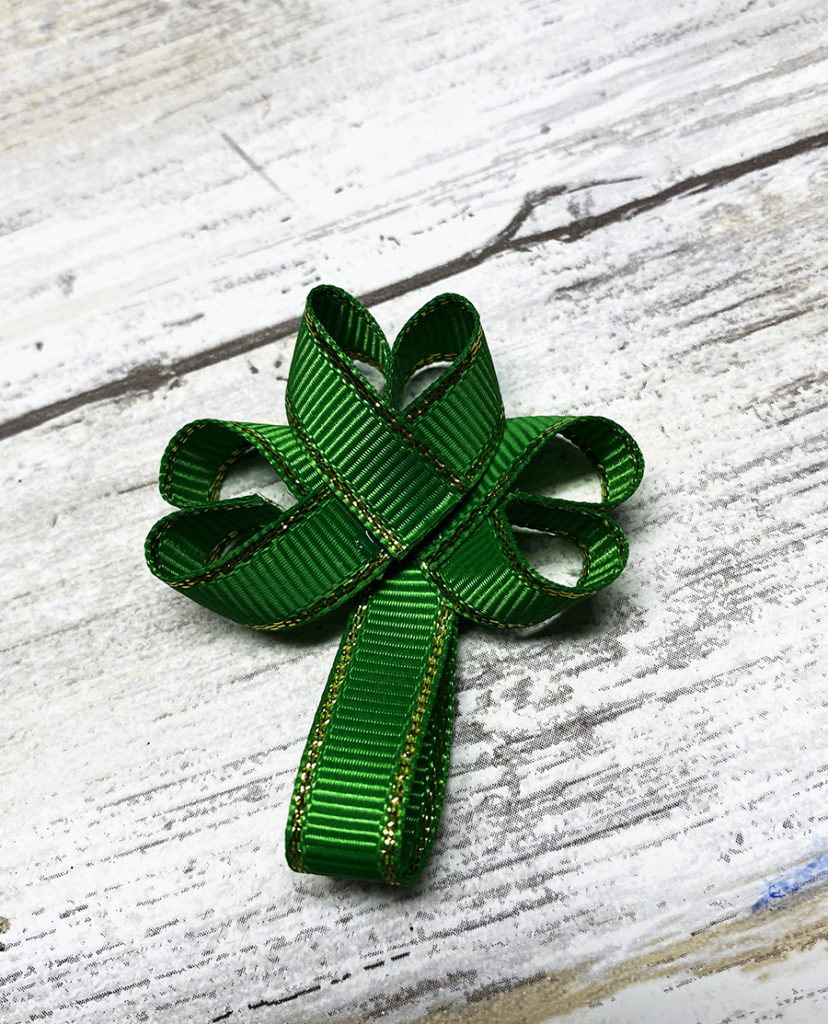
Cut three (3) pieces of ribbon three inches each. I chose a green grosgrain with gold edges.
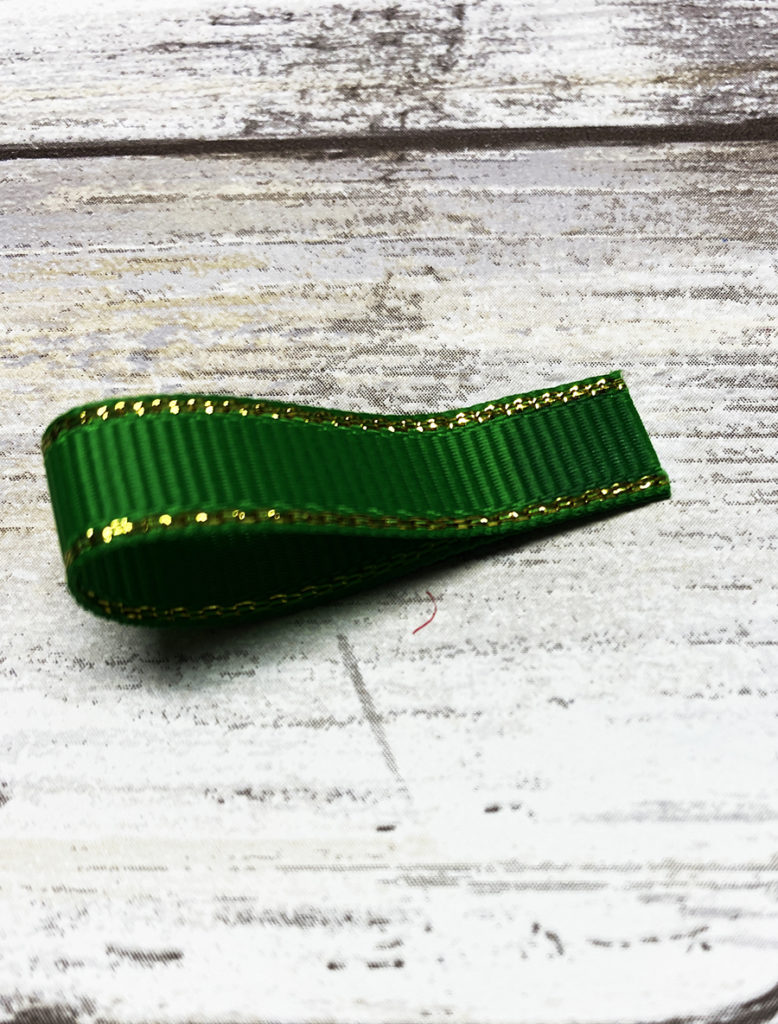
Fold one ribbon piece in half and apply a bit of glue.
Fold the ribbon in half again and use a clothespin to hold in place, if needed, until dry. Repeat for the other two pieces of ribbon.
Steps Four, Five, Six:
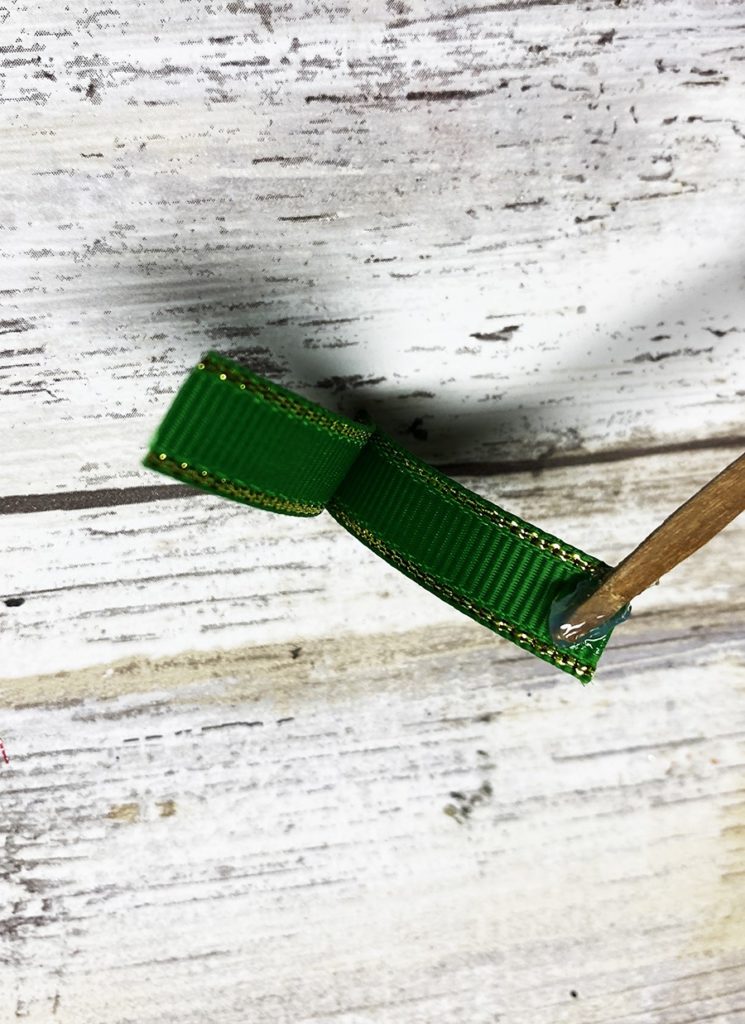
Apply a bit of glue on the inside of one of the ends of one ribbon piece.
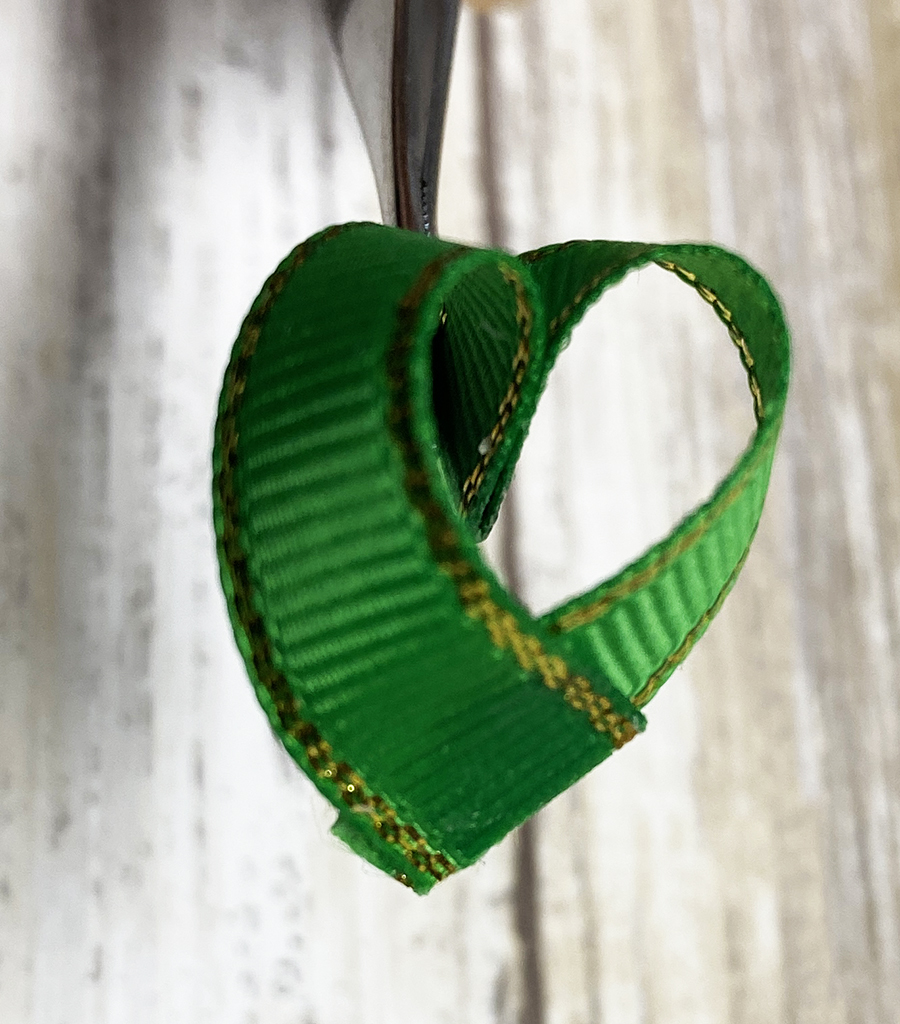
Wrap the ribbon around and put the ends together as shown in the photo above. Let dry. Repeat for the other two ribbon pieces.
Cut a piece of ribbon for the stem about three to three and a half inches. Fold in half and glue the ends together.
Steps Seven, Eight, Nine:
Adhere one ribbon piece to the stem.
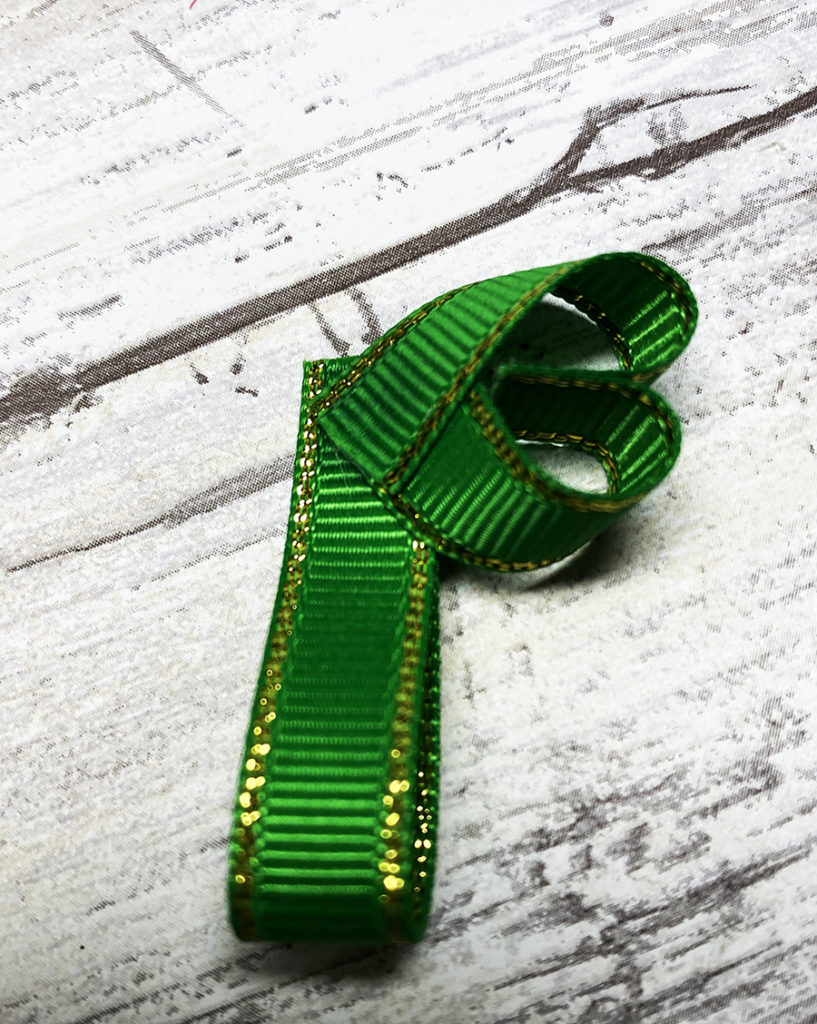
Glue a second ribbon piece to the stem overlapping the first ribbon section.
Attach the last ribbon section on top of the first two as shown in the photo above. Let dry.
Step Ten:
Find a cute button or rhinestone to attach to the center of the shamrock. If the button has holes be sure to add some thread for a finished look.
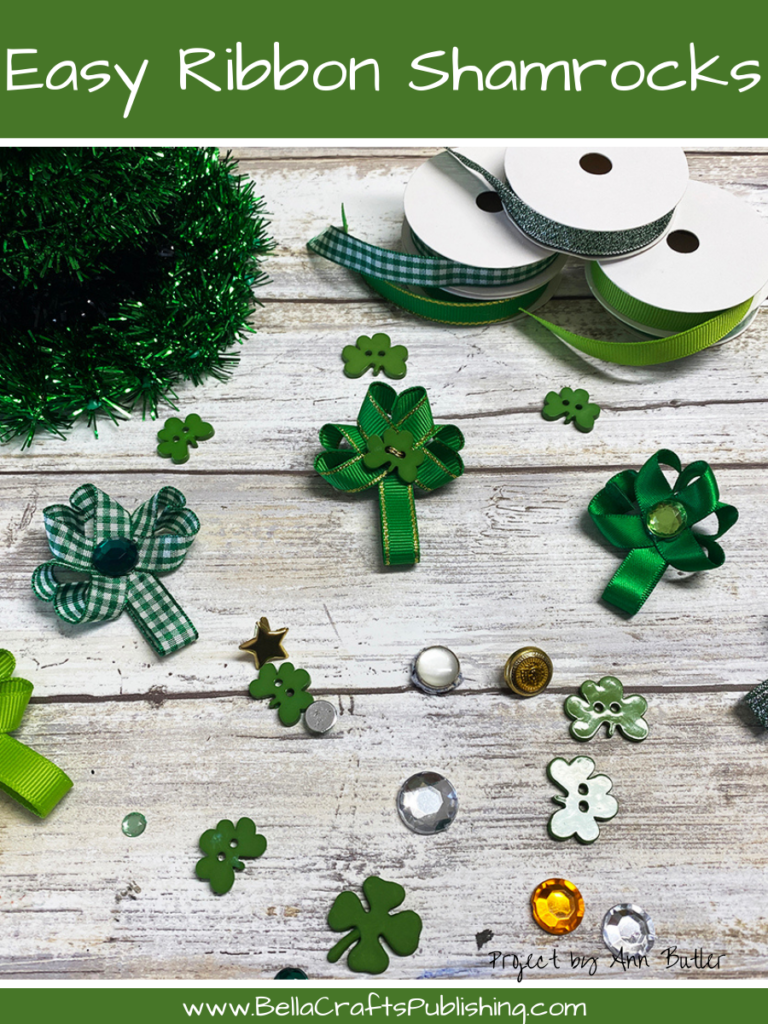
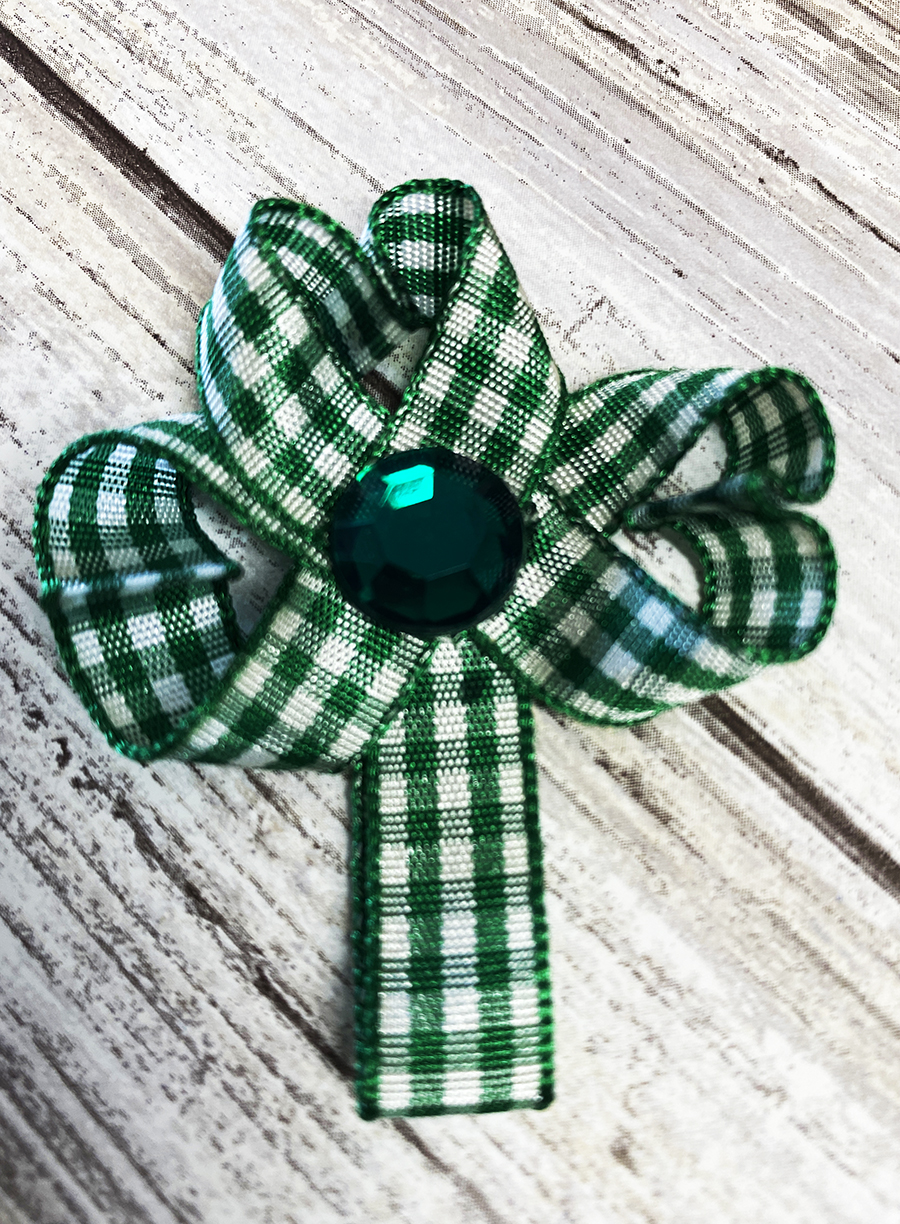
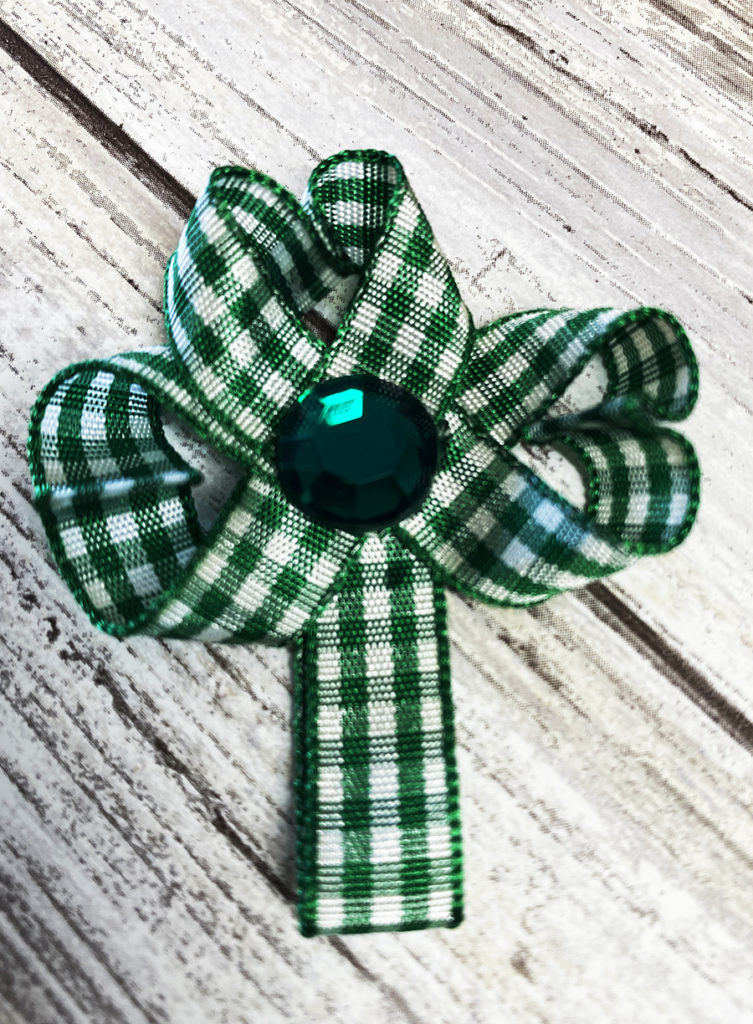
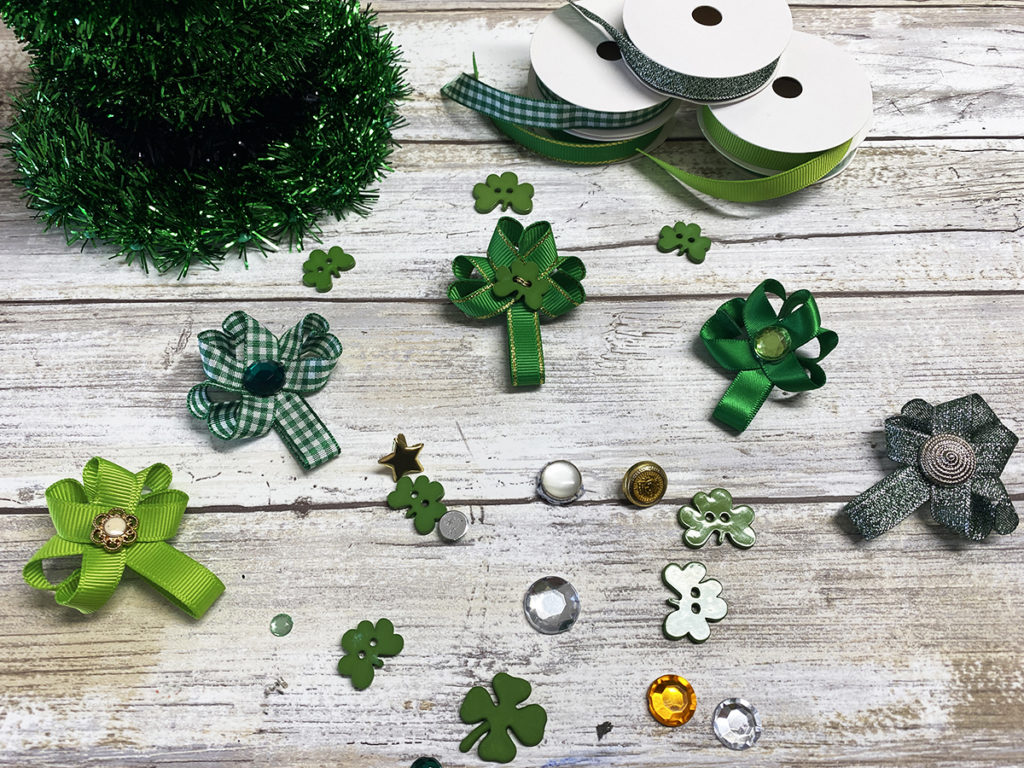
This is just as cute with a ginham ribbon…
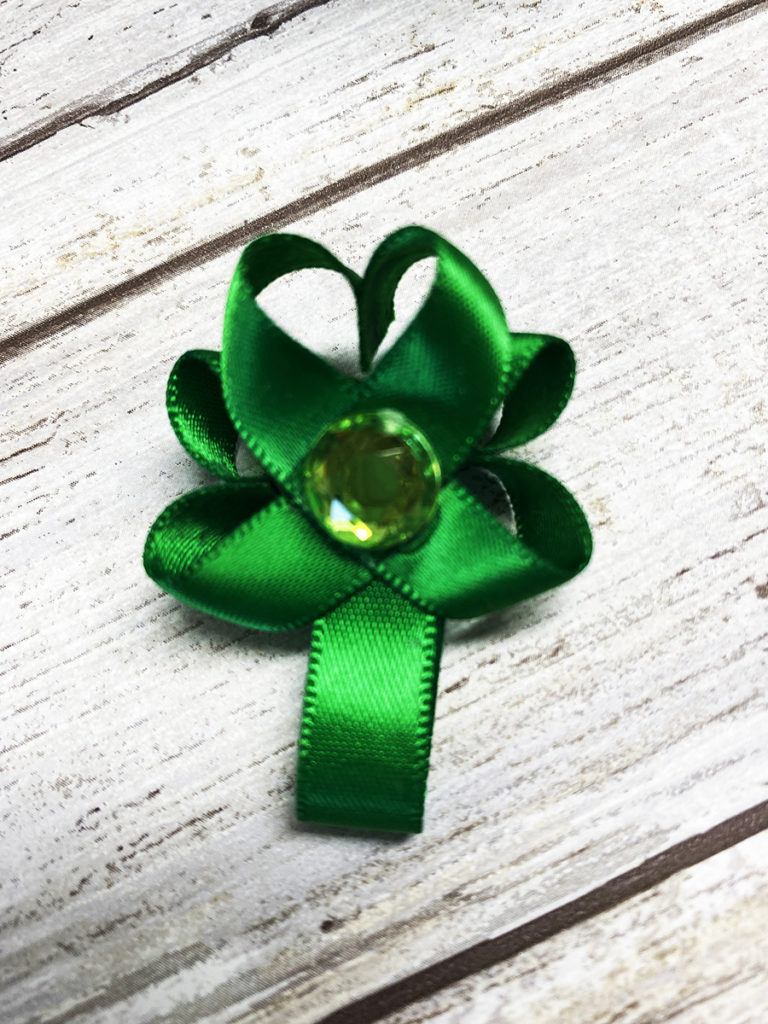
and a satin ribbon.
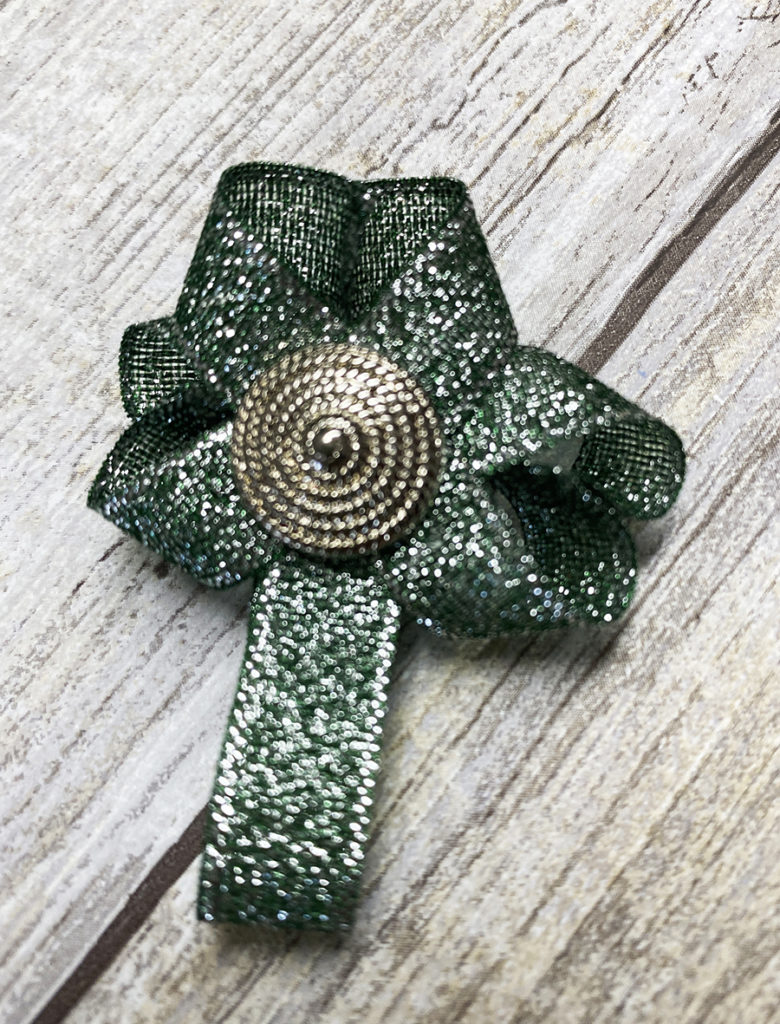
These are also fun with a metallic ribbon and a light grosgrain.
Once you Make Easy Ribbon Shamrocks you can add them to a hairclip, binder or headband for fun hair accessories. They can be used on top of gift packages or add a pin back to create easy pins to give away. The choice is yours and the possibilities are endless with the wide variety of ribbons from Gwen Studios…have fun!
Here is another PIN to share!
Make Easy Ribbon Shamrocks Supplies:
- Ribbons from Gwen Studios, assorted
- E6000
- Ruler
- Scissors
- Buttons/Rhinestones, assorted
- Clothespins
- Toothpick







so cute
Thank you!