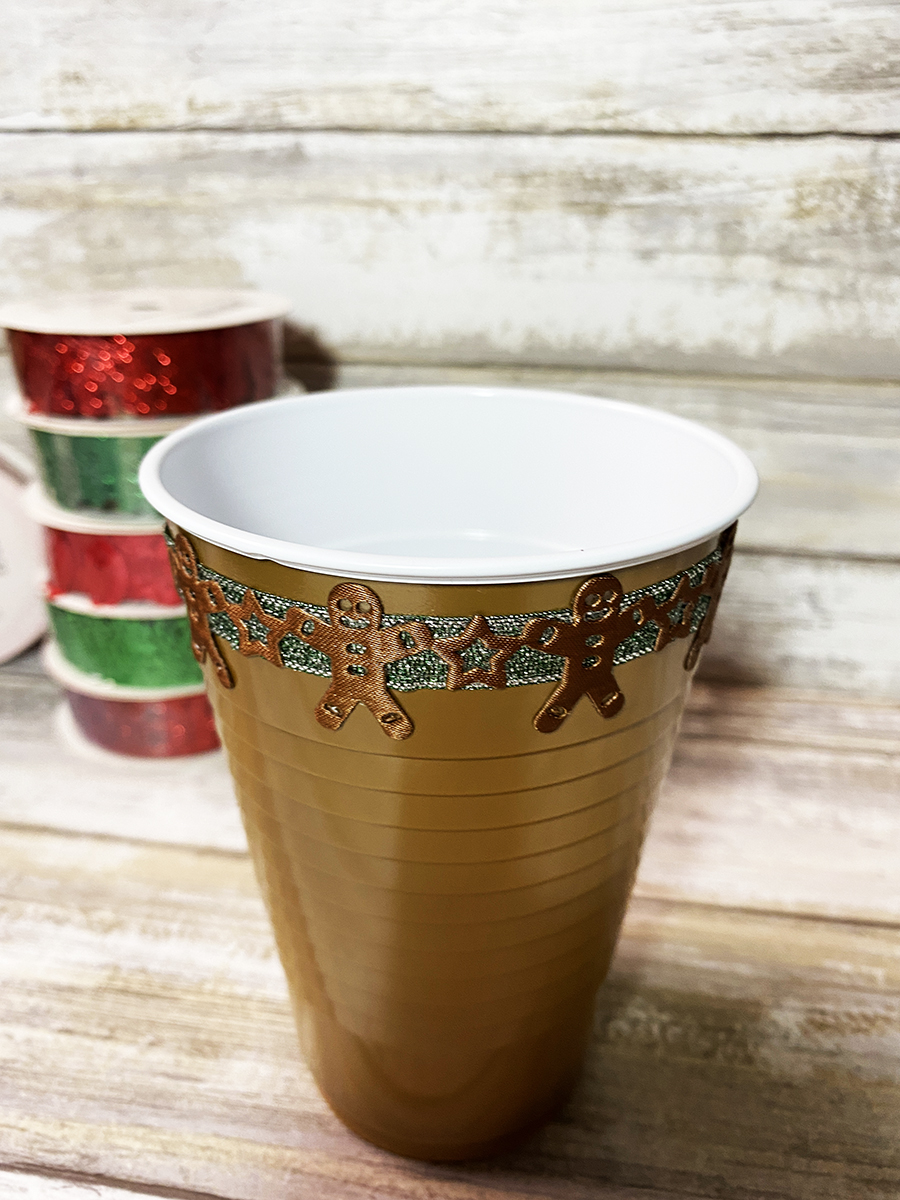
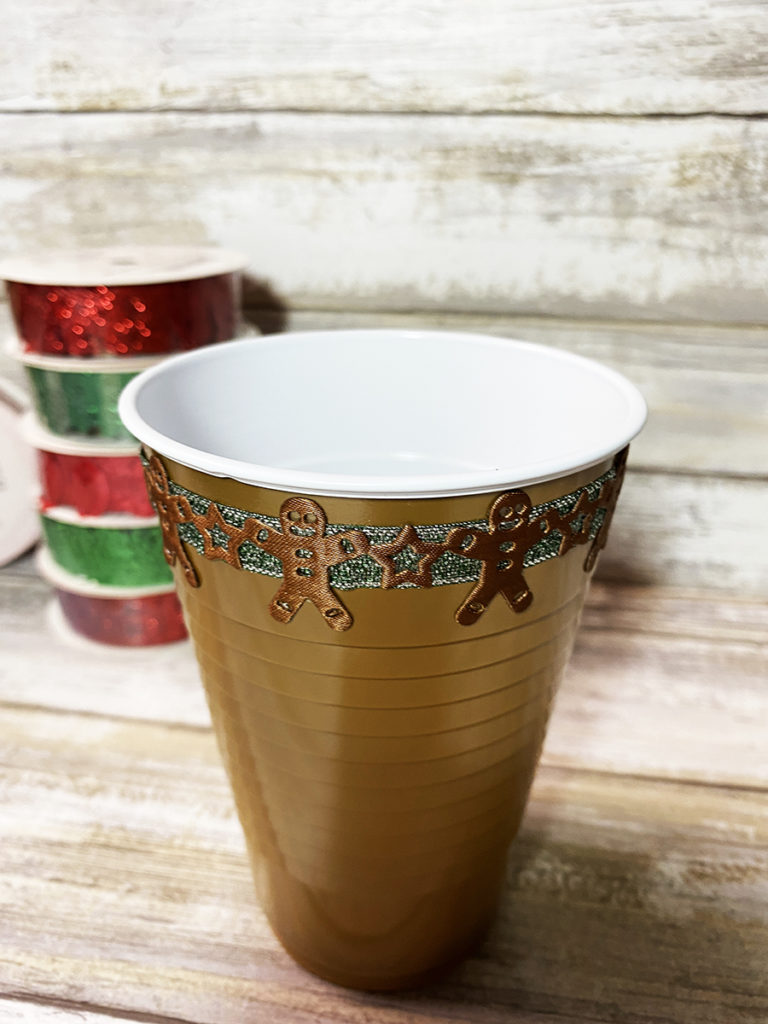
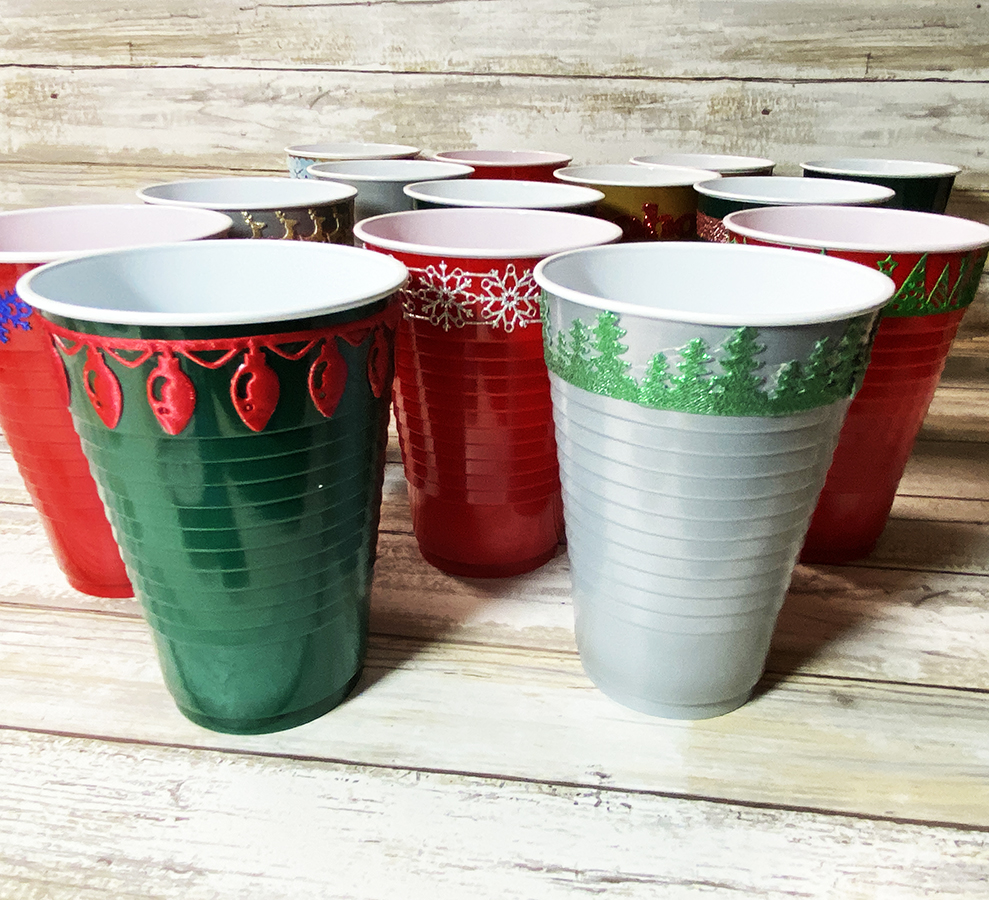
Creating these Fun Ribbon Christmas Cups is so quick and easy! Bonus…it is a perfect solution for all 14 of my grandlittle ones to keep track of their cups this Chrismas when we are all together!
Please note: This post contains affiliate links. If you use these links and make a purchase, we earn a commission at no extra cost to you…
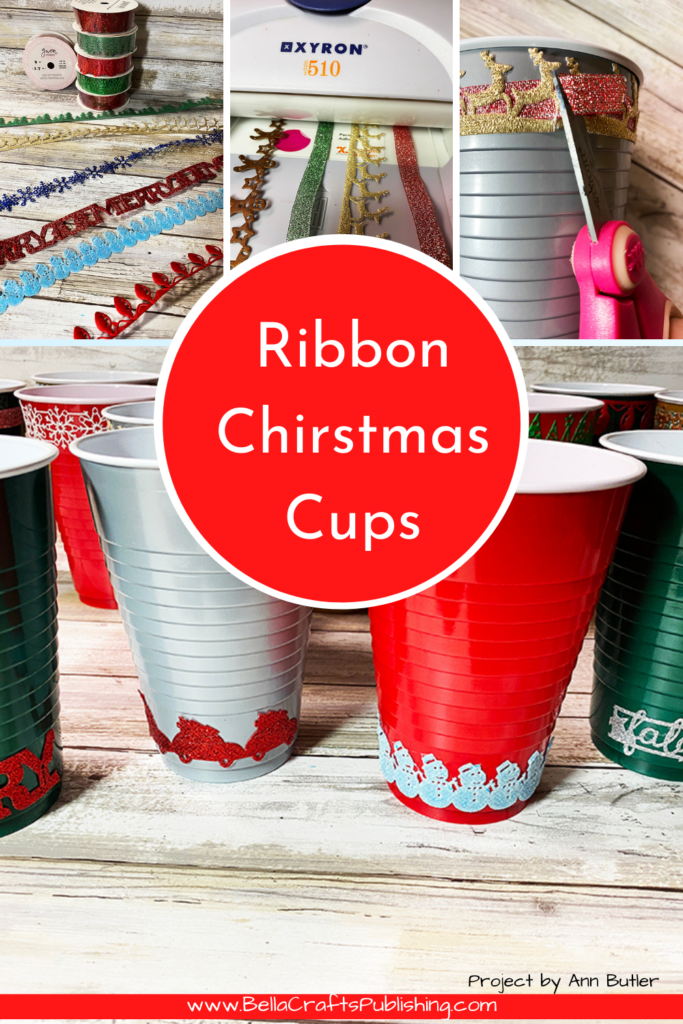
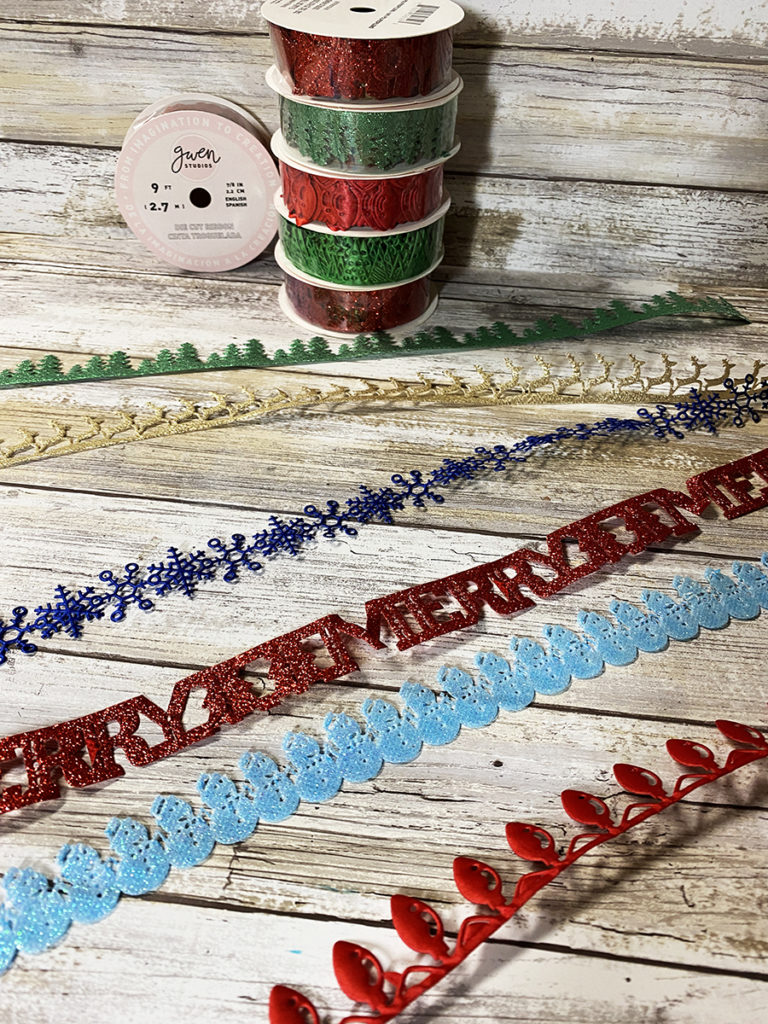
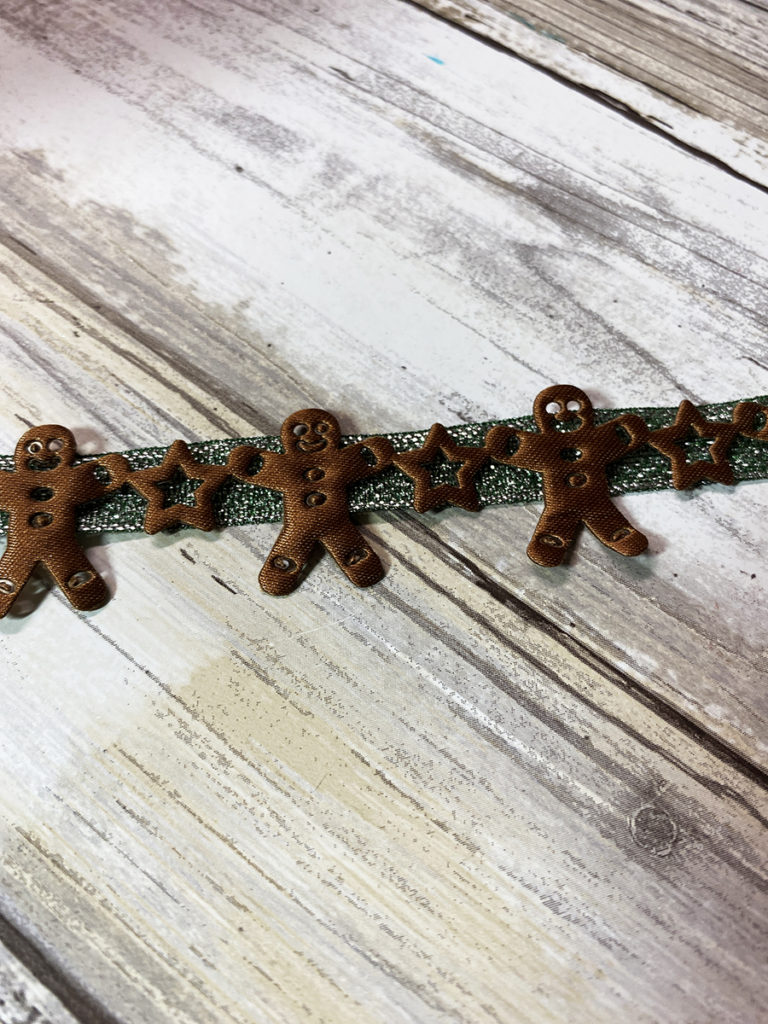
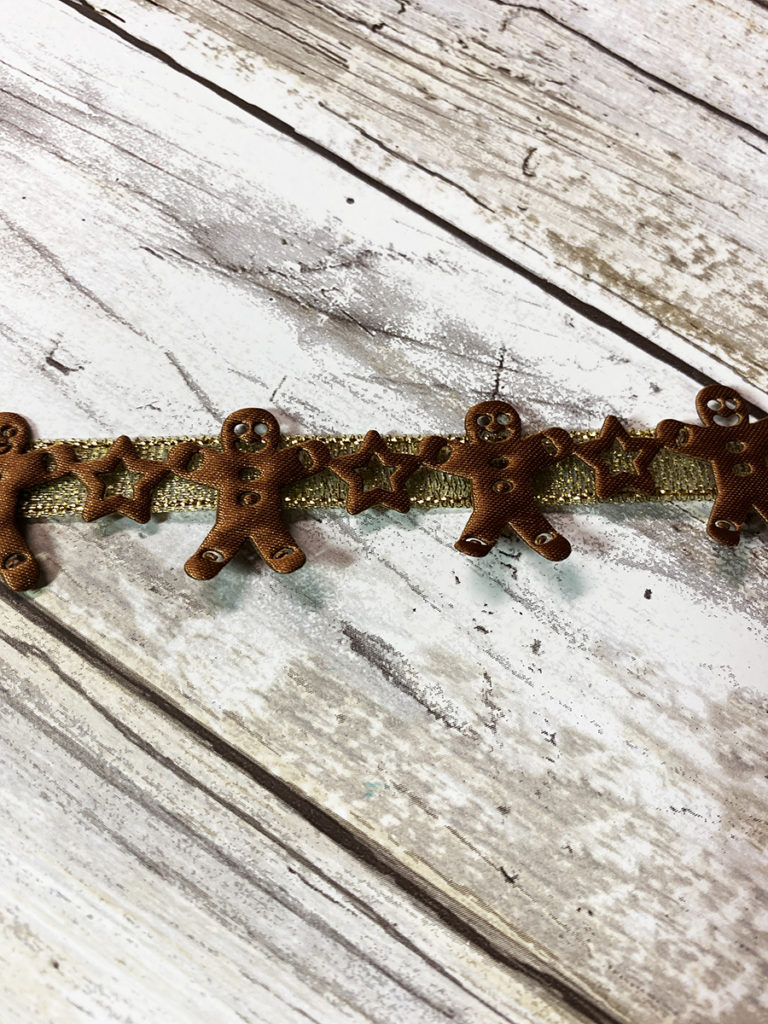
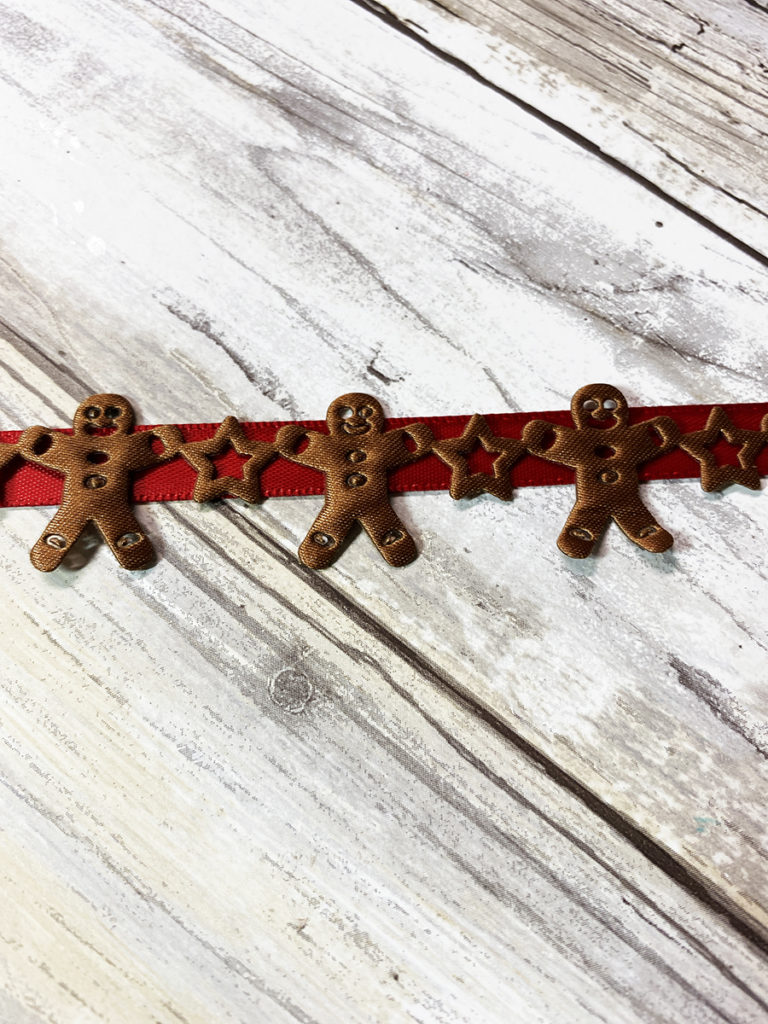
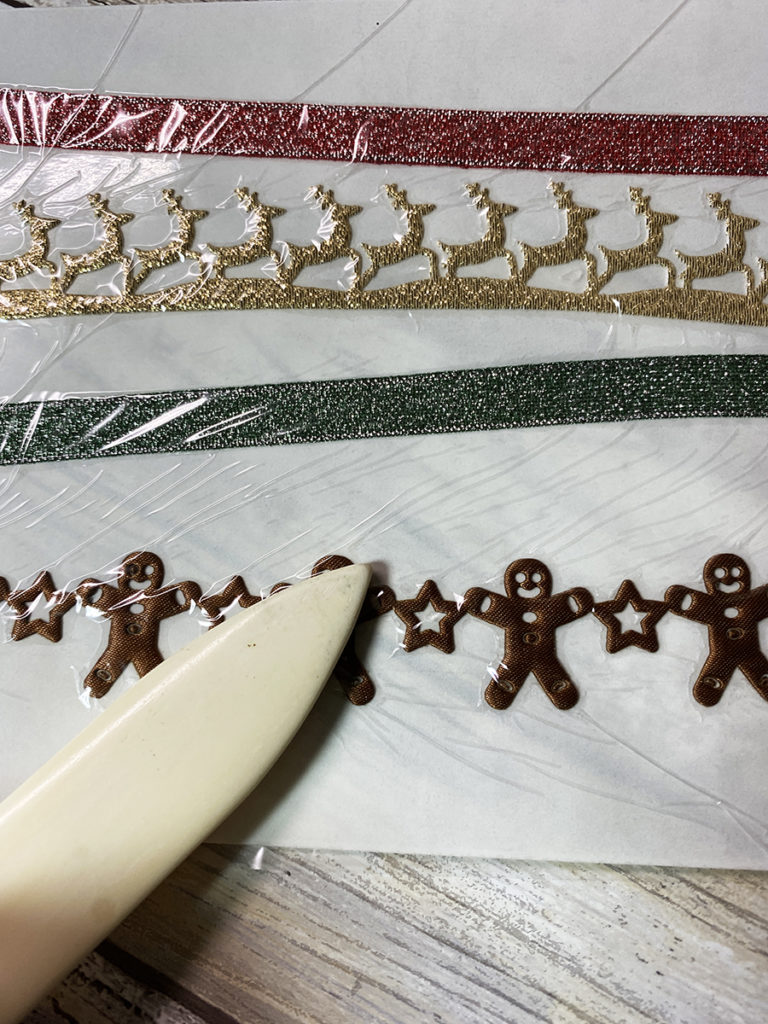
The Die Cut Trims are Christmas Themed…so cute!
Steps One, Two, Three:
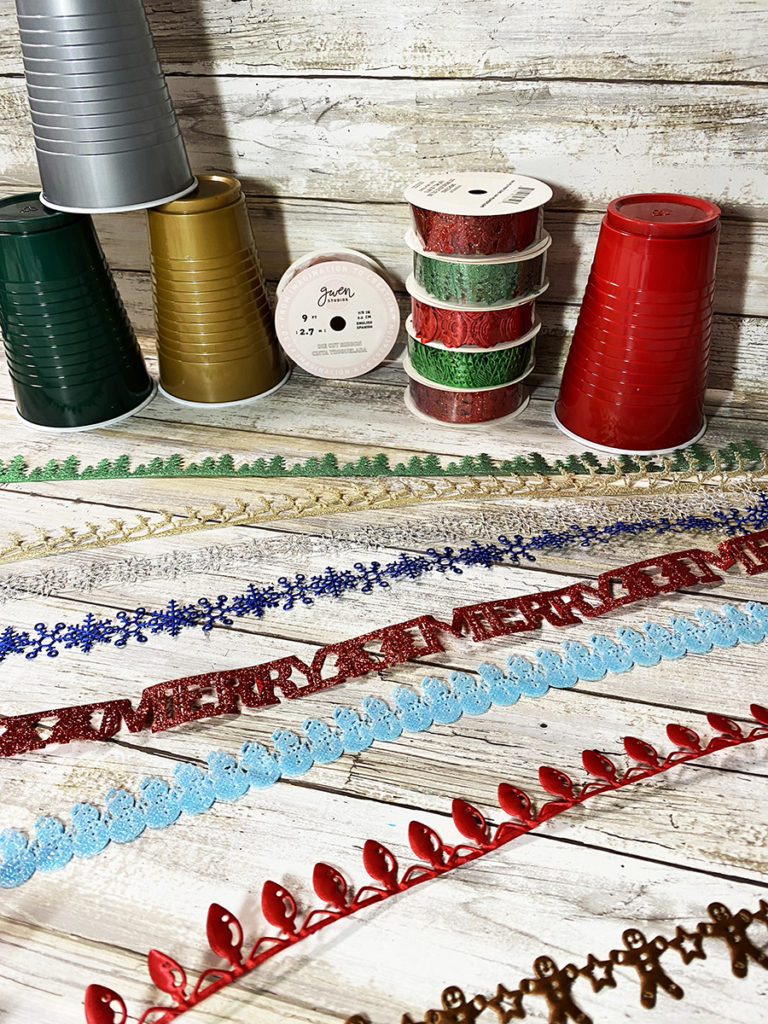
Gather your Die Cut Trims and Ribbon from Gwen Designs, which are available at Wal-mart, so it makes it easy to get the same supplies.
Party cups come in assorted colors and work perfectly for this project.
Determine where you will be placing the Trim/Ribbon on the cup and measure that amount.
Steps Four:
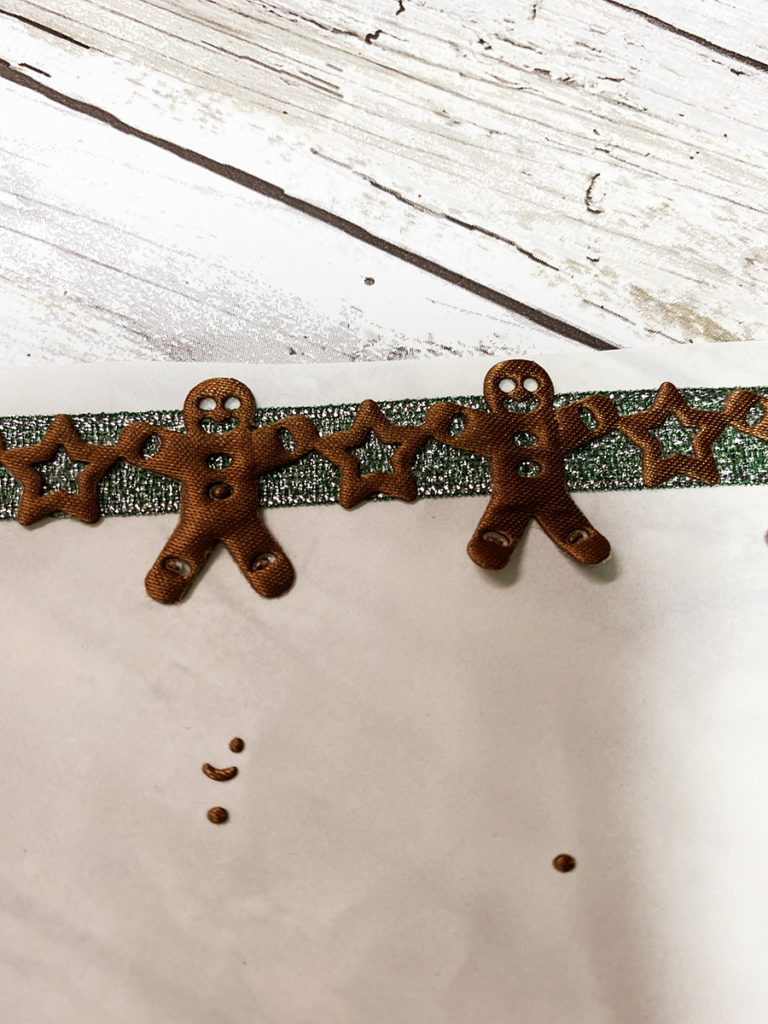
Layer the die cut trims on different colors of ribbon to see what you like. This is the fun part…as there is such a great assortment of die-cut trims to choose from:0)
Steps Five, Six, Seven:
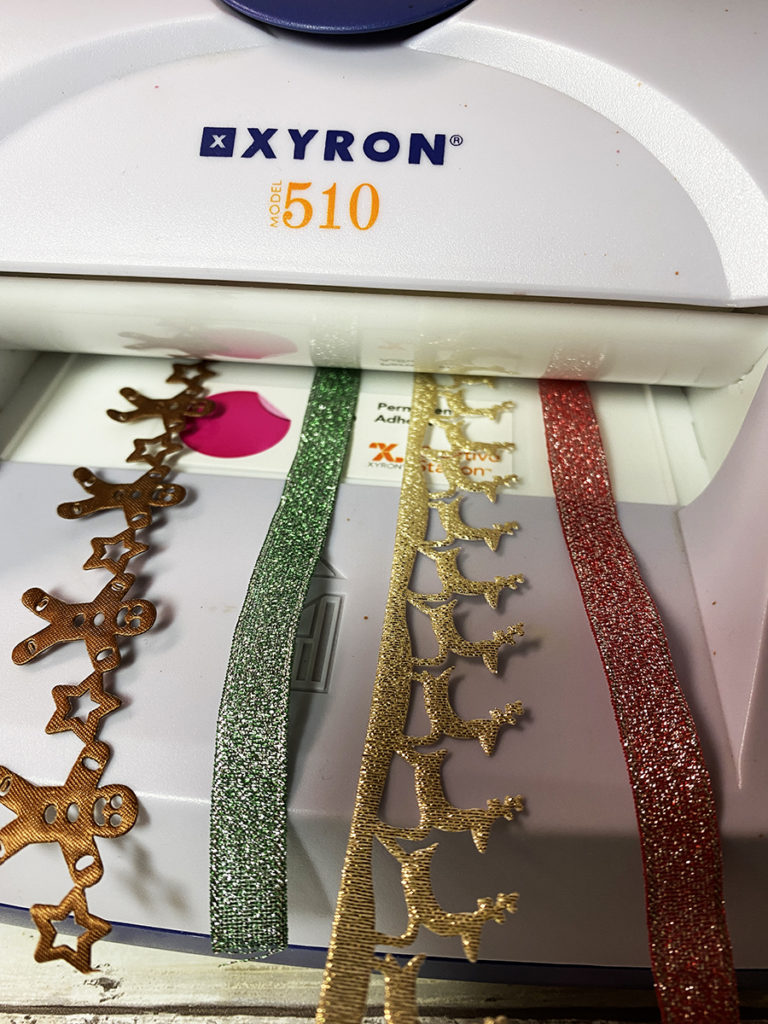
Since these cups will be thrown away, I decided to use my Xyron Sticker Maker to add the adhsive and make this process oh so quick and easy. Run the trim and ribbon through the sticker maker. You could use a craft glue also.
Burnish the top side. This will help to get all of the adhsive on the back side of the trim and ribbon and help pull off the excess adhesive from the open areas of the die cut trim.
Remove the die cut trim and then attach the die cut trim to the ribbon while the ribbon is still on the adhesive sheet.
Steps Eight, Nine, Ten:
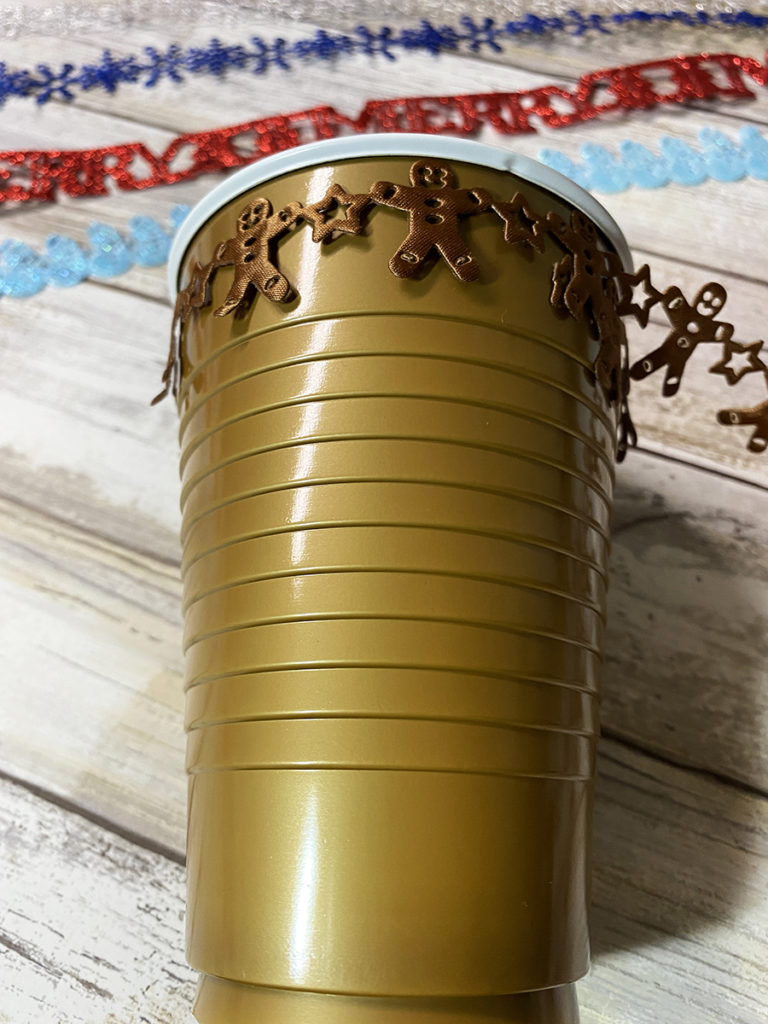
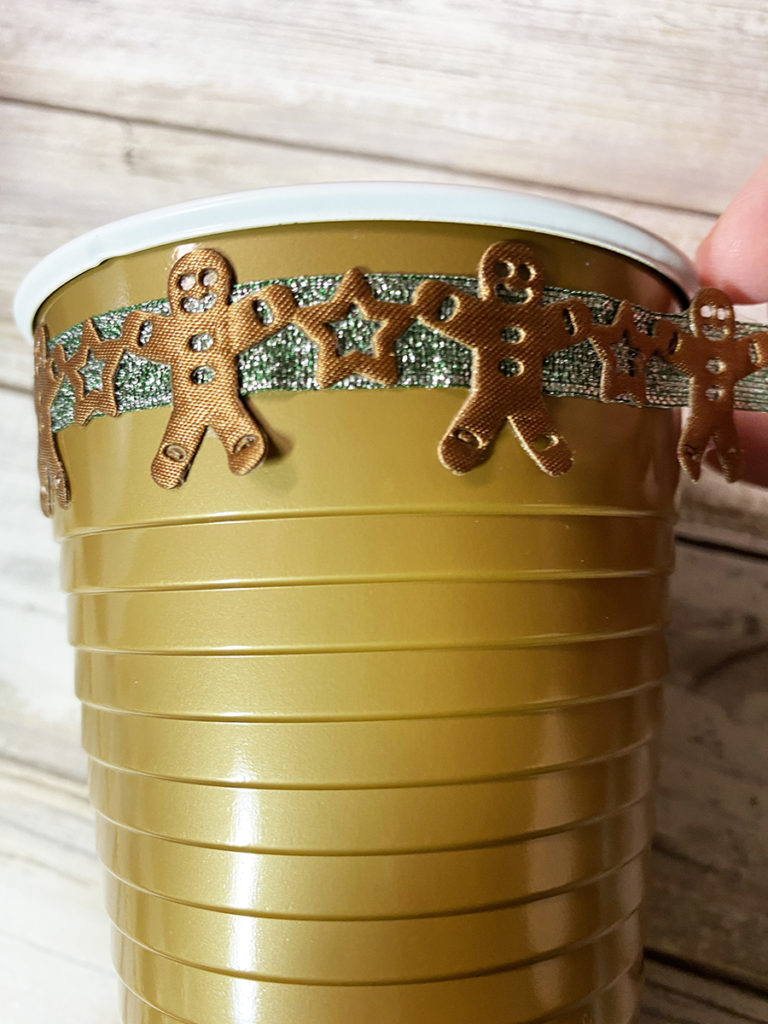
Secure onto cup where you measured.
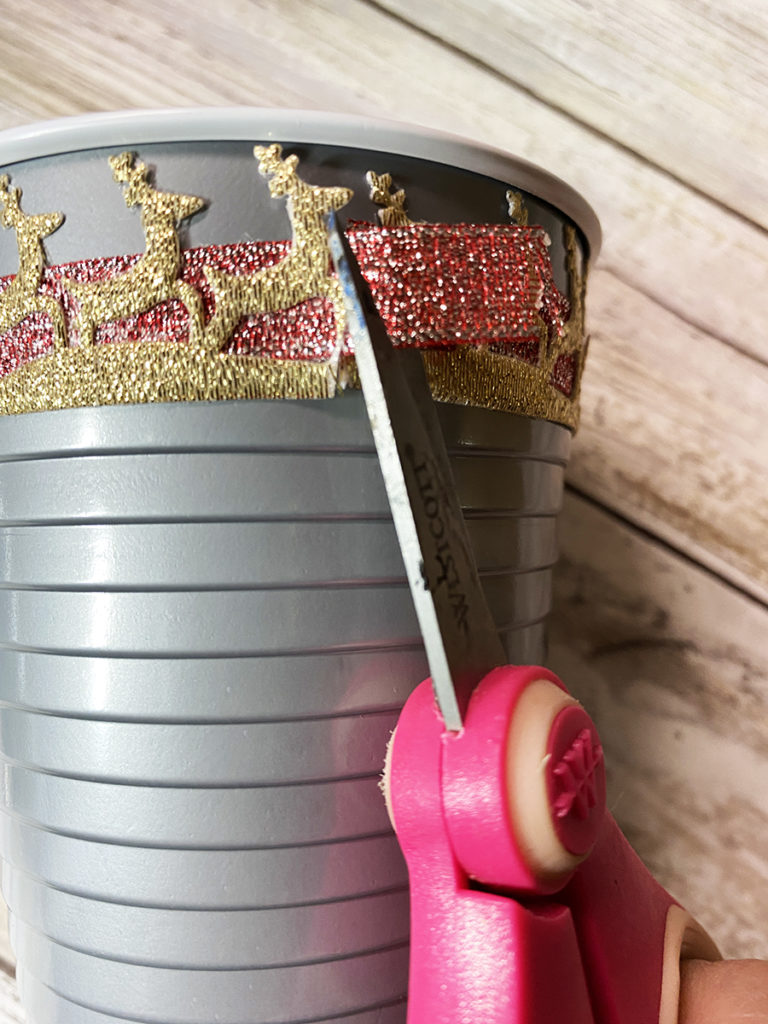
Trim as needed.
So quick and Easy…and it looks great!
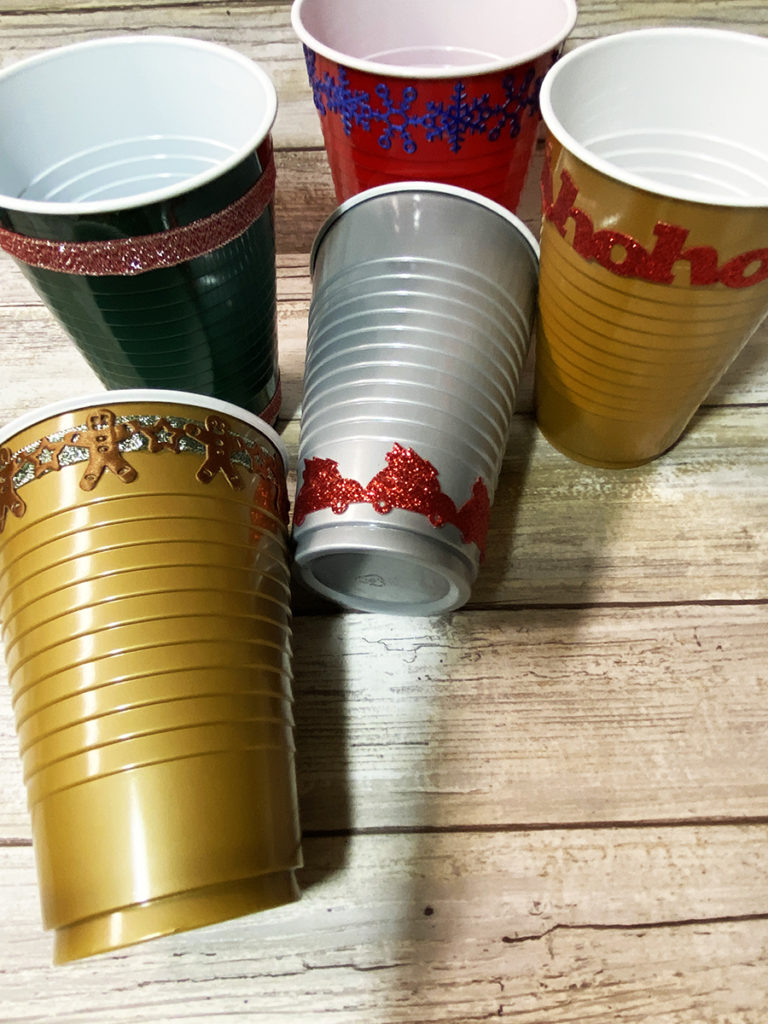
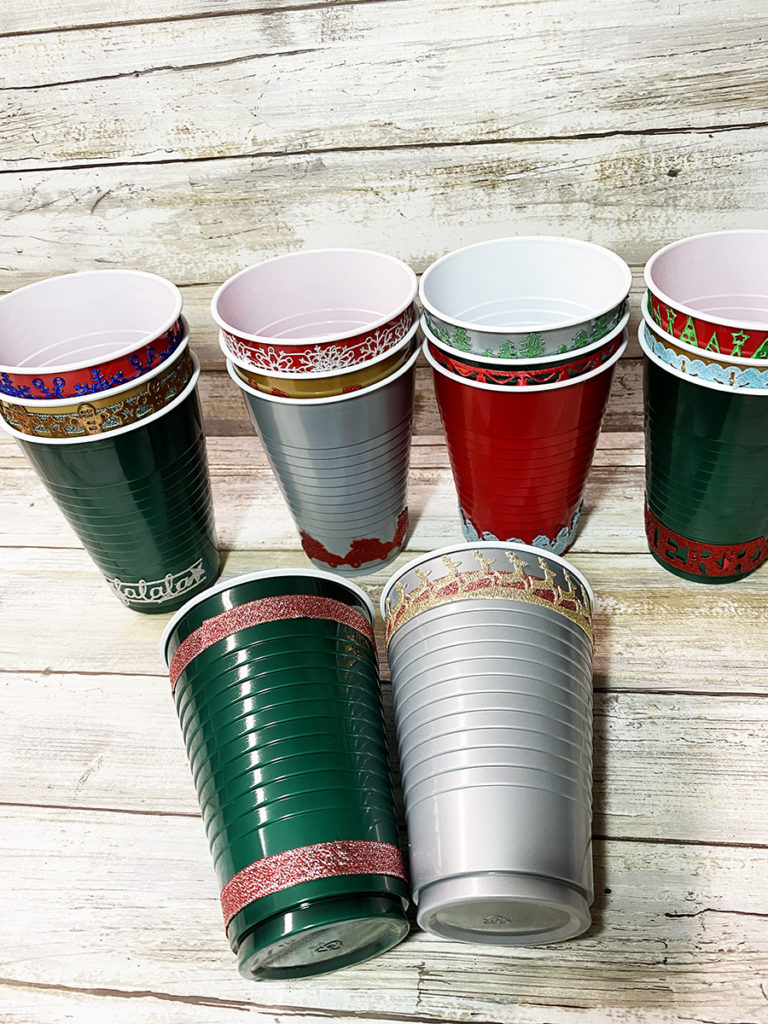
Since I was making 14 of these, I choose to do some with the Die Cut Trim layered with Ribbon, some with just the Die Cut Trim and one with just Ribbon!
I placed some of the die cut trims and ribbon on the top edge of the cups, others on the bottom edge. Do a veriety of designs and patterns when creating these Fun Ribbon Christmas Cups! Next I think I will decorate some Wine Glasses for Christmas for the adults…How about you? What will you decorate with these great Die Cut Christmas Trims?
Here is another PIN to share!
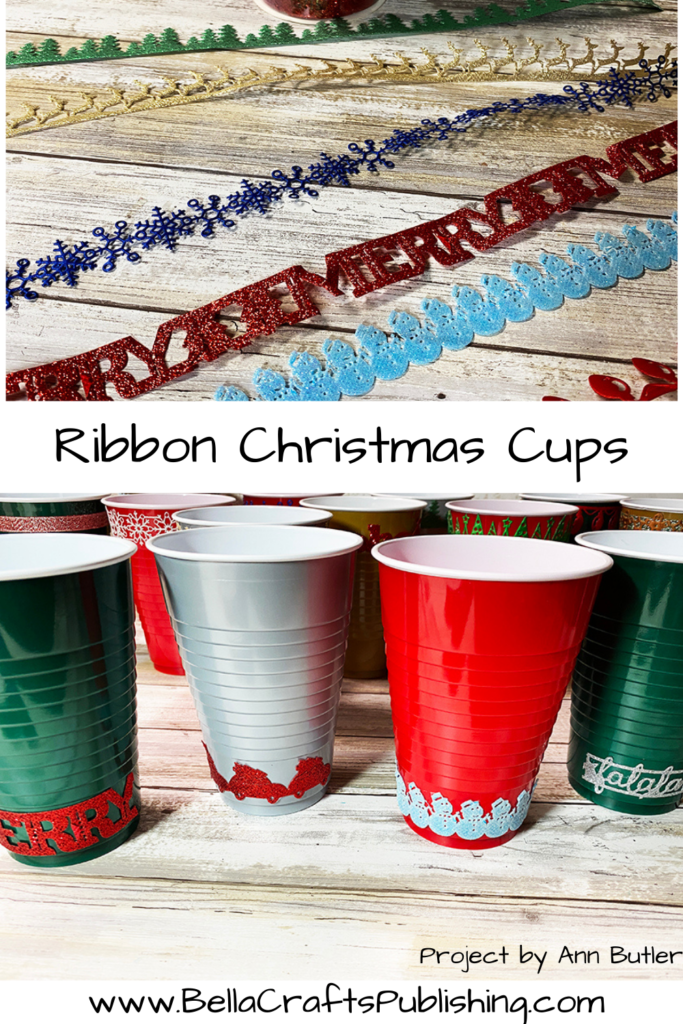
Supplies for making your own Quick & Easy Fun Ribbon Christmas Cups
- Gwen Studios Die Cut Christmas Trims, assorted
- Gwen Studios Metallic Ribbon, assorted
- Xyron Sticker Maker
- Xyron Permenent Sticker Adhesive
- Hefty Party Cups
- Scissors

