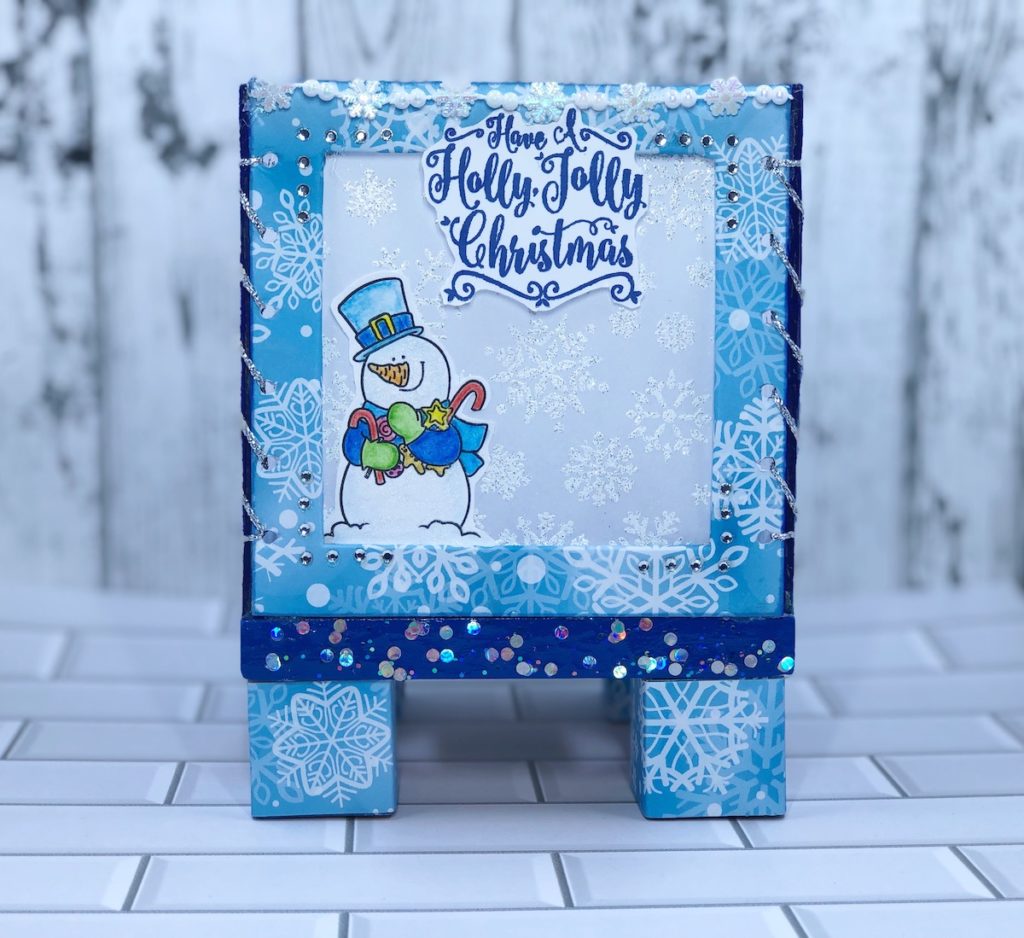
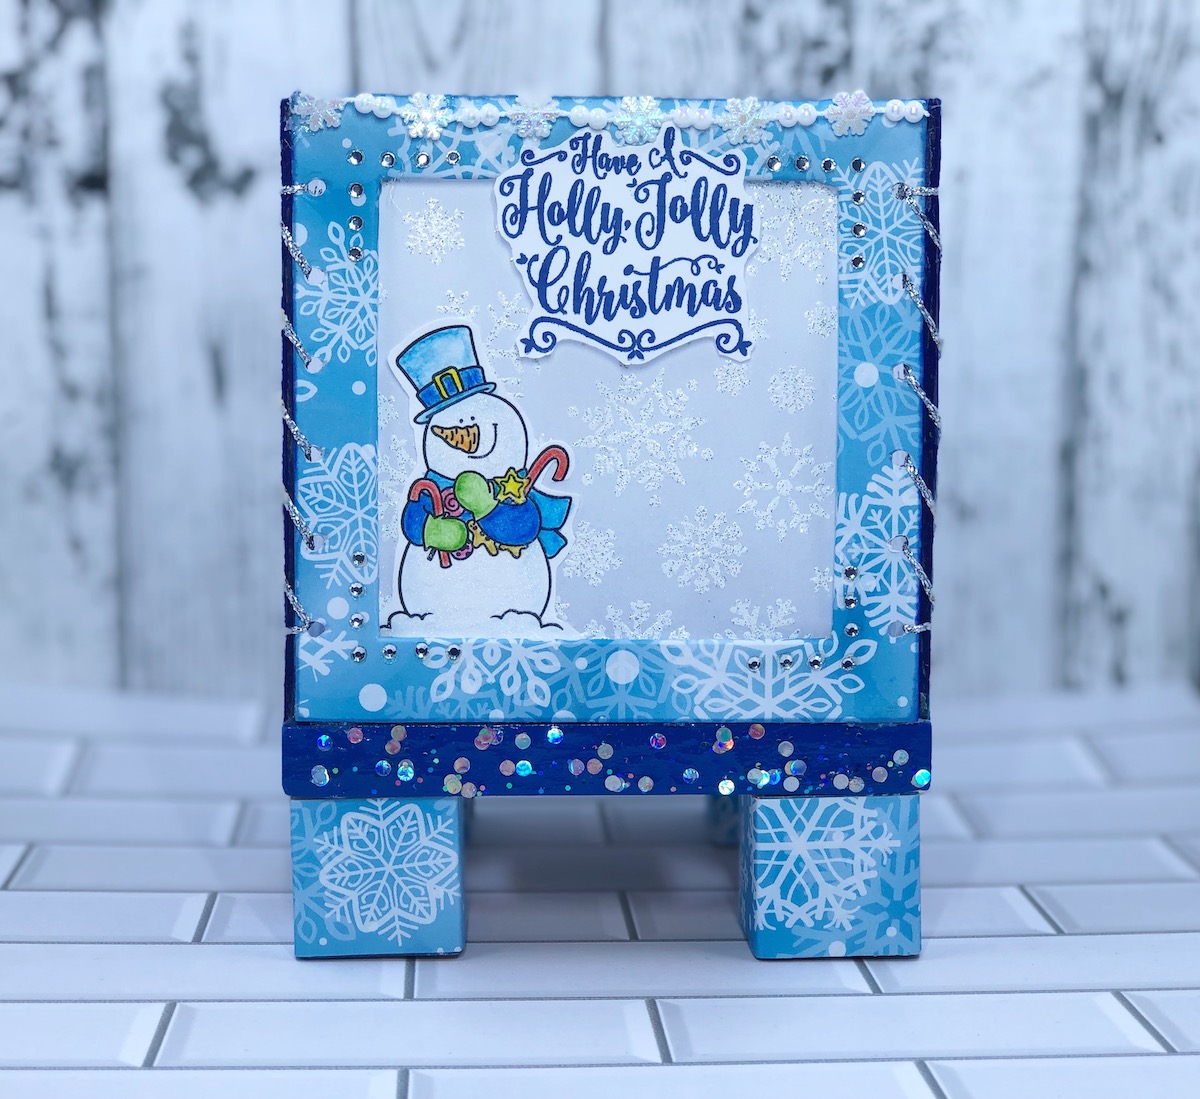
This Lighted Snowflake Table Decoration is a perfect addition to your holiday decorating!
Please note: This post contains affiliate links. If you use these links and make a purchase, we earn a commission at no extra cost to you…
I love decorating for the holidays! There’s just something about it that makes me so happy. This Lighted Snowflake Table Decoration is a not only pretty but it’s also very easy to make. I created mine with products designed by Ann Butler Designs. Here’s her website link for you to check out~ https://annbutlerdesigns.com/shop-products/. I hope you make this project for your home! Lisa~
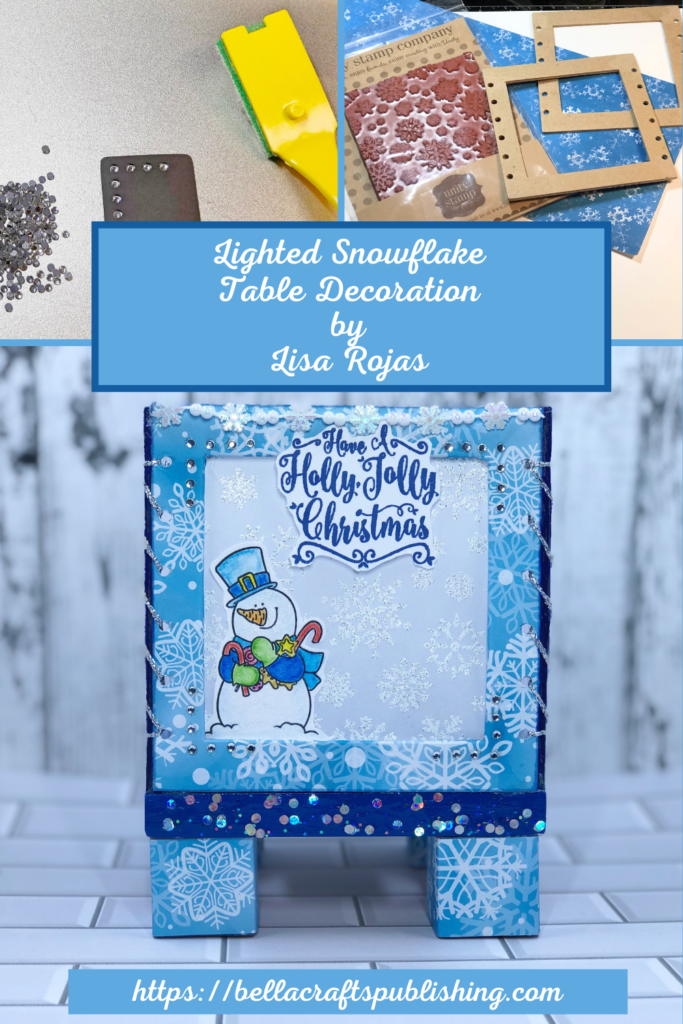
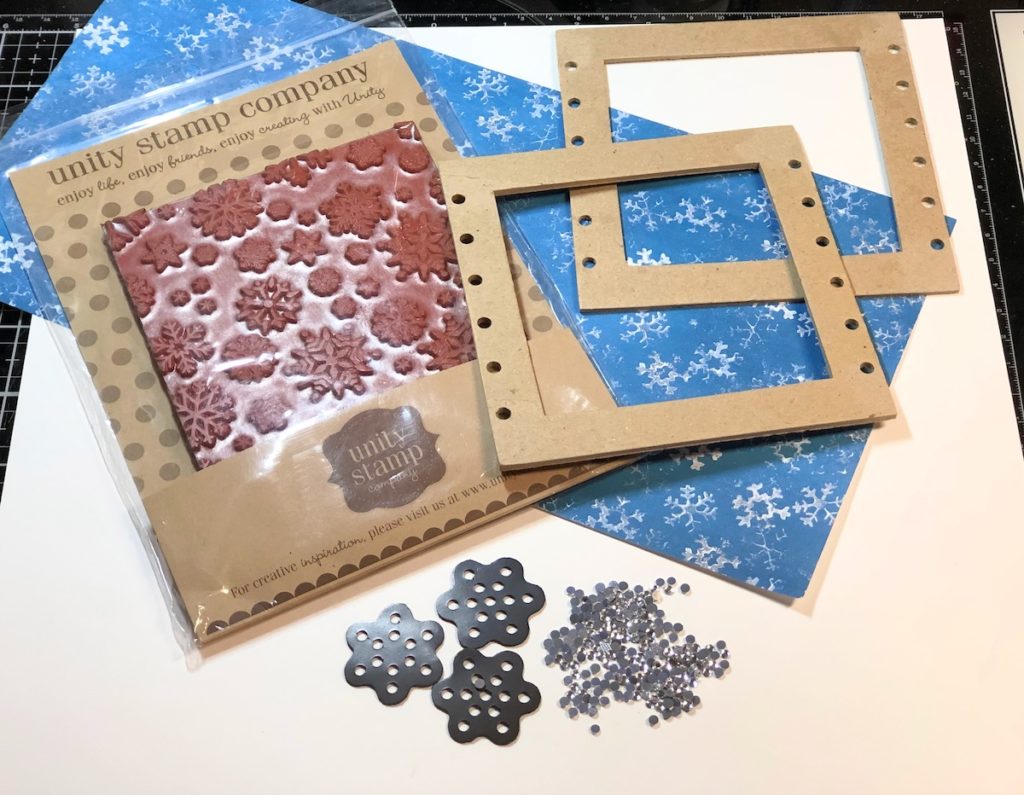
Supplies for Lighted Snowflake Table Decoration
Check out the full list of supplies at the end of this post.
Step One:
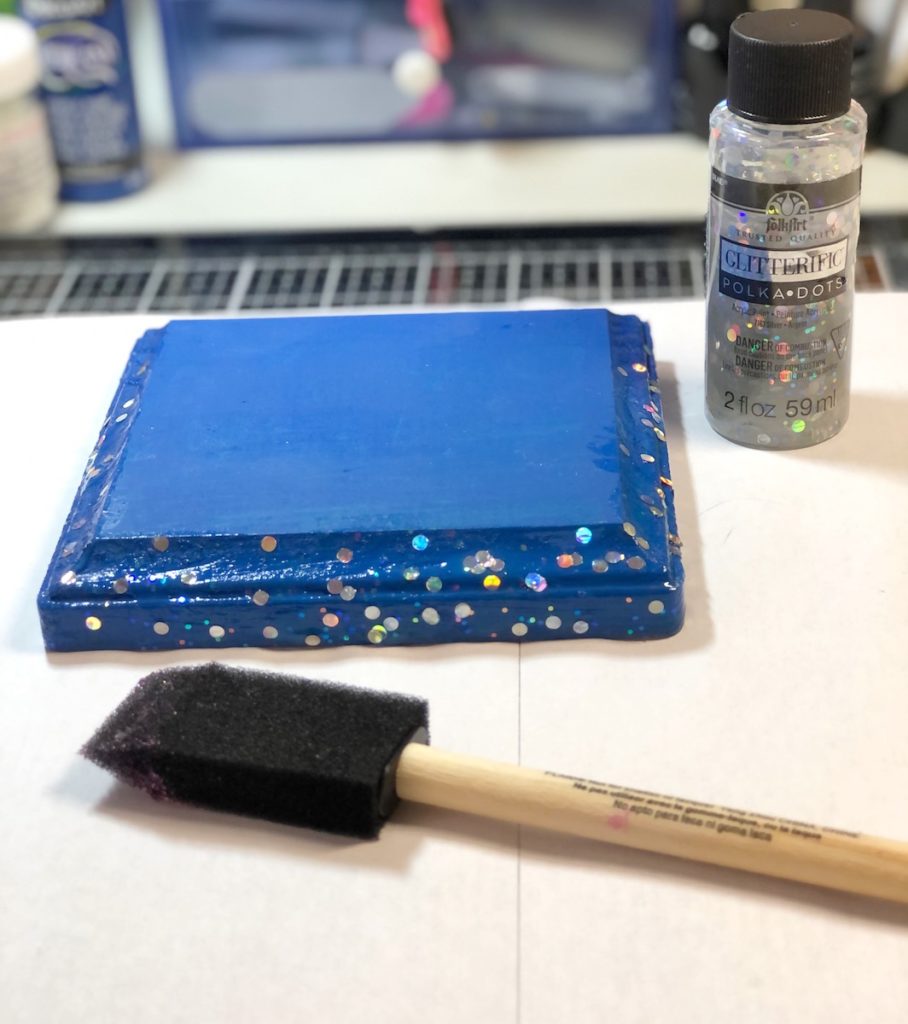
Paint the wood base with blue paint and let dry. Next, add the polka dots paint around the bottom edges of the base.
NOTE: You can purchase the wood base from Michael’s Craft Store for one dollar. It measures 5″ x 5″ and the lip around the bottom is perfect to holding the cardboard frames in place.
Step Two:
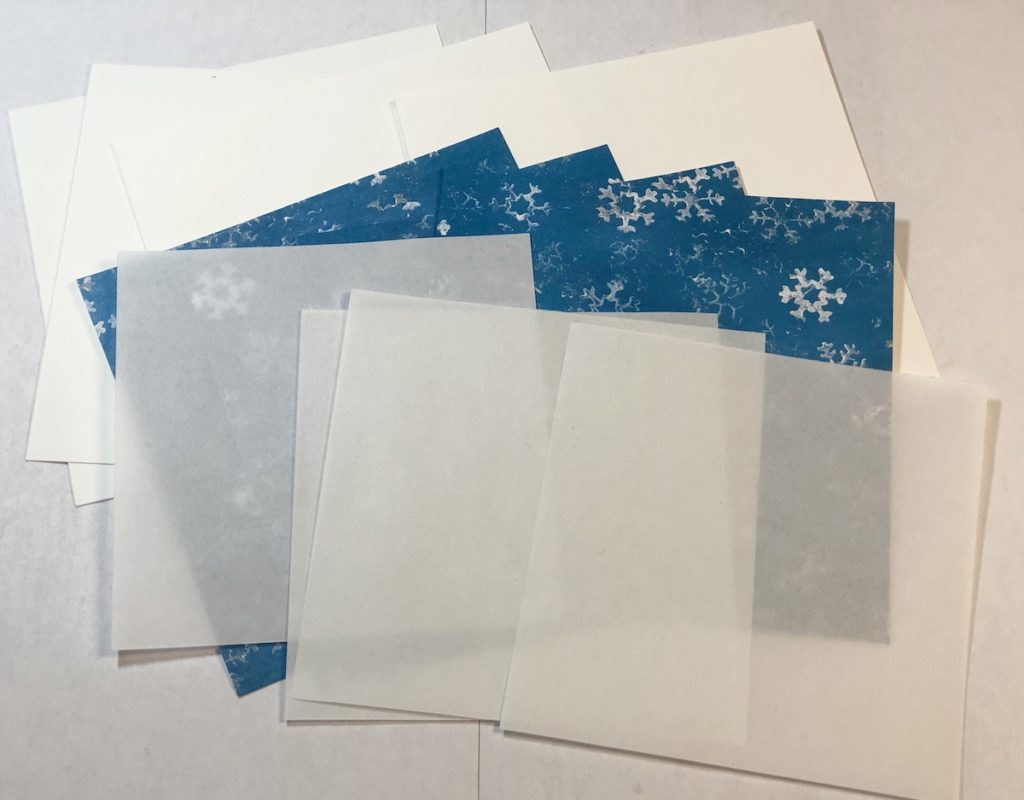
Cut four pieces each of paper as follows: Cardboard, Patterned papers and White cardstock- 4 3/4″ x 4 3/4″, Vellum paper- 4 1/4″ x 4 1/4″. Cut another four pieces of patterned paper 1 1/4″ x 5 1/4″ for the wood blocks used for the feet.
Step Three:
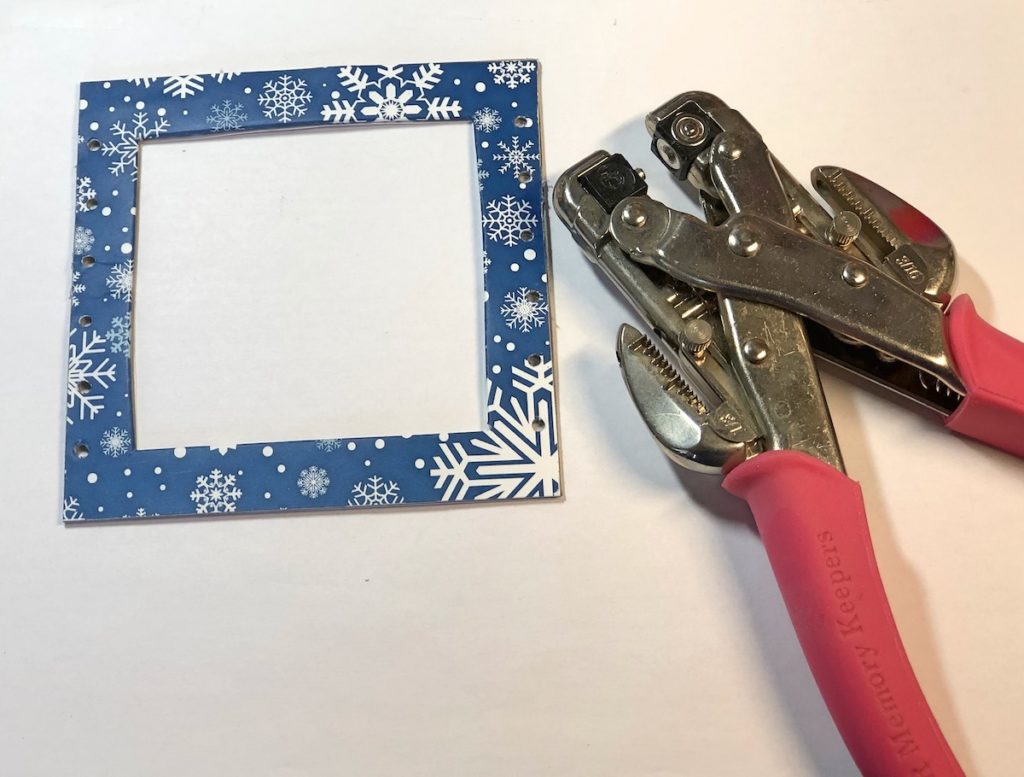
Cover the cardboard pieces with patterned paper on one side and white cardstock on the other. Cut out a 3 1/2″ x 3 1/2″ square from the center of the frames as shown. Punch six holes 3/4″ a part down each side of the frames.
Step Four:
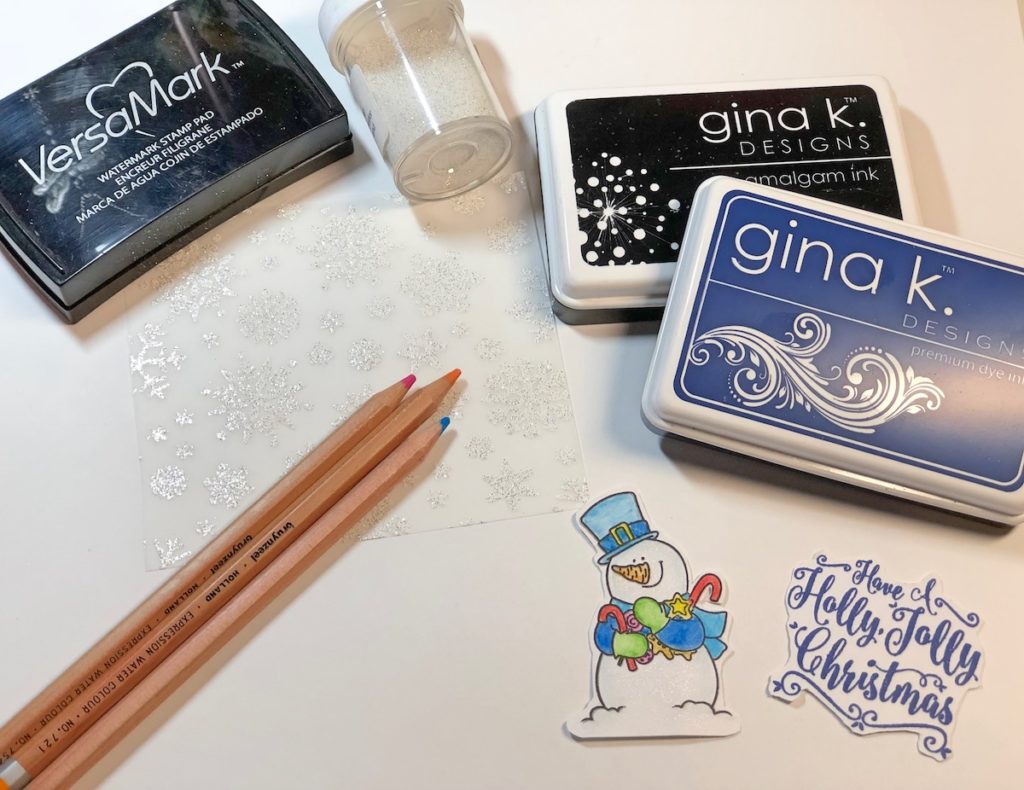
Using a VersaMark inkpad, stamp the vellum pieces using the large snowflake stamp. Sprinkle with embossing powder, shake off the excess and heat set with a heat tool. Stamp the snowman on white cardstock with black inkpad, color and cut out. Stamp the word image with dark blue inkpad and cut out.
Step Five:
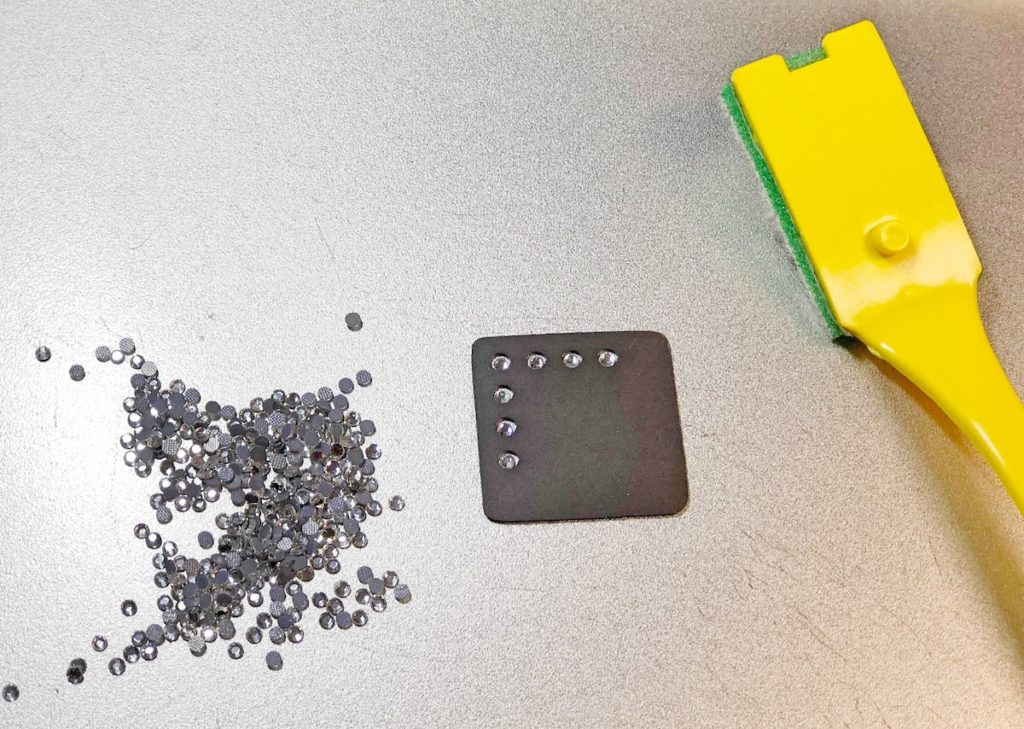
On a metal tray, place rhinestones on the template. Use the brush to push the rhinestones into the holes of the template. Apply adhesive paper over the template to pull up the rhinestones. Place the adhesive paper with the rhinestones onto the corner of the frame and heat set with a dry, hot iron for 10 to 15 seconds. Pull off the adhesive paper. Repeat this process on the other three corners of the frame.
NOTE: Here’s a link for a video on Ann’s website to demonstrate how to use the Rhinestone Genie~ https://annbutlerdesigns.com/ann-butlers-rhinestone-template-bundle/
Step 6:
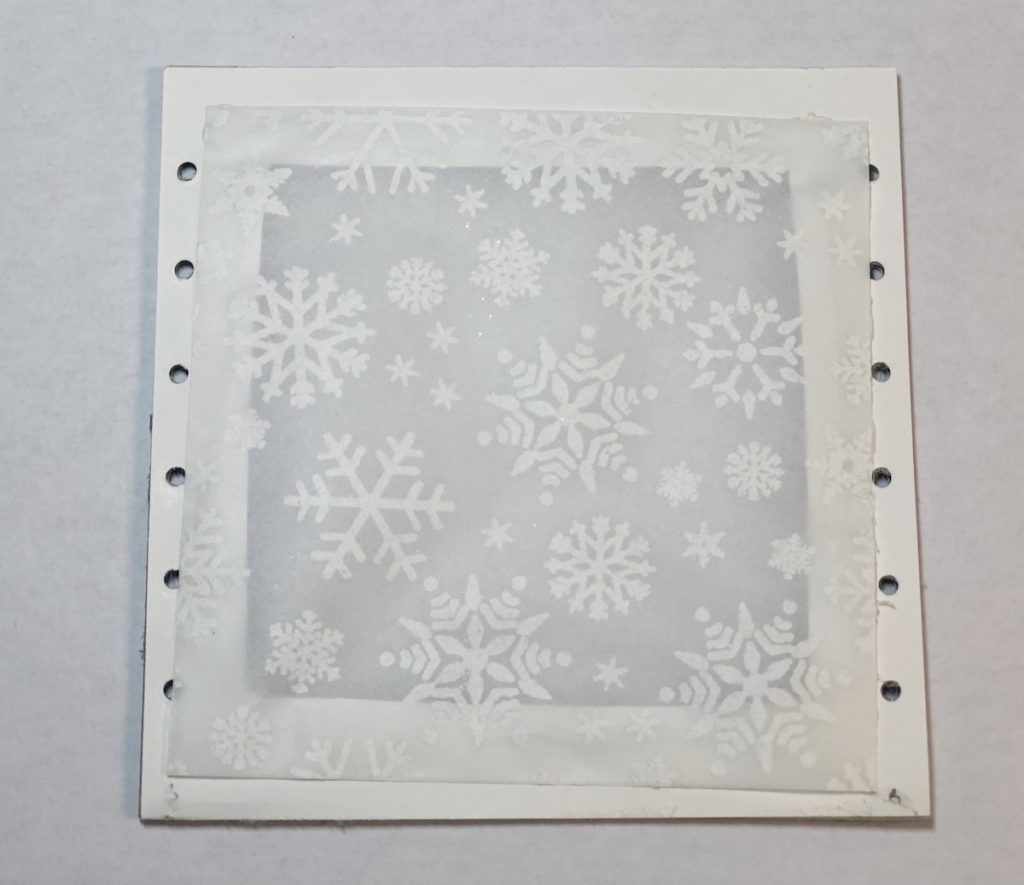
Adhere the Vellum papers to the backside of each frame. Place the frames onto the wood base and use the silver ribbon to lace through the holes and attach the frames together. Use the finished project photo if needed. To finish the project, apply the patterned paper to each wood block and adhere the blocks to the bottom of the base with a glue gun. Adhere a piece of snowflake garland to the front frame with glue gun. Adhere the snowman and word image to the front frame with Zip Dry Glue. Place a battery operated candle in the center.
Here’s another PIN for you to share!
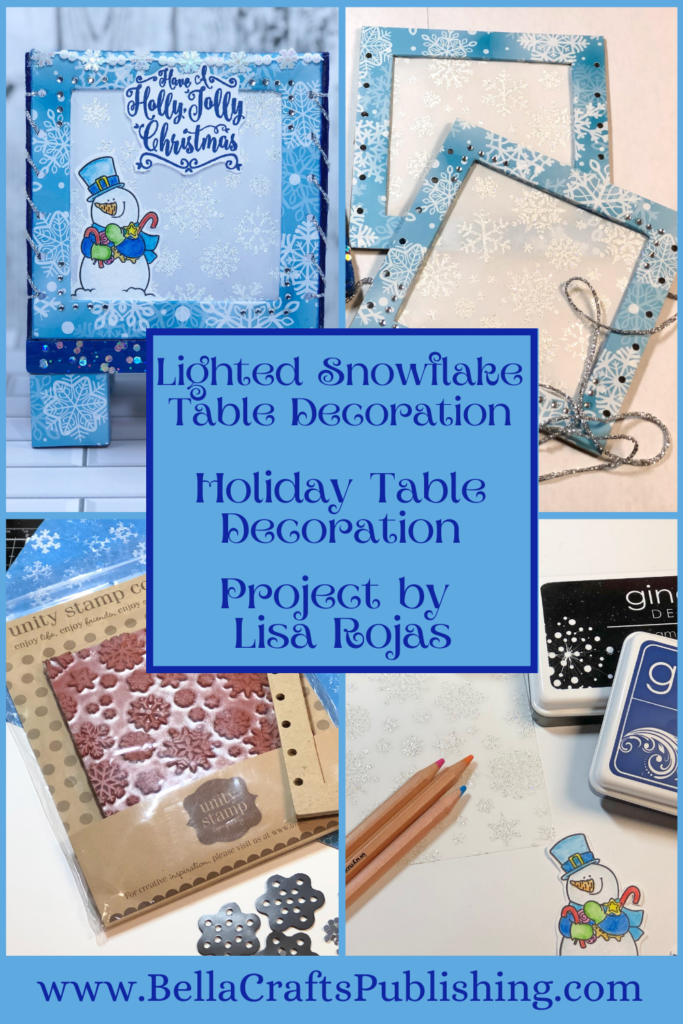
Lighted Snowflake Table Decoration
Supplies for Lighted Snowflake Table Decoration
- Cardboard
- Cardstock, White
- Patterned Paper, Holiday Theme
- Vellum
- Snowflake Frenzy Background Stamp by Unity Stamp Co.
- Snowman & Word Stamp by The Cat’s Pajamas
- Rhinestone Genie Template by Ann Butler Designs
- Wood Base, 5″ x 5″
- Wood Blocks, 1 1/4″ (4)
- DecoArt Acrylic Paint, True Blue
- folkart Glittertific Acrylic Paint, Polka Dots
- Watercolor Pencils by Royal Talens
- VersaMark Inkpad
- Inkpads, Obsidian, Blue Denim by Gina K. Designs
- Zip Dry Paper Glue by Beacon Adhesives
- White Sparkle Embossing Powder
- Ribbon, Silver
- Snowflake Garland
- Paper Trimmer
- Exacto Knife
- Glue Gun
- Heat Tool
- Foam Brush
- Crop-O-Dile by We R Memory Keepers

Trackbacks/Pingbacks