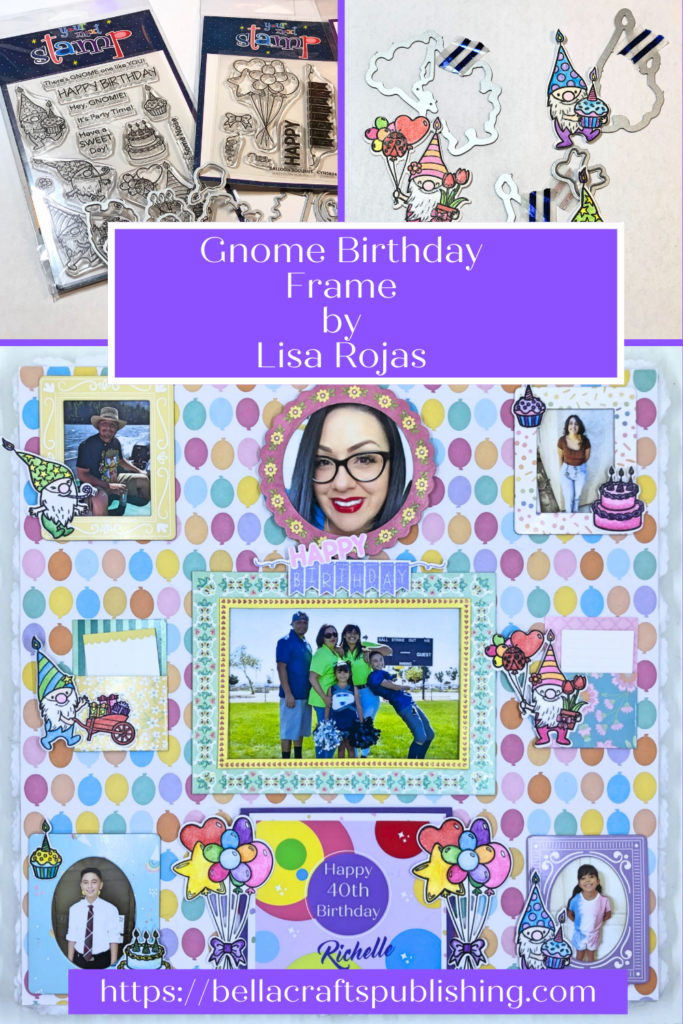
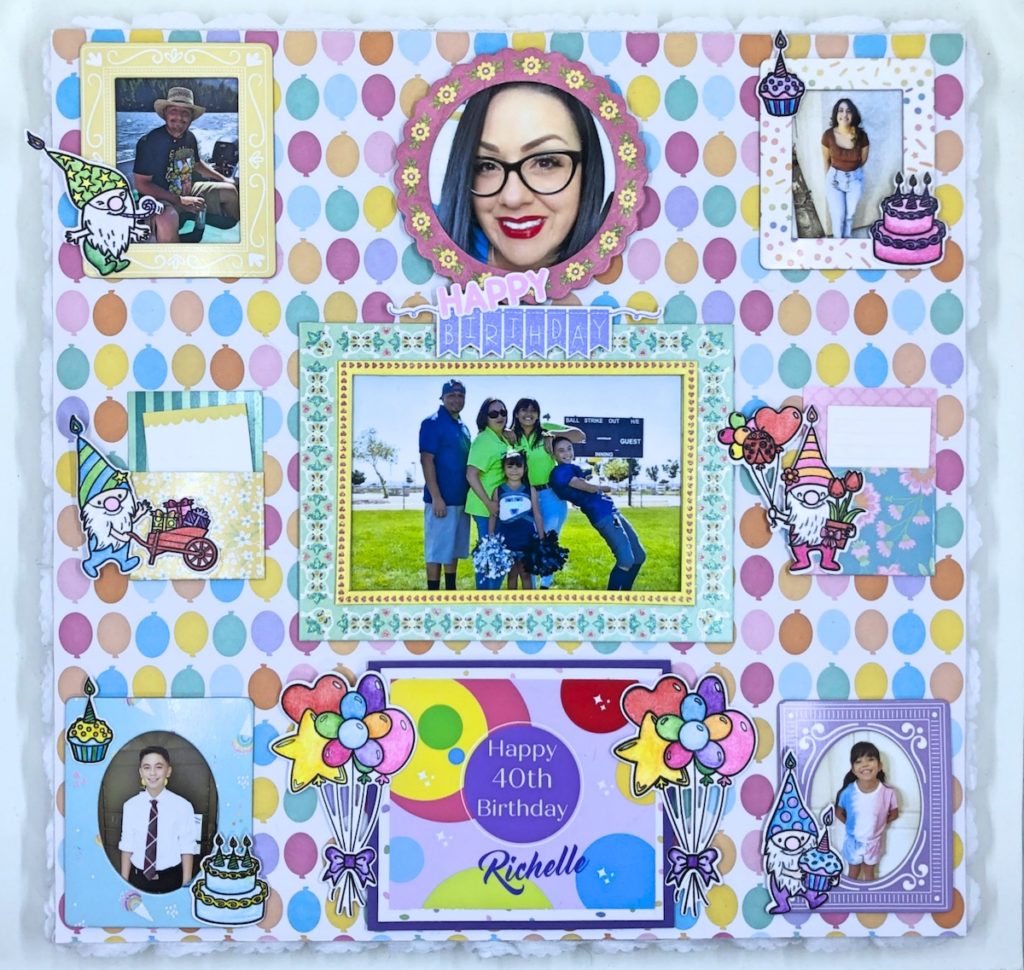
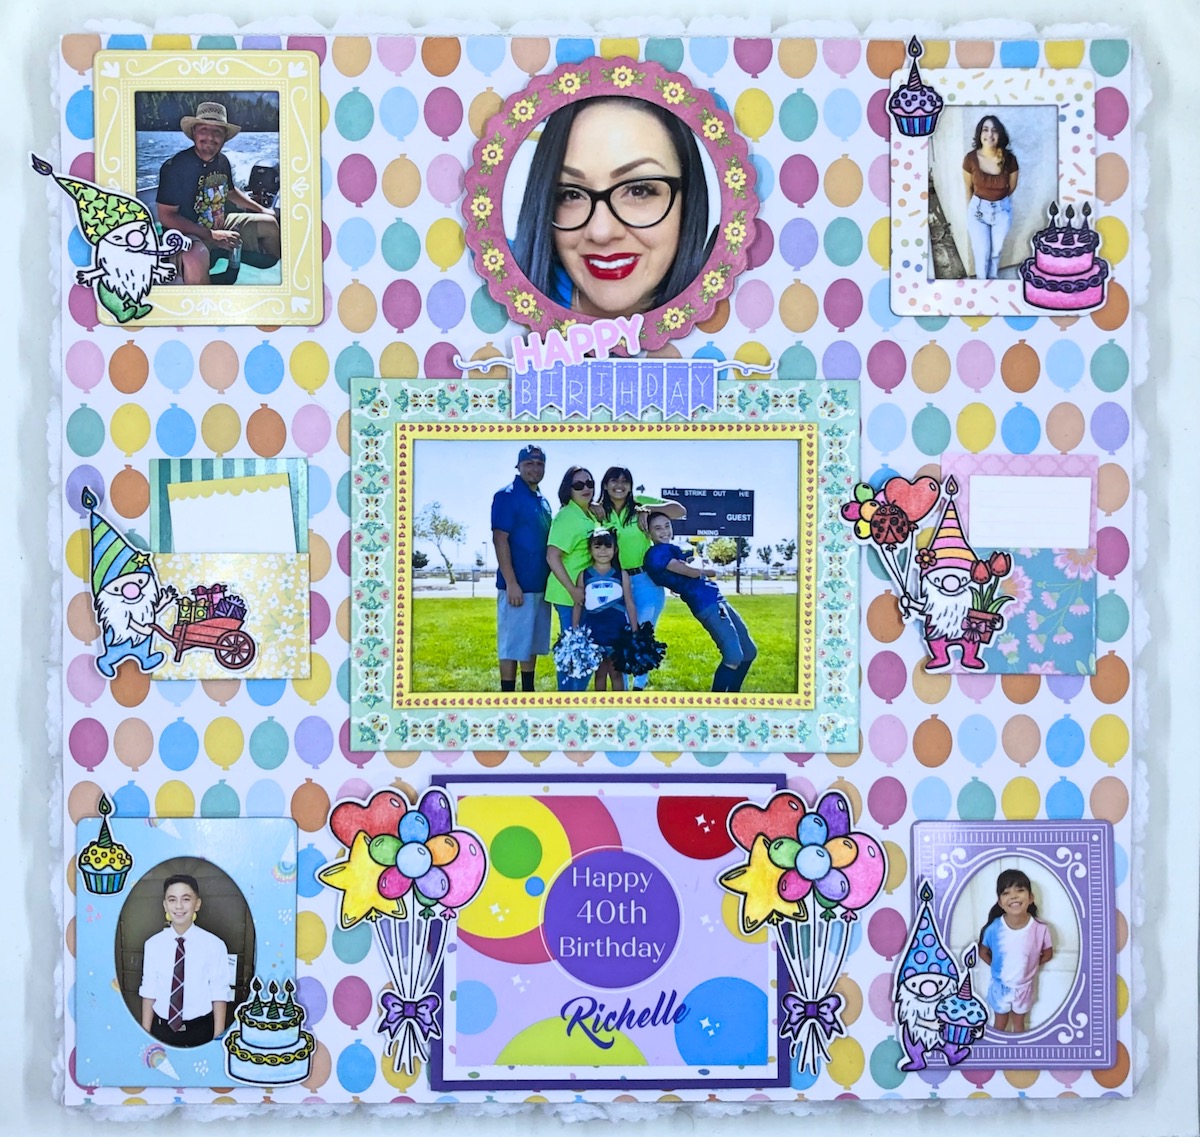
Put your photos on display with this Gnome Birthday Photo Frame~
Please note: This post contains affiliate links. If you use these links and make a purchase, we earn a commission at no extra cost to you…
My daughter is celebrating her 40th birthday in a couple months and I wanted to give her something special to help her remember her special day, so I created this Gnome Birthday Photo Frame. This photo frame is quick and easy to create and makes a great gift for any special occasion. It would be perfect for the upcoming holidays! I hope you give it a try~ Lisa
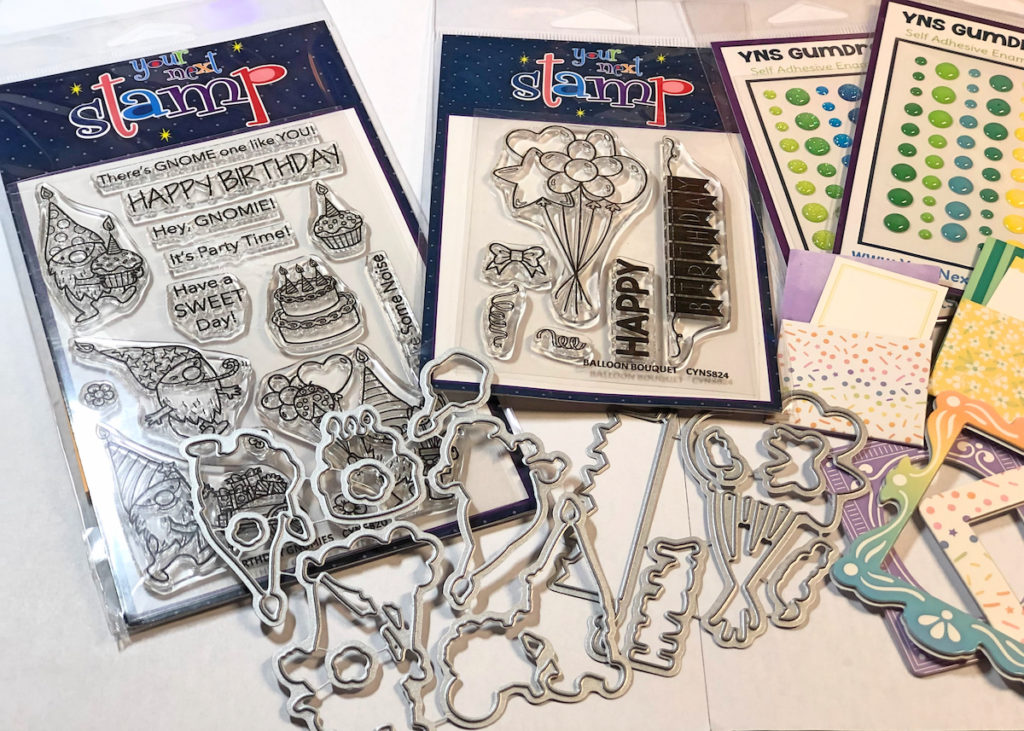
Supplies for Gnome Birthday Photo Frame
Check out the full list of supplies at the end of this post.
Step One:
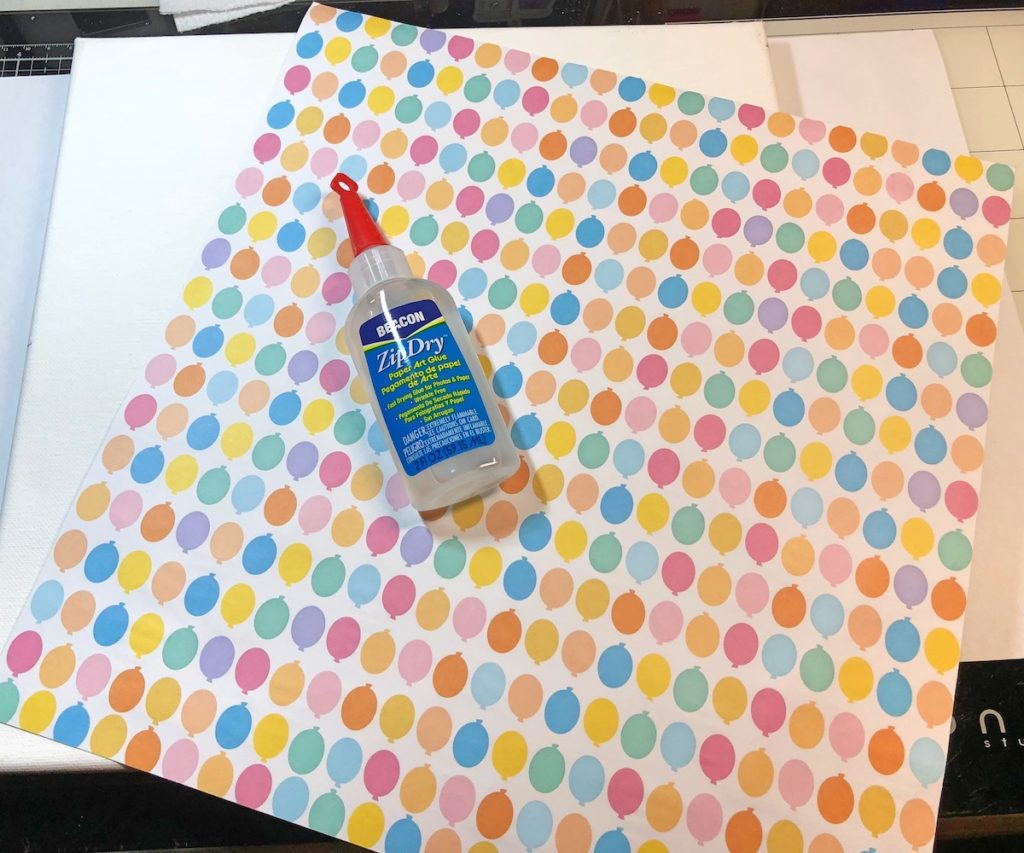
Start with a 12″ x 12″ canvas. Adhere a piece of patterned paper with Zip Dry Paper Glue.
Step Two:
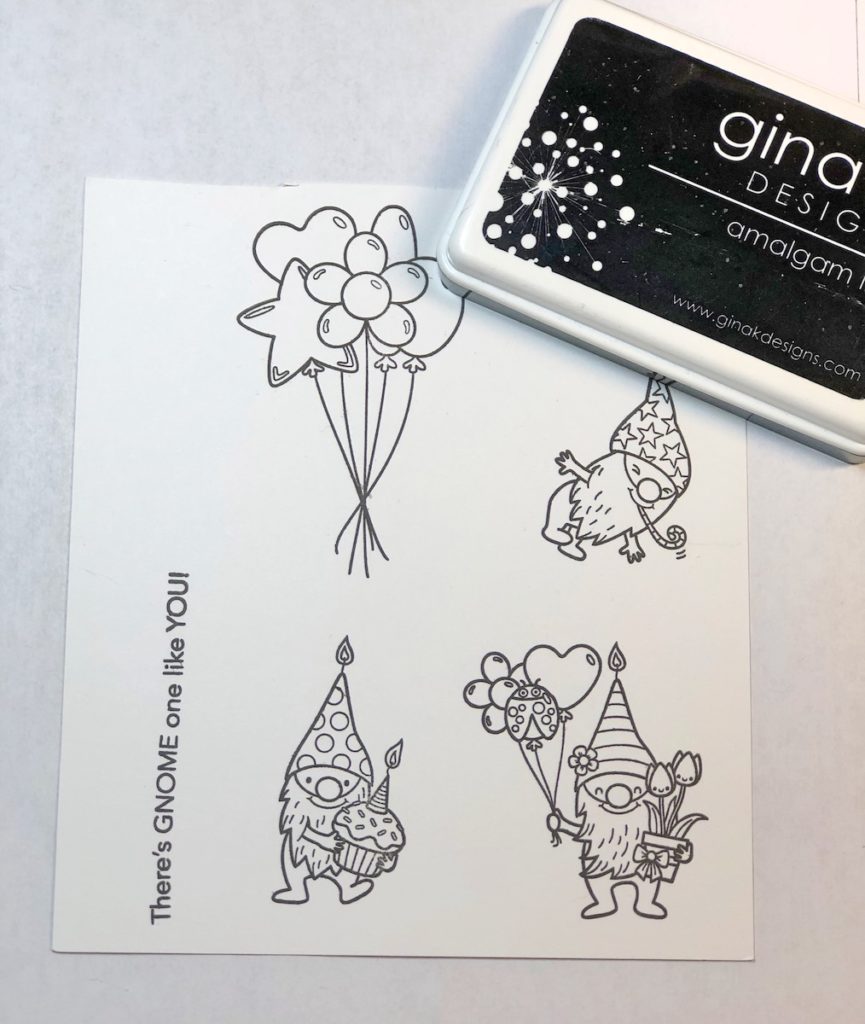
Using a black inkpad, stamp all of the images onto a piece of white cardstock.
Step Three:
Color all of the stamped images with watercolor pencils.
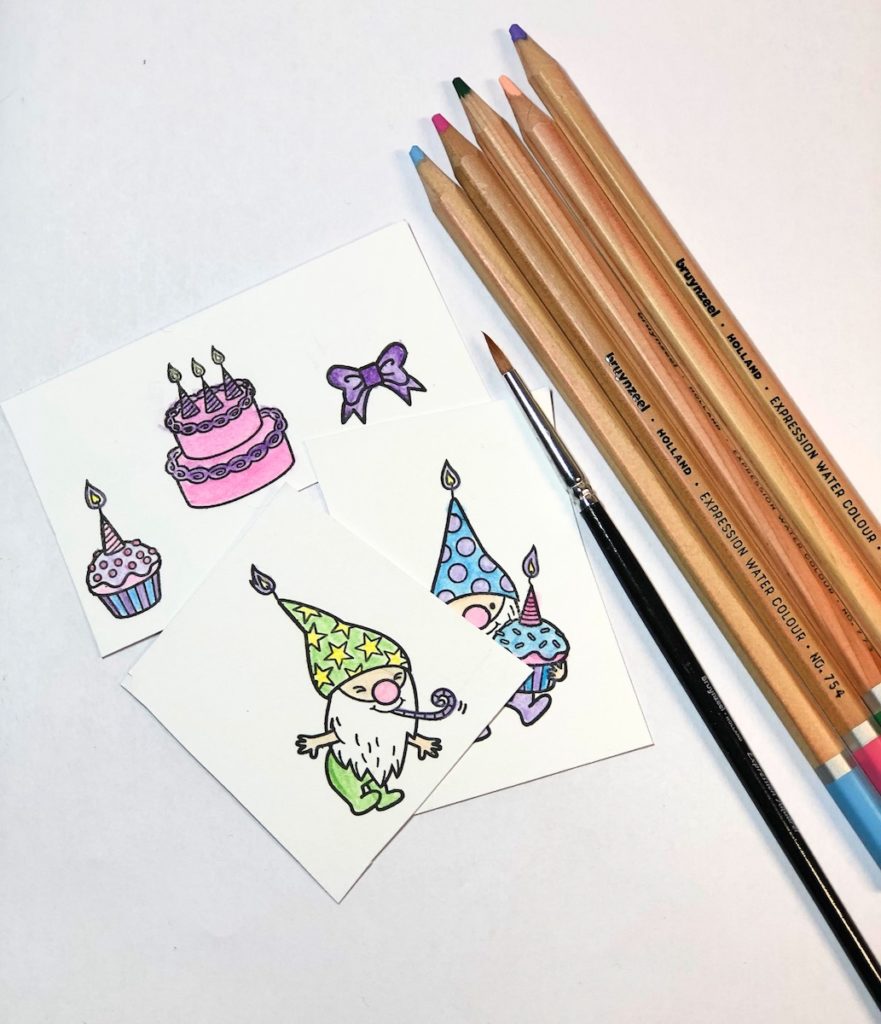
Step Four:
Cut out the images with the matching die cuts and die cutting machine. Add some sparkle to the gnome’s beards with a glitter pen.
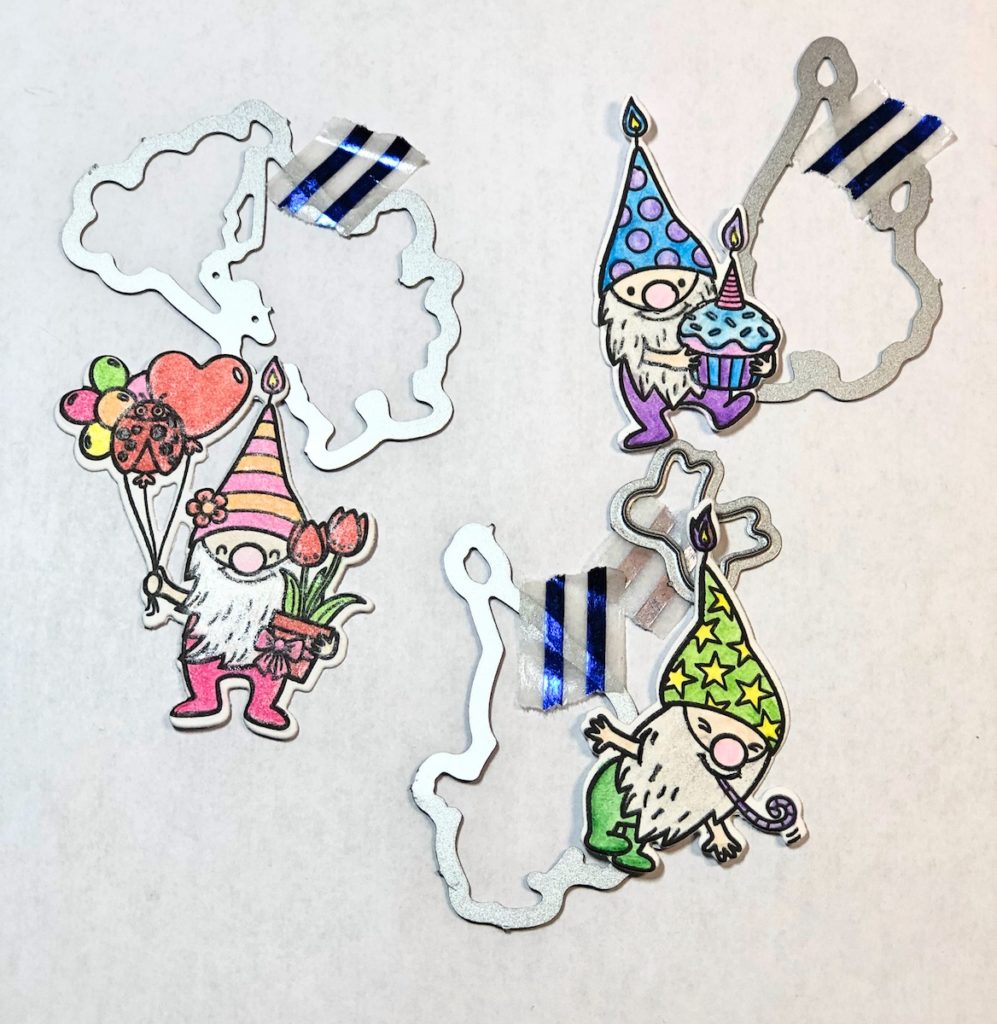
Step Five:
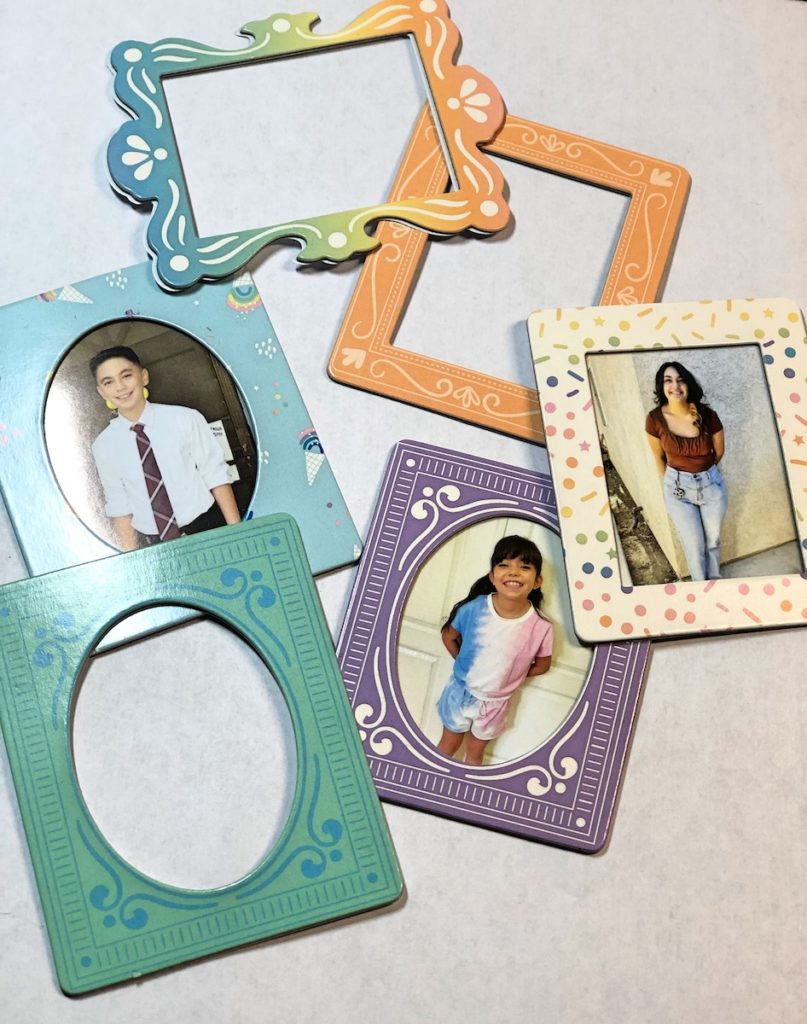
Add your photos to the pre-made frames. Arrange the frames and the two envelopes onto the large frame and glue in place. Add the stamped images onto the small frames. Stamp the Happy Birthday images with pink and lavender inkpads on white cardstock. Die cut with matching dies and adhere to the frame. To finish, create a colorful sign on a computer or stamp one of your own. Mat the sign with patterned paper and purple cardstock and adhere to the frame. Glue white trim around the frame with a glue gun.
Note: Use the photo for placement if needed.
Here’s another Pin for you to share!
Gnome Birthday Photo Frame
Supplies for Gnome Birthday Photo Frame
- 12″ x 12″ Canvas
- Cardstock: White, Purple
- Patterned Paper
- Watercolor Pencils by Royal Talen
- Pre-made Frames and Note Envelopes
- “Birthday Gnomies” Stamp & Die Sets by Your Next Stamp
- “Balloon Bouquet” Stamp & Die Sets by Your Next Stamp
- Inkpads: Obsidian, Bubble Gum Pink, Wild Wisteria by Gina K. Designs
- White Trim
- Zip Dry Paper Glue by Beacon Adhesives
- Glue Gun
- Die Cutting Machine
- Computer and Printer Optional

Trackbacks/Pingbacks