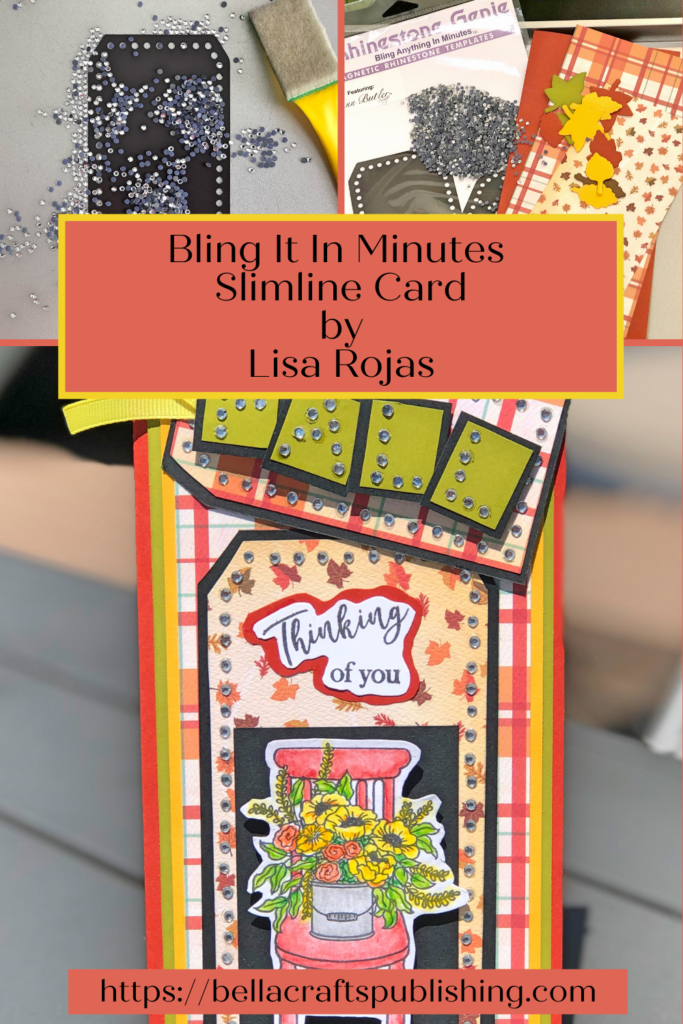
If you like adding rhinestones to your projects, you’re going to love this Bling It In Minutes Slimline Card!
Please note: This post contains affiliate links. If you use these links and make a purchase, we earn a commission at no extra cost to you…
I absolutely love shiny things! I especially love adding anything shiny to my craft projects. Glitter, rhinestones, pieces of jewelry…anything. If it’s shiny I’m going to love it! When I first saw the Rhinestone Genie I thought this is the greatest craft tool ever! Along with the templates designed by Ann Butler Designs, this tool can add hundreds of rhinestones to your projects. So, let me show you how to make my Bling It In Minutes Slimline Card and be ready to be AMAZED~ Lisa
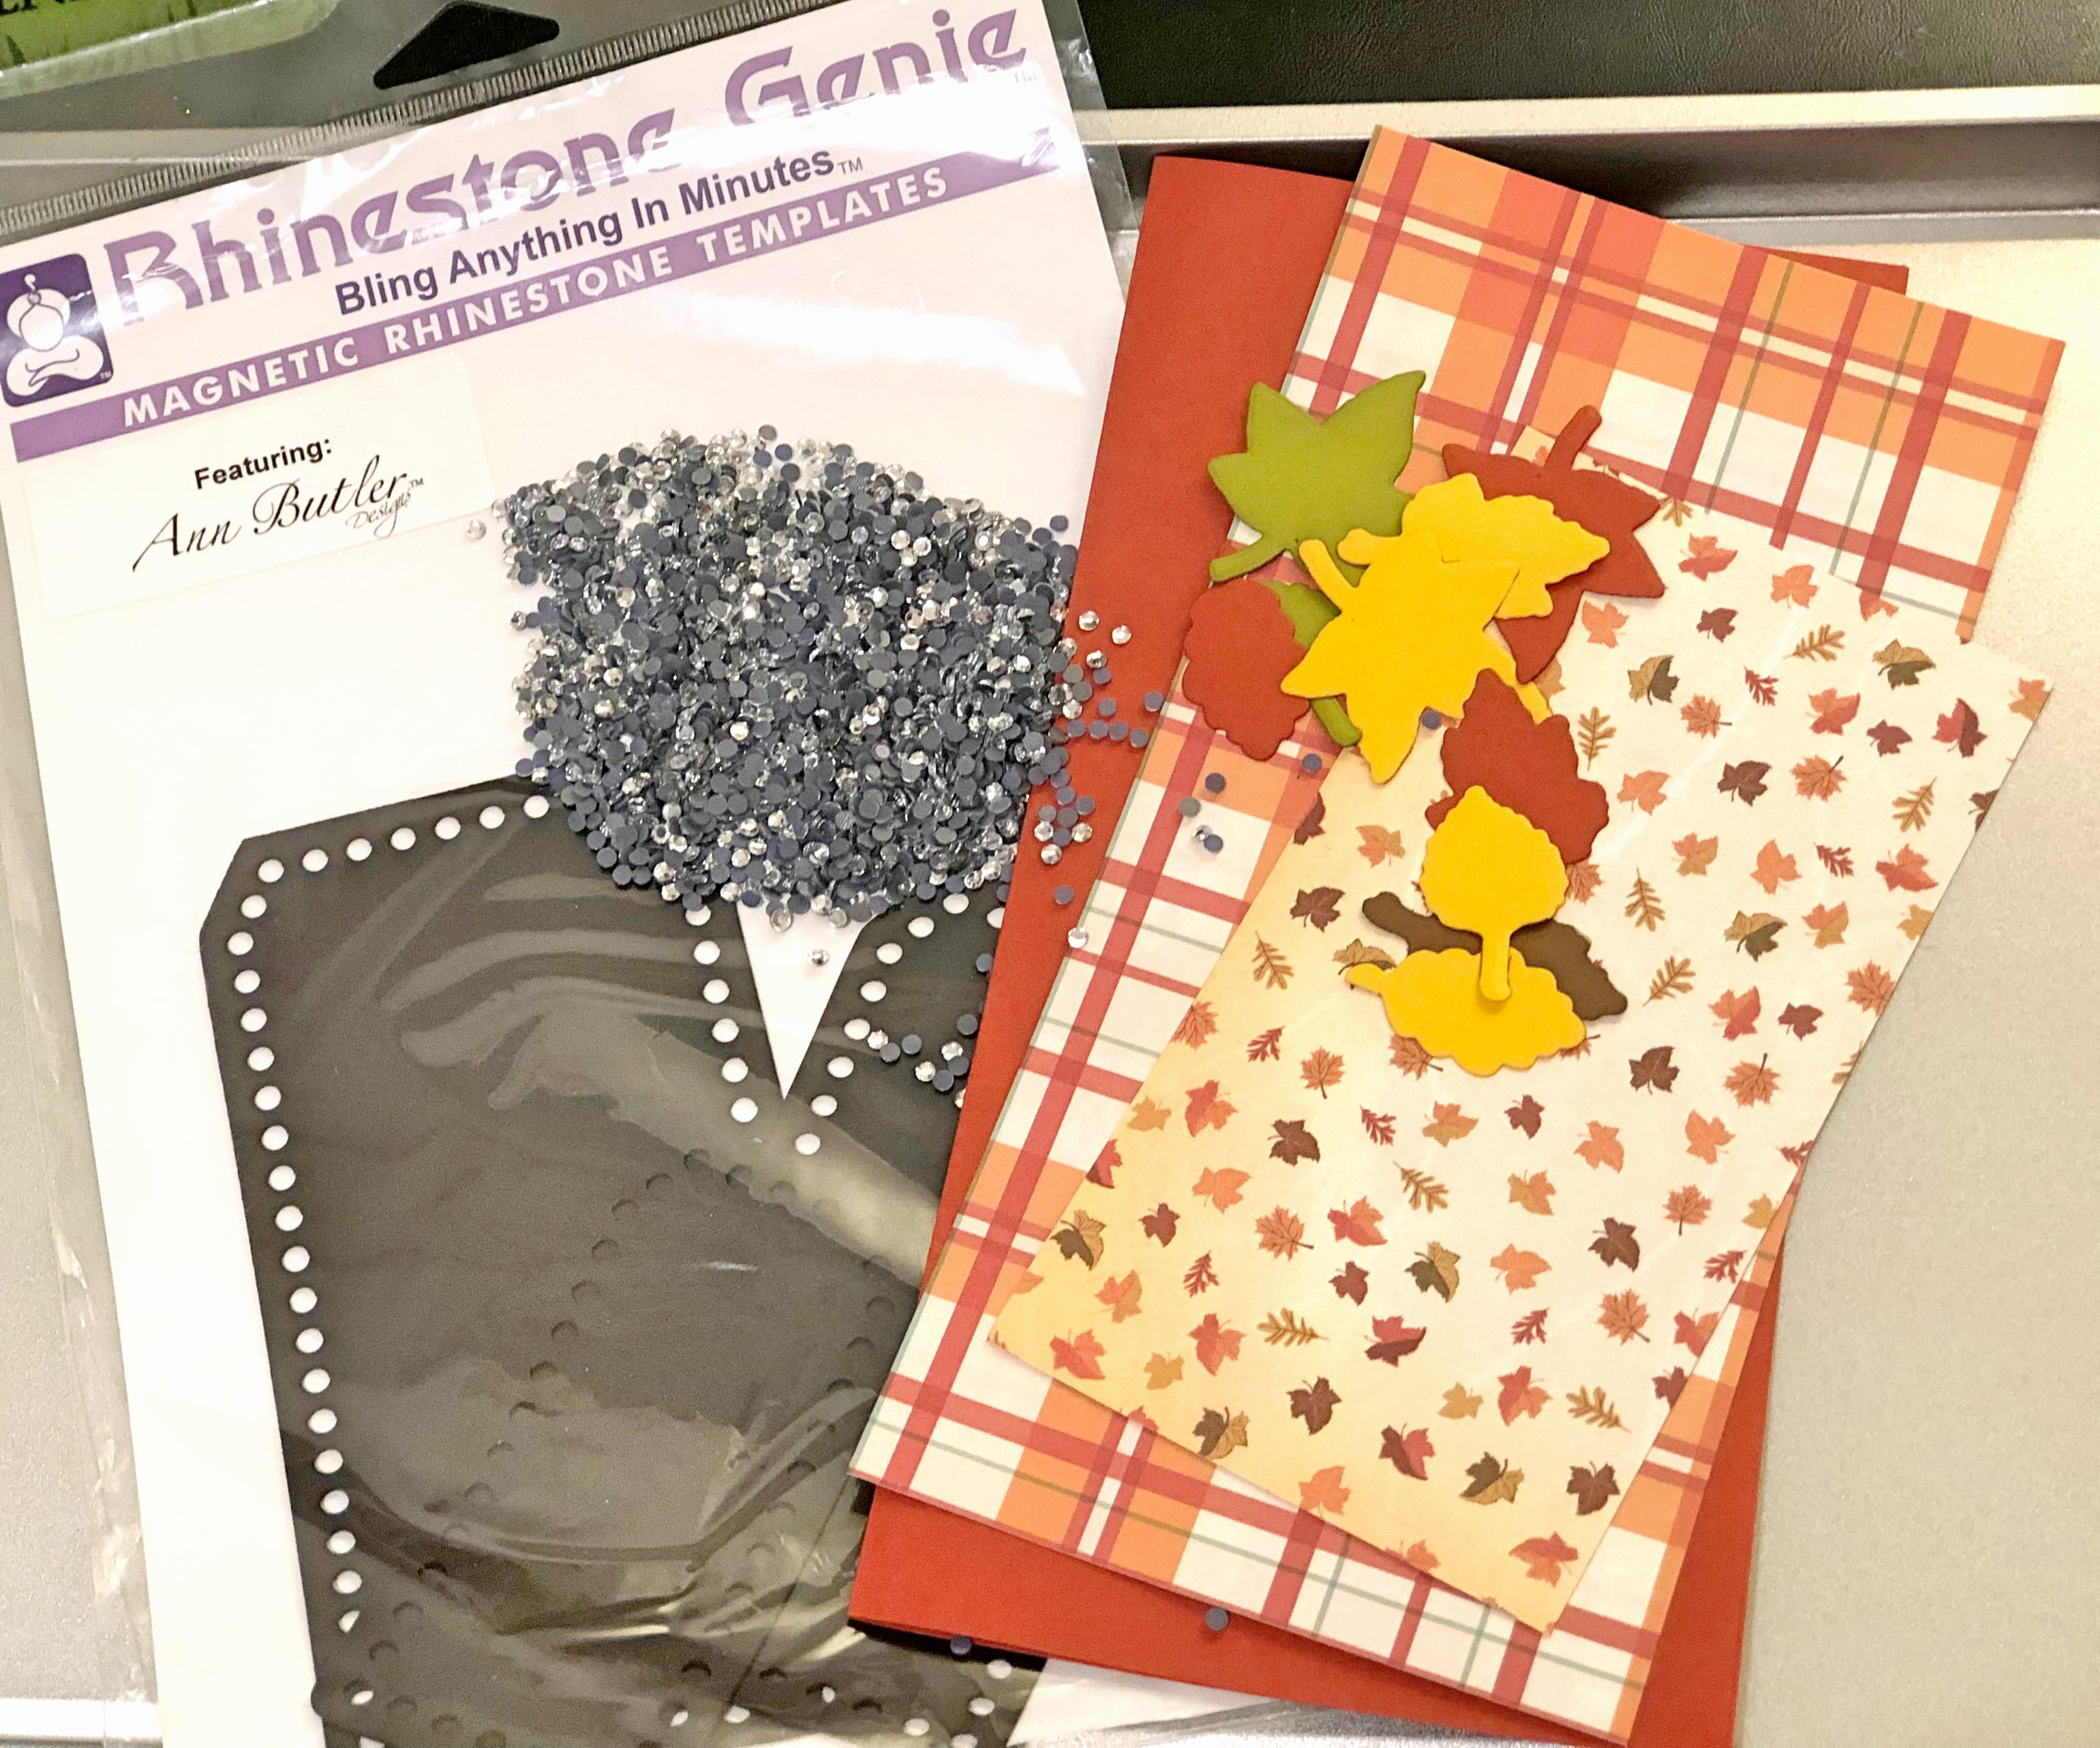
Supplies for Bling It In Minutes Slimline Card
Check out the full list of supplies at the end of this post.
Step One:
Lay the magnetic template onto a metal cookie sheet. Pour rhinestones on top of the template and swirl them around with brush until all of the holes are filled with the shiny side up. Repeat with the letters F A L L.
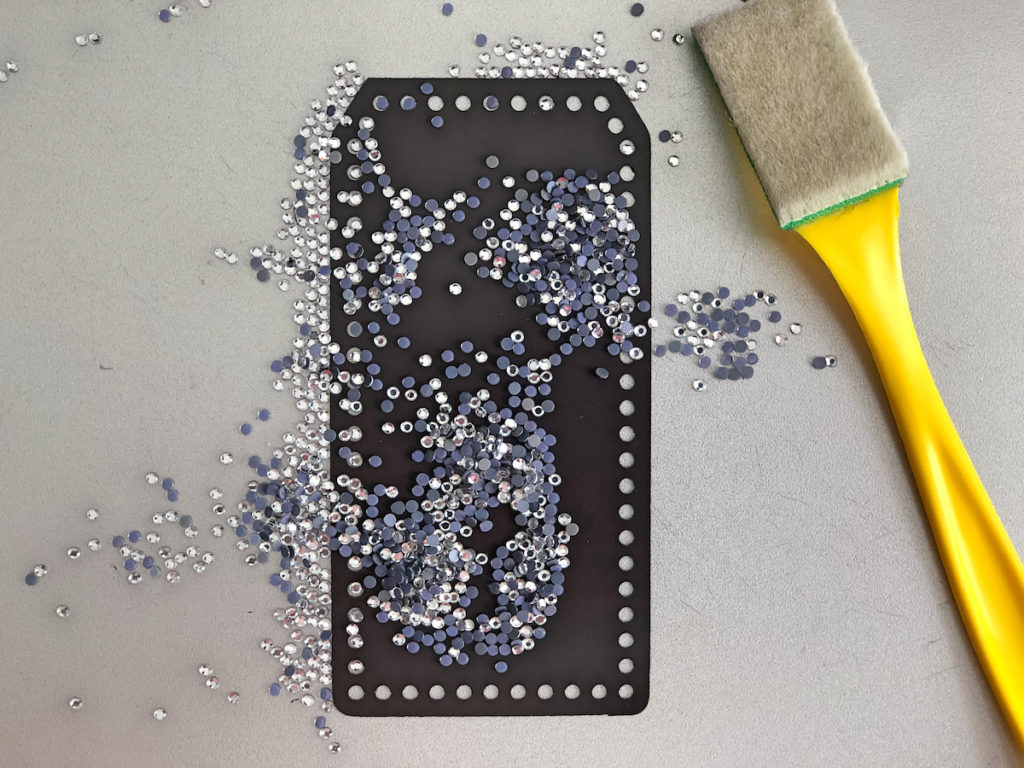
Step Two:
Peel backing off of the adhesive sheet and lay it on top of the template. Run your finger over the template to make sure the rhinestones are securely adhered to the adhesive sheet. Repeat with the letters F A L L.
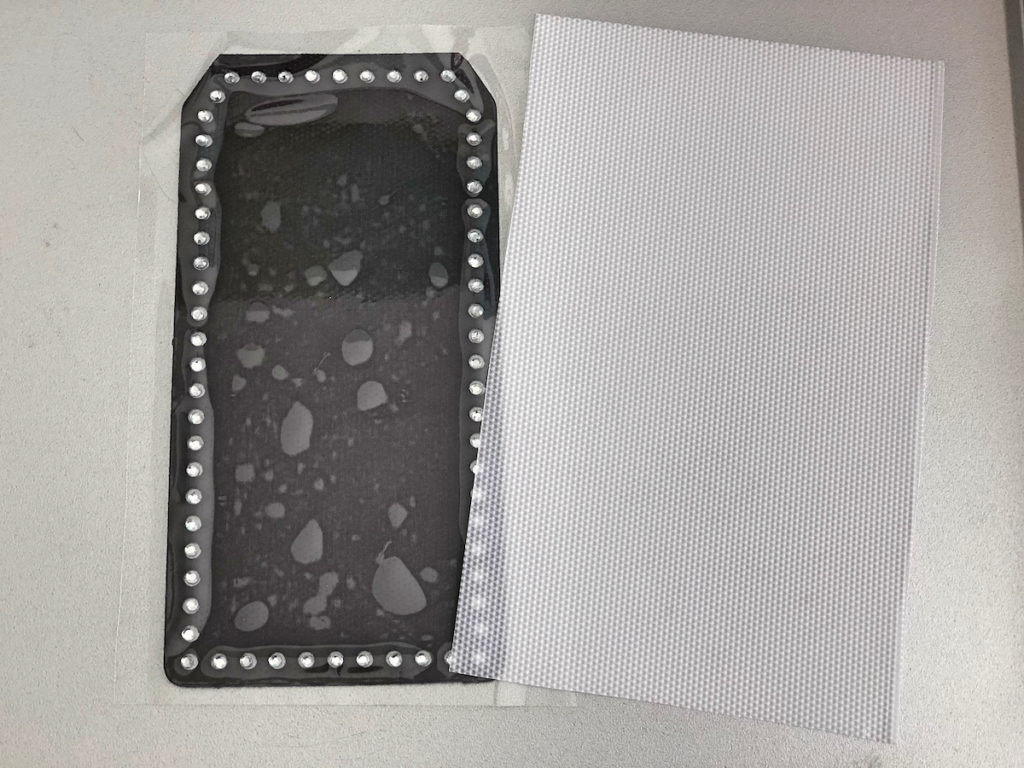
Step Three:
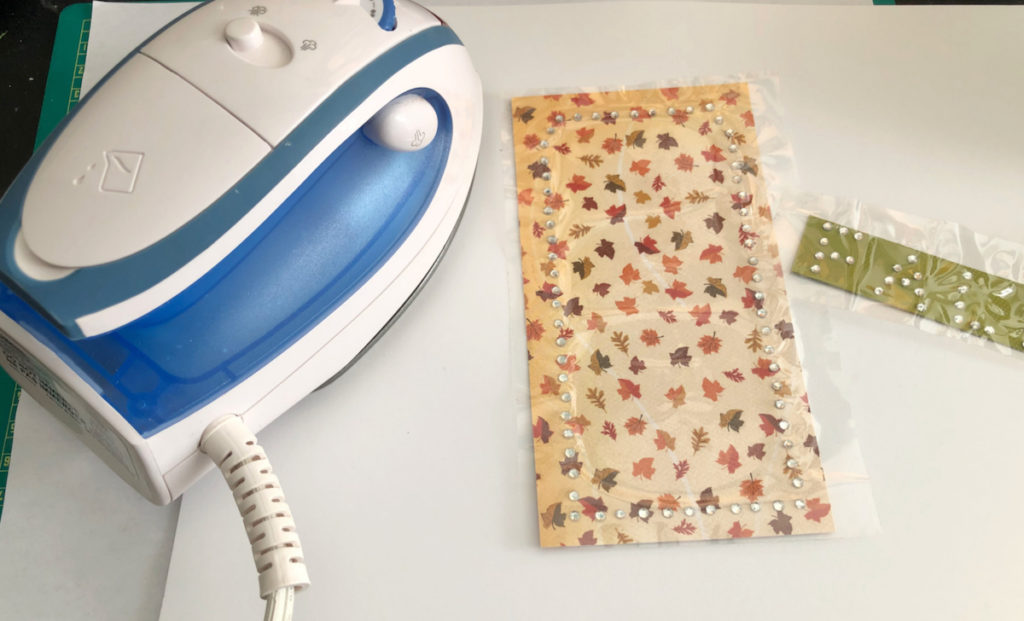
Place the adhesive sheet with the rhinestones on top of a piece of patterned paper, 3″ x 5 3/4″ and also on a piece of green cardstock, 3 1/2″ x 1″. With a hot, dry iron place it on the rhinestones for about 10 seconds for each area.
NOTE: Save the backing of the adhesive paper. Once you have pulled the adhesive paper from the rhinestones, place it onto the backing for re-use. You can re-use the adhesive sheets up to approximately 10 times.
Step Four:
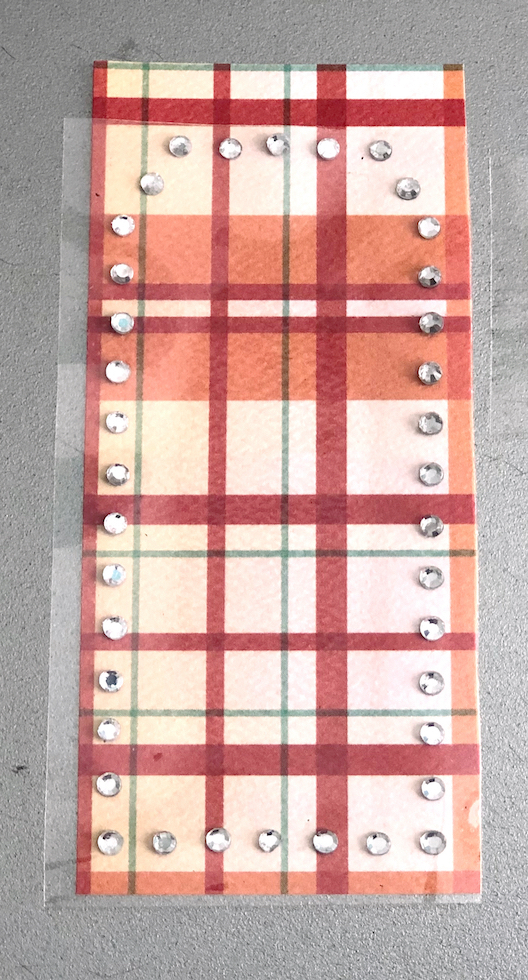
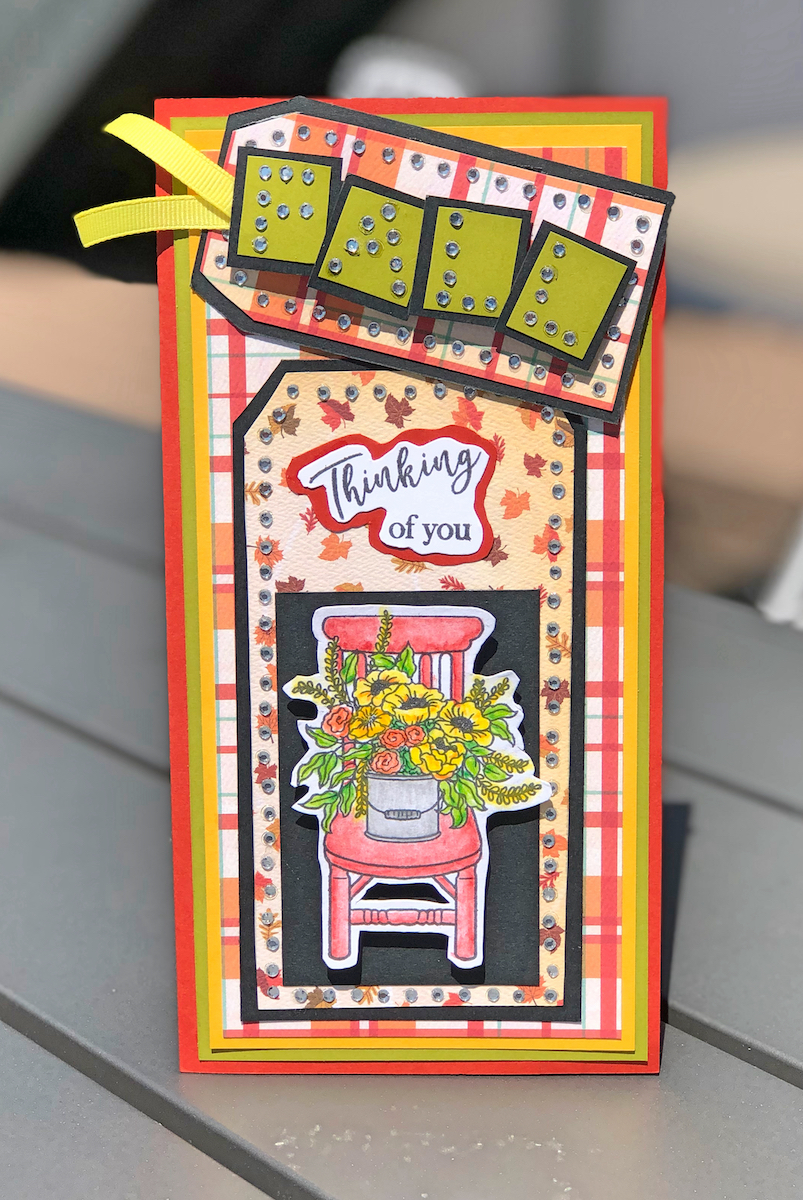
Repeat steps one through three with the smaller size tag template onto patterned paper, 2″ x 3 3/4″ . Gently pull the adhesive sheets from each of the papers. Using scissors, trim the tag shapes about 1/8″ from the rhinestones. Cut the letters out 3/4″ x 3 7/8″. Next, mat both tags and letters with black cardstock. Adhere the letters on the small tag with foam tape. Attach a piece of yellow ribbon on the tag.
NOTE: Save the backing of the adhesive paper. Once you have pulled the adhesive paper from the rhinestones, place it onto the backing for re-use. You can re-use the adhesive sheets up to approximately 10 times.
Step Five:
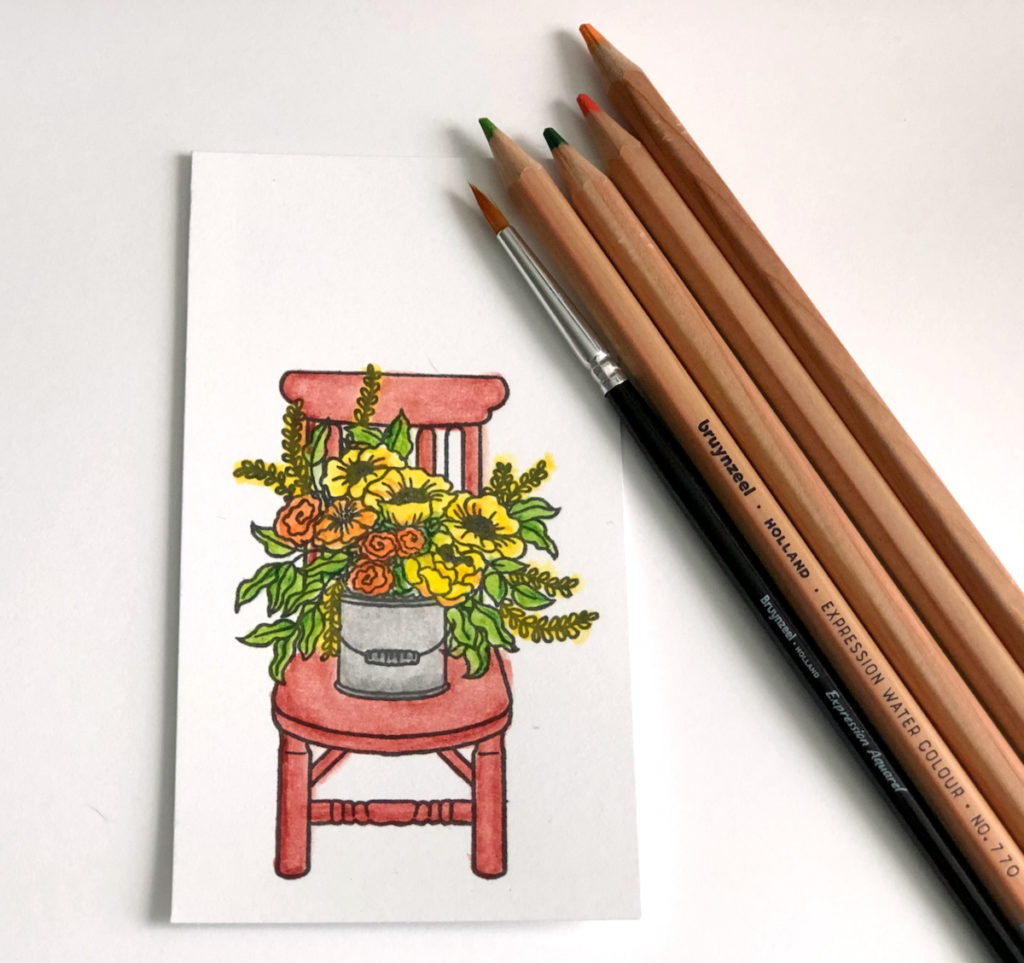
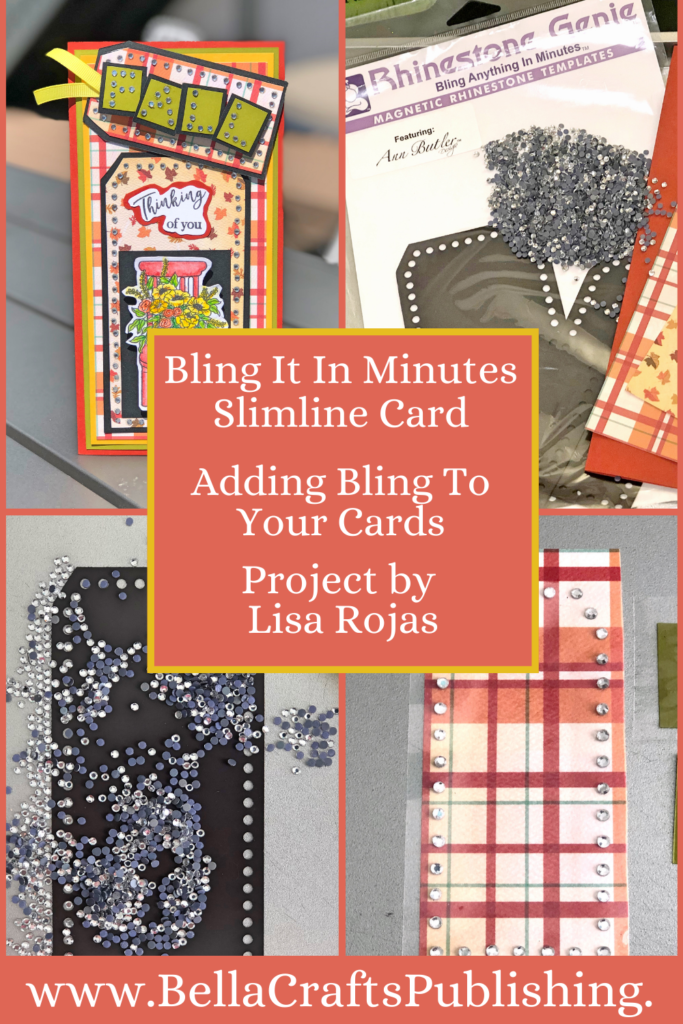
On a piece of white cardstock, stamp the chair with black inkpad and color the image with watercolor pencils. Stamp the words “Thinking of You” on white cardstock with black inkpad. Cut both images out. Mat the words onto a piece of rust cardstock. Adhere the chair image with foam tape to black cardstock, 2 1/4″ x 3 1/2″. Adhere both images on the large tag. To finish, cut the cardstock for the card as follows: Rust 8 1/2″ x 8 1/2″ folded to 4 1/4″ x 8 1/2″, Green 4″ x 8 1/4″, Yellow 3 3/4″ x 8″, and Plaid patterned paper 3 1/2″ x 7 3/4″. Layer and adhere the papers together and add both tags to the front of the card. See picture for placement if needed.
Bling It In Minutes Slimline Card
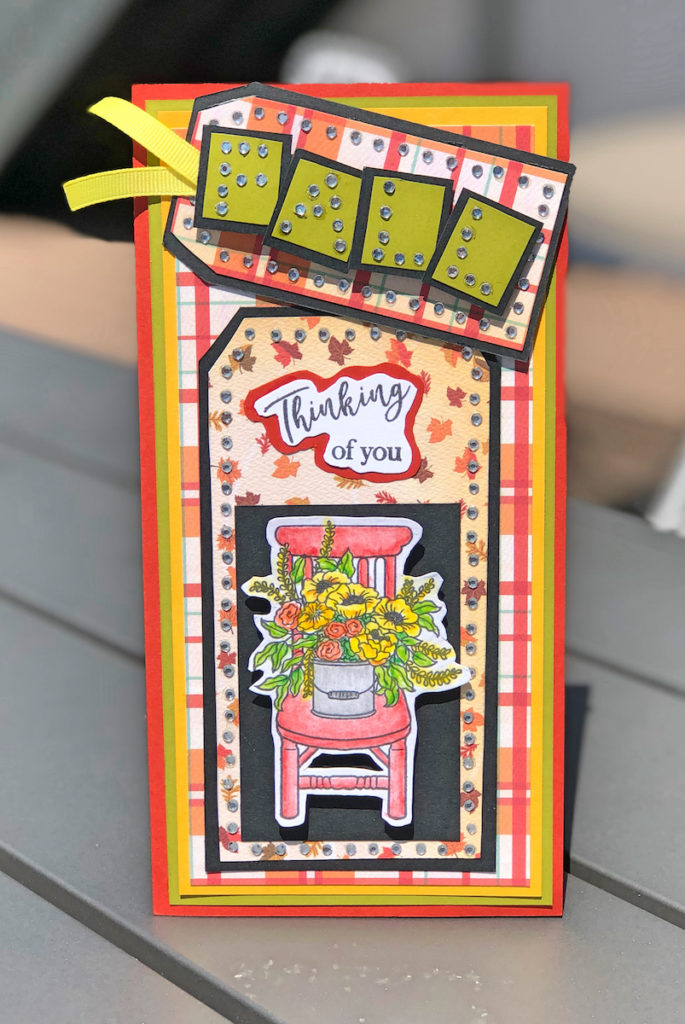
Supplies for Bling It In Minutes Slimline Card
- Cardstock: White, Black, Rust, Green Yellow
- Patterned Papers
- Rubber Stamps
- Onyx Inkpad by Gina K. Designs
- Ribbon
- Watercolor Pencils by Royal Talens
- Zip Dry Paper Glue by Beacon Adhesives
- Foam Tape
- Scissors
- Paper Trimmer
- Rhinestone Genie Starter Kit
- Templates by Ann Butler Designs
- Metal Cookie Sheet
- Iron

Trackbacks/Pingbacks