Nothing is more fun than creating an interactive card!
Please note: This post contains affiliate links. If you use these links and make a purchase, we earn a commission at no extra cost to you…
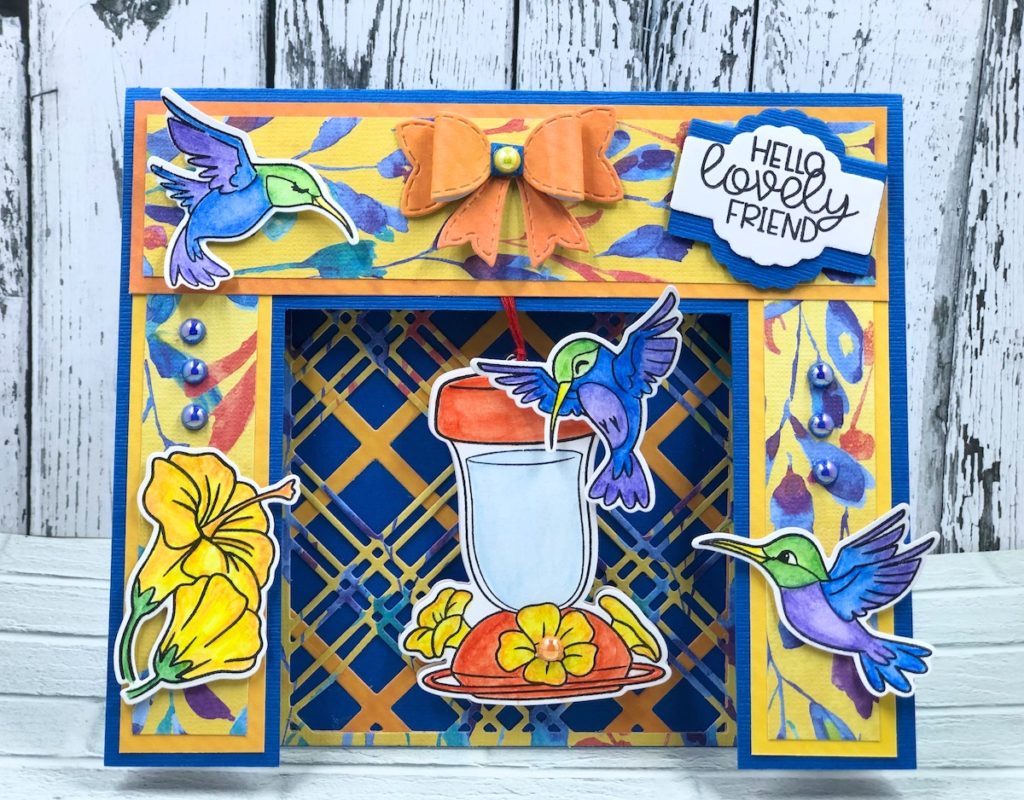
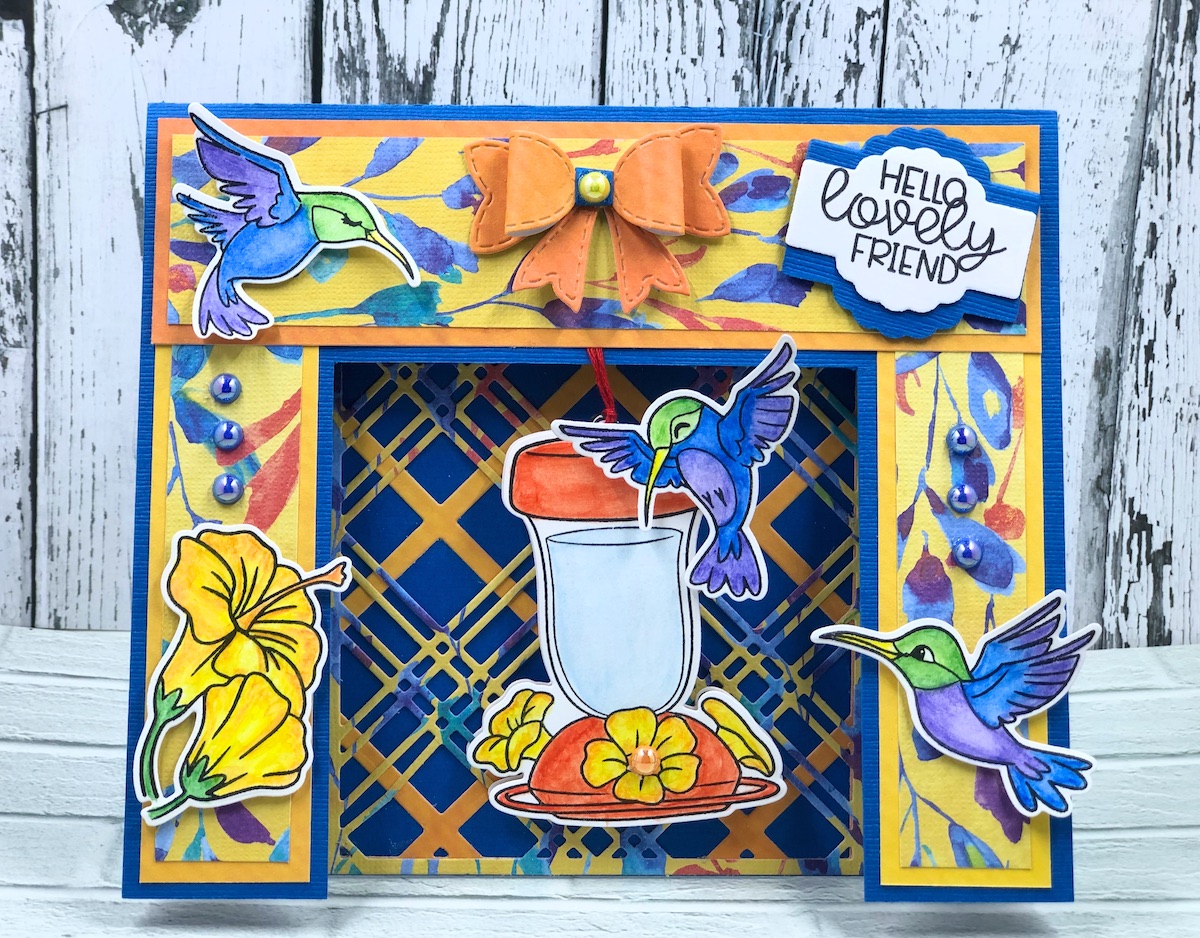
I absolutely love creating cards that actually do something other than looking pretty. This hummingbird interactive card checks both of those boxes. It’s bright and colorful and the hummingbird feeder hangs from the center of the card front to swing back and forth. To top it off, I love the new plaid dies from Pink and Main. They’re perfect for the background of the feeder inside the card. This card will definitely put a smile on someone’s face. I know it did for me when I created it. I hope you give it a try! Lisa~
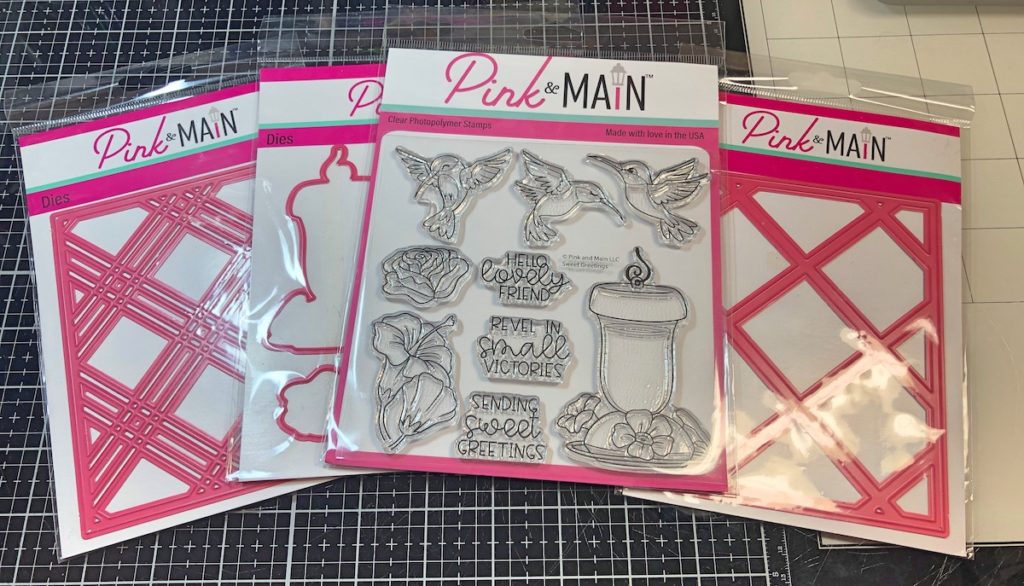
Supplies for Hummingbird Swing Card
Check out the full list of supplies at the end of this post.
Step One:
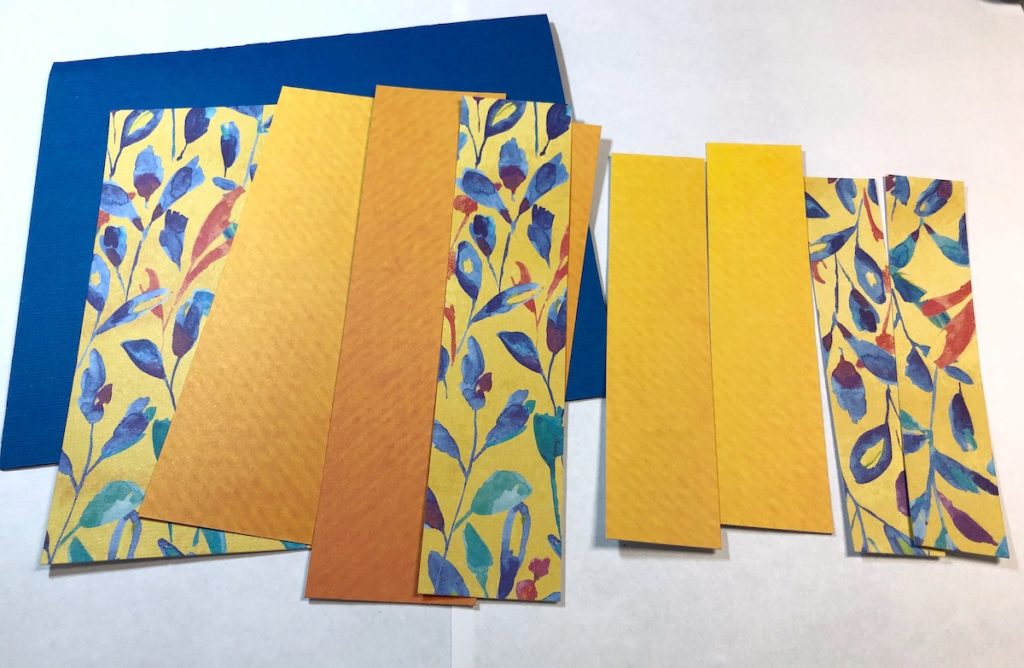
Cut yellow ombre cardstock as follows- (1) 6 3/4″x 1 3/4″ and (4) 5 1/4″ x 1 1/4″. Cut patterned paper as follows- (1) 6 1/2″ x 1 1/2″ and (4) 5″ x 1″. Adhere the cardstock pieces to the patterned pieces with Zip Dry glue
Step Two:
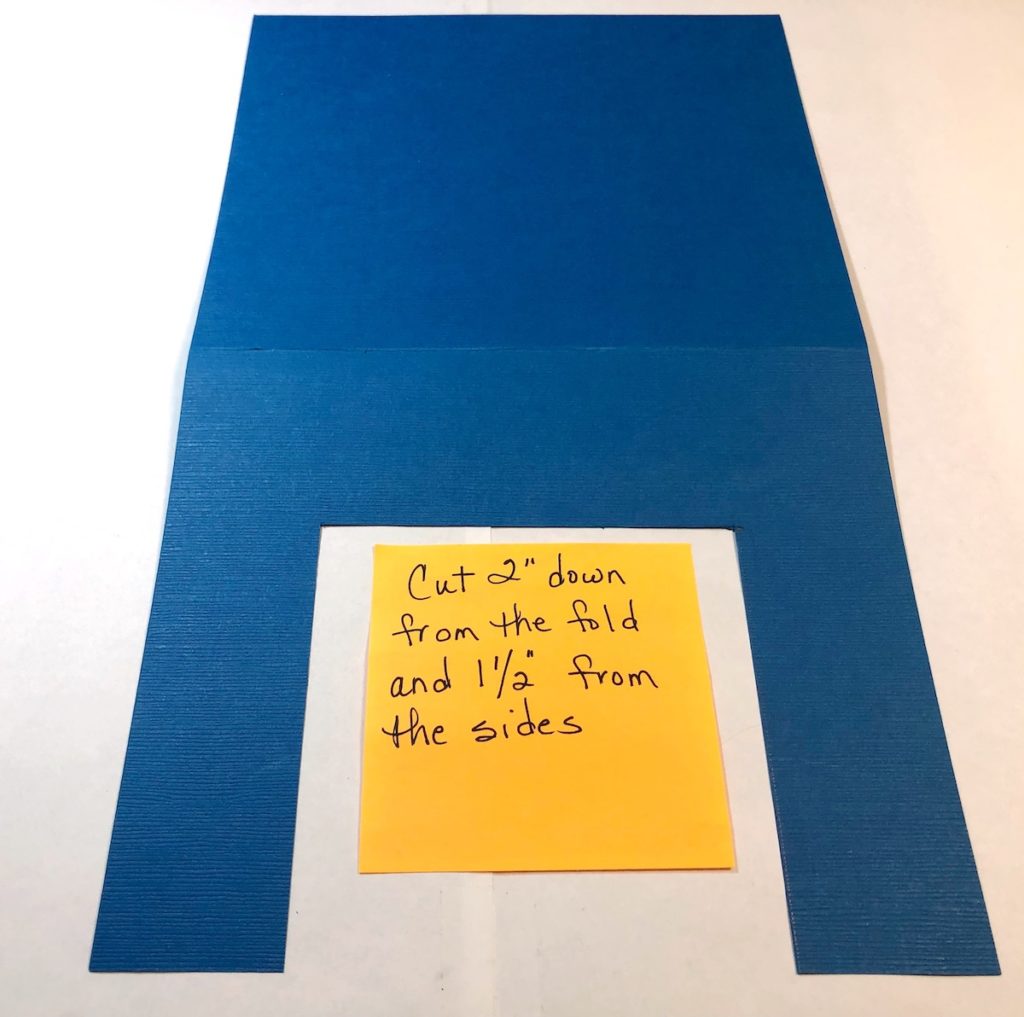
Cut blue cardstock into 7″x 12″. Fold in half to create card size of 7″x 6″. Open card and measure 2″ down from the fold and 1 1/2″ in from each side. Cut out.
Step Three:
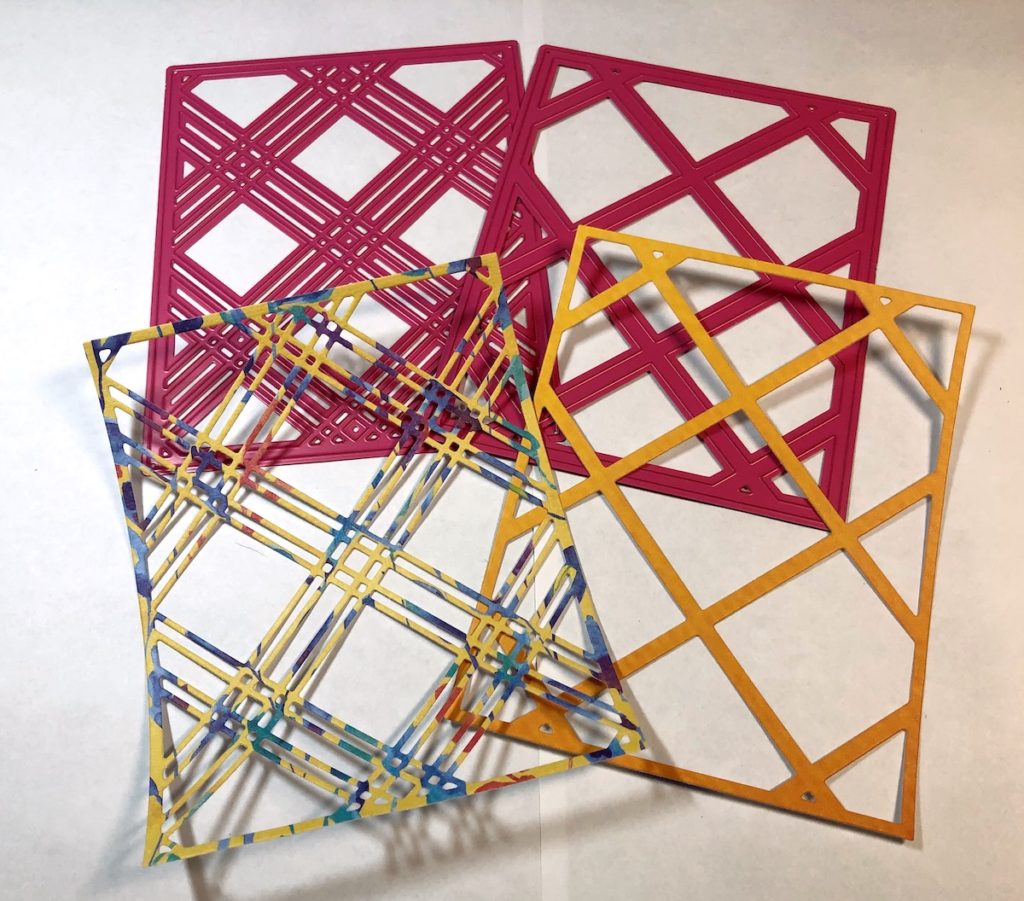
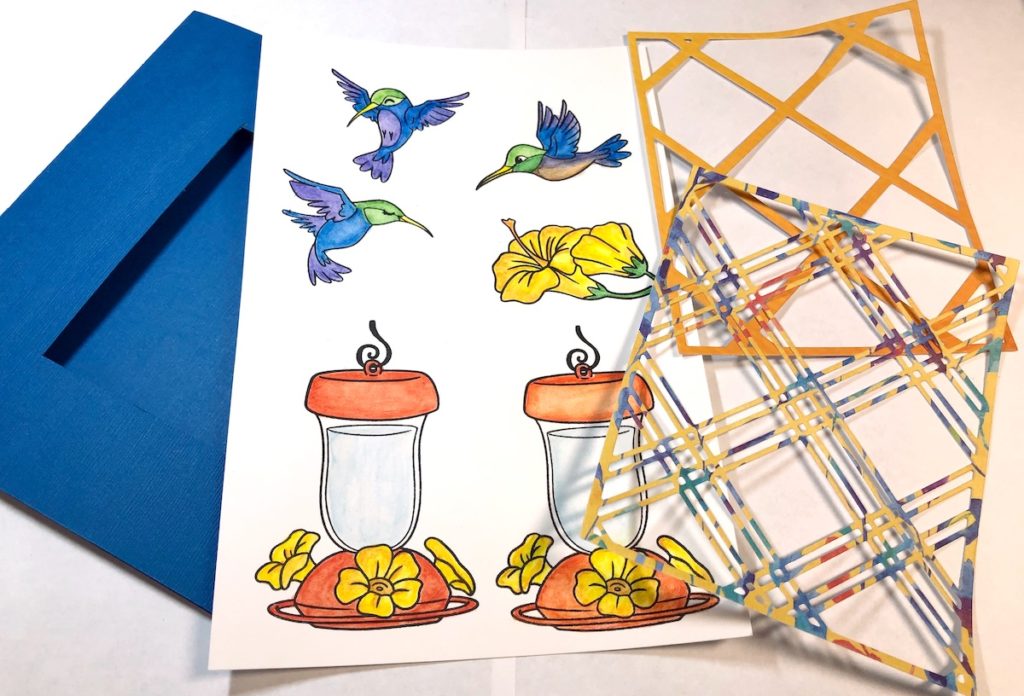
Cut yellow ombre cardstock and patterned paper 4 1/2″ x 5 1/2″. Run both pieces through a die cutting machine.
Step Four:
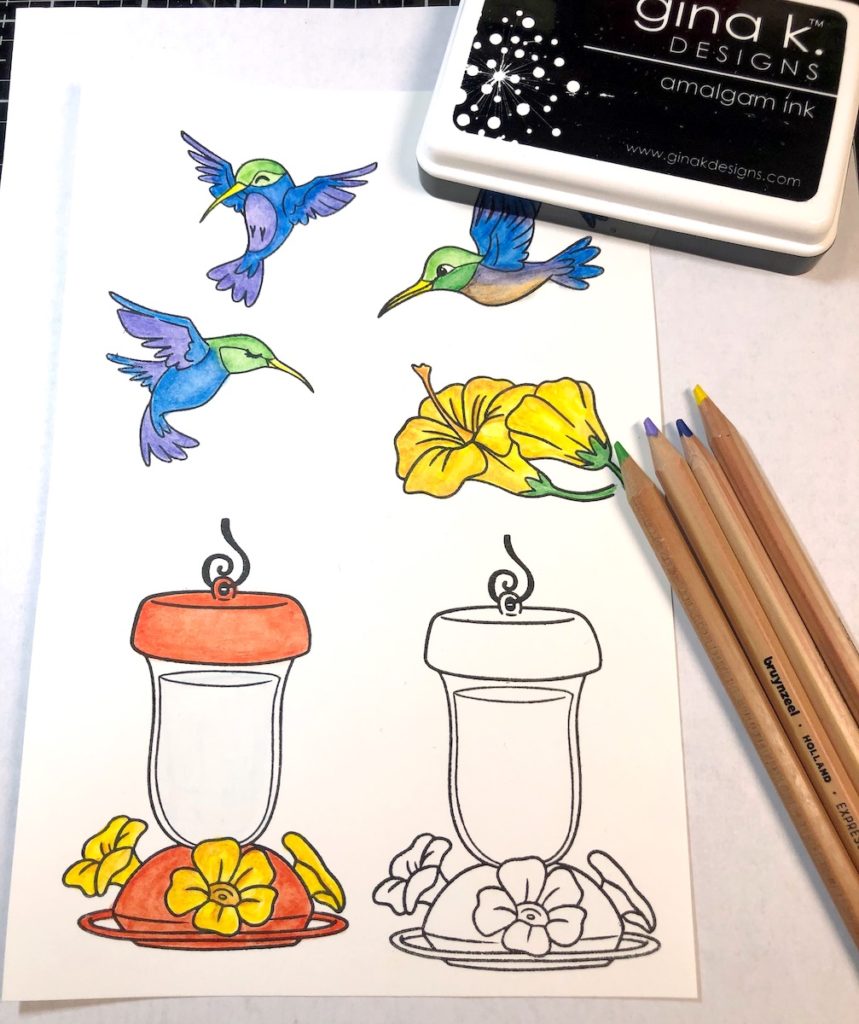
Stamp the images onto white cardstock with Obsidian (black) inkpad and color with watercolor pencils. Stamp and color bird feeder twice.
Step Five:
Using the matching dies, cut out stamped images with die cutting machine. Tape a penny to one of the feeders and adhere them together with foam tape. Punch hole in the top and attach red floss for hanger. Tape the hanger to the top center front of the card base. Adhere the layered pieces in step 1 to the blue card base as follows: One piece to both sides of the front and inside the card base, the larger layered piece across the top front and the plaid die cut pieces to the inside center of the card base.
To finish, die cut the bow from orange cardstock. For the saying, die cut the label twice with blue cardstock and once in white. Adhere the pieces together and stamp the saying with black inkpad. Attach the birds, flowers, bow and saying with foam tape. Add the Rainbow Pearls to the center of the bow and the card front. Use the photo of the finished card for placement if needed.
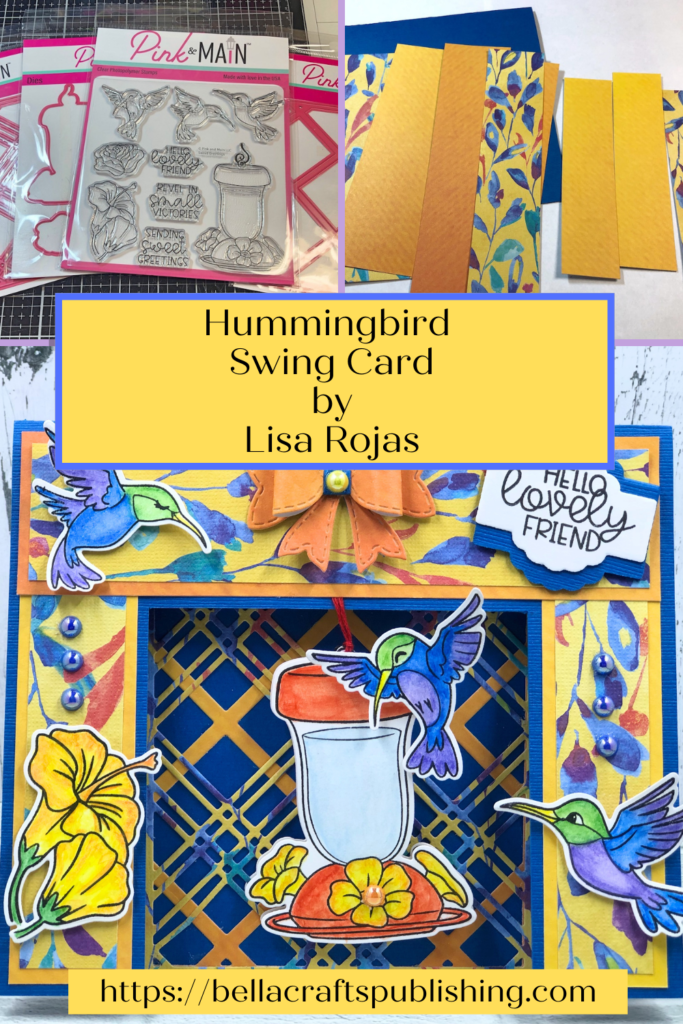
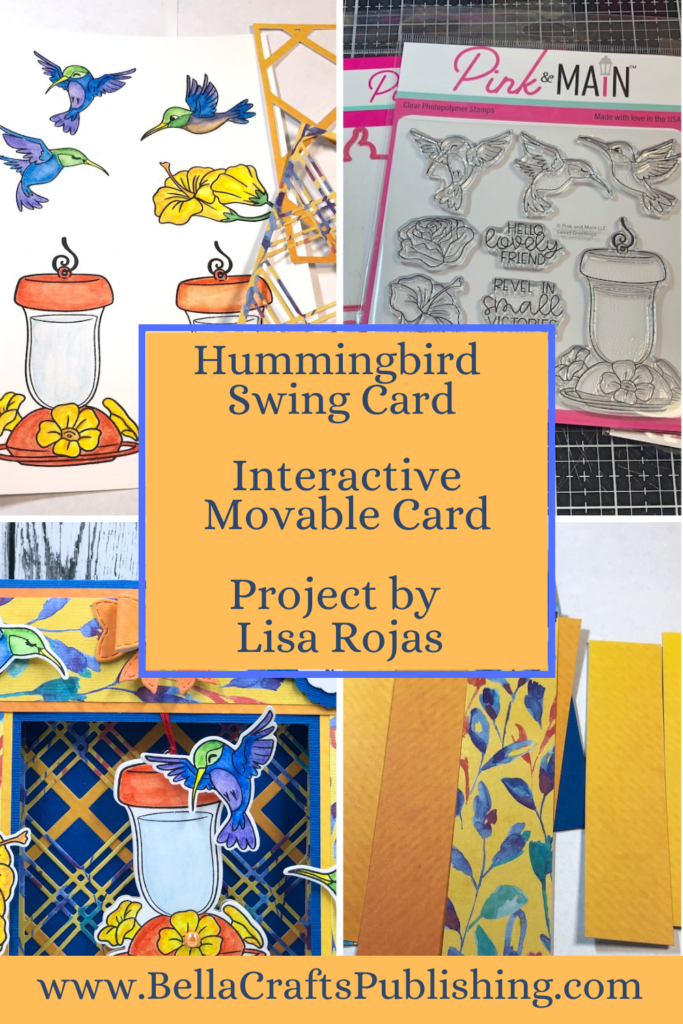
Here’s another PIN for you to share!
Hummingbird Swing Card
Supplies for Hummingbird Swing Card
- Cardstock: White, Blue, Orange, Yellow Ombre
- Patterned Paper
- Sweet Greetings Stamp Set by Pink and Main
- Sweet Greetings Die Set by Pink and Main
- Plaid Dies Bundle Set by Pink and Main
- Stitched Bow Die Set by Pink and Main
- Pretty Jars Die Set (for label) by Pink and Main
- Obsidian Inkpad by Gina K. Designs
- Watercolor Pencils by Royal Talen
- Rainbow Pearls by Pink and Main
- Zip Dry Paper Glue
- Foam Tape
- Tape Runner
- Paper Trimmer
- Exacto Knife
- Paintbrush

Trackbacks/Pingbacks