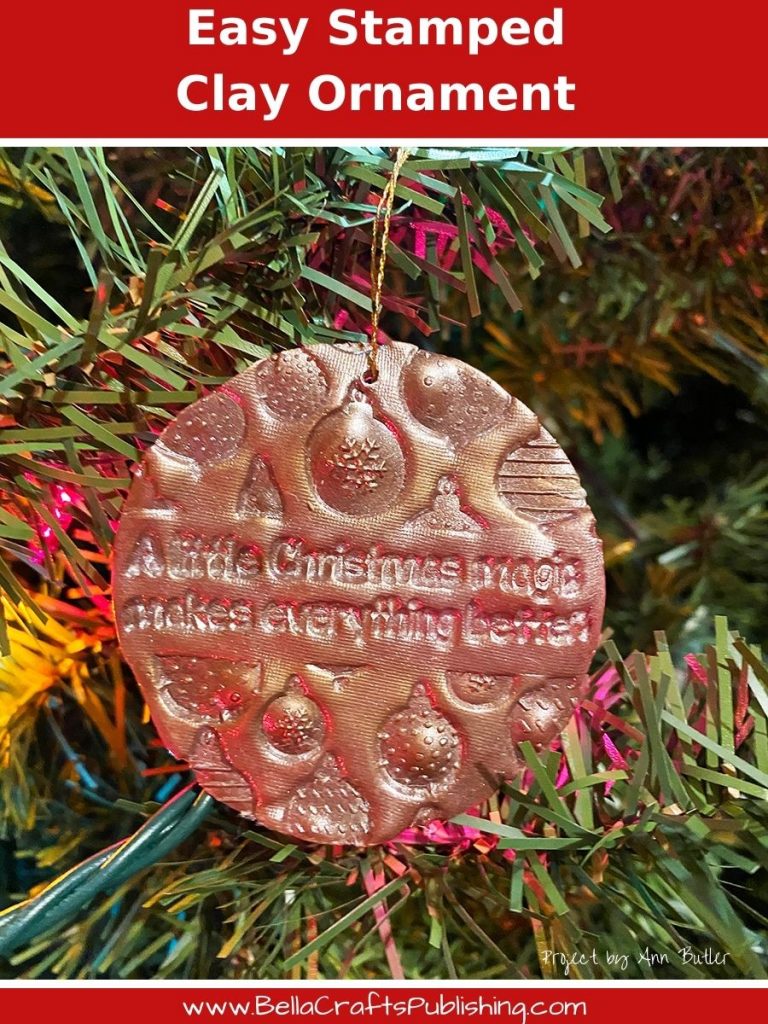
As you my know by now…I enjoy creating quick and easy projects that look like they took much longer then they did! These Easy Stamped Clay Ornaments are one of those projects…
Please note: This post contains affiliate links. If you use these links and make a purchase, we earn a commission at no extra cost to you…
These Ornament Builders are created using my patented line of Stamps with Unity Stamp Company. They are made with no lip on them so they go together like puzzle pieces. You can create different looks depending upon which pieces you use together with endless possibilities.
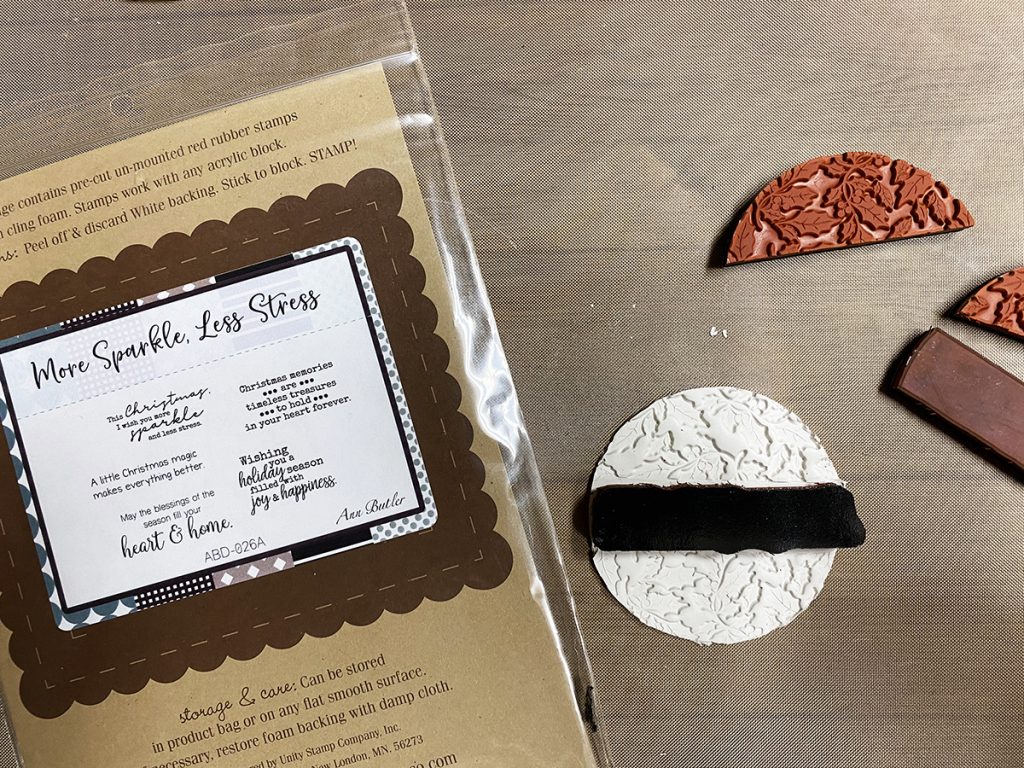
Step One:
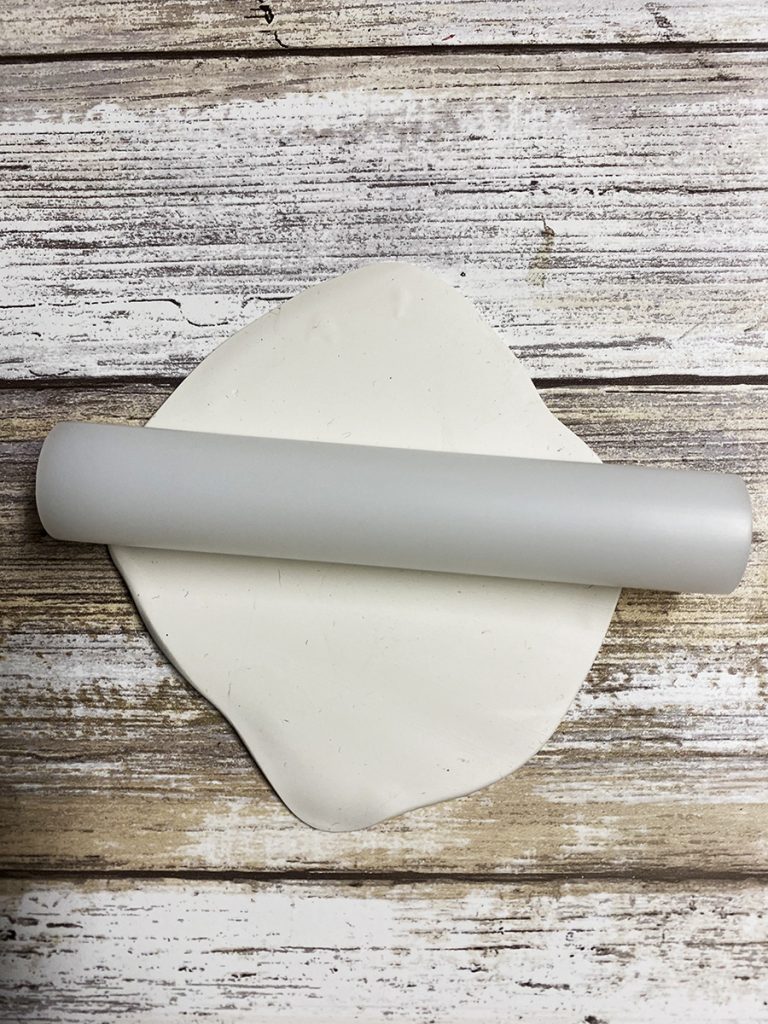
Roll out clay to about a 1/4″ thick and 3 ” around.
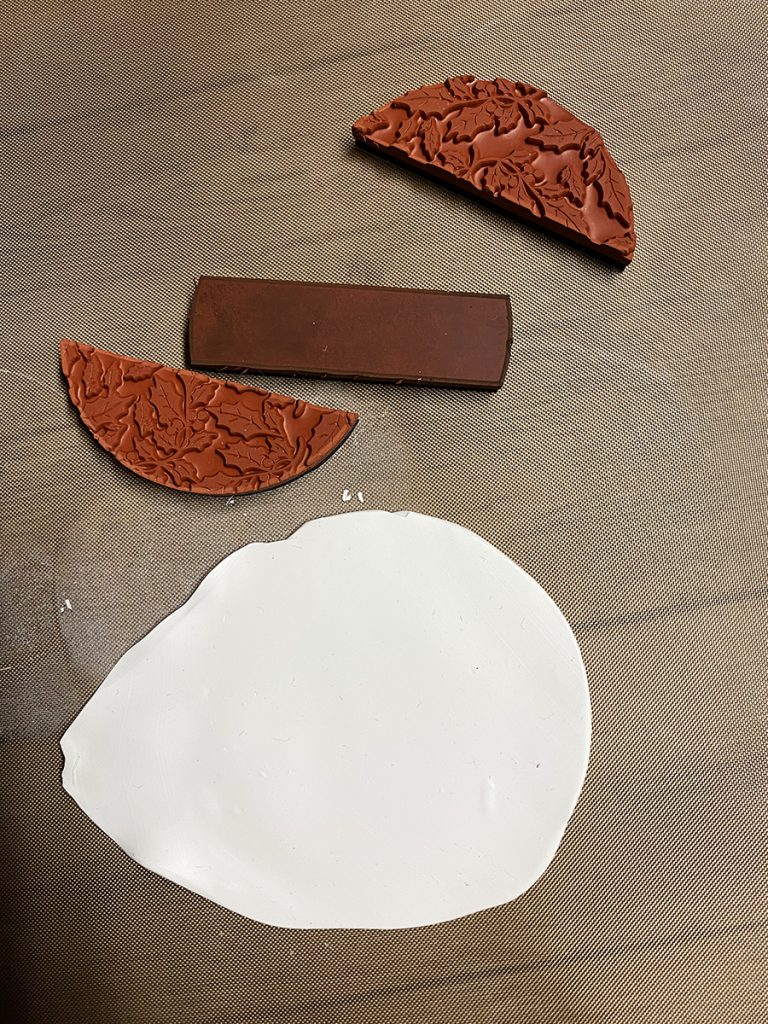
Decide on which pattern Ornament Builders stamps you want to use. The above photo used the Holly pattern on the top and bottom with the solid used for the middle section.
Place the stamps onto the clay to form the ornament then, press the stamps into clay.
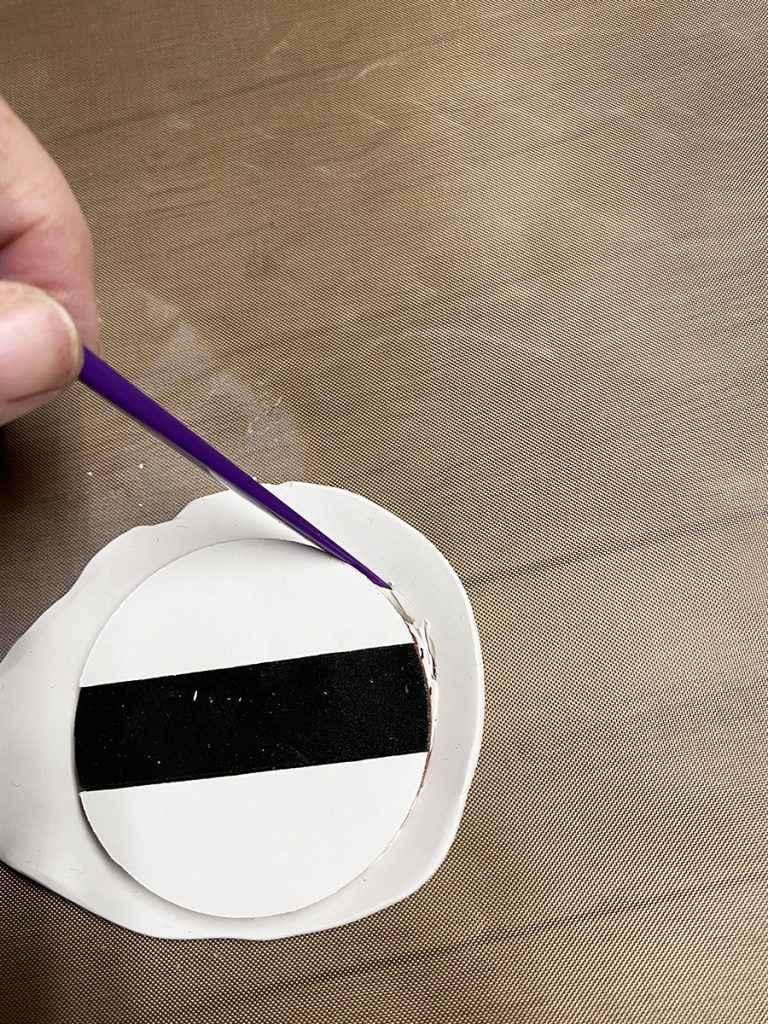
Trim around the clay next to the stamps as shown.
Step Two:
Place a sentiment into the center and press.
Step Three:
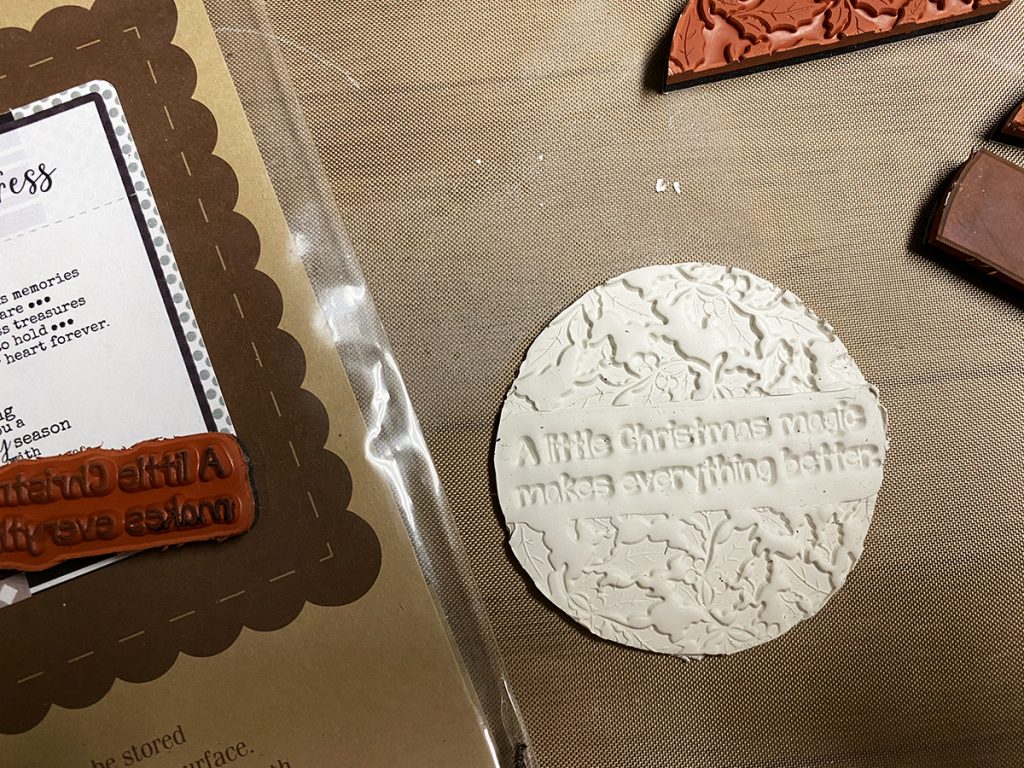
Clean up the edges if needed.
Step Four:
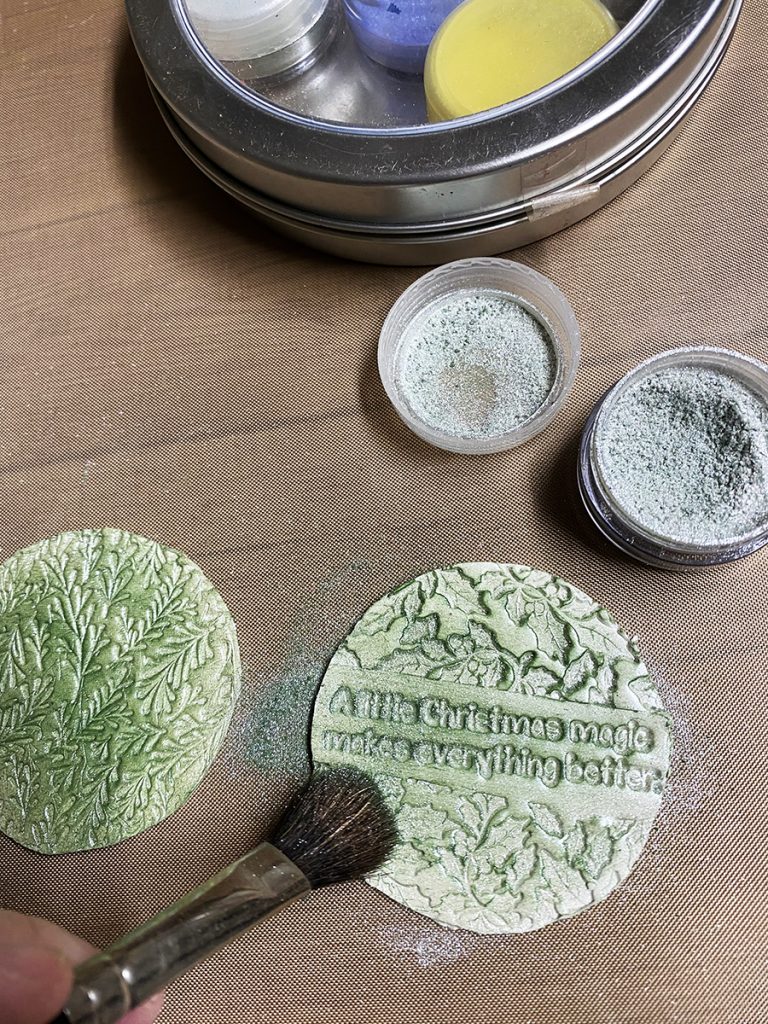
To add color, apply Iridescent Powders to both the front and back of the ornament. Brush away excess.
Step Five:
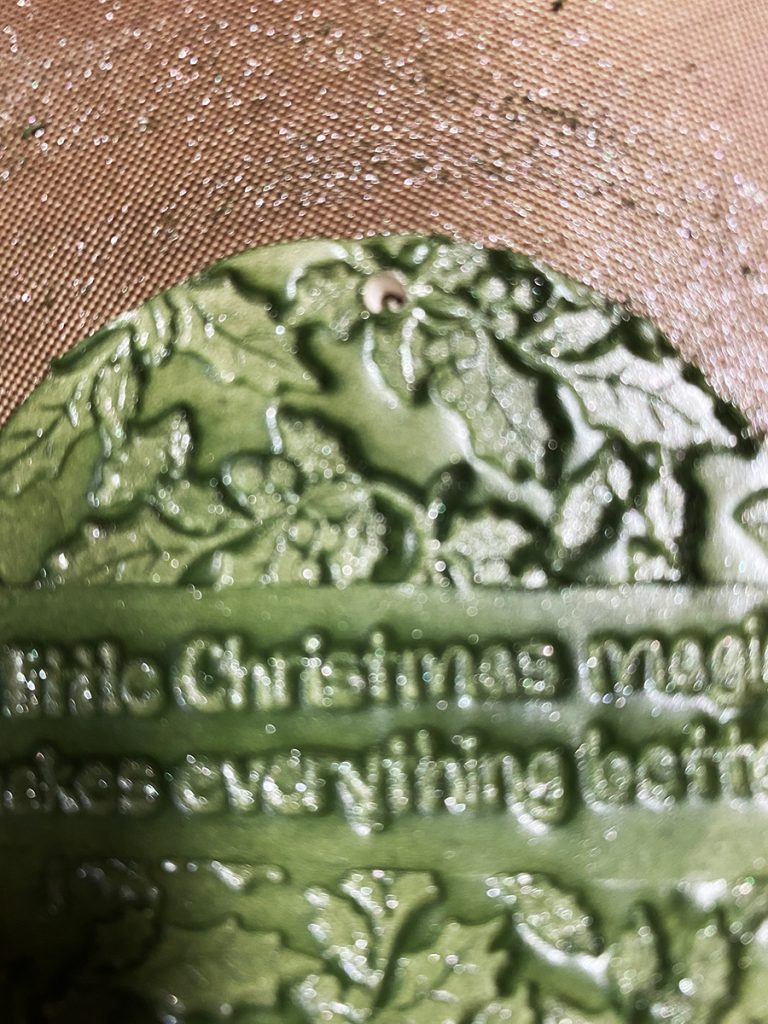
Poke about an 1/8″ hole in the top.
Step Six:
Place on a tray and bake at 250 degrees for 6 – 8 minutes.
Remove from the oven and let cool.
Place thread through hole for a hanger.
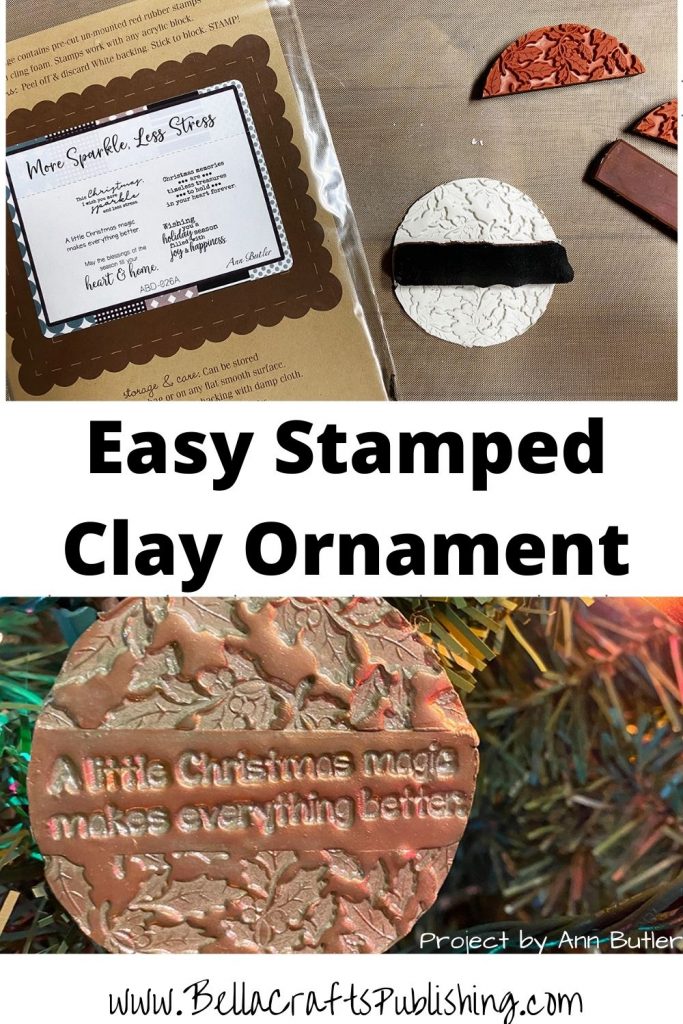
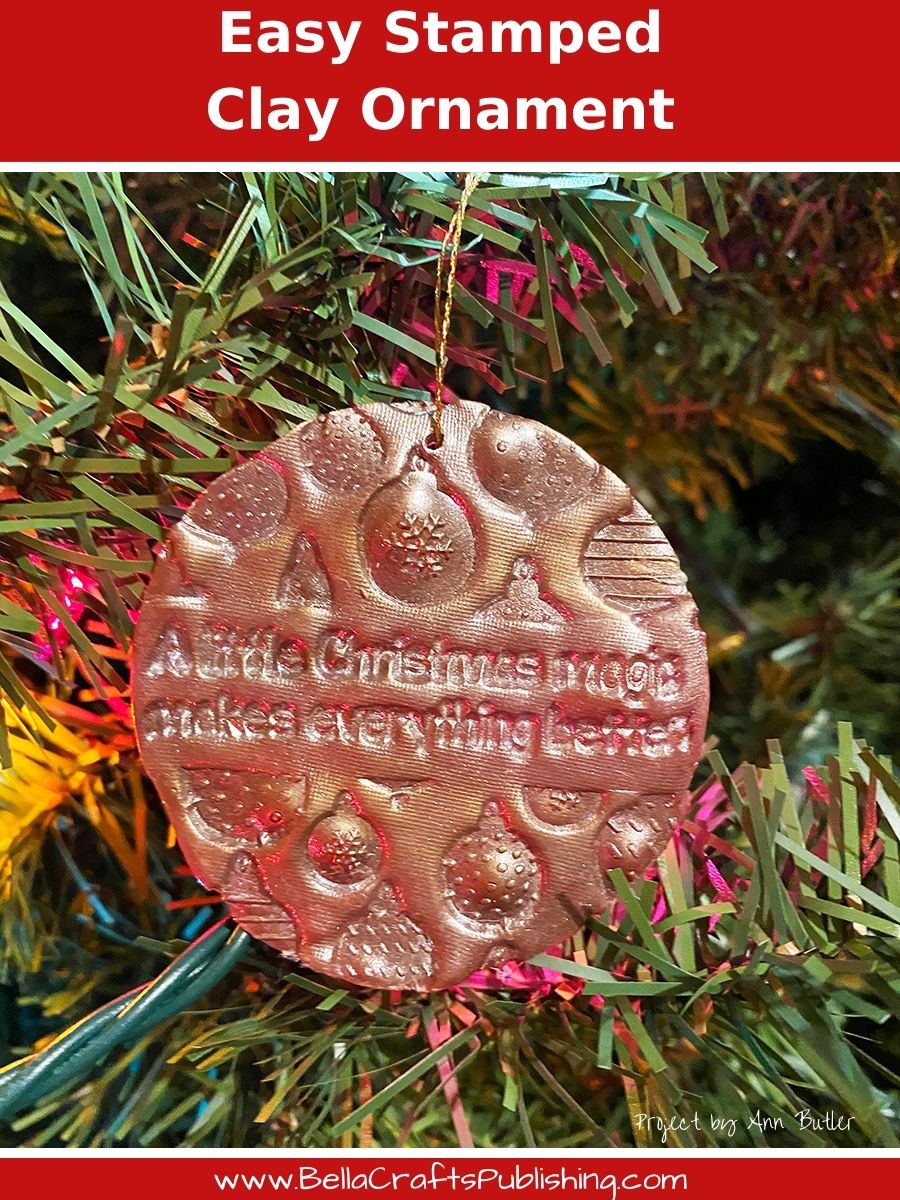
Here is a PIN of the Easy Stamped Clay Ornaments to share!

Supplies for Easy Stamped Clay Ornaments
- Ann Butler Ornament Builders from Unity Stamp Company
- Ann Butler Sentiments, More Sparkle Less Stress
- Sculpey Clay: White
- Ann Butler Iridescent Powders by Earth Safe Finishes
- Thread, Gold
- Powder Brush
- Sculpey Tools: Roller, Knife
- Non-Stick Craft Sheet
- Scissors
- Oven
Today is the last day of the Creative Christmas Crafts Collaboration hosted by Laura, Meg, Beth and myself…so check out some more great Christmas Crafts below!
My first co-host is Laura, who created a Printable for Reindeer Food, which is a must have to give to the kids!

Beth, my second co-host, of Creatively Beth created an adorable Christmas Truck Snow Globe, that will be an heirloom for years to come.

Meg from Makeable Crafts is my third co-host a Let it Snow Home Decor piece with items from the Dollar Store, you might want to see if you can get the same things at your Dollar Store for an inexpensive Holiday Home Decor item.

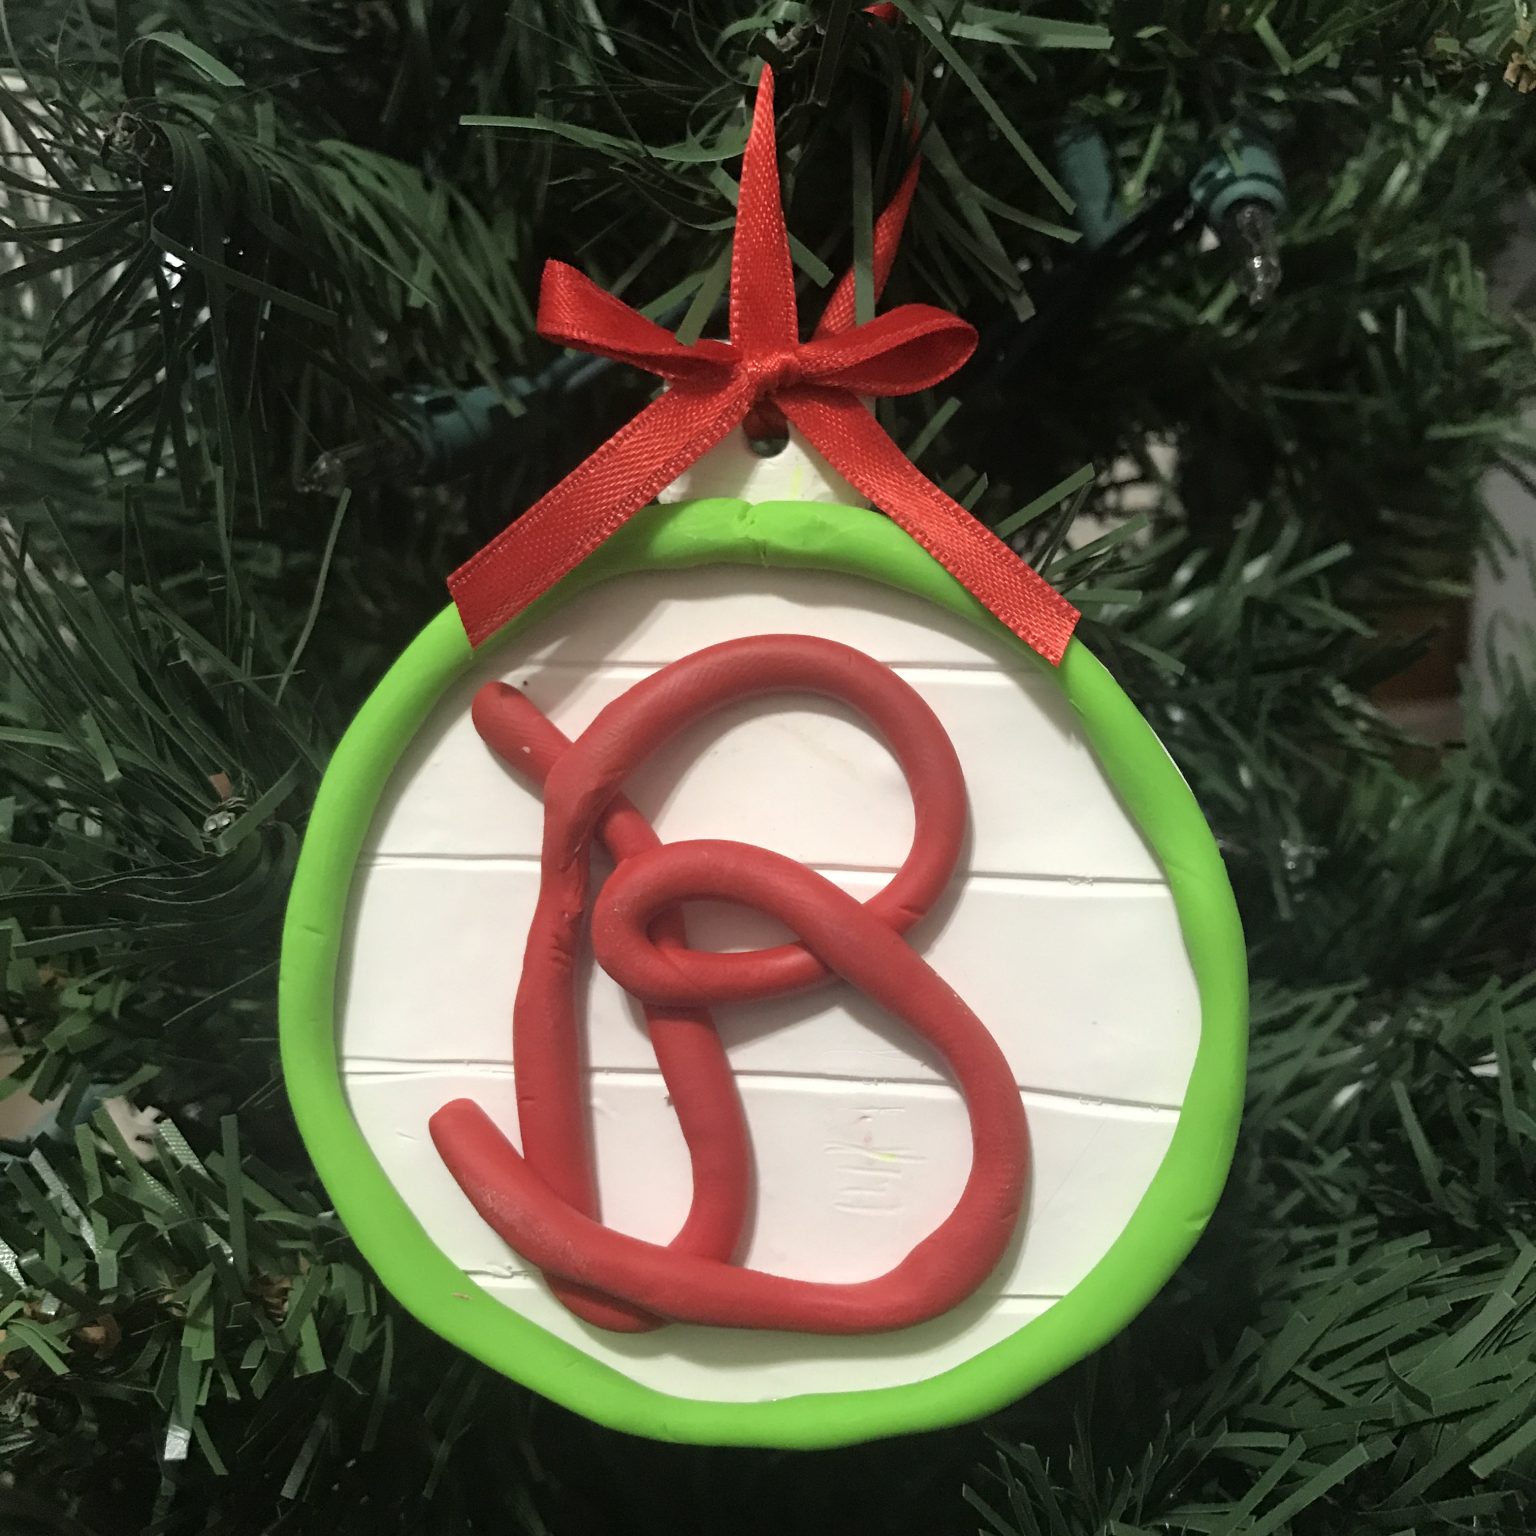
Katie over at A Sweet Berry Blog created a Monogram Christmas Ornament with Sculpey Clay that would be fun to do with the kids.
Amy from Amy Latta Creations made a Toilet Paper Ornament using Sculpey Clay which is so fun!

What would Christmas be without Baking? Lindsay from Artsy Fartsy Mama created a Free Printable to go along with her Sprinkle Sugar Cookies, so you are all set to make and gift them!

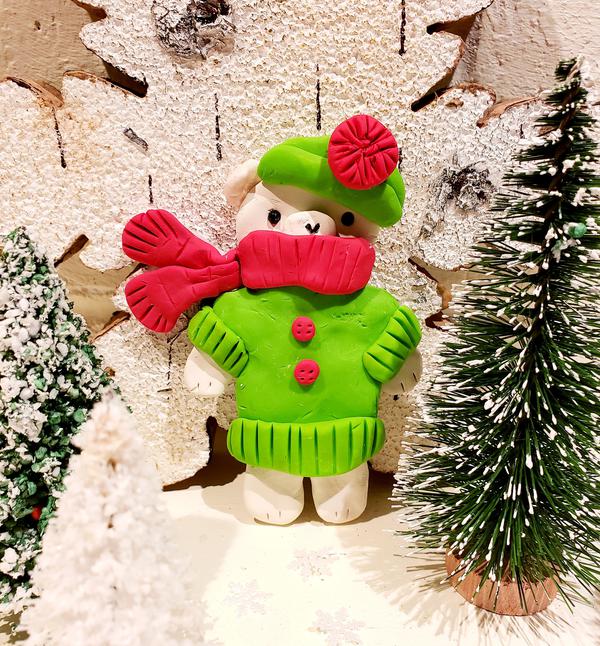
Debra Quartermain Designs made the most adorable Christmas Bear that could be an ornament too!
Shani over at Sunshine and Munchkins shares how kids can create a Christmas Light Chalk Art to display…how fun!


Trackbacks/Pingbacks