Learn how create this stamped patchwork tote bag and add bling to it in only minutes!
Please note: This post contains affiliate links. If you use these links and make a purchase, we earn a commission at no extra cost to you…
I absolutely love creating projects with these stamps designed by Ann Butler Designs for Unity Stamp Company. The stamps don’t have a “lip” around them as other stamps do and that allows you to create multiple patterns without the use of a stamp positioner. Once the stamping is done, you can bling out the tote bag in minutes with the template designed by Ann for Rhinestone Genie that coordinates with her stamps. How perfect is that!
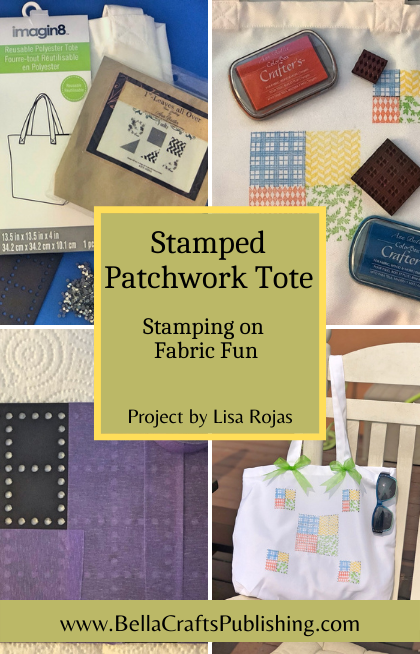
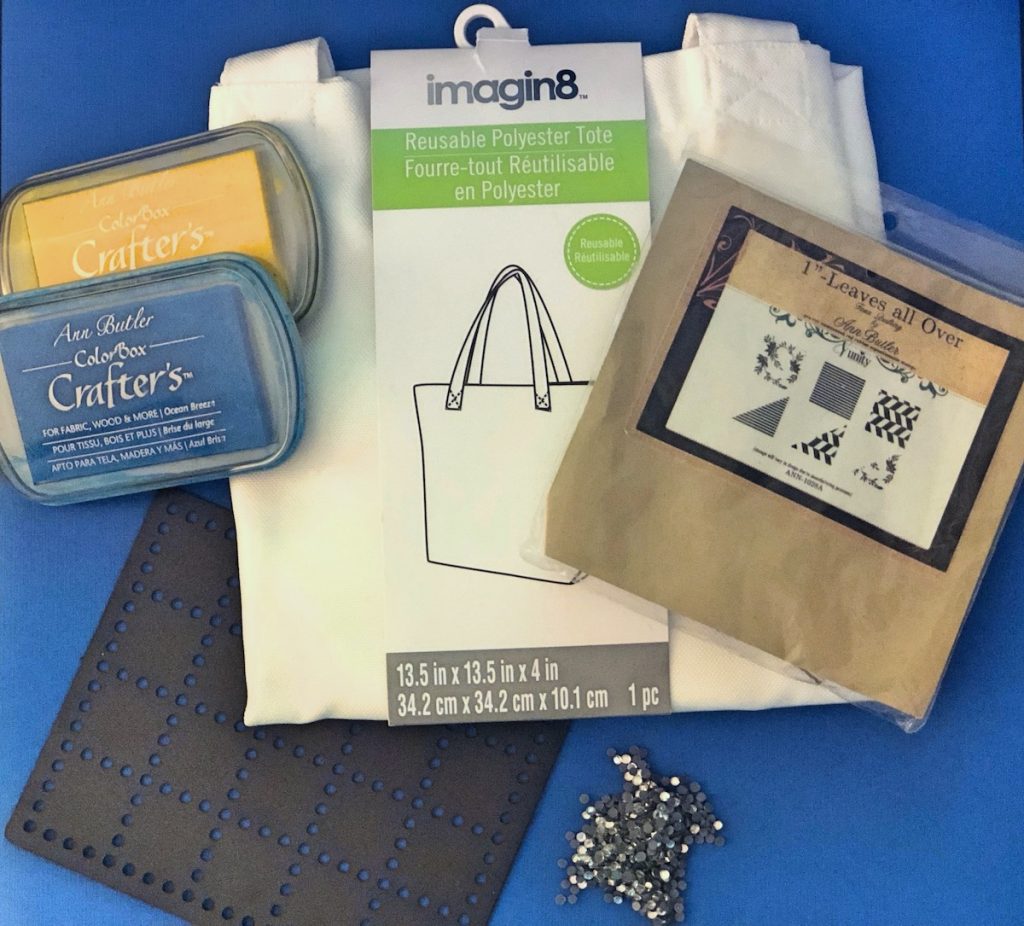
Supplies for Stamped Patchwork Tote Bag
Check out the full list of supplies at the end of this post
Step One:
Iron the tote bag to remove any wrinkles. Place cardboard or cutting mat into the bag to avoid the ink from leaking. Add the different color of inks to each of the 2″ stamps and stamp them onto the tote bag one at a time.
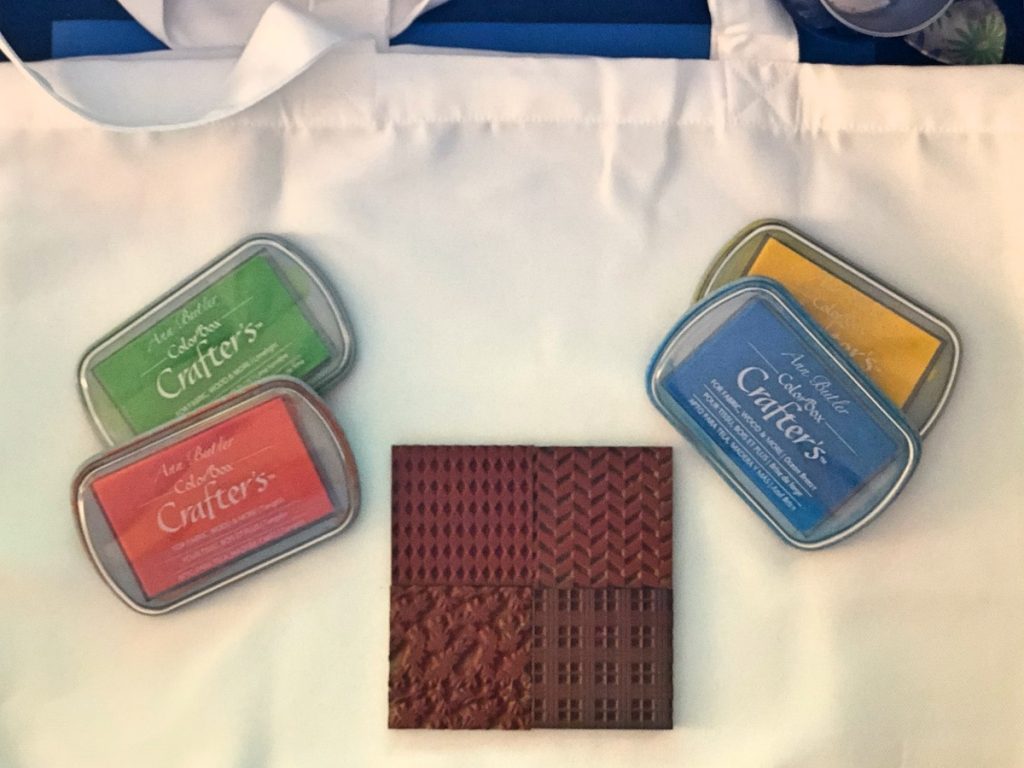
Step Two:
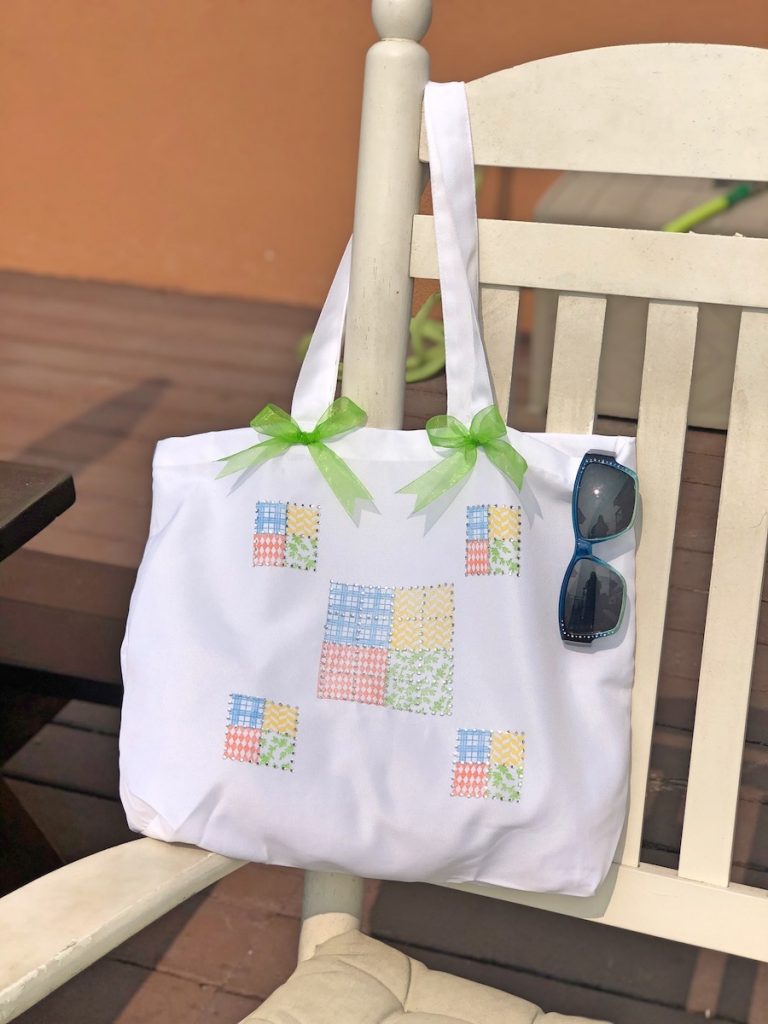
Repeat step one using the 1″ stamps. Stamp each section four times around large section. See photo for placement if needed.
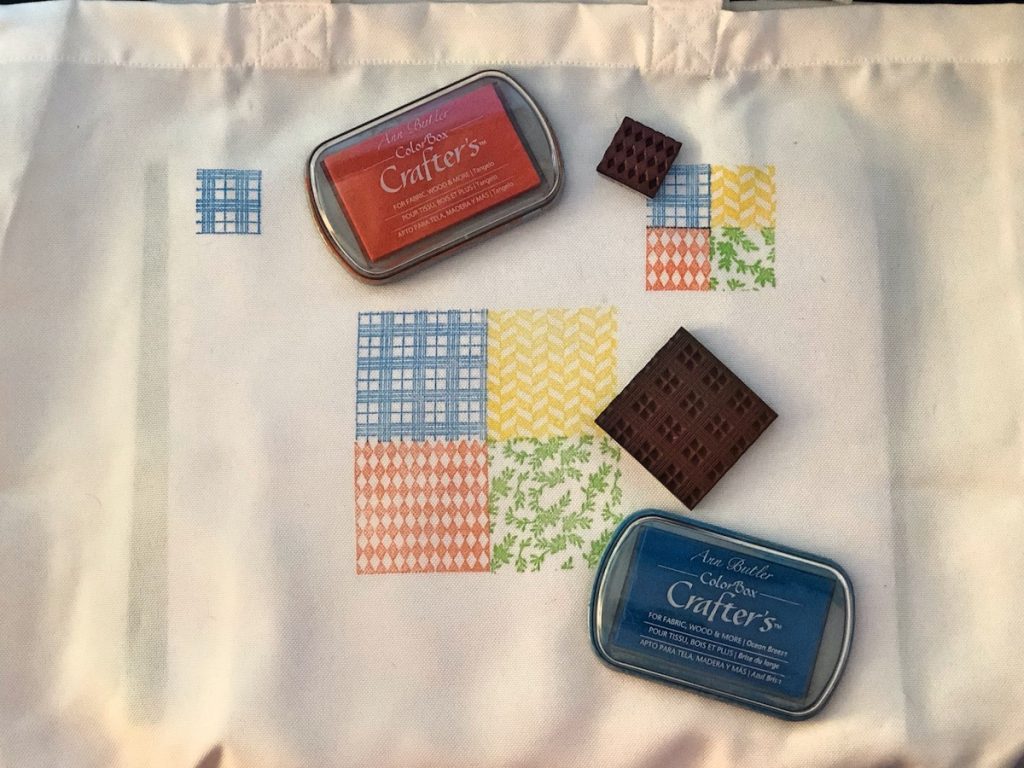

Step Three:
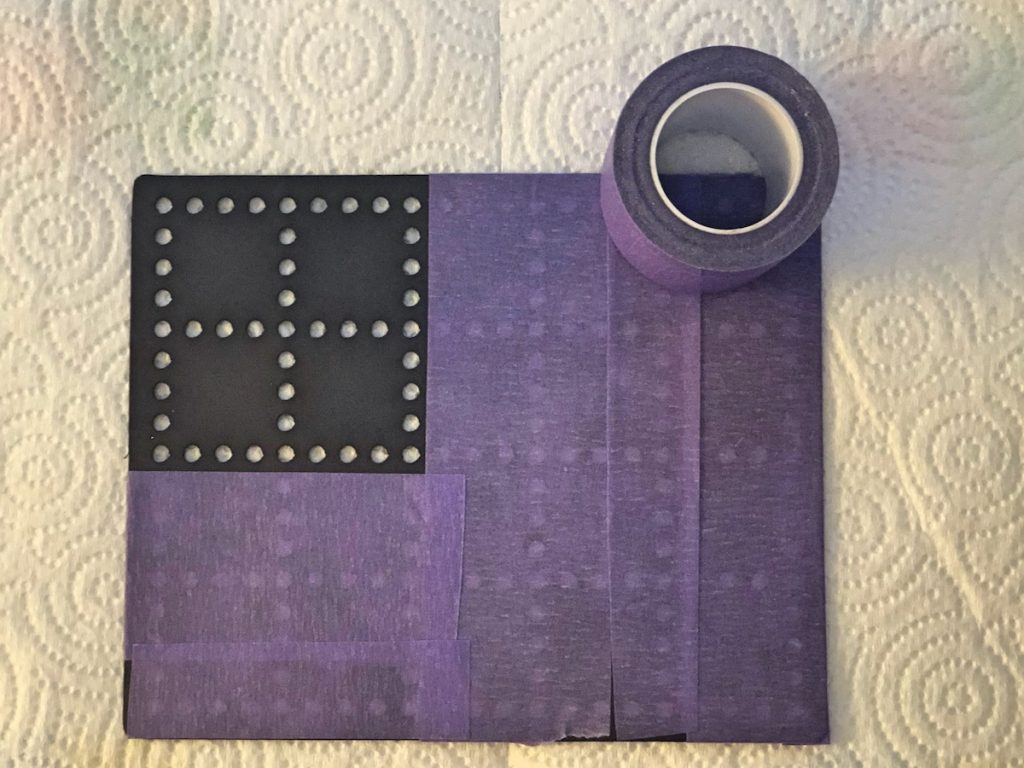
Add the rhinestones to the stamped images by following the instructions on the Rhinestone Genie Starter Set. Since you are only using a portion of the template, use purple tape to mask off the other parts of the template. To finish, add two ribbon bows.
NOTE: This photo shows the template masked off for the 1″ stamp sections
Stamped Patchwork Tote Bag
Supplies for the Stamped Patchwork Tote Bag
- Tote Bag
- Rubber Stamps by Ann Butler Designs
- Rhinestone Genie Bundle Pack by Ann Butler Designs
- Pigment Inkpads, Various Colors by Ann Butler Designs
- Ribbon, Green
- Fabric Glue for Bows
- Scissors
Click the links above to go directly to the products~

Trackbacks/Pingbacks