We have had a lot of blog posts lately on recycled crafts. For today’s post our guest blogger, Patti Hodder, will share some more recycling tips on her diy place cards project and also some great tips on crafting with your camera. And let’s face it, with cameras being such a huge part of our lives nowadays, getting some tips on how to better use our cameras in our crafting projects is a topic we can all use.
*********************************************************
A friend reached out to me recently to help her with ideas for her upcoming engagement party. We are both currently obsessed with the rustic look and she had hoped to incorporate this into her outdoor party. When thinking of concepts for place cards and table cards I remembered my stash of scrabble tiles, typewriter keys that I have collected from big box retailer’s sales, garage and rummage sales and knew that is what I wanted to use for place cards. However, as I looked through my collection and at her guest list, my first thought was “gee, that is going to be a lot of vowels”. My second thought was “how am I going to make sure they all adhere while sitting out in the Northeast summer sun?”
Since I wanted to respect my friend’s budget, I knew I couldn’t go out and purchase a bunch of tiles to try to accommodate everyone’s name. I came up with an idea – and hope you can utilize this in some of your crafting projects.
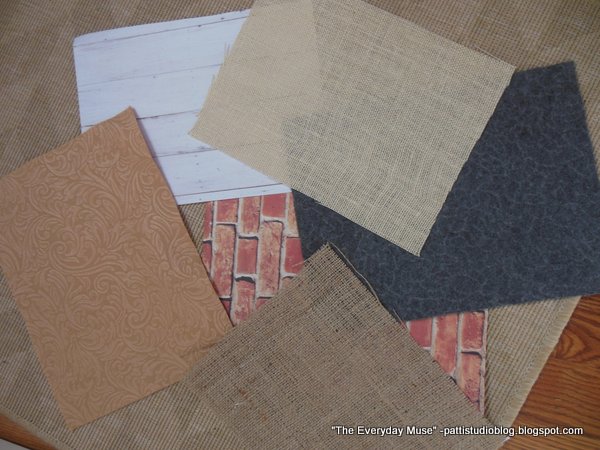
I pulled together all my papers, felts and burlaps that coordinated with my theme as well as complementary card stock that was heavy enough to fold and stand on their own.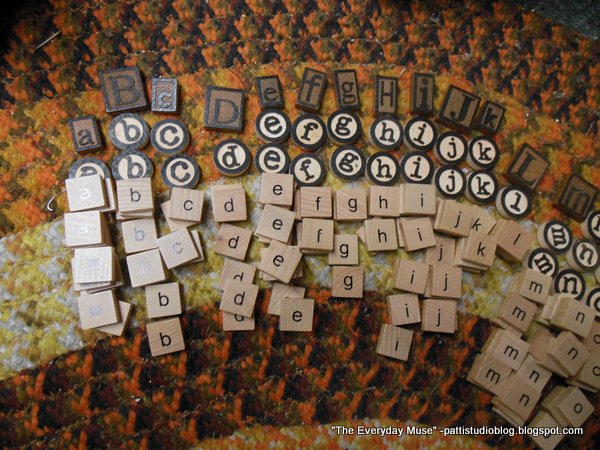
By laying out the tiles based on the guest list, I created different versions of ideas for place cards and took photos of them with my simple digital camera. Using free and easy to use photo editing software, I like Picasa, I was able to crop and manipulate as desired.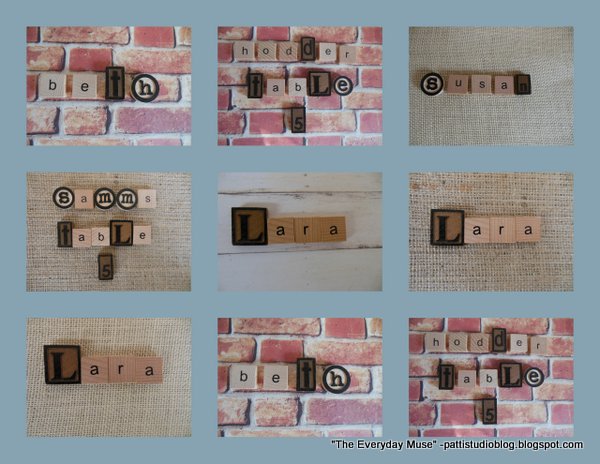
In using the photos I liked that I could keep several versions for my friend’s review and knew I would never run out of “A”s! Once we landed on the samples she liked, I printed them out using glossy photo paper at the “wallet” size setting. I tried a few different sizes but wallet size worked best as it gives you some choices once you are ready to apply to the cardstock. In addition, cutting the photos out with either a plain scissor or a decorative scissor, gives you different looks. I experimented with placing the whole photo, trimming it down or using the larger size cardstock.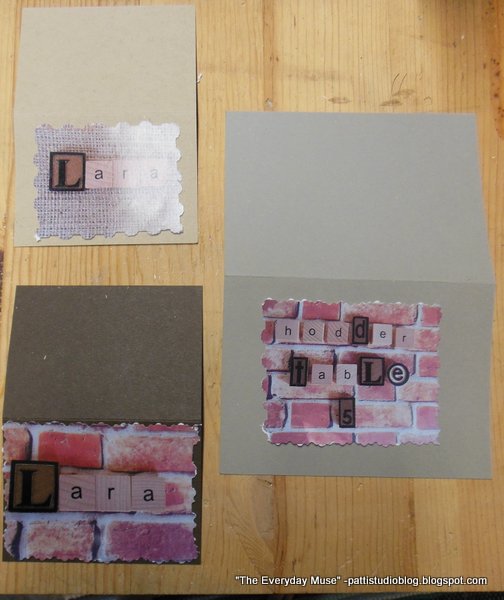
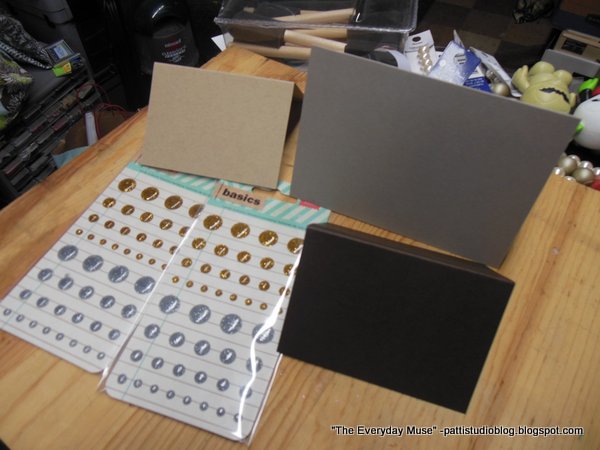
Since you can print out many at one time, it cuts down on the paper you use too. And just because, I added some bling stickers to add some dimension.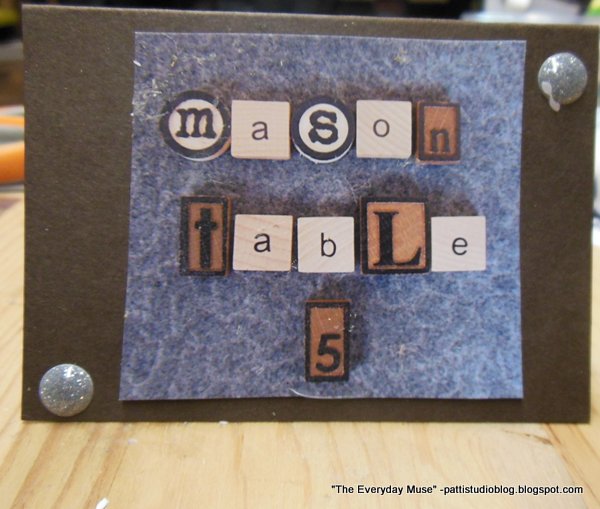
In thinking ahead of using this technique for future projects, I created a blank greeting card with the name on it, which I thought would be a good idea for stationery gifts for the holidays. And since everything is all on your computer, it is so simple to resize, recolor, etc.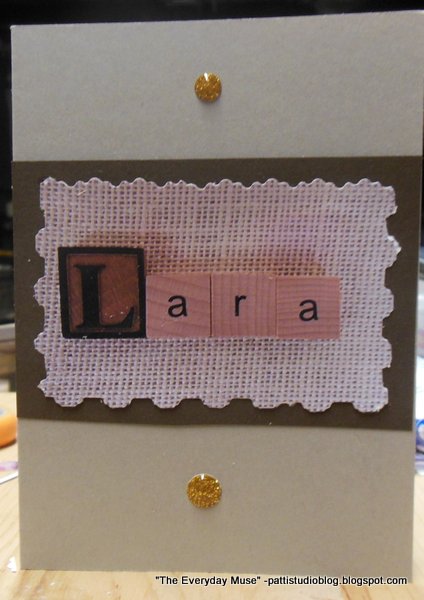
For guests arriving at a party where you have assigned table numbers, we placed all the cards on an old pallet that we placed at the entry to the venue. This tied in well with the motif and my friend was thrilled with the results. And best of all? My stash has not been depleted and I continue to think of new ways to use my tiles.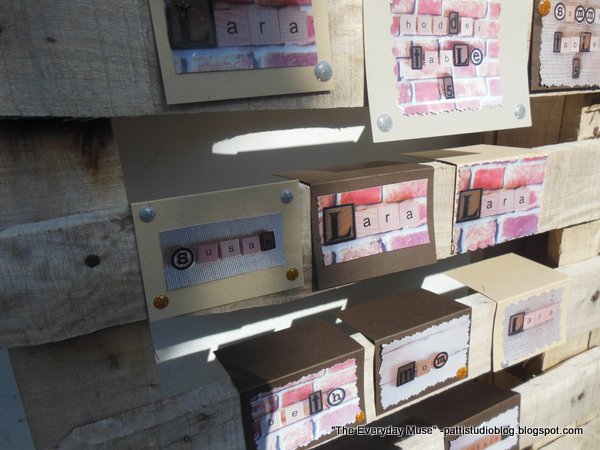
Enjoy and happy crafting!
Patti Hodder
