Hello friends! This is Carmen and today I’m sharing a quick Summer craft that you can create for a special picture. This also makes a wonderful gift for birthdays or graduations.
Here are the few supplies I used…
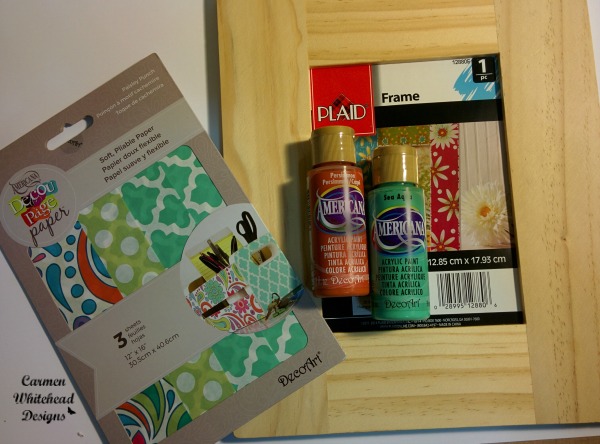
- 5″ x 7″ wood frame
- Deco Art Decoupage Paper Paisley Punch
- Deco Art Decoupage Matte Finish
- Americana acrylic paint Persimmon
- Sponge brush
- Exacto knife
- Brayer
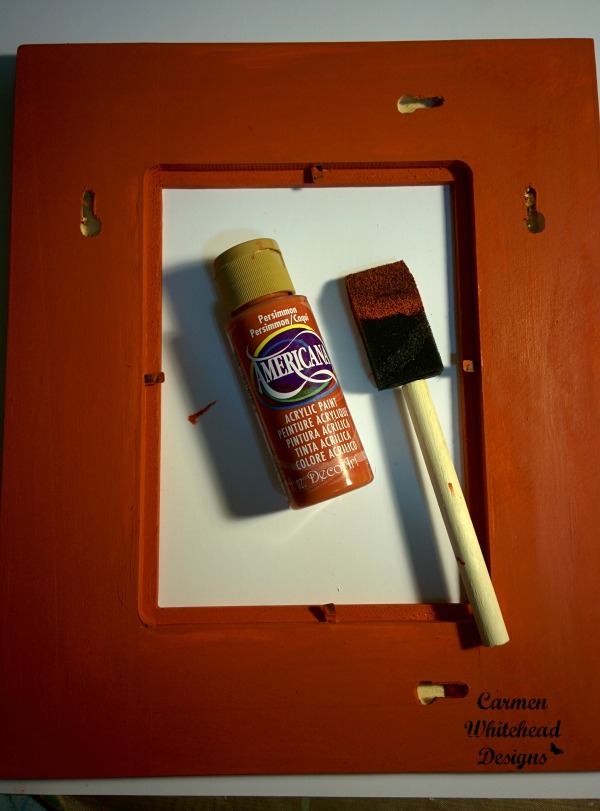
After removing the center backing and easel from the frame, paint the back and sides with the Persimmon color using the sponge brush for even coverage.
The Decoupage sheets have vibrant colors and easy to apply. I worked from the bottom and made my way up the frame, adhering with the decoupage finish and flattening the paper with my hand. Once it was dry I used the brayer to flatten any wrinkles. The exacto knife is perfect for trimming off the edges and opening up the center.

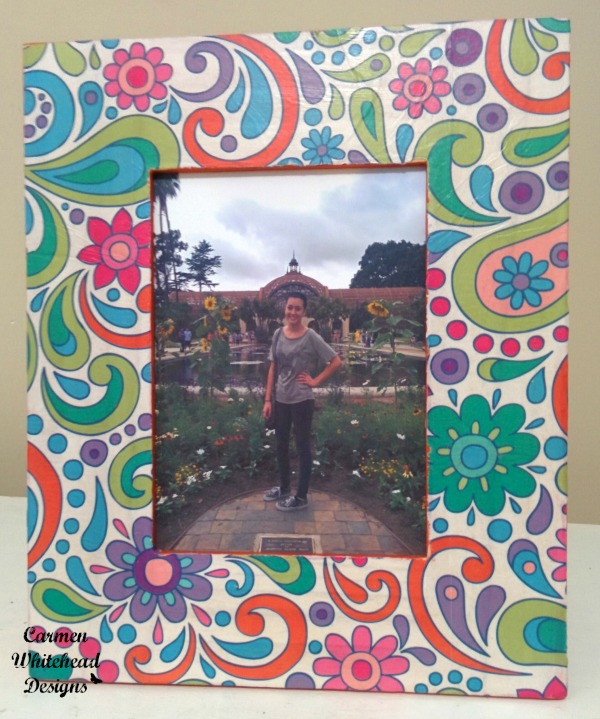
I applied one last layer of the matte finish onto the front of the frame to seal it. I used this frame for one of my favorite pictures of my daughter taken last year at the San Diego Botanical Garden. You can see the finished and detailed look of the frame with the painted sides and center. The paint color was a perfect match for the vibrant colors of the Paisley pattern.

I love how these decoupage papers give a painted pattern look to the frame.
I hope you enjoyed this tutorial and make sure you visit back with us for more creative inspiration!
Blessings,
